You are using an out of date browser. It may not display this or other websites correctly.
You should upgrade or use an alternative browser.
You should upgrade or use an alternative browser.
7mm Mickoo's Commercial Workbench
- Thread starter mickoo
- Start date
mickoo
Western Thunderer
Good spotWhat about Slaters 7837 3'1" ten spoke wheels for the bogie? They are closer to correct size and 1.5mm smaller diameter would help with clearances.
 , I'd completely missed them, they'll do the job just fine I reckon, the 3'-3" I can use elsewhere I'm sure.
warren haywood
Western Thunderer
As it was me who got Mick this commission I dread reading this thread 
You are making a brilliant model tho mate.
Hope the next one doesn’t cause as many problems")
You are making a brilliant model tho mate.
Hope the next one doesn’t cause as many problems
mickoo
Western Thunderer
Warren, hey, it's not so bad....once you accept virtually everything needs rebuildingAs it was me who got Mick this commission I dread reading this thread
You are making a brilliant model tho mate.
Hope the next one doesn’t cause as many problems

Fortunately I'm down to the few last bits to add from the etches, so there isn't really much else that can go wrong

It's a shame, as it has potential to be a nice simple, for want of a better phrase, beginners kit; the Counties have a simple form and shape overall.
I've spoken to several others, or more correctly, others have spoken to me, and pretty much word for word all have said they've never had these issues with any other Warren Shepard kits. So the above pages should not be taken with a broad brush and applied to other models in the range, this really does seem to be a one off.
I spoke with the client this week and if we go ahead with the next planned model then I can unequivocally state it won't cause any problems at all and given my passion for the prototype, we should be able to knock it clean out of the park
mickoo
Western Thunderer
That and 'oh my golly somethings not right here' were not phrases that rolled easily off my tongue earlier this eveningOh, that is a pita...
more so in that I didn't spot it earlier really.Fortunately the errant rivets didn't blow through when filed flat, so all I need do now is drill and add turned ones up front in due course.
Yorkshire Dave
Western Thunderer
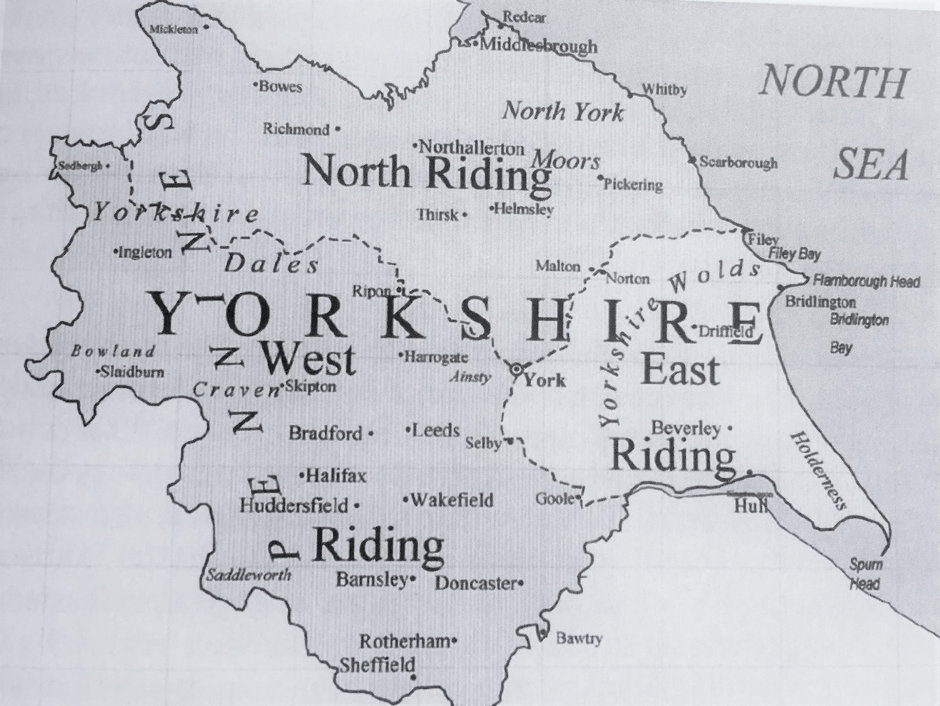
Starting to look like a County now.
County? Aye up - this is what a real county looks like...
richard carr
Western Thunderer
Couldn't agree more Dave.it even has my home town marked on it
Richard
Richard
Ian@StEnochs
Western Thunderer
The town in which I was born is marked too!
Ian.
Ian.
mickoo
Western Thunderer
More progress, yesterday was a all but a write off, 10 hours and only three scratch built components added, one twice  Still they're done and look the part. Today was boiler work, fittings and some pipework.

On this side only drilled the handrail post holes and added the remaining washout plugs. The steam pipe I'd already done a few days ago, there's still a reinforcing ring to go around the base where it meets the footplate. The scratch built items were the rocker lever covers and transverse beam to support the rocker shafts, just ahead of the splashers.

Drivers side with injector pipework and super heater cover, not finished yet, some more brackets and then pipework to add.

Smoke box front and details added, still to add is a scratch built number plate and lower step, for some odd reason the injector pipe looks bent, it isn't, or shouldn't be, I'll recheck that before final fitment.
Still they're done and look the part. Today was boiler work, fittings and some pipework. On this side only drilled the handrail post holes and added the remaining washout plugs. The steam pipe I'd already done a few days ago, there's still a reinforcing ring to go around the base where it meets the footplate. The scratch built items were the rocker lever covers and transverse beam to support the rocker shafts, just ahead of the splashers.
Drivers side with injector pipework and super heater cover, not finished yet, some more brackets and then pipework to add.
Smoke box front and details added, still to add is a scratch built number plate and lower step, for some odd reason the injector pipe looks bent, it isn't, or shouldn't be, I'll recheck that before final fitment.
mickoo
Western Thunderer
Long week, lots of work and not a lot to show really, it's at that stage now where a lot of fiddly bits need to be added so progress visually slows down.

Handrails all round, couple of knobs not quite in the right place once you put the wire in, so holes filled, smoothed and new ones drilled, all just about there now. Lamp irons, reversing lever and first part of sanding lever completed; all the levers are scratch other than the main reversing lever reach rod. That and the support stand (totally wrong) are all that's supplied in the kit, still need to add the rest of the sanding levers under the boiler behind the saddle but new turned front sand box lids fitted. ATC conduit and clips added, you can just about make the whole run from one length of wire

Steps all rebuilt. Because they are part of the valance that had to come off as well (glad I hadn't fitted the white metal springs, they'd of been destroyed under the micro flame) which was a right faff, but all sorted now. All in all that took three evenings to sort as I needed to also make new steps as I wasn't overly happy with the originals. Finally found time to a fit the new white metal castings for the axle boxes and springs, much better than the originals So that's the tender all complete now.

Overall high angle view.

Rear ¾ view, the tube to sort the piston gland hole mess arrived, that allowed the crosshead and piston rod to be finished and test fitted, also fitted the splash plate behind the crosshead, it's tight in there but it still goes round the 6' test curve.
I'm waiting for the microbore tube order to arrive so I can finish the injector pipework and also tackle some of the other pipes here and there.
Mick D
Handrails all round, couple of knobs not quite in the right place once you put the wire in, so holes filled, smoothed and new ones drilled, all just about there now. Lamp irons, reversing lever and first part of sanding lever completed; all the levers are scratch other than the main reversing lever reach rod. That and the support stand (totally wrong) are all that's supplied in the kit, still need to add the rest of the sanding levers under the boiler behind the saddle but new turned front sand box lids fitted. ATC conduit and clips added, you can just about make the whole run from one length of wire
Steps all rebuilt. Because they are part of the valance that had to come off as well (glad I hadn't fitted the white metal springs, they'd of been destroyed under the micro flame) which was a right faff, but all sorted now. All in all that took three evenings to sort as I needed to also make new steps as I wasn't overly happy with the originals. Finally found time to a fit the new white metal castings for the axle boxes and springs, much better than the originals
So that's the tender all complete now.Overall high angle view.
Rear ¾ view, the tube to sort the piston gland hole mess arrived, that allowed the crosshead and piston rod to be finished and test fitted, also fitted the splash plate behind the crosshead, it's tight in there but it still goes round the 6' test curve.
I'm waiting for the microbore tube order to arrive so I can finish the injector pipework and also tackle some of the other pipes here and there.
Mick D
Last edited:
oldravendale
Western Thunderer
In truth these were not the most elegant of Western locos, were they?
Brian
Brian
")
mickoo
Western Thunderer
Cheers chaps
Nearly there now, the list of jobs is getting smaller by the day, most of the body work is complete, just a few more details to add and then onto fitting out the chassis. Most people build the other way around, but until the upper works were complete I'd no idea where to orientate or fit the motor. It'll go in fine, but can go on either the intermediate or rear axle; I personally prefer the intermediate so long as it's not visually intrusive or gets in the way of valve gear.
So, to the pictures, most of the work is in the pipework and cab area.

The cab sides are not correct, in that they do not have the extension on top to allow for the rolled over cant rail, it is noted in the instructions. I added small angled pieces to the inside of the cab top and then blended the joint, you're never going to get a 100% blend due to the rivets and raised window bezels but it's not a bad job if you keep picking away at it. In hindsight given all the other issues with the cab sides it would of been easier to make new ones and add the bezels....maybe next time!
There is no backhead supplied with the kit or any cab fittings other than the seats and ATC unit, luckily a spare 'psuedo' generic backhead was to hand, from a Castle I believe and comparing with the GA it's actually not that far out, closer than some of the other elephants in the room in the kit. The only problem was it was too shallow, so an inset plug was formed and soldered to the back to space it the correct distance from the cab front. It hides the firebox fixing screws but is in its self also screwed to the cab floor from below; the idea being to help split it all down for painting.
The County has a large sheet over the firebox crown, held in place with 12 bolts, so that had to go on, made from 0.005" sheet, followed by the whistle casting.

Ejector pipework completed on the RH side, still to add on this side is the speedo bracket and conduit into the cab front, vacuum pump and flange around the steam pipe base (both sides). That will only leave the sanding linkages, a chore I'm leaving to last, it's fiddly, small and all has to be scratch built, links, cranks, rods etc, bahh! Also added the boiler feed pipes, there's some quite prominent flange fixings behind the name plates, none are supplied so a quick whizz on the lathe produced a couple of suitable discs. They should really have four bolt heads on each side but I can'd find any small enough at the moment. Finally added the nameplate backing plates, makes it easier to fix the finished nameplates on with adhesive.

Temporary cab roof placement, there's a little curl in it but it flattens out nice and square when held in place, before that though I'll need to add the rivets, ventilator covers and runners and attempt to add the rain gutter/strip across the rear. The solder on the cab side is a reminder that I need to just tweak the cutout beading and make it flat, it was flat but seems to have sprung up a touch at the rear, that was a faff cutting, drilling and bending to fit.
The side view also shows how the backhead now blocks the view across the cab, previously you could see completely across as the original backhead was only 4 mm deep, not even the depth of the front side pillar.
During the week the ride height was tweaked, the engine had a slight left roll, the footplate being about ½ a mm or so high on the RH side, this kicked up the fall plate and left a gap under this side where it met the tender footplate, but it's all good now.

Another front view, must straighten than darn hand rail, too much handling, mind the real engines are often quite beat up in their later years. The vacuum hose casting was too short and needed an extension above the buffer beam fixing.

LH view, just need to add the smokebox door number plate mount, a three way oiler and step on the outside of the RH buffer, that'll go on last as it'll then become the lowest point of the footplate assembly and prone to damage or breakage.
Overall it needs a jolly good scrub, I'll do that once the last details are on I think.
Mick D
Nearly there now, the list of jobs is getting smaller by the day, most of the body work is complete, just a few more details to add and then onto fitting out the chassis. Most people build the other way around, but until the upper works were complete I'd no idea where to orientate or fit the motor. It'll go in fine, but can go on either the intermediate or rear axle; I personally prefer the intermediate so long as it's not visually intrusive or gets in the way of valve gear.
So, to the pictures, most of the work is in the pipework and cab area.
The cab sides are not correct, in that they do not have the extension on top to allow for the rolled over cant rail, it is noted in the instructions. I added small angled pieces to the inside of the cab top and then blended the joint, you're never going to get a 100% blend due to the rivets and raised window bezels but it's not a bad job if you keep picking away at it. In hindsight given all the other issues with the cab sides it would of been easier to make new ones and add the bezels....maybe next time!
There is no backhead supplied with the kit or any cab fittings other than the seats and ATC unit, luckily a spare 'psuedo' generic backhead was to hand, from a Castle I believe and comparing with the GA it's actually not that far out, closer than some of the other elephants in the room in the kit. The only problem was it was too shallow, so an inset plug was formed and soldered to the back to space it the correct distance from the cab front. It hides the firebox fixing screws but is in its self also screwed to the cab floor from below; the idea being to help split it all down for painting.
The County has a large sheet over the firebox crown, held in place with 12 bolts, so that had to go on, made from 0.005" sheet, followed by the whistle casting.
Ejector pipework completed on the RH side, still to add on this side is the speedo bracket and conduit into the cab front, vacuum pump and flange around the steam pipe base (both sides). That will only leave the sanding linkages, a chore I'm leaving to last, it's fiddly, small and all has to be scratch built, links, cranks, rods etc, bahh! Also added the boiler feed pipes, there's some quite prominent flange fixings behind the name plates, none are supplied so a quick whizz on the lathe produced a couple of suitable discs. They should really have four bolt heads on each side but I can'd find any small enough at the moment. Finally added the nameplate backing plates, makes it easier to fix the finished nameplates on with adhesive.
Temporary cab roof placement, there's a little curl in it but it flattens out nice and square when held in place, before that though I'll need to add the rivets, ventilator covers and runners and attempt to add the rain gutter/strip across the rear. The solder on the cab side is a reminder that I need to just tweak the cutout beading and make it flat, it was flat but seems to have sprung up a touch at the rear, that was a faff cutting, drilling and bending to fit.
The side view also shows how the backhead now blocks the view across the cab, previously you could see completely across as the original backhead was only 4 mm deep, not even the depth of the front side pillar.
During the week the ride height was tweaked, the engine had a slight left roll, the footplate being about ½ a mm or so high on the RH side, this kicked up the fall plate and left a gap under this side where it met the tender footplate, but it's all good now.
Another front view, must straighten than darn hand rail, too much handling, mind the real engines are often quite beat up in their later years. The vacuum hose casting was too short and needed an extension above the buffer beam fixing.
LH view, just need to add the smokebox door number plate mount, a three way oiler and step on the outside of the RH buffer, that'll go on last as it'll then become the lowest point of the footplate assembly and prone to damage or breakage.
Overall it needs a jolly good scrub, I'll do that once the last details are on I think.
Mick D
Last edited:
P A D
Western Thunderer
Cracking job, a “Silk purse!”
Best
Simon
Definitely. The result achieved really flatters the kit. Superb!
Cheers,
Peter