7mm DJH Streamlined Coronation.

Rob Pulham

Western Thunderer
Isn't life ironic, after choosing the David Andrews Kit over the DJH offering and subsequently putting it up for sale I had a phone call on Easter Sunday afternoon asking if I could fit in building a DJH Streamlined Coronation as soon as possible. The gent that I am building the J6 for is in no rush so I decided to give it a go.

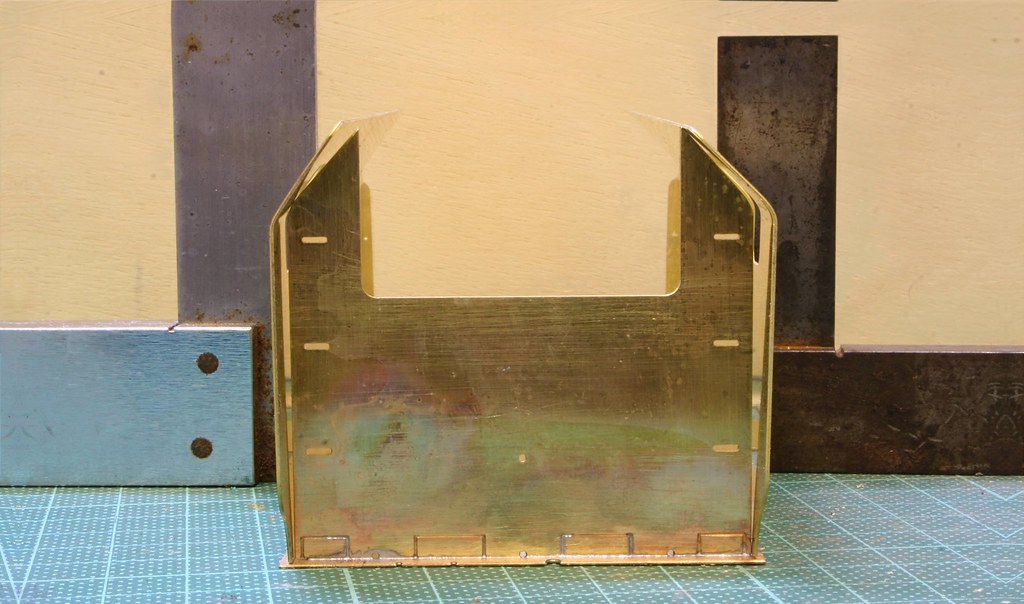
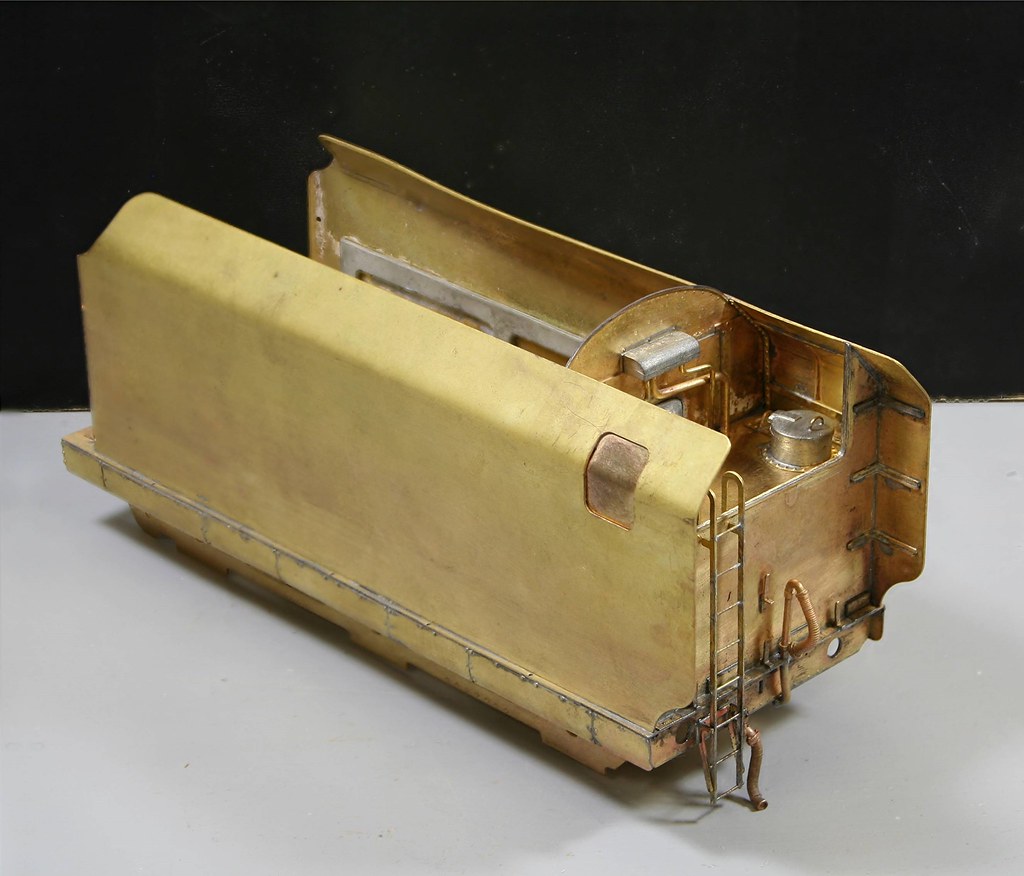
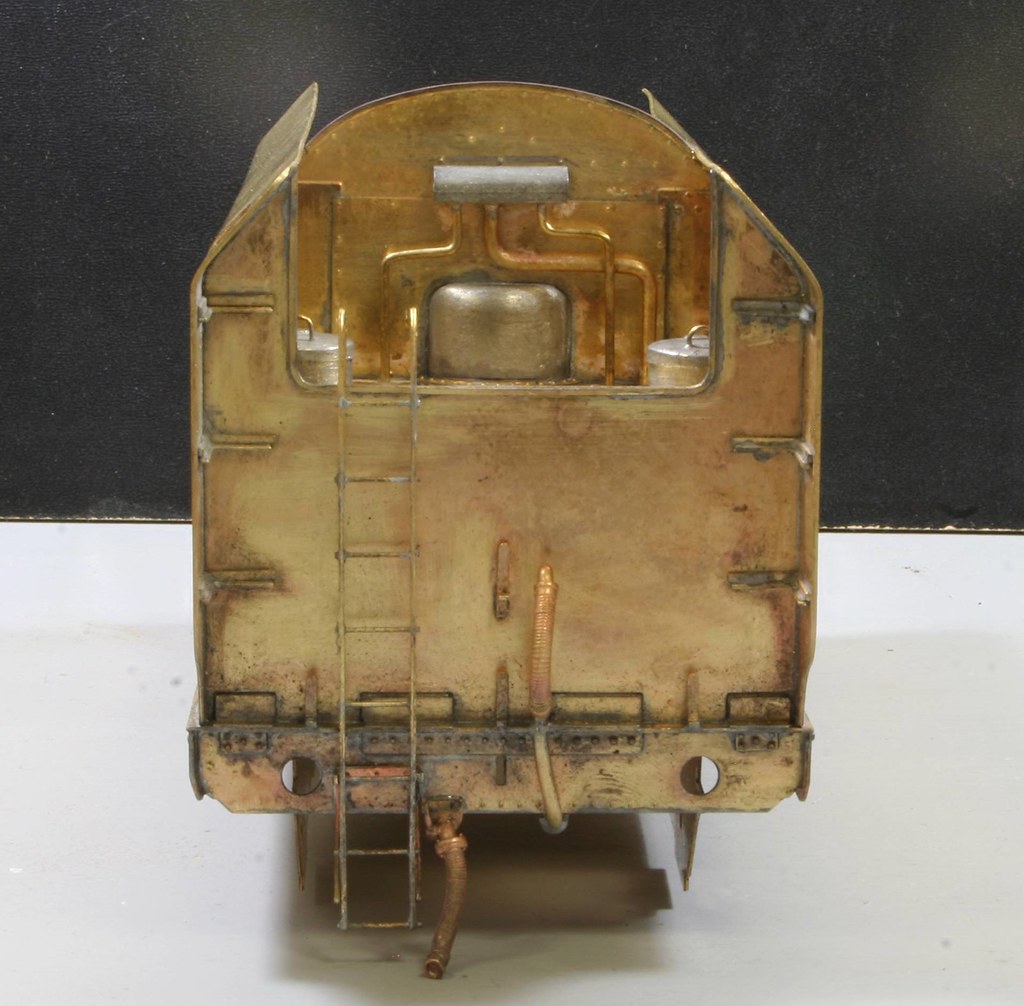
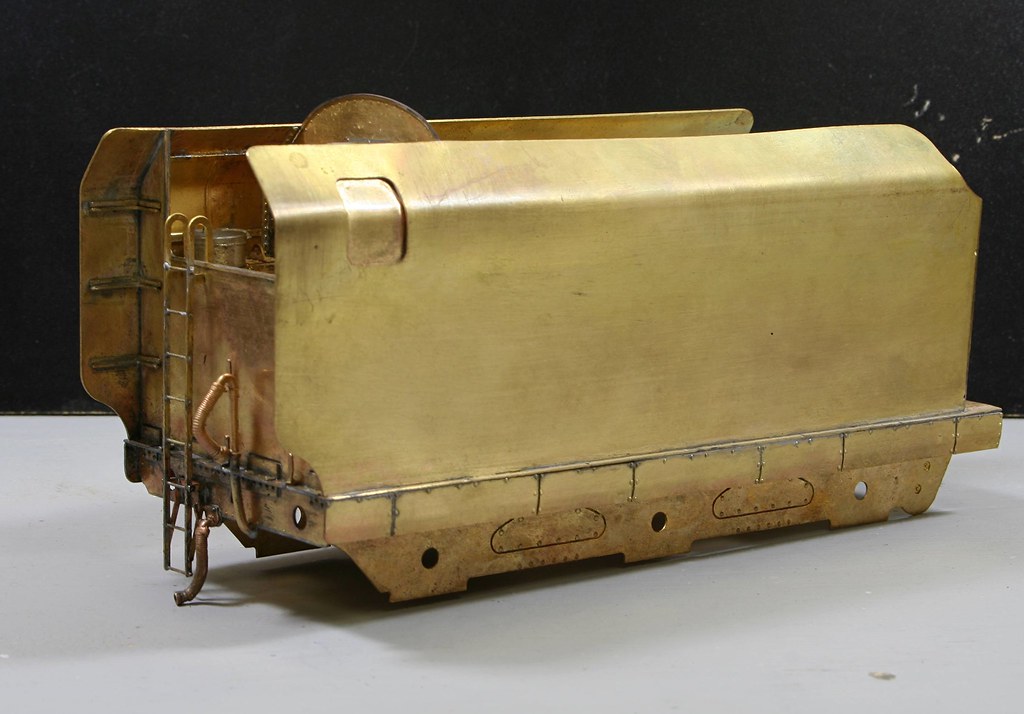
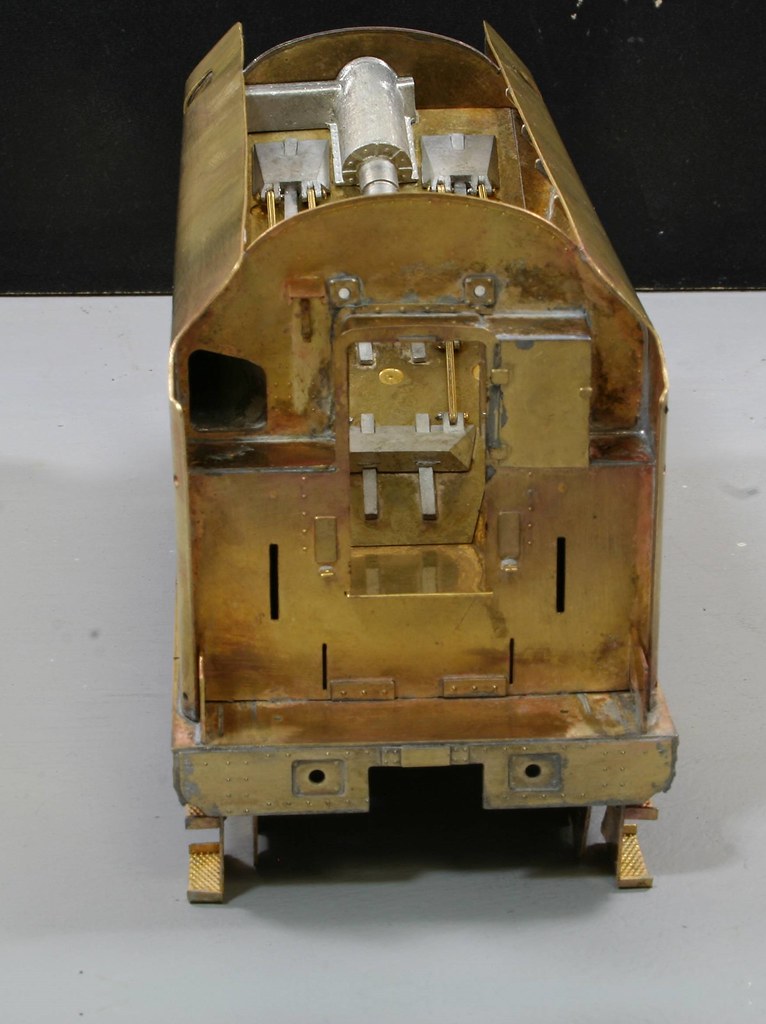
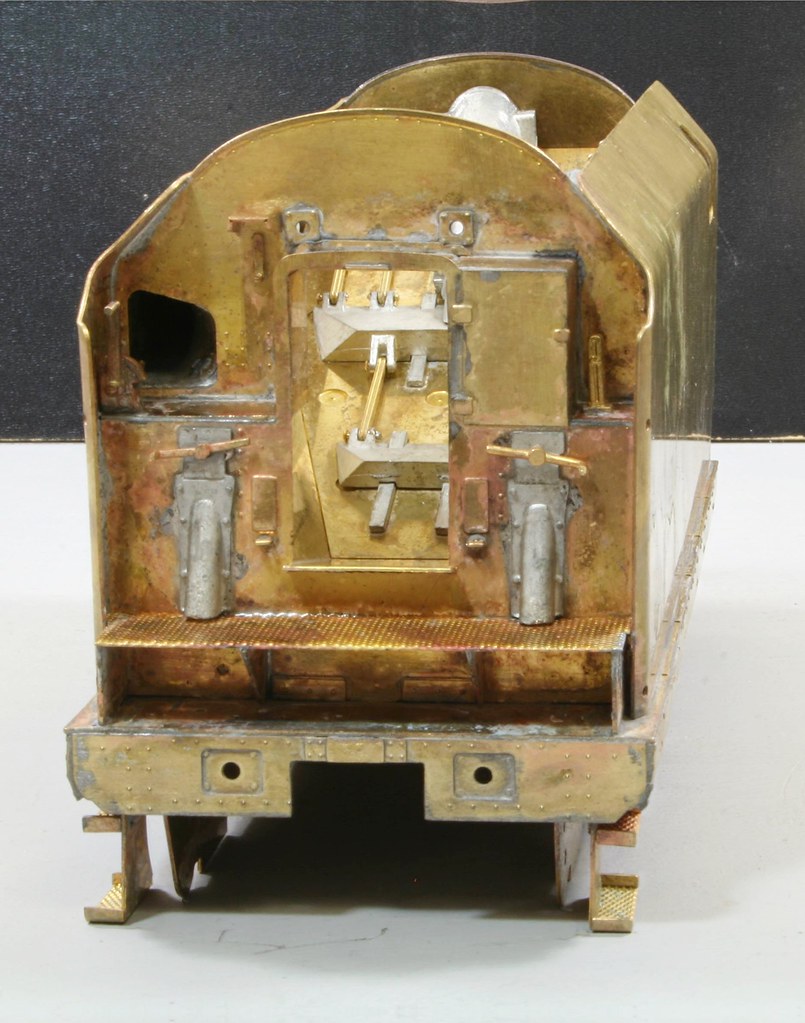
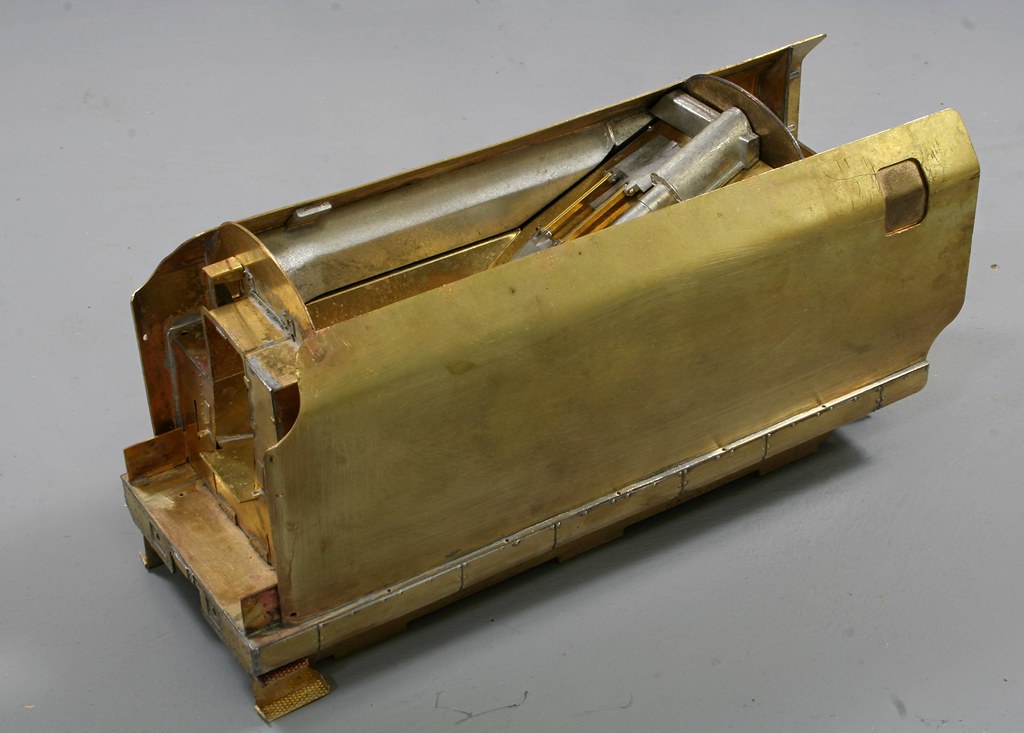
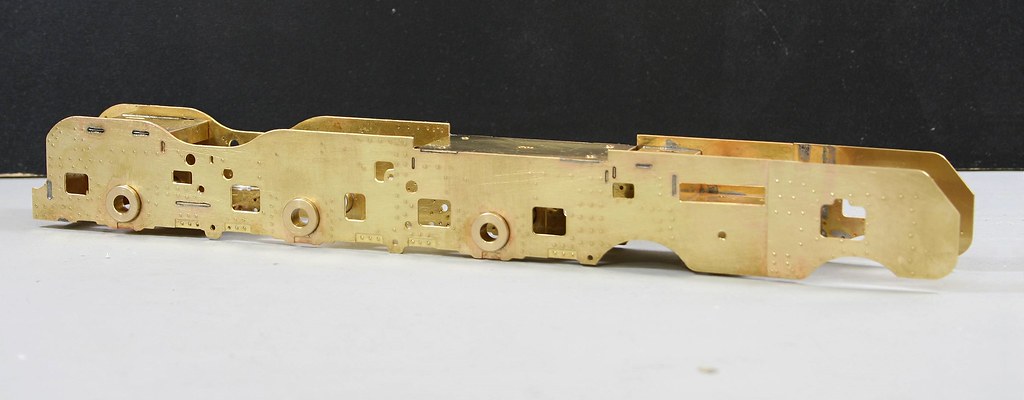
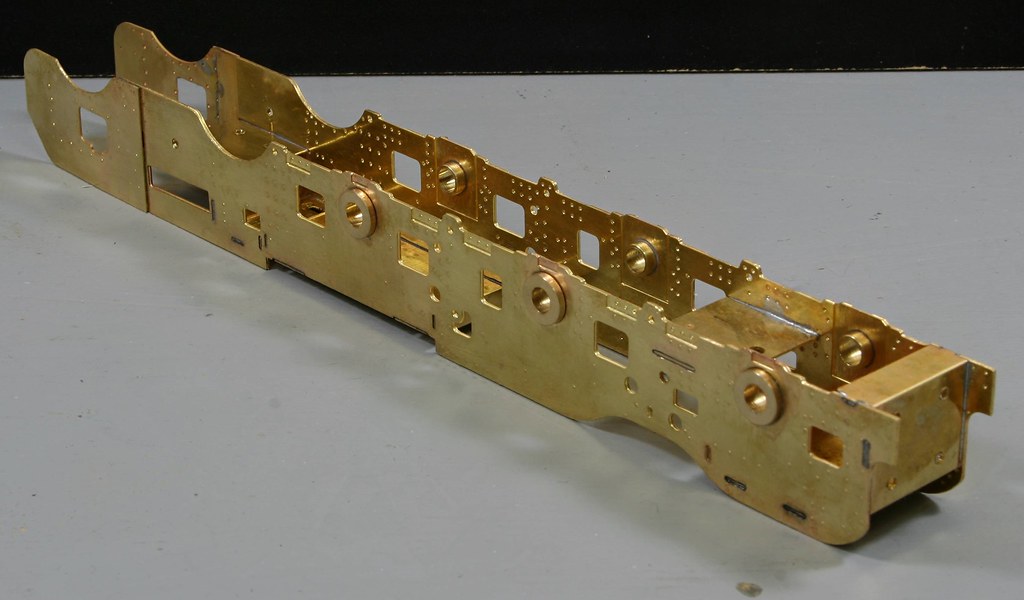
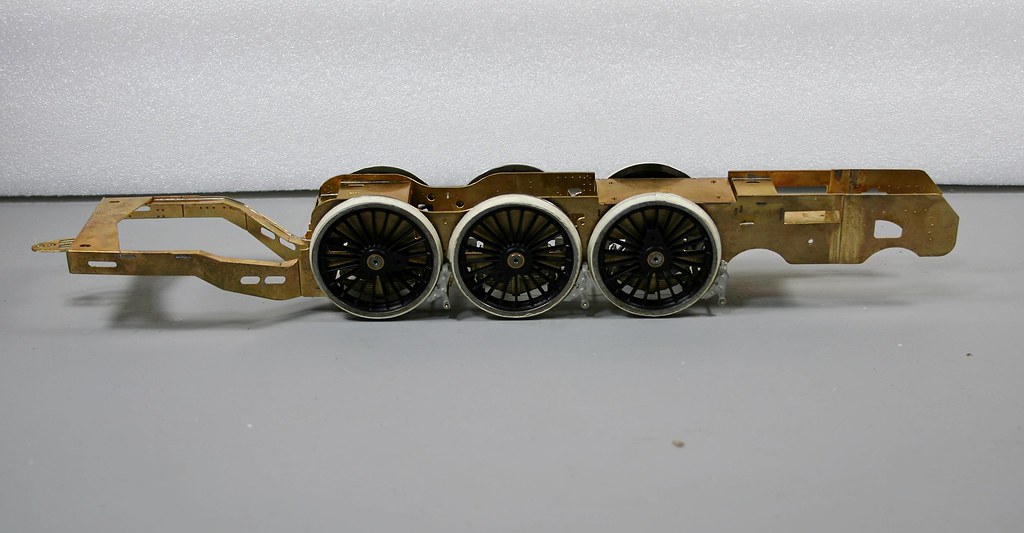
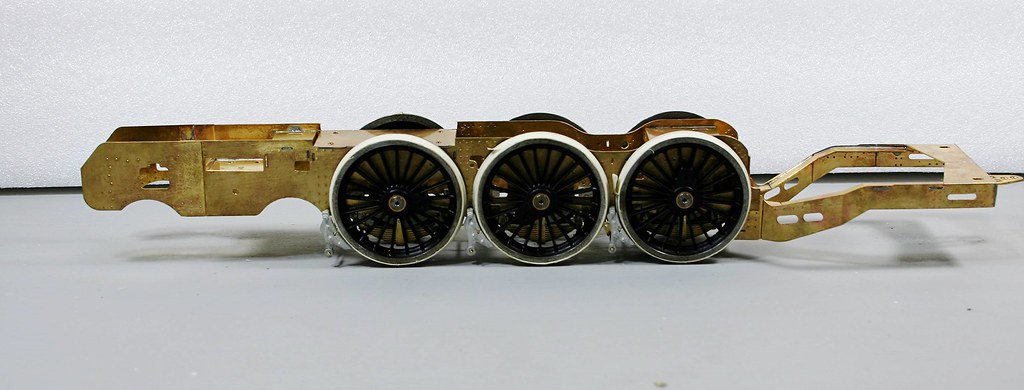
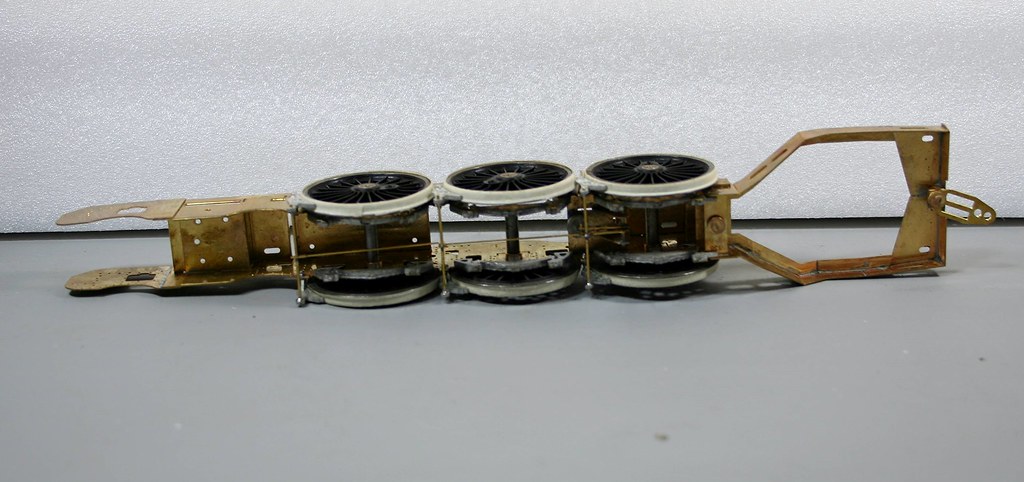
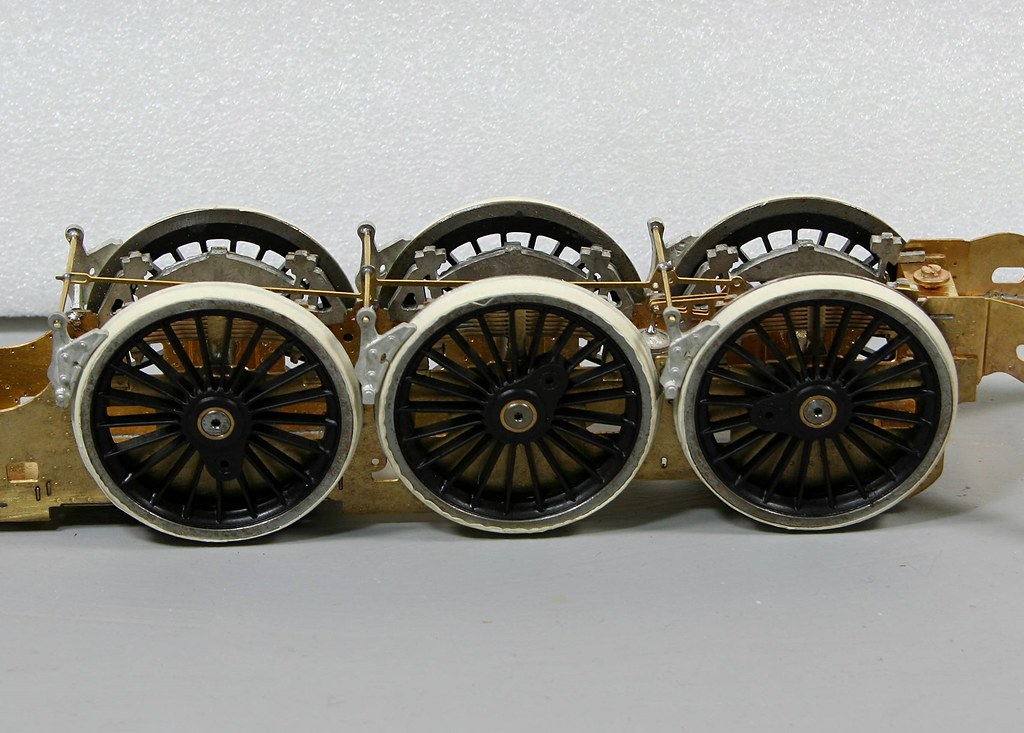
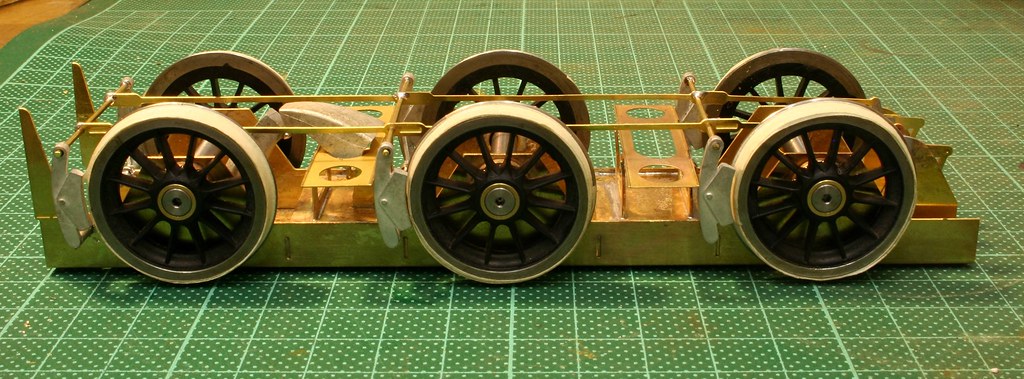
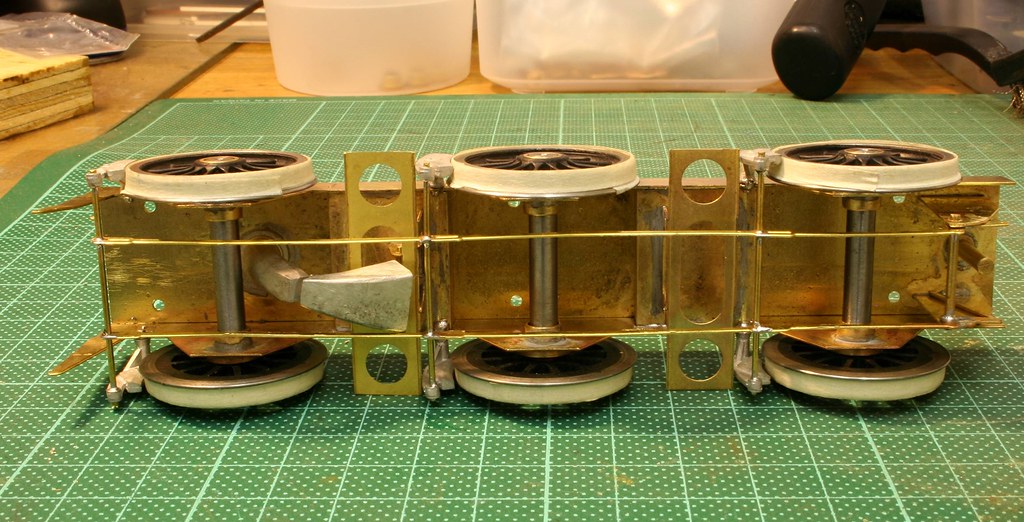
The kit was dult delivered on Sunday evening and by bedtime I had the basic tender chassis together.

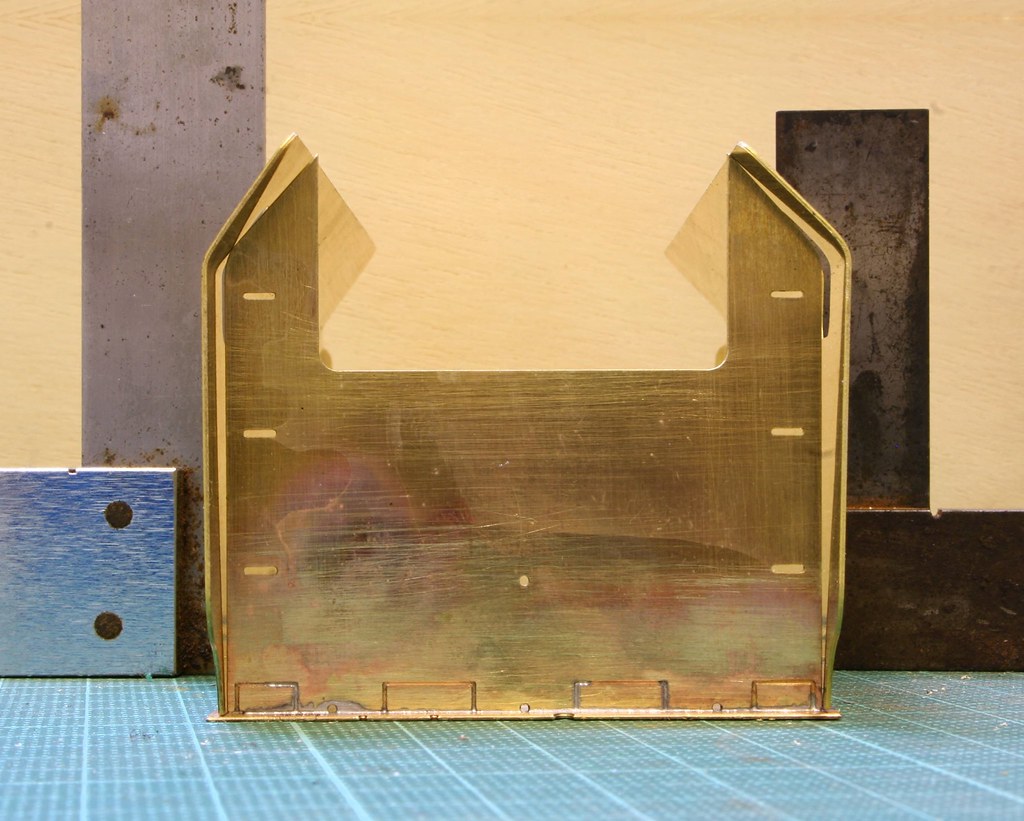
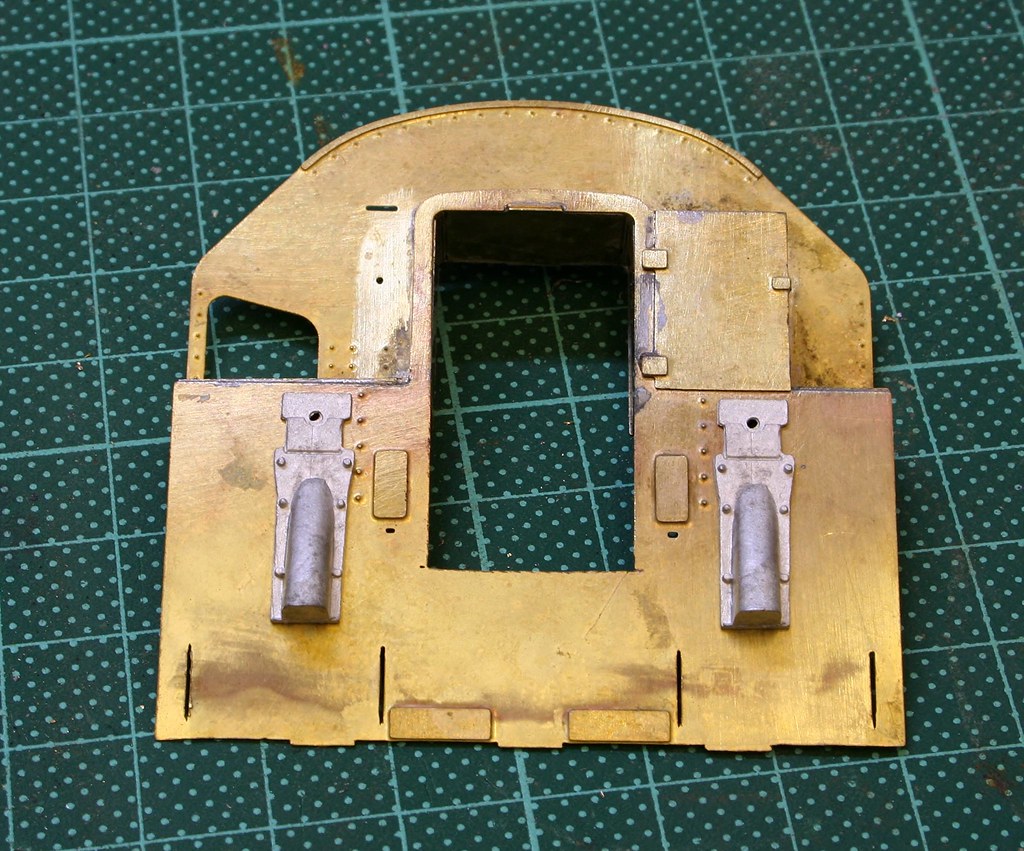
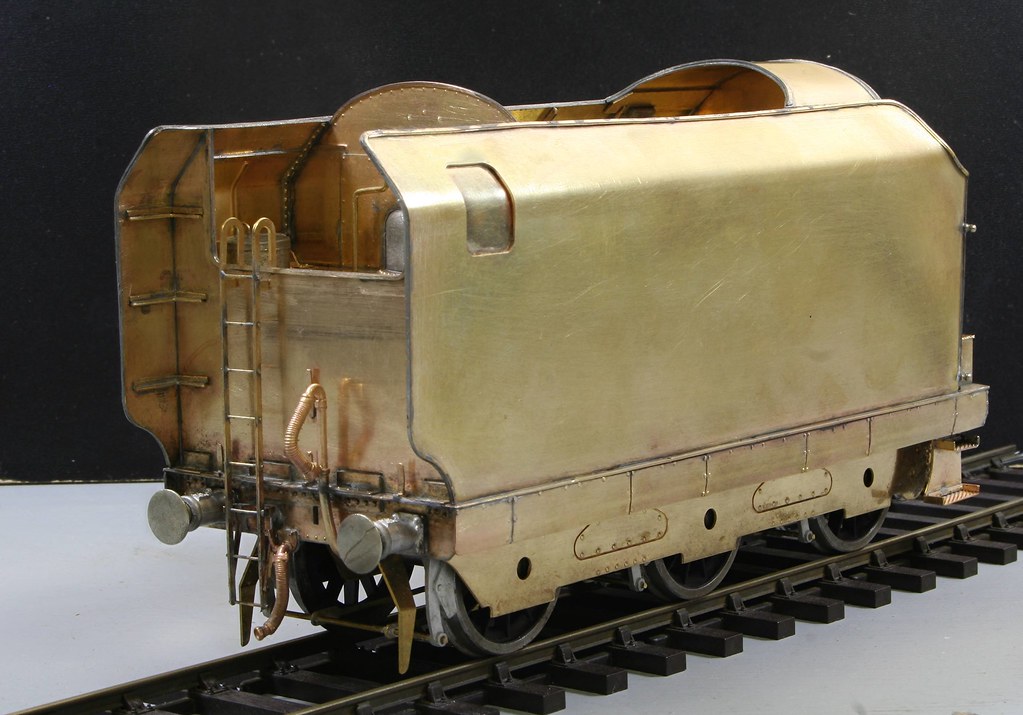
Another couple of hours on Monday morning had the tender chassis complete, so far so good.

41260235202_360608289a_b.jpg


40406853445_5c75661927_b.jpg


39493574940_dba1a760ce_b.jpg


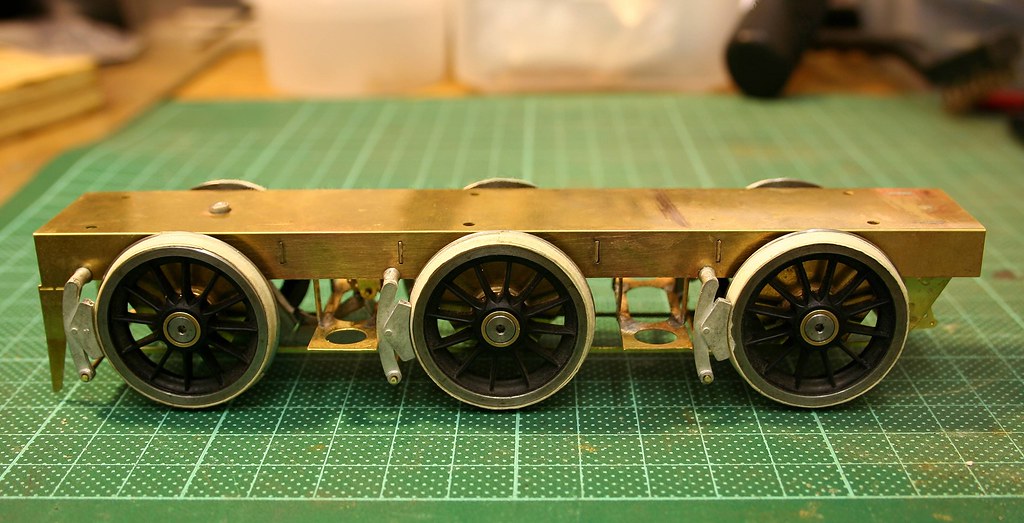
To a degree I feel that any criticism that I make of this kit is a bit like sour grapes given that I chose the David Andrews kit over the Tower/DJH version .

That said, hiding what I find doesn't help anyone else who may decide to build one of these.

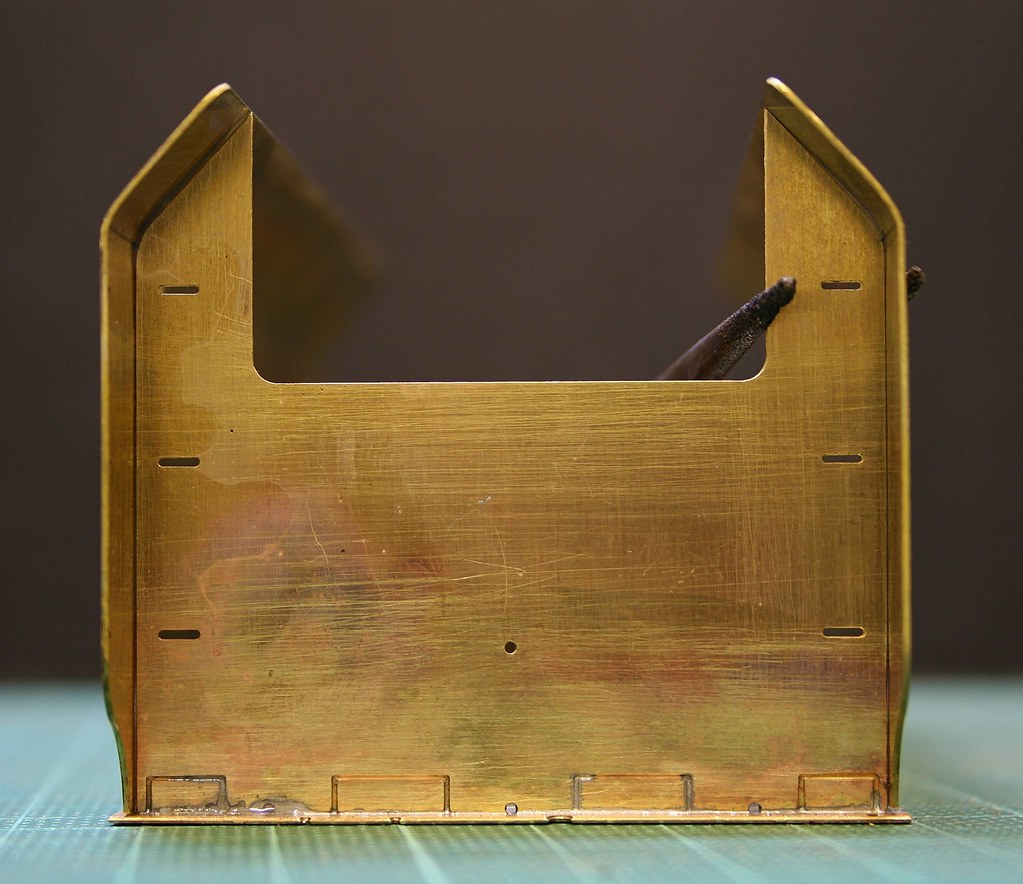
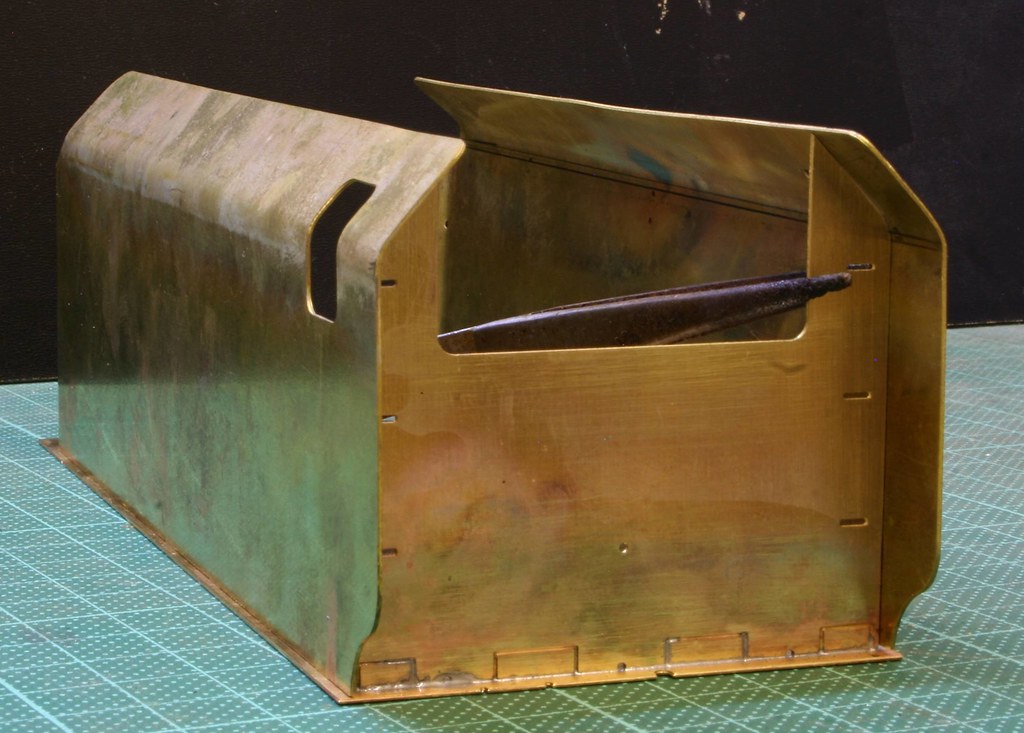
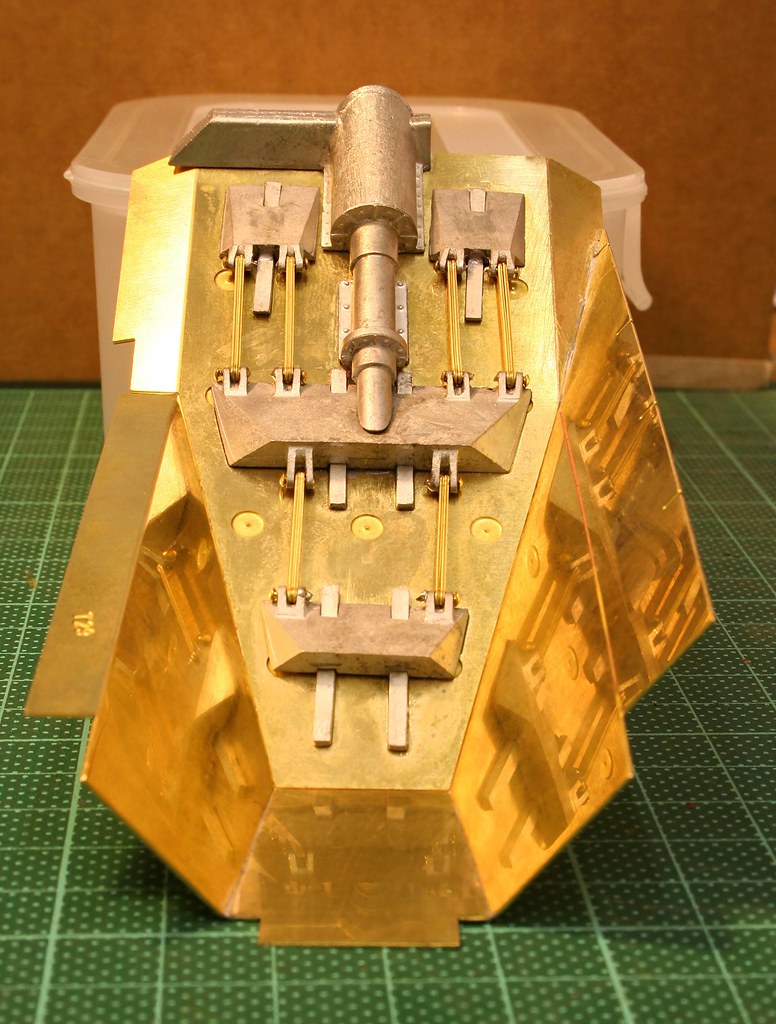
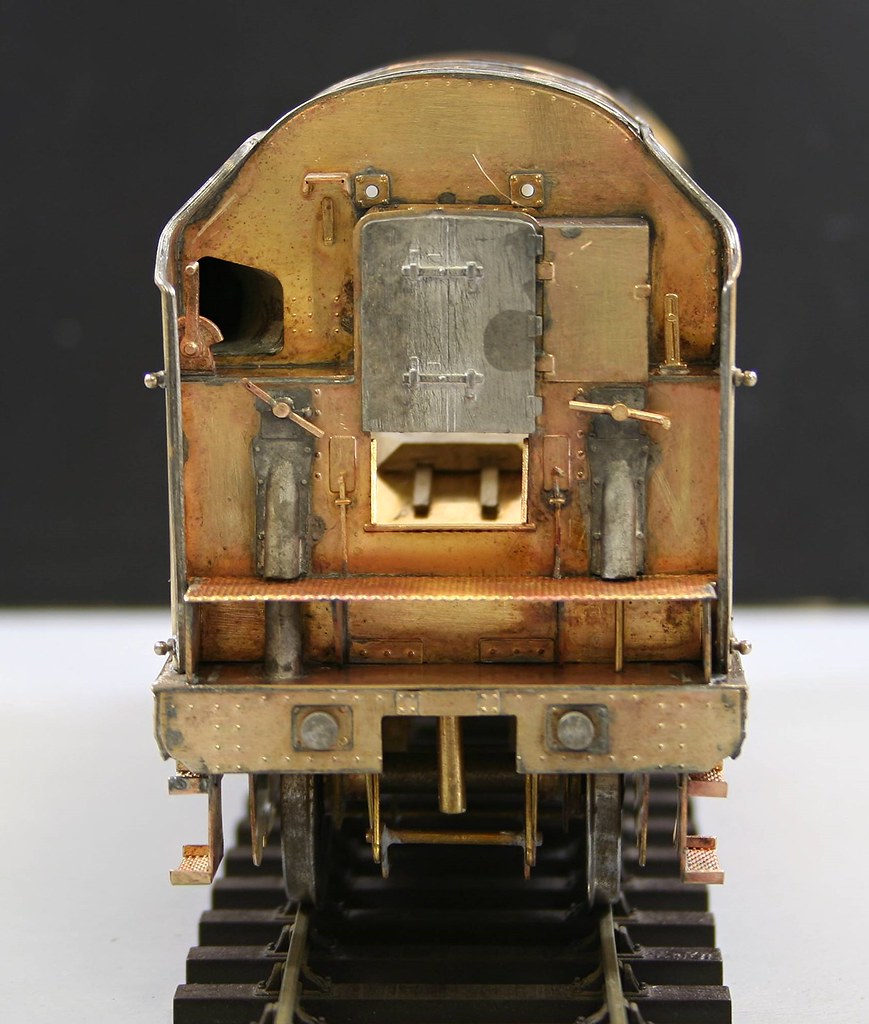
The key issue with the tender chassis is that the cross members that fit between the wheels are a single half etched layer in the middle section, which makes them very vulnerable to bending. This and other areas where key parts are a single half etched layer (more on that later) are particularly noticeable to me when this build comes right on the heels of building the MOK LMS tender which is prototypically similar in many respects.

Although I don't know the name of the loco that the model is to ultimately represent I have been asked to build it as one of the double chimney red ones - Apparently there were some differences on the red ones over the first few blue ones (I had originally planned to build mine as Duchess of Hamilton in Blue when Coronation was masquerading as DOH while DOH went to America masquerading as Coronation, confused yet.....). Luckily the kit also came with a loan of the Wild Swan/NRM Loco Priles book for the Coronation Pacifics.
 

Rob Pulham

Western Thunderer

Making a start on the upperworks, the tender sides are battleship plate thickness. They come pre bent to shape to follow the bulkheads - what a shame the bends were too low

27471302108_3bc51e7076_b.jpg


40629781594_820f2b1fac_b.jpg


I used my my cheap cooks torch bought from Lidl just before christmas. I have found it's too hot and uncontrollable for soldering but it's great for annealing.

26471826637_4ee61f33c1_b.jpg


40629780014_369a7a9151_b.jpg


However, before you get to the tender sides in the instructions, the next section has you making up the coal chute and coal pusher which went together perfectly.

40589381804_90ce943552_b.jpg
 
Last edited:

mickoo

Western Thunderer
Agreed with the above, question is though, is it the sides that were wrong or the bulkheads?

MD
 
Last edited:

Rob Pulham

Western Thunderer
Thanks Gents,

All though not easy I am sure that it helped coming so close on the back of doing the bends on the 06/8F tender.

Hi Mick,

I couldn't honestly say which was out, it all seems to fit better once the sides were reshaped. If the bulkheads are indeed wrong the remit is to build it out of the box so I am not attempting to correct any errors unless it's needed to get it built.
 

mickoo

Western Thunderer
You'll only find out when you build the cab and put the completed engine next to the tender I'm afraid, by then it'll be too late.

Just a heads up that's all.

MD
 

Rob Pulham

Western Thunderer
Thanks Mick,

I hadn't thought of that. If it is the bulkhead that's out then you would expect every other Tower/DJH Coronation to suffer the same fault. Fingers crossed it was just a dodgy bend by who ever prepared the kit.
 

Rob Pulham

Western Thunderer
Moving swiftly on.

Once I had the sides to the right shape and soldered to the bunker rear I set about detailing the front and rear bulkheads. I fitted all the whitemetal castings to the rear bulkhead prior to fitting it. Those on the front bulkhead await fitting.

in true perverse DJH fashion, although the front bulk head and many of it's constituent parts are half etched the rear bulkhead is full thickness.

Front Bulkhead
40629778474_09751b0889_b.jpg


Rear Bulkhead
26471825307_3d9b102222_b.jpg


Streamlined Cover and Ladder for the rear of the Tender.
26471823737_0b8d3c29e0_b.jpg


Dealing with the thickness of the metal has been a real learning curve on this one because my 80 Watt Ersa solder station won't touch it with 145 degree solder at my usual 340 degree setting.

I have had to whack it up to 400 to get the solder to run. This has meant that much of the soldering has been done with the microflame including (and this may want some to lay in a darkened room...) the whitemetal bits.

I have discovered that my Iroda Solderpro on its minimum setting is perfect for soldering whitemetal castings on with 100 degree solder. The hardest bit is cutting the 100 degree solder into manageable chunks without bits flying off into oblivion.
 

Rob Pulham

Western Thunderer
I shall give both suggestions a try. I must admit prior to this build I never really got on too well with 100 degree solder but I have certainly revised my opinion of it and it now gets a big thumbs up:thumbs:
 

Rob Pulham

Western Thunderer
So it's onto the loco chassis,

I made a start on Saturday afternoon and by the Monday night I had made it to

40606101425_eb08b519a1_b.jpg


27628027498_777d9fb2ce_b.jpg


40808510394_84a8dd64ec_b.jpg


39712586570_499bcf0381_b.jpg


40808508684_be015853df_b.jpg


39712585930_9a370f6390_b.jpg


Which brought me to the end of drawing number 2 of the chassis instructions.

I made one minor error in that I got one of the chassis spacers/supports the wrong way up which meant that the hole for the brake cylinder was in the wrong place. Rather than take the chassis apart again I just redrilled the hole at the other end of the spacer and filed the tabs of a couple of brackets that should have fit into some slots. Job done and brakes fitted as they should be.
 

simond

Western Thunderer
Rob,

Do any of the punched-through rivets show on the frames?

Btw, between you and Peter (PAD) I’m getting loads of info & ideas about how my resurrection should look - thanks!

Best
Simon
 

Rob Pulham

Western Thunderer
Rob,

Do any of the punched-through rivets show on the frames?

Btw, between you and Peter (PAD) I’m getting loads of info & ideas about how my resurrection should look - thanks!

Best
Simon

Sorry Simon,

I am not sure what you are asking by show on the frames?
 

simond

Western Thunderer
Rob,

In the second picture in post 16, there are lots of half etched rivets on the inside of the frames, and I wondered if these were visible on the outside once pressed through. It seems to me that many of them will be behind wheels, etc, and I’m interested to know if there are any which I need to somehow try to replicate on my Duchess.

Best
Simon
 

Rob Pulham

Western Thunderer
Ah got you, sorry - I was working on the election yesterday so it had been a long day. If you click Here will take you to high res versions that you can zoom into. But as a minimum there are lines of double rivets adjacent to the front/rear drivers that are very visible.

Clicking on the image below will help in the first instance - both sides are the same.

IMG_8233.JPG
 
Top