Thanks guys,
The blue stars are drawn on with a Sharpie pen (fine nib permanent marker)
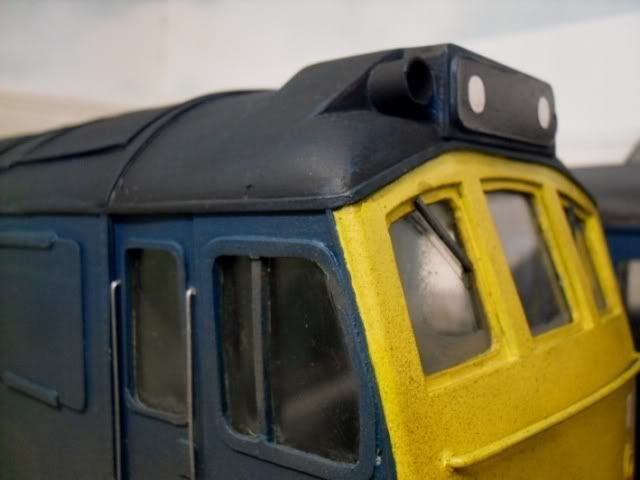
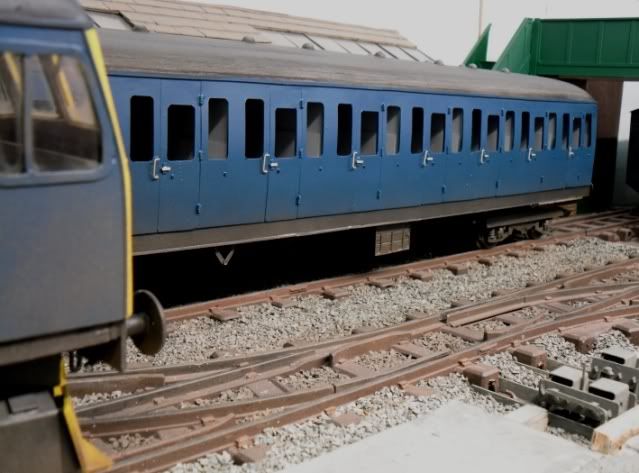
This afternoon I have been doing some roof colouring, lots of 25 pictures show the roof as being near black with dirt. The coach roof was too light as well.
I also have sprayed some sleeper grime on the bottom of the coach, which still needs a lot of glazing ( I keep putting it off !)
Roof ..
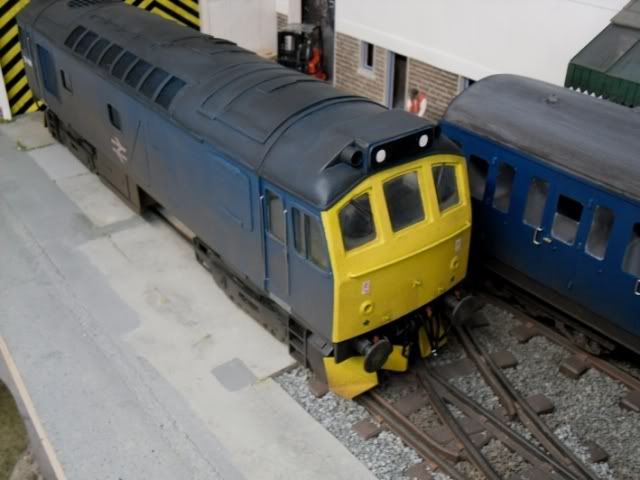
Grime..
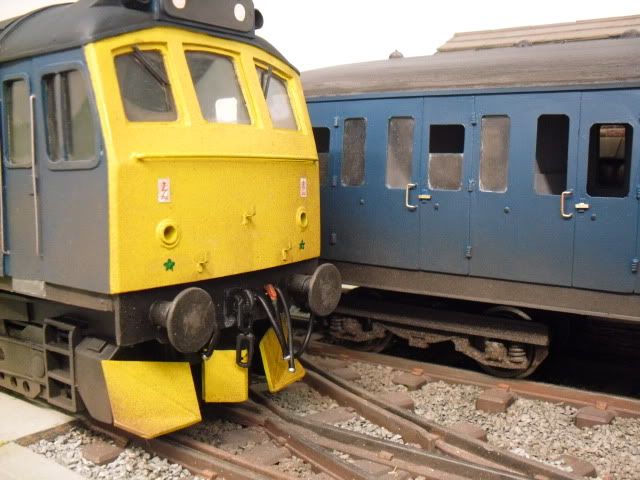
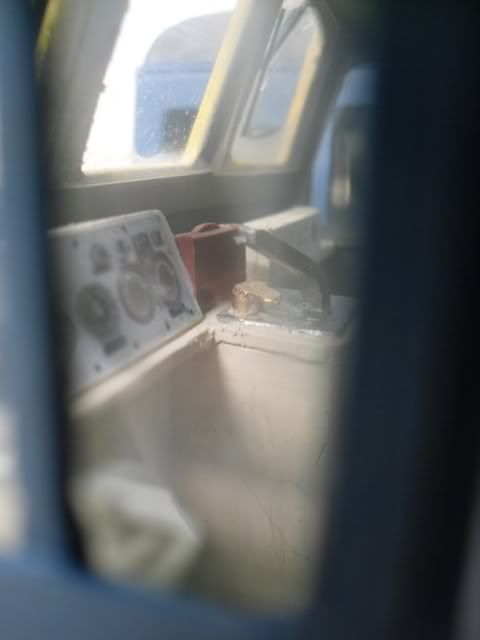
In the next one I like how you can see the coach through the cab, one of the benefits of larger scales, this sort of picture is easier !
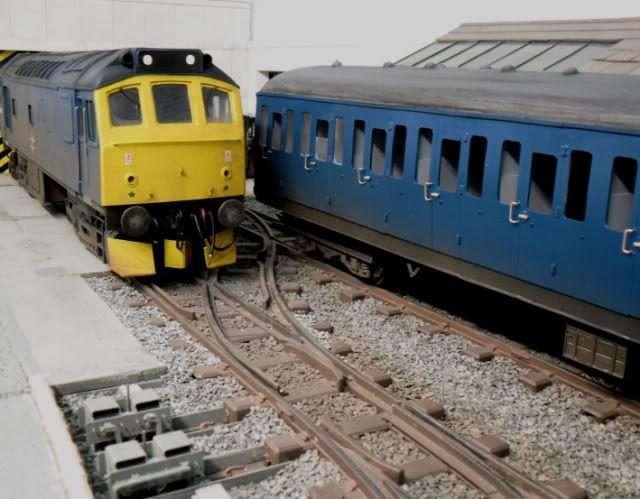
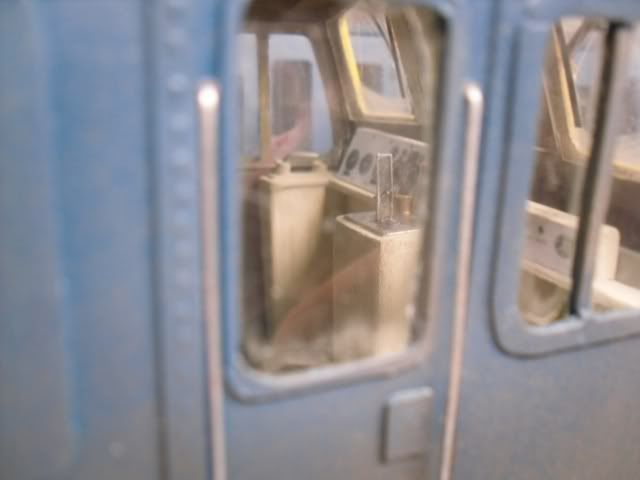
And my favourite picture of the month !!...........
John
The blue stars are drawn on with a Sharpie pen (fine nib permanent marker)
This afternoon I have been doing some roof colouring, lots of 25 pictures show the roof as being near black with dirt. The coach roof was too light as well.
I also have sprayed some sleeper grime on the bottom of the coach, which still needs a lot of glazing ( I keep putting it off !)
Roof ..
Grime..
In the next one I like how you can see the coach through the cab, one of the benefits of larger scales, this sort of picture is easier !
And my favourite picture of the month !!...........
John

 great work