Nick Dunhill's 7mm W (A6) or Whitby Tank Workbench

Nick Dunhill

Western Thunderer
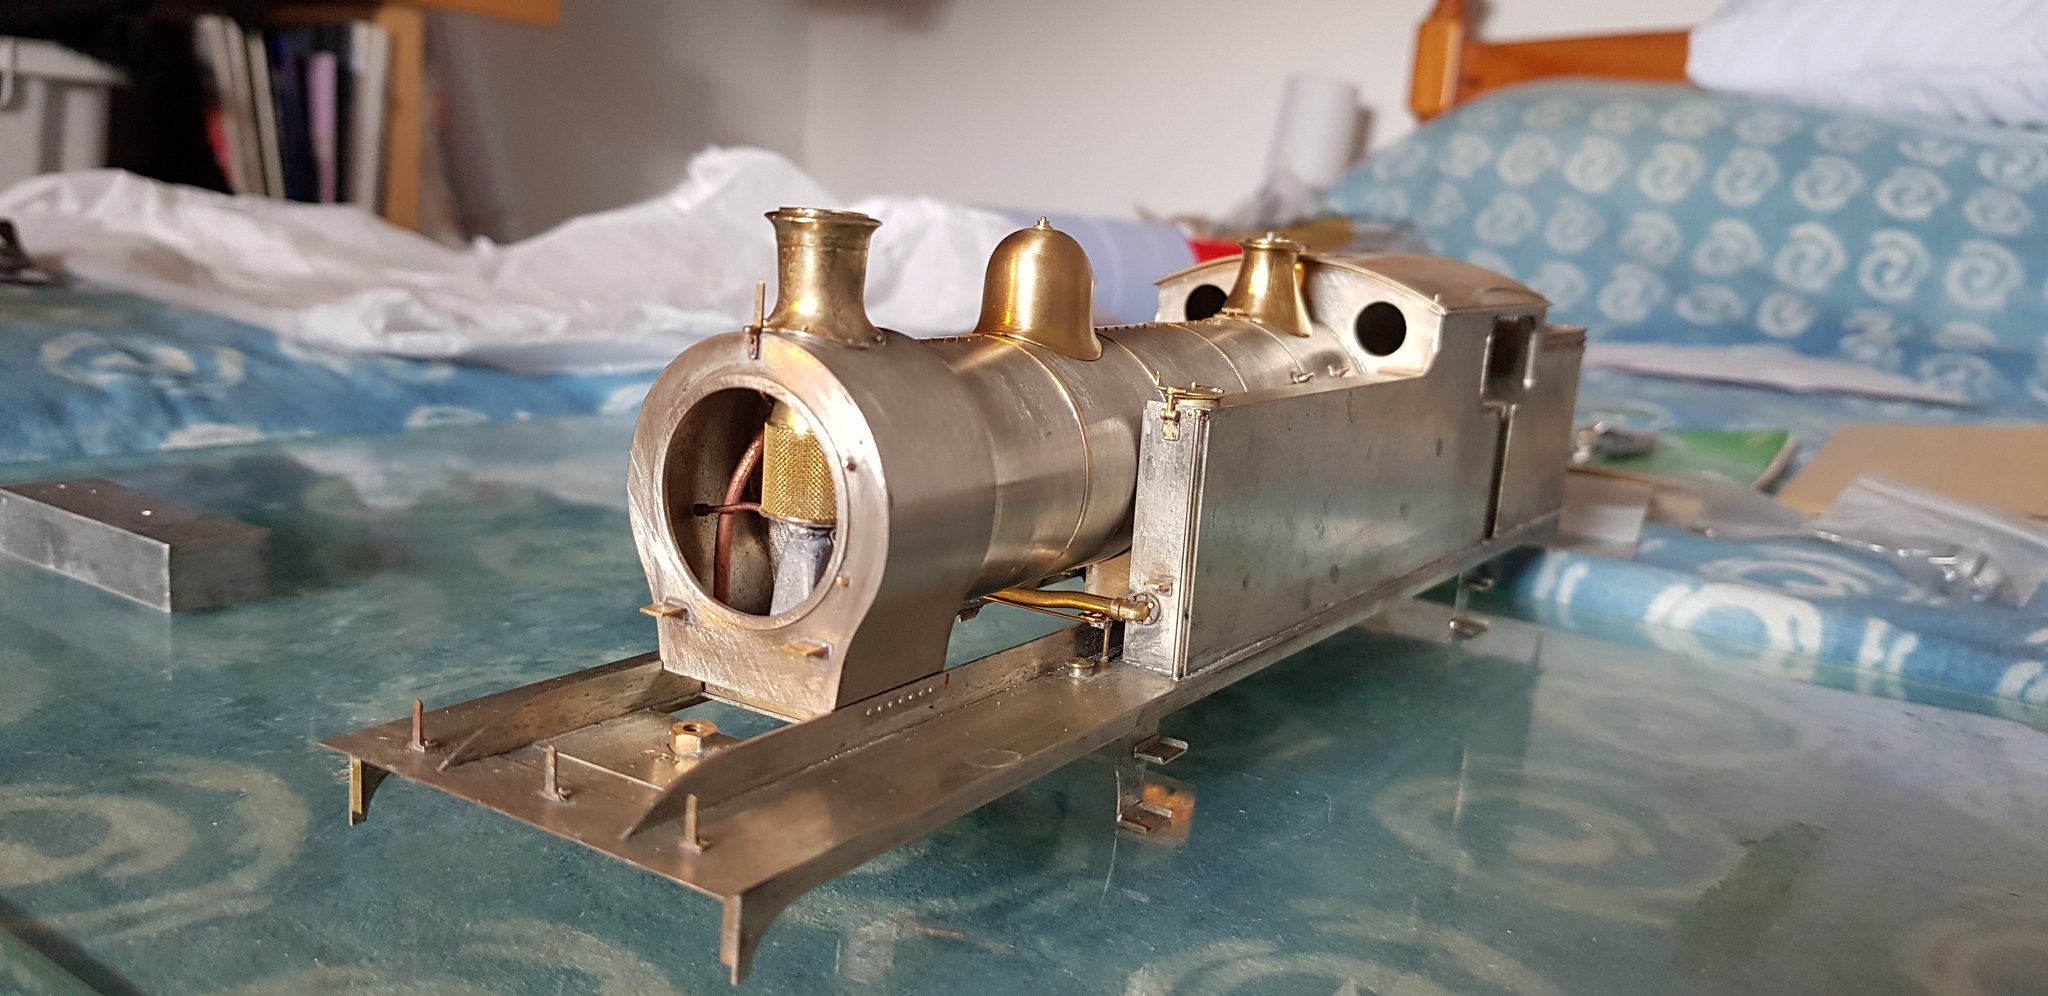
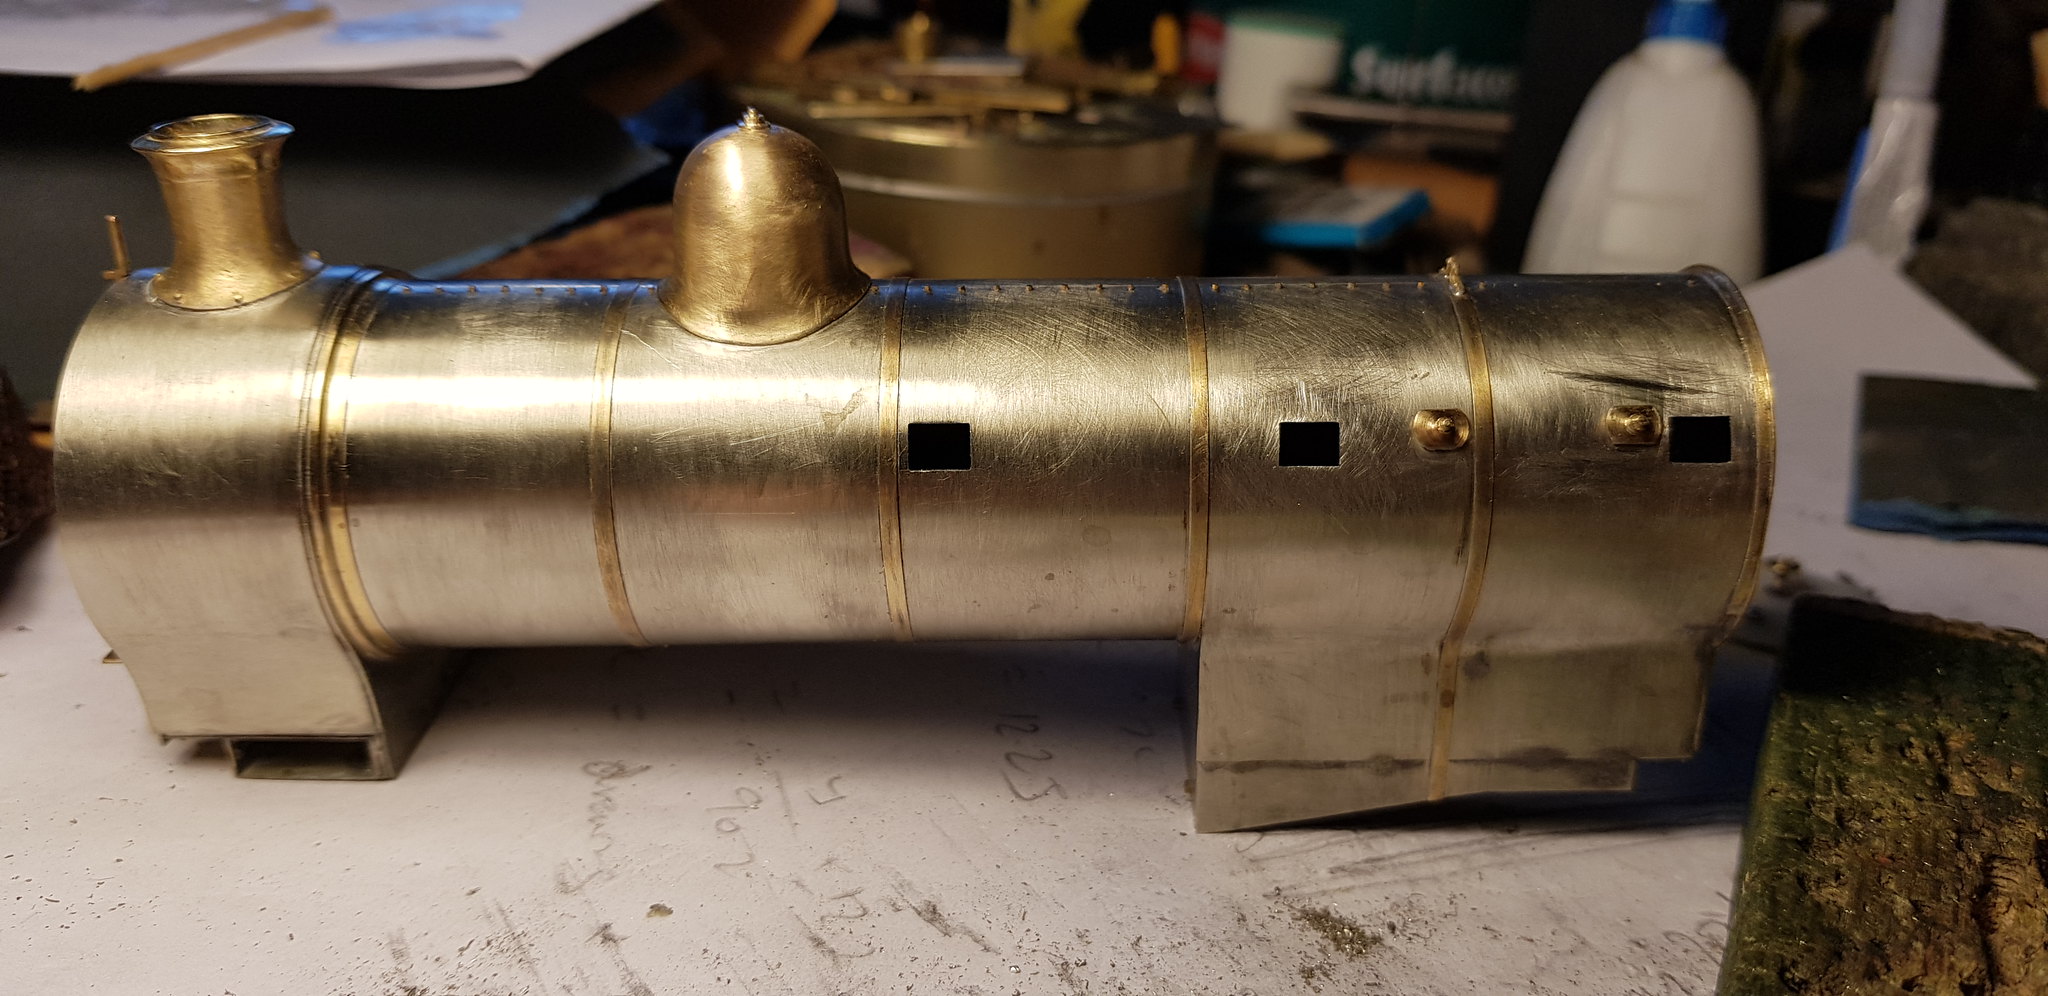
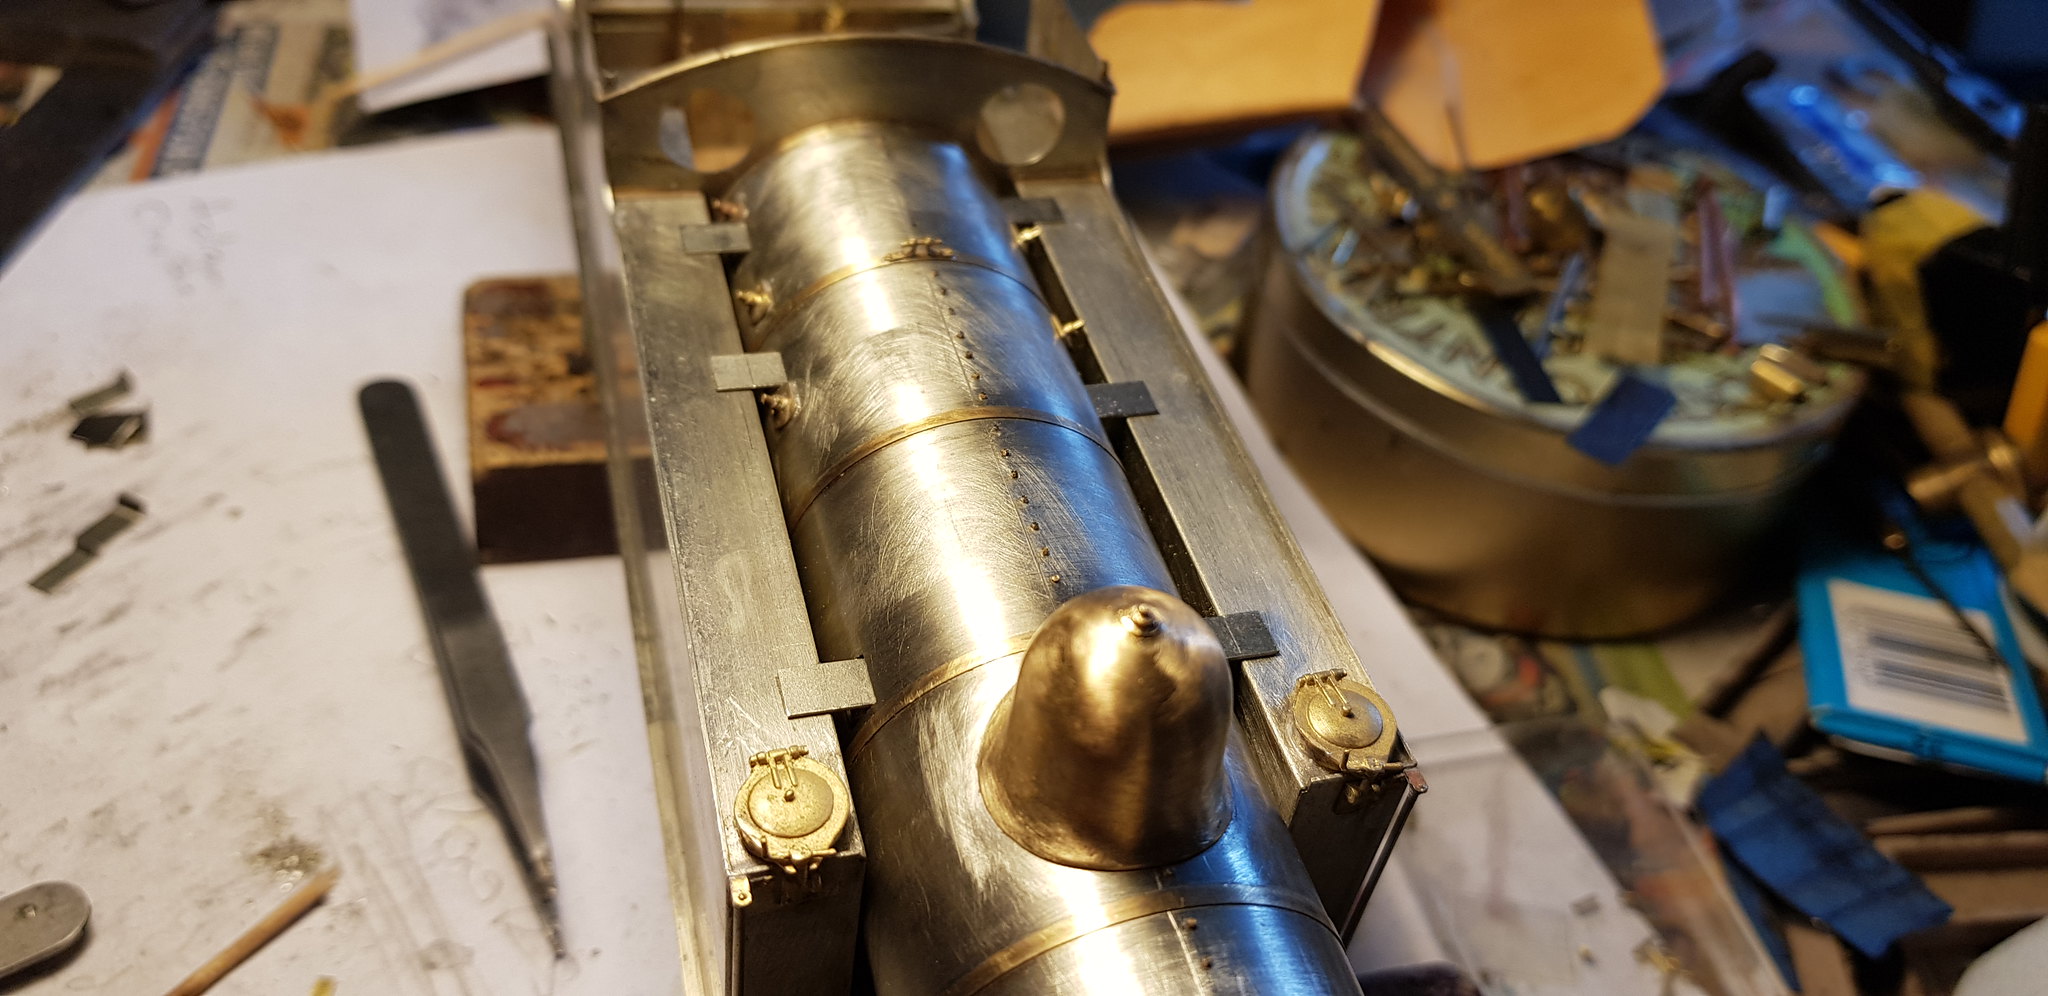
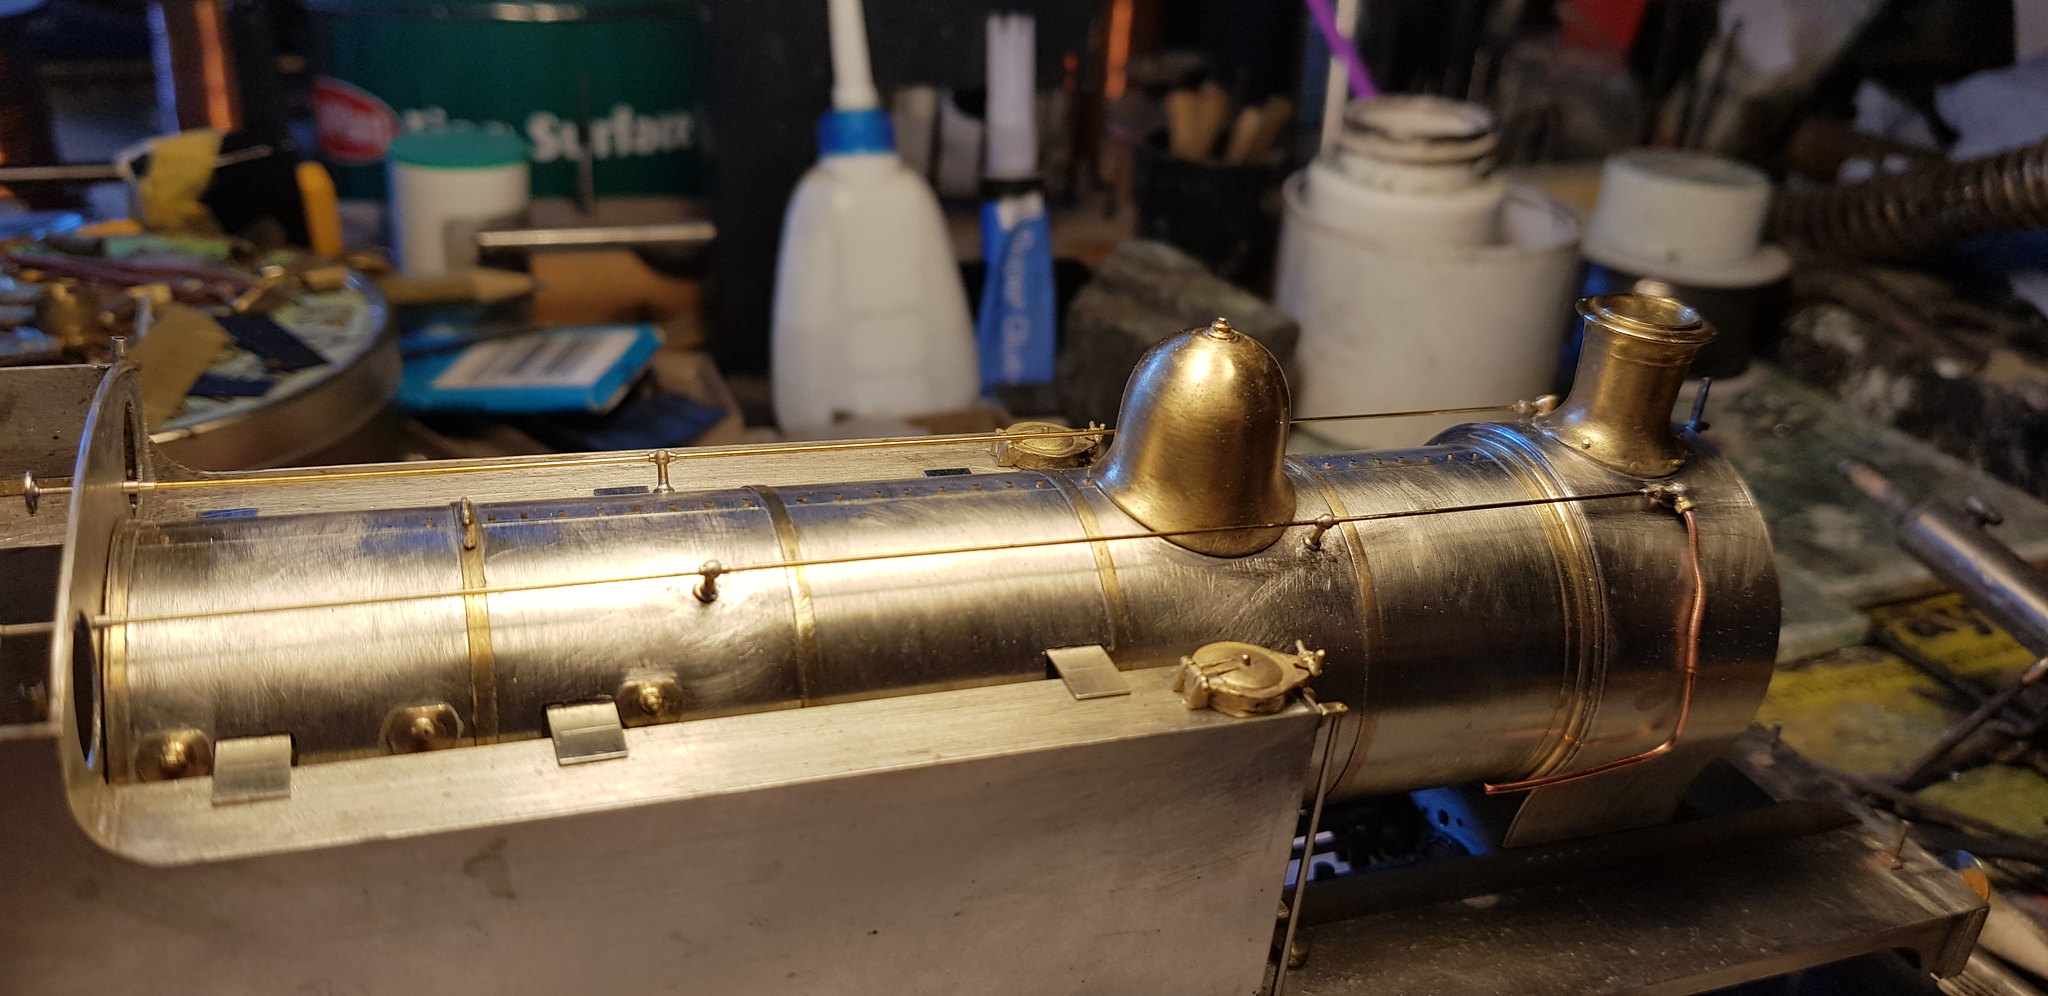
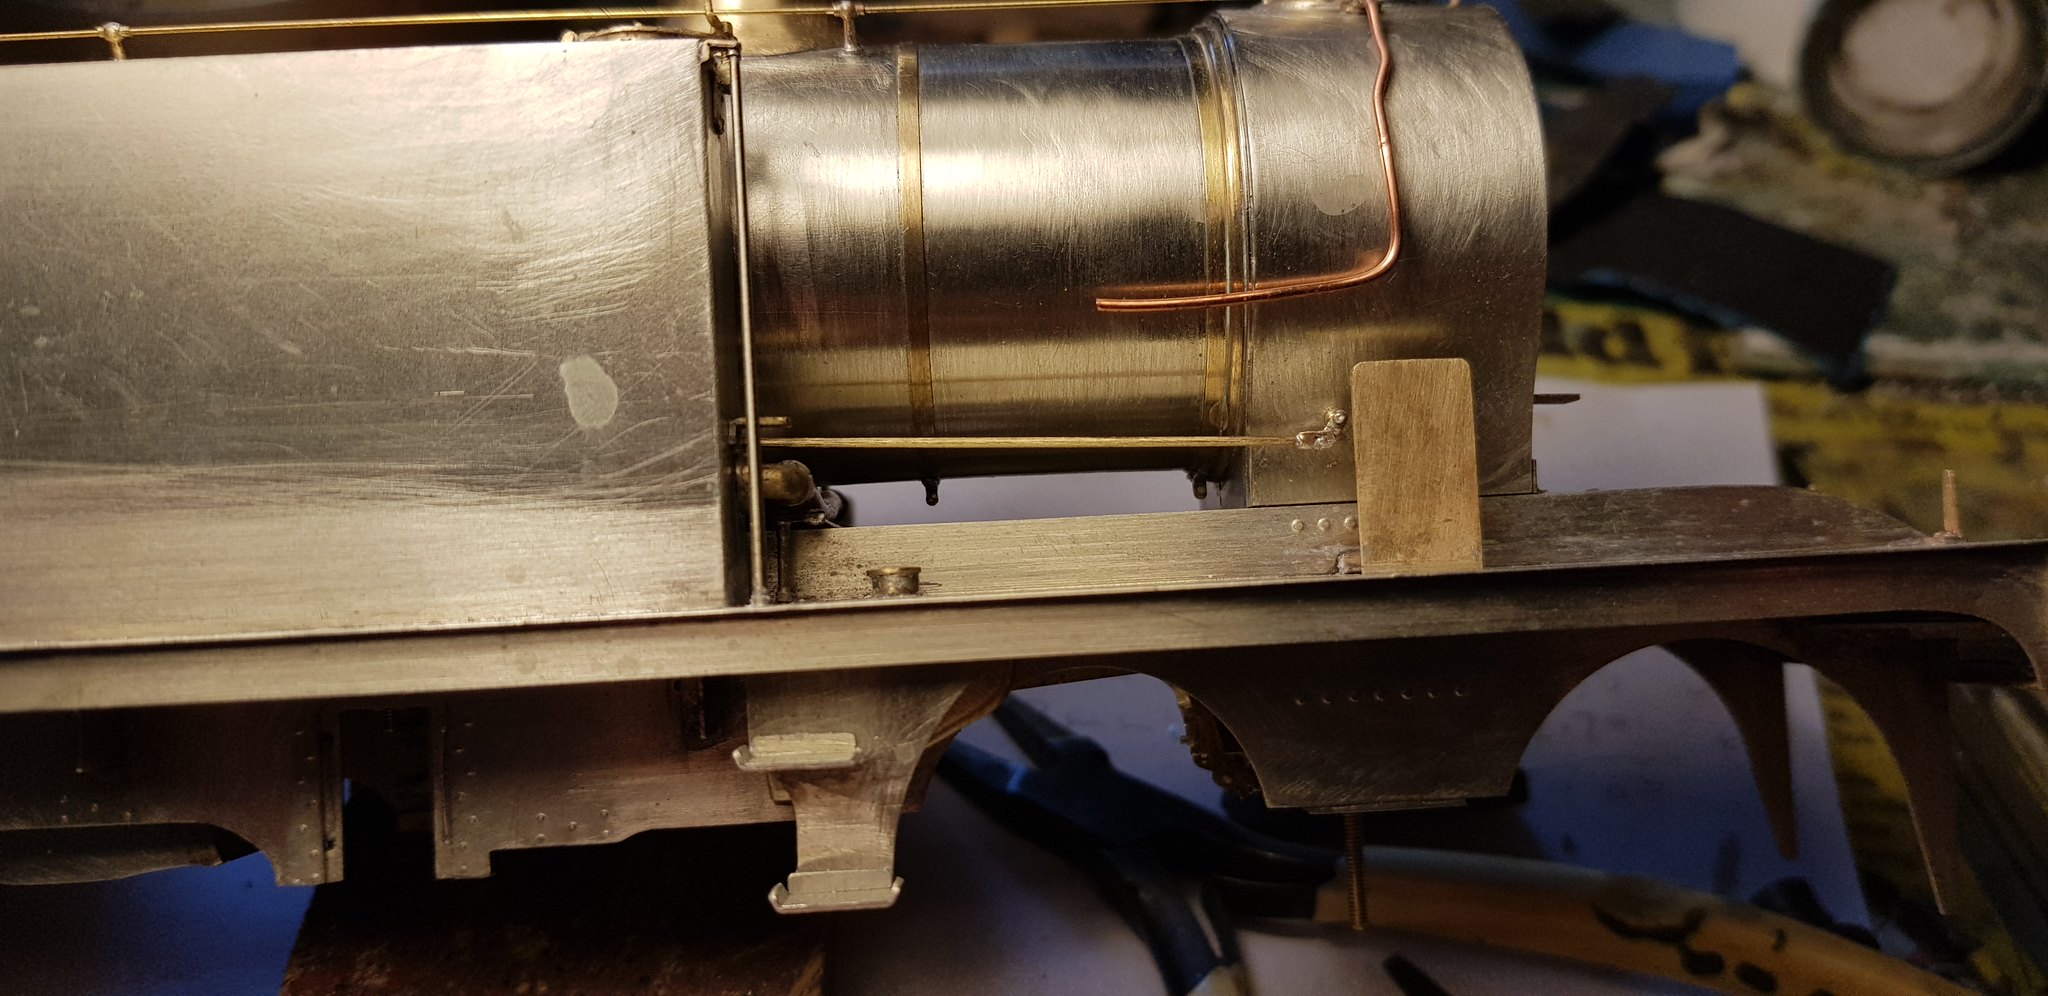
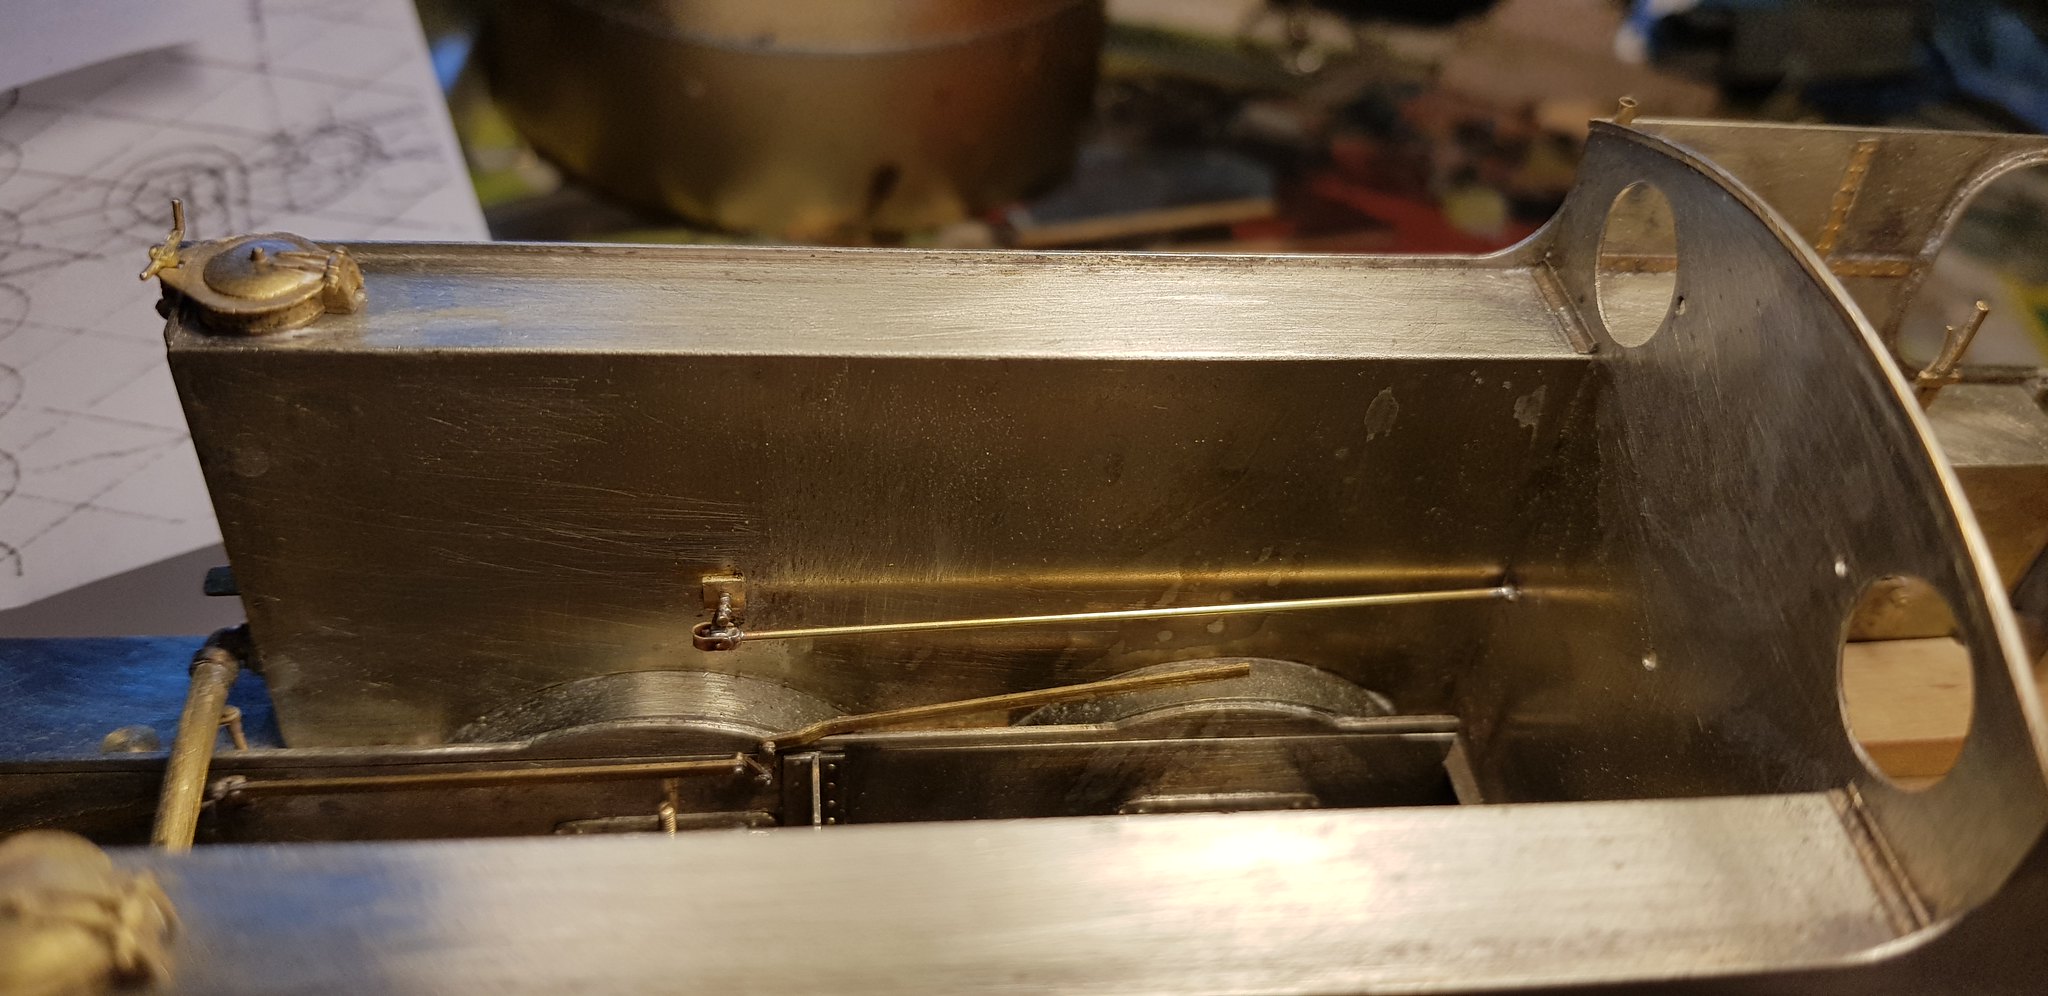
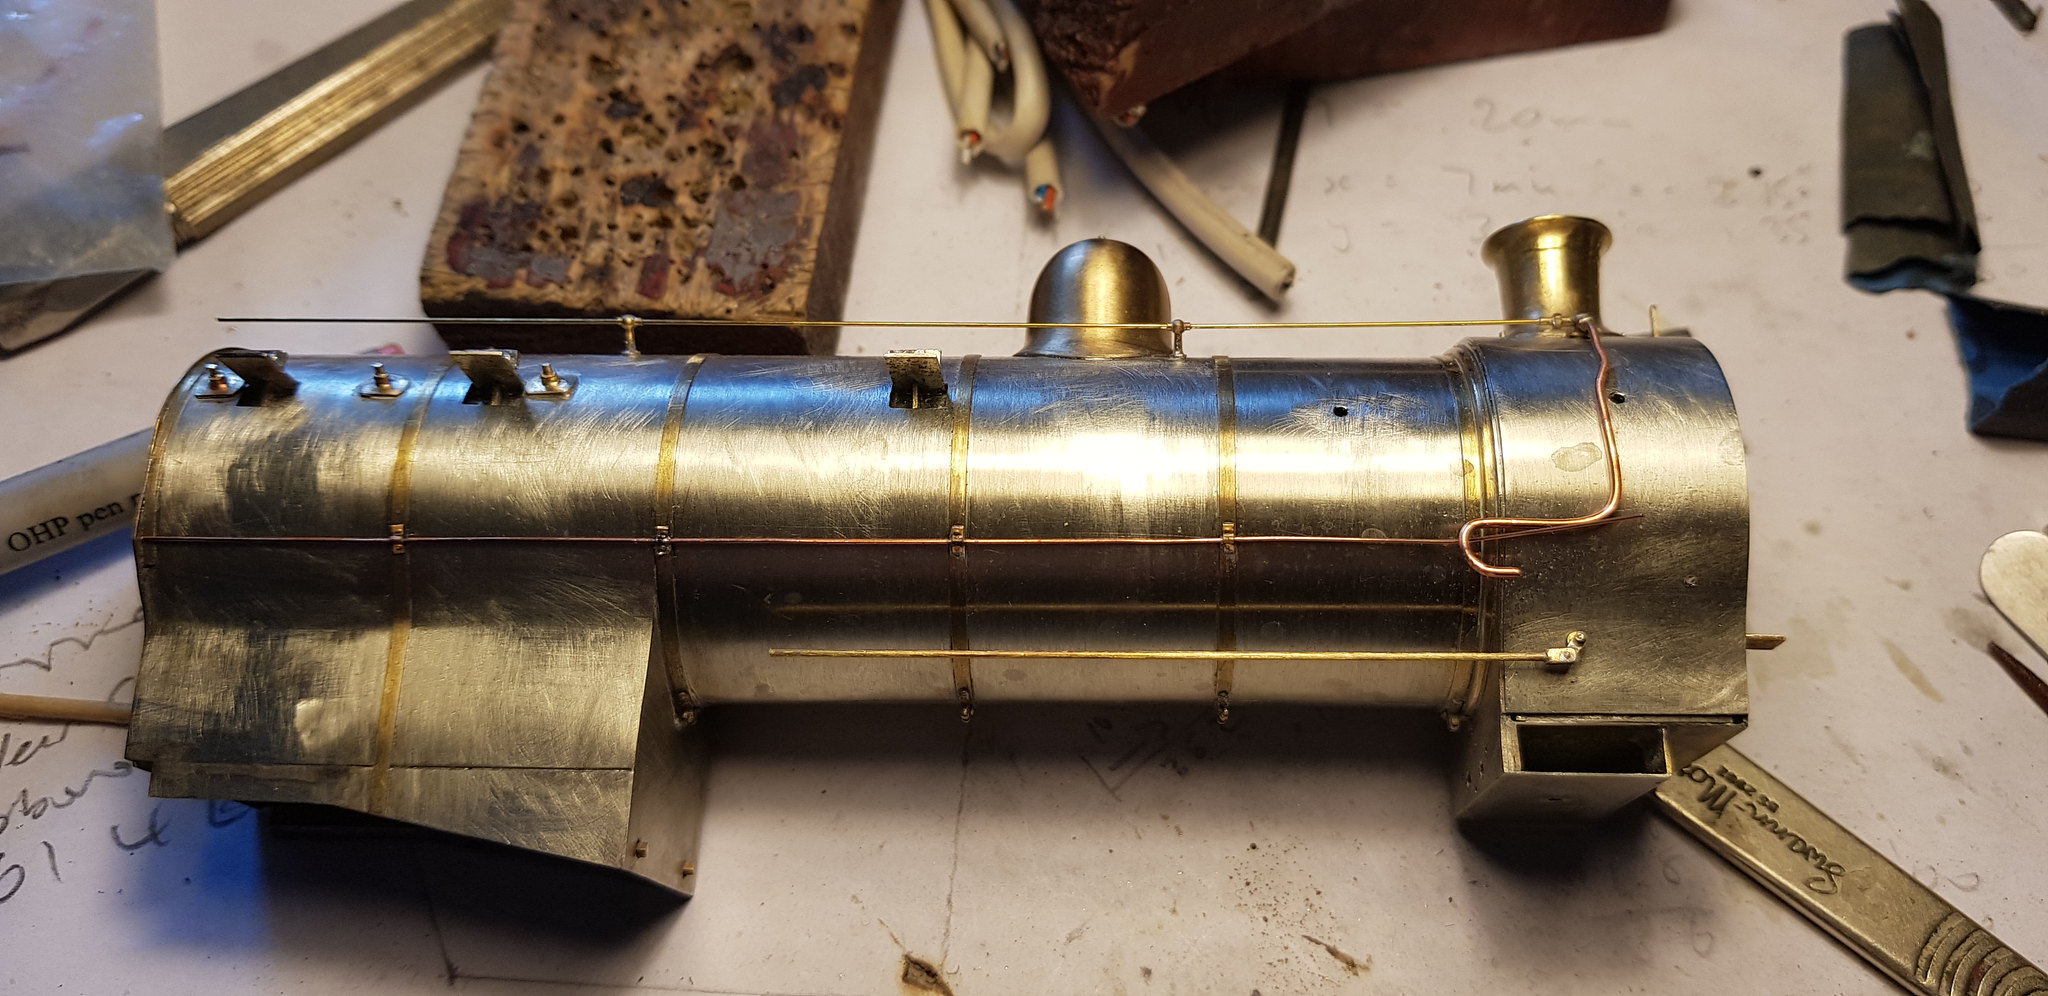
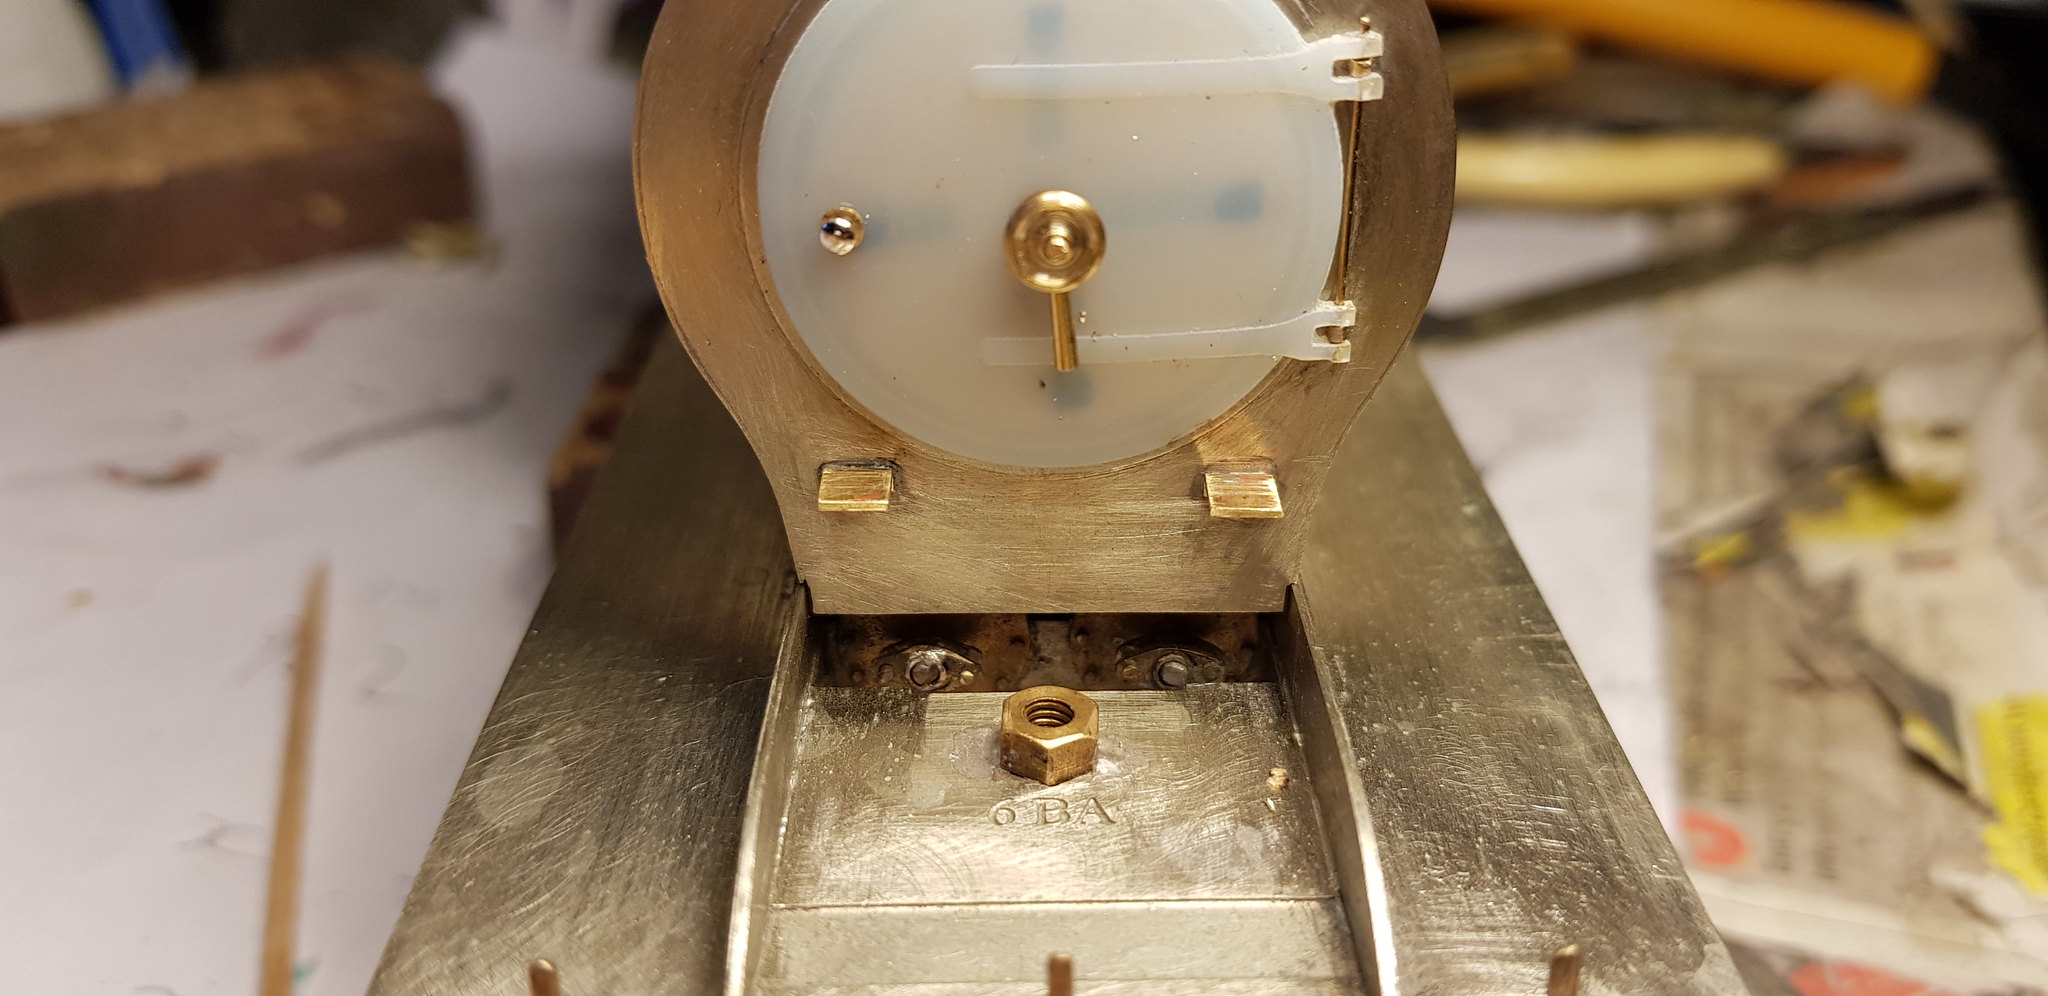
......I have attached one of the smokeboxes to it's loco. I lined up the boiler and smokebox using paper wedges and a tapered file and to get the right alignment then tacked the two together.

41482412082_2e3daf21c2_k.jpg


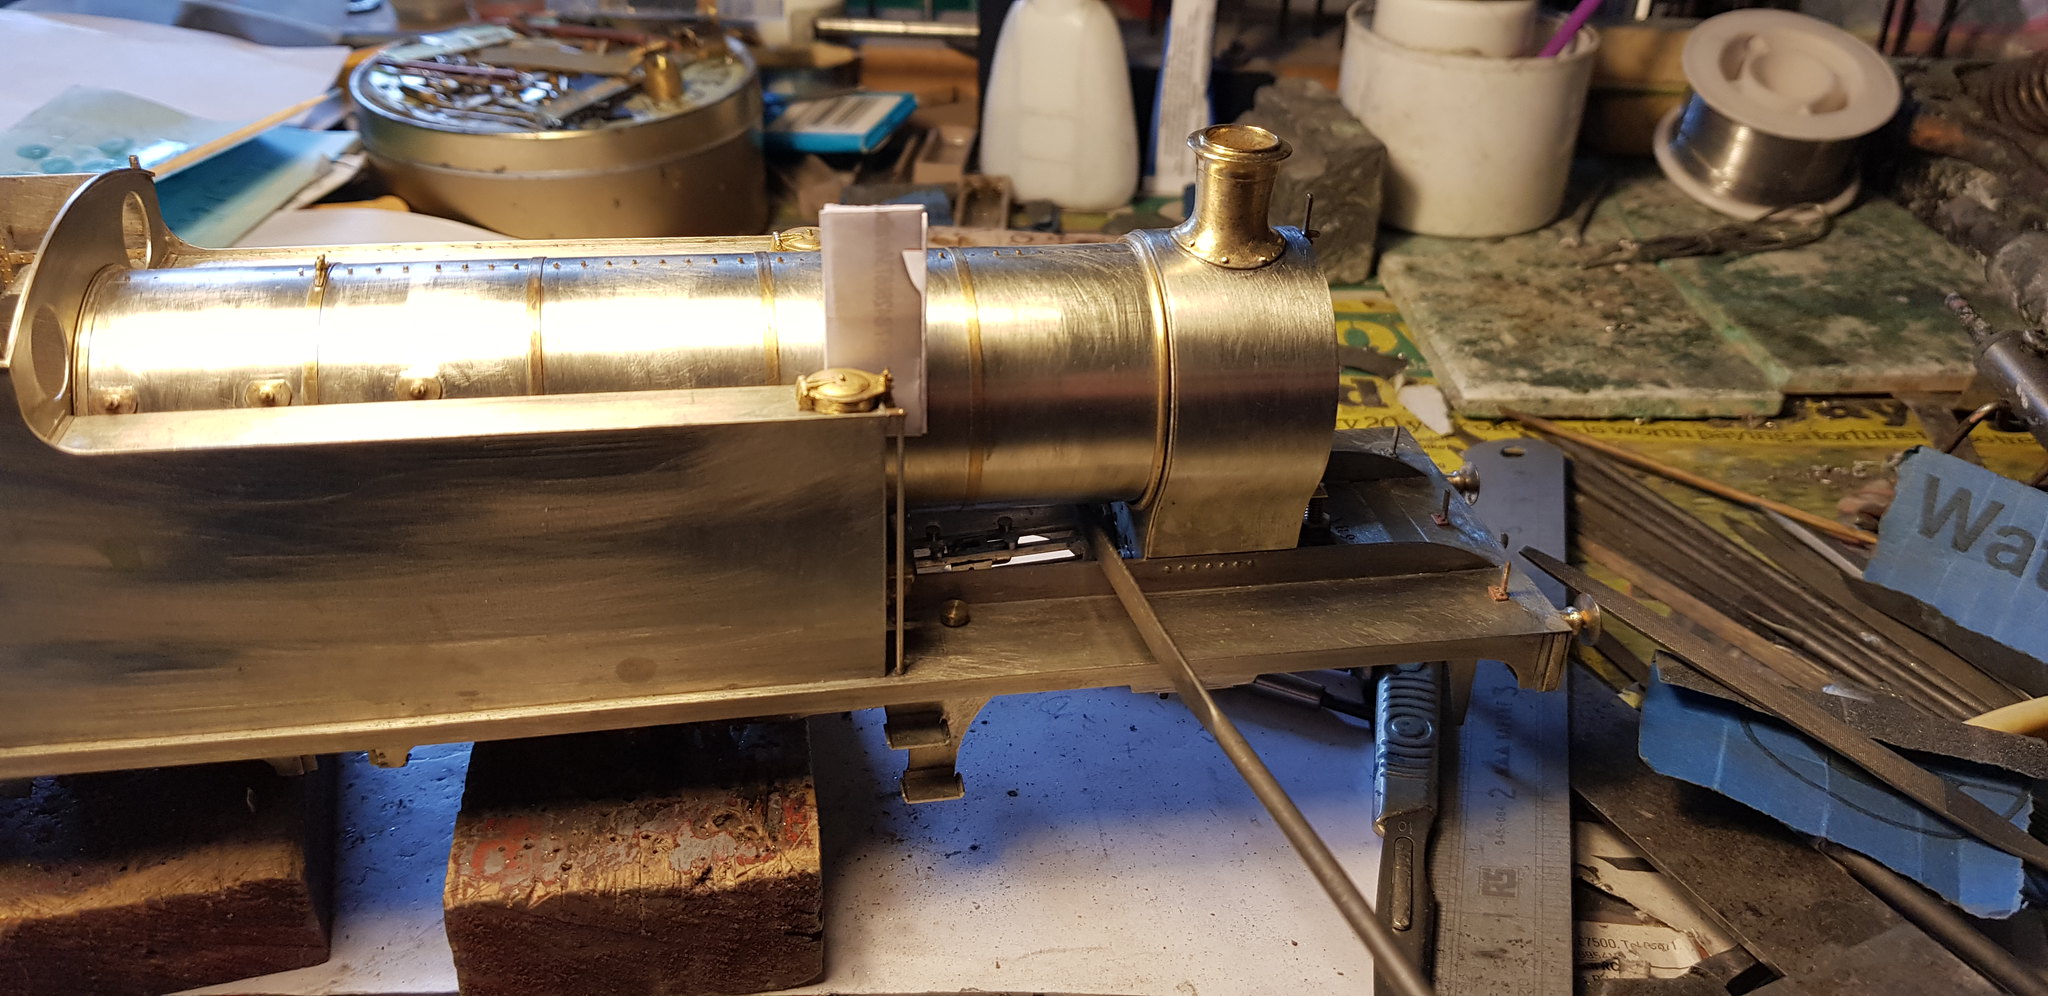
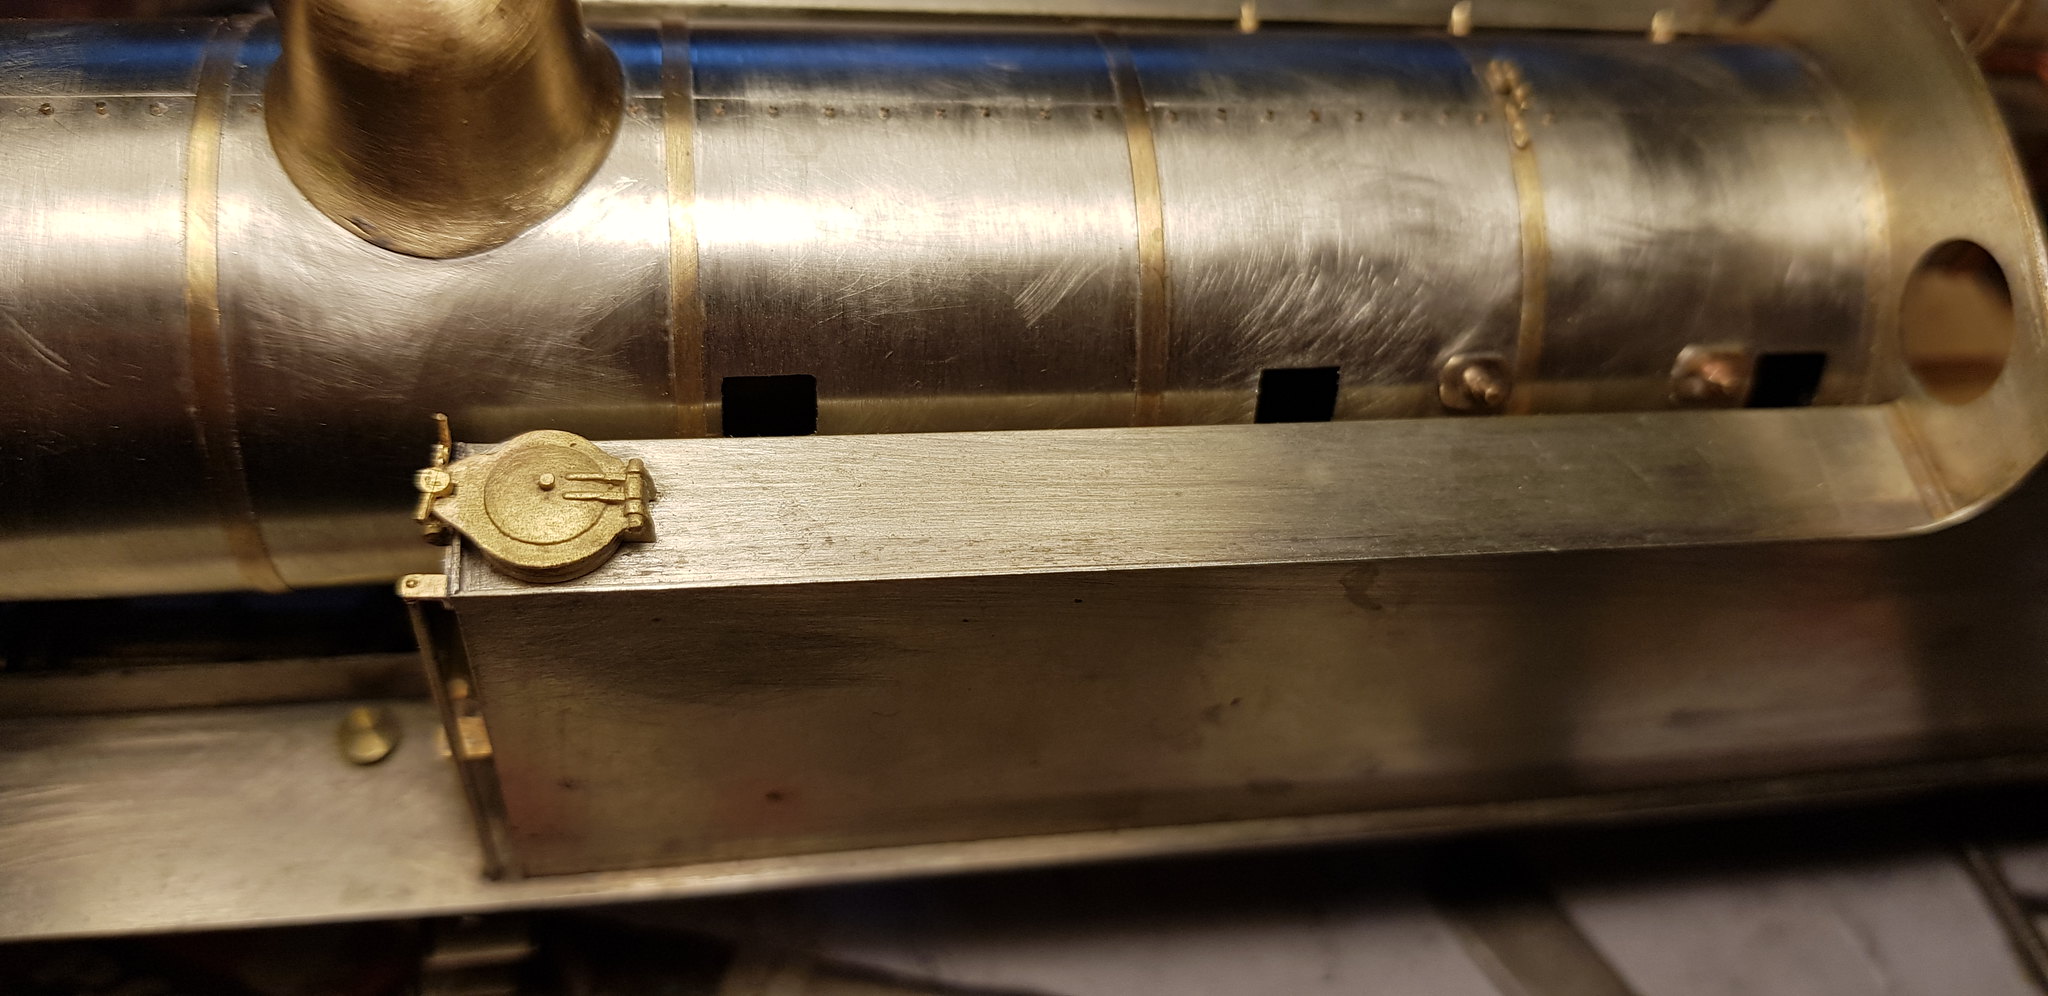
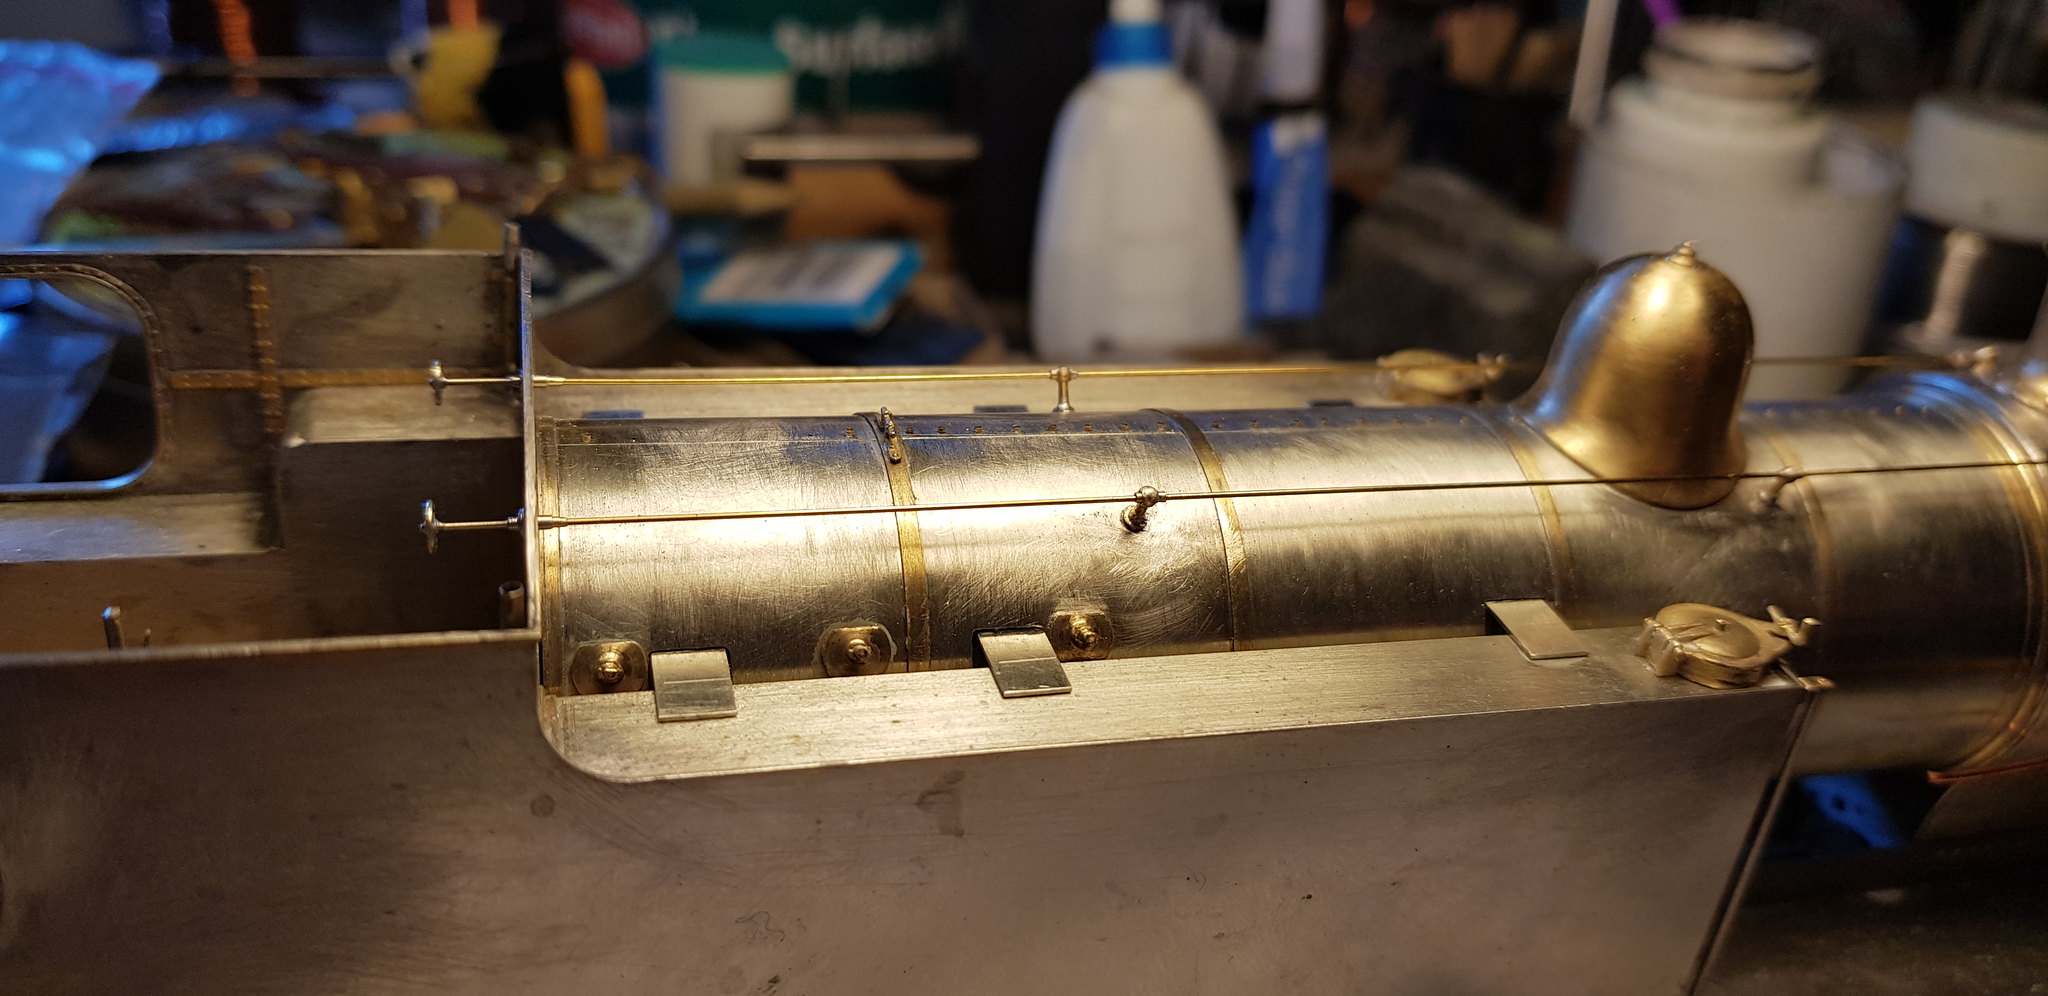
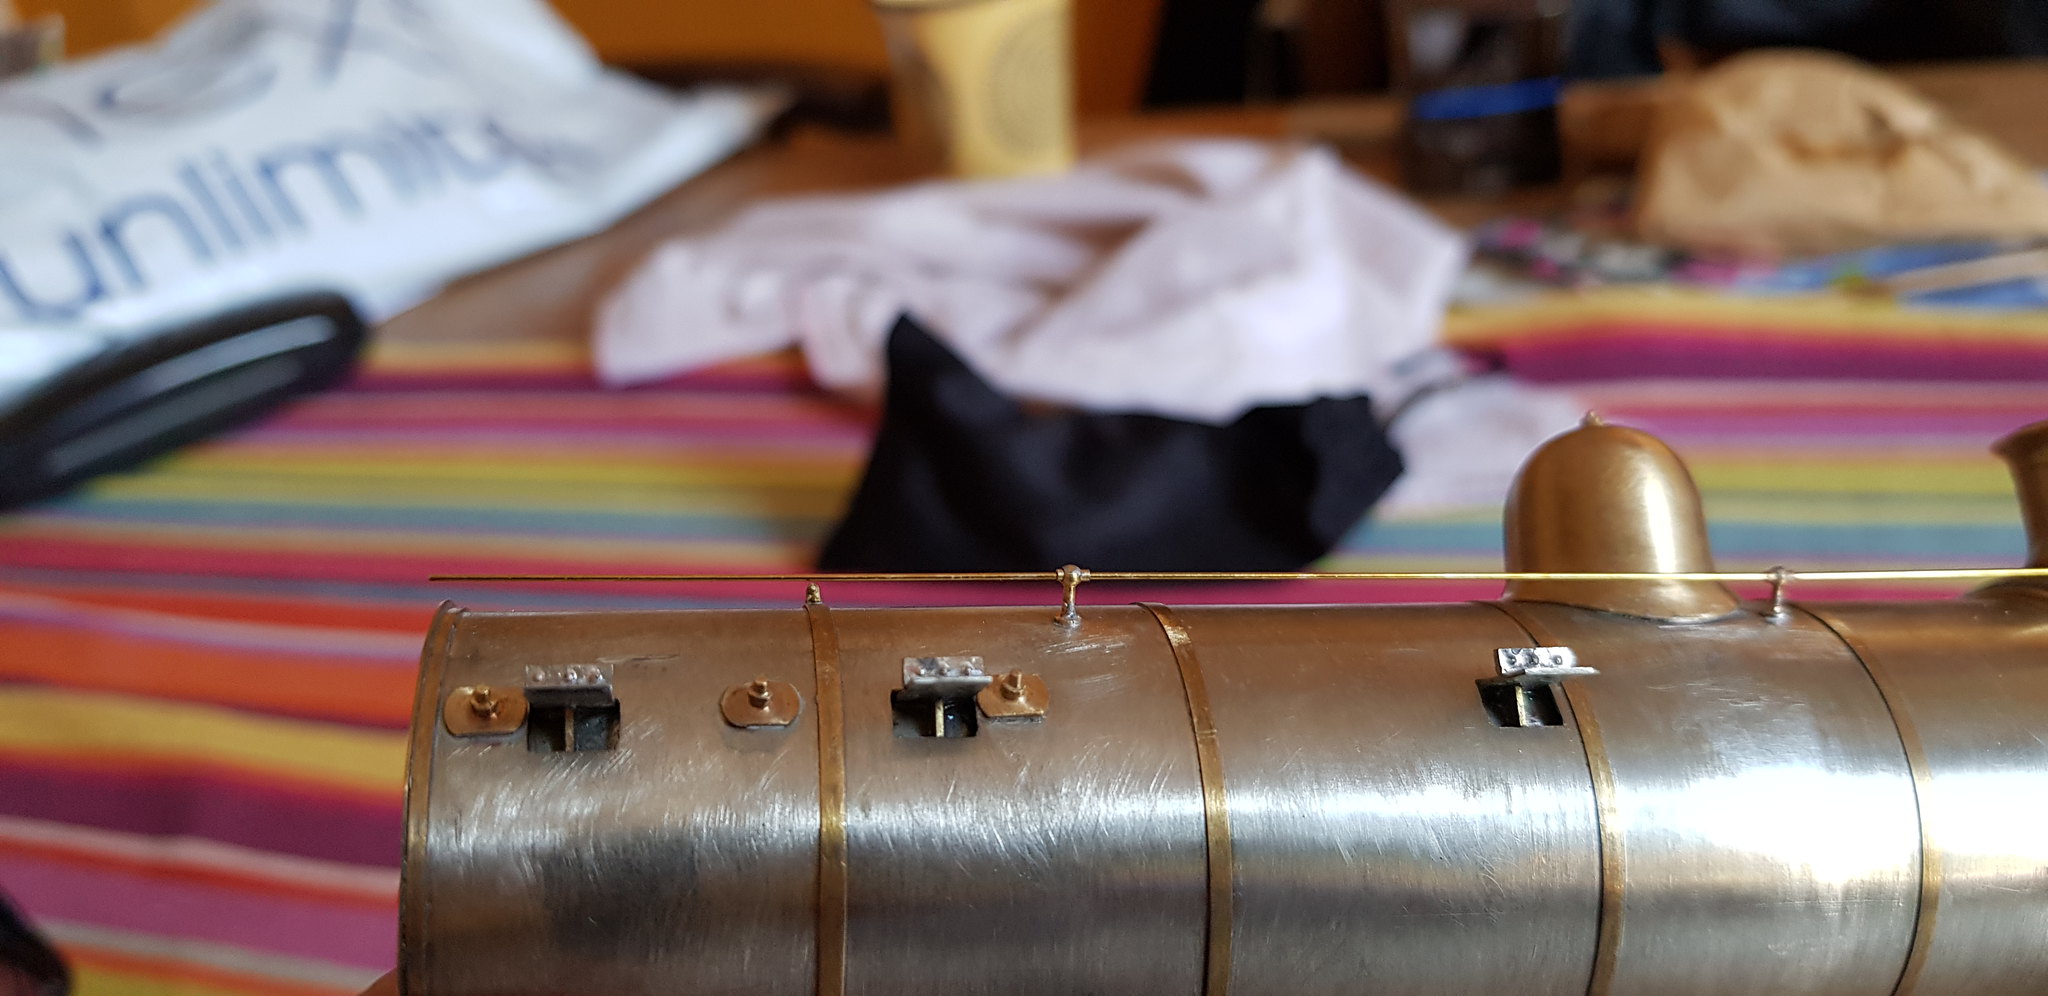
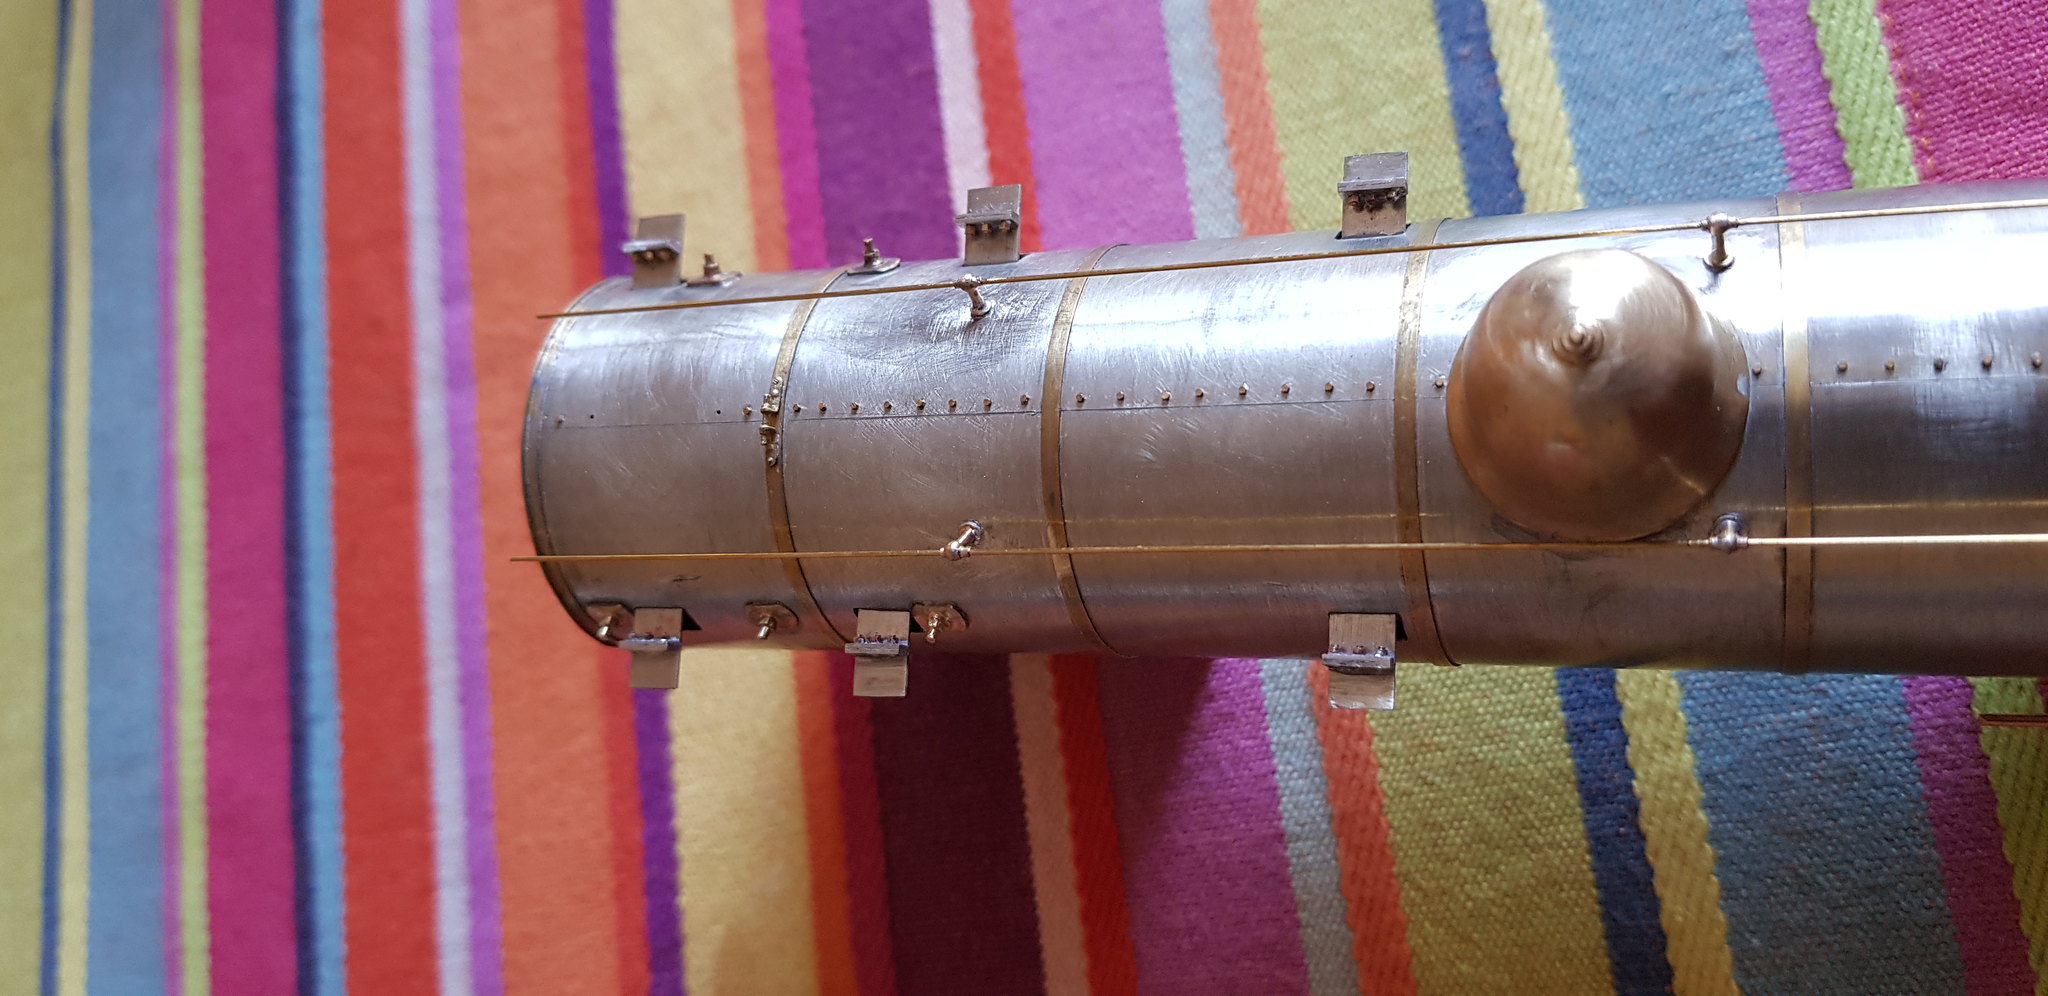
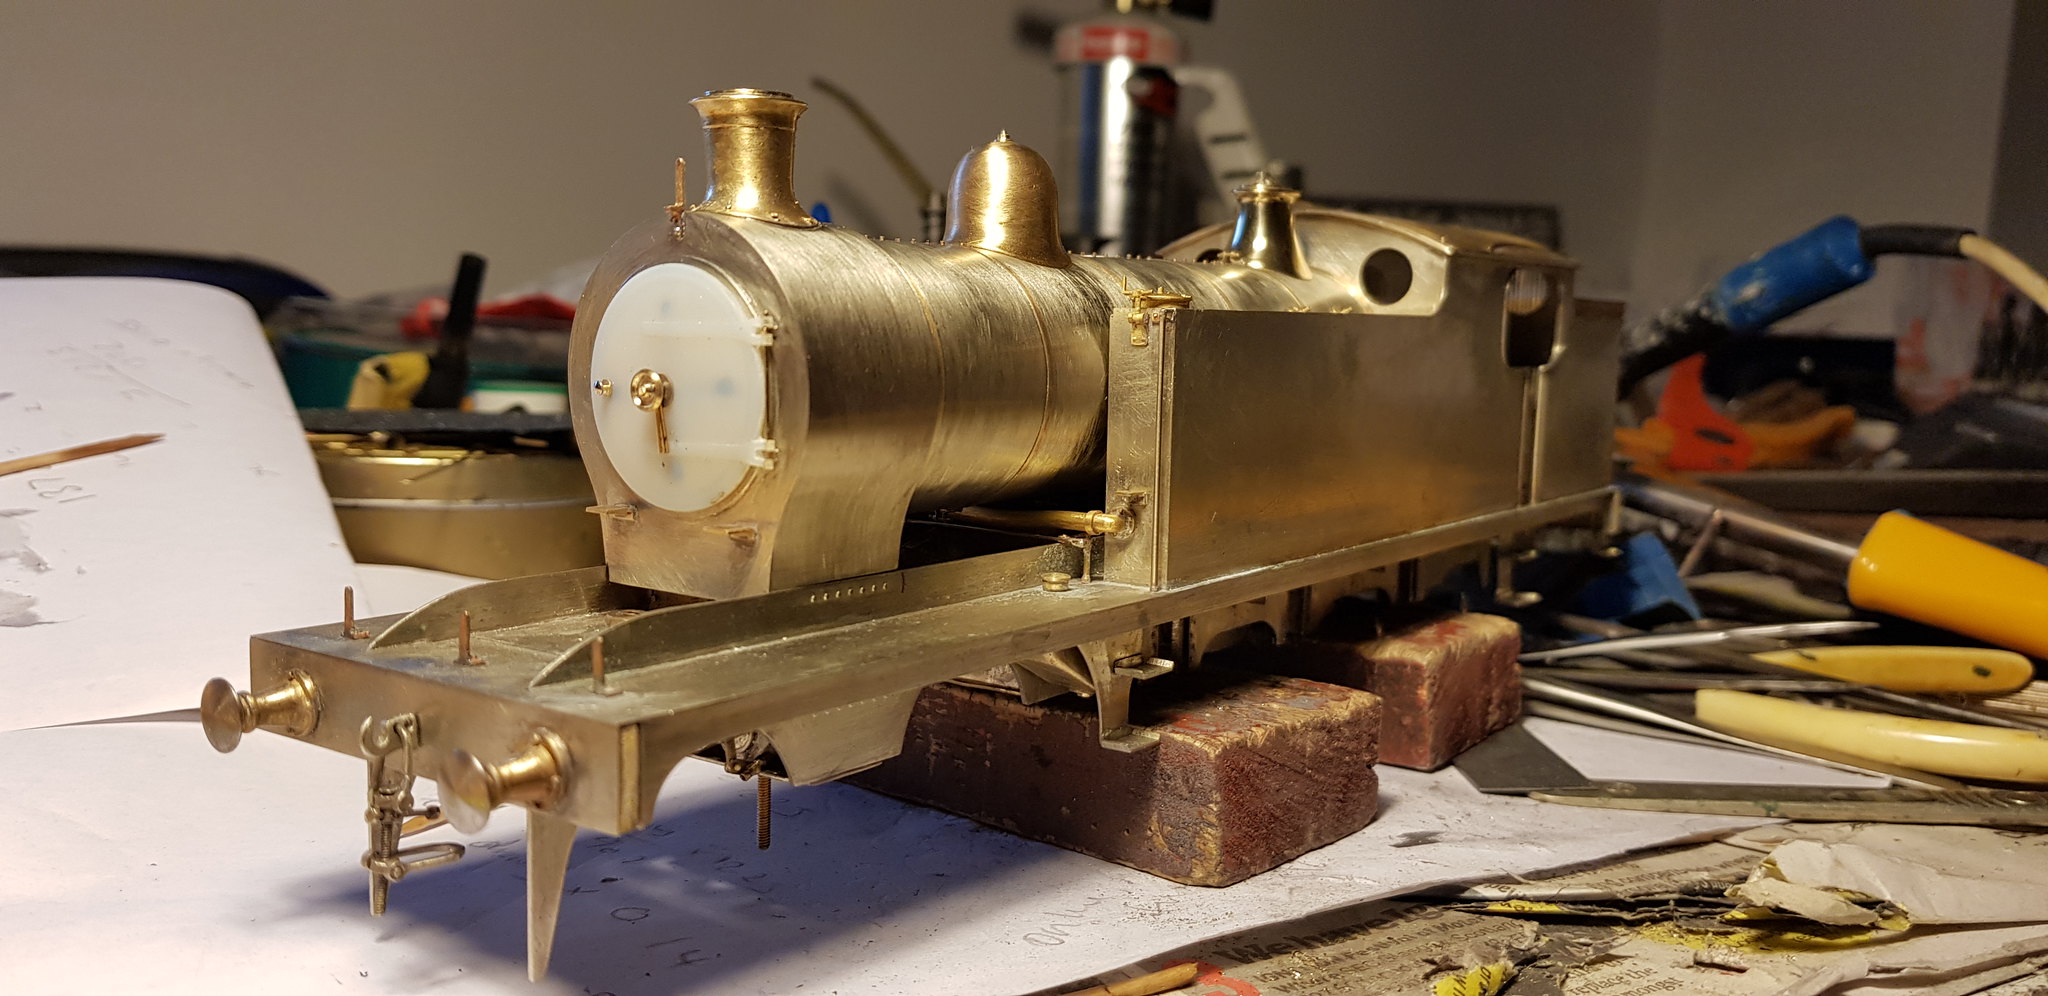
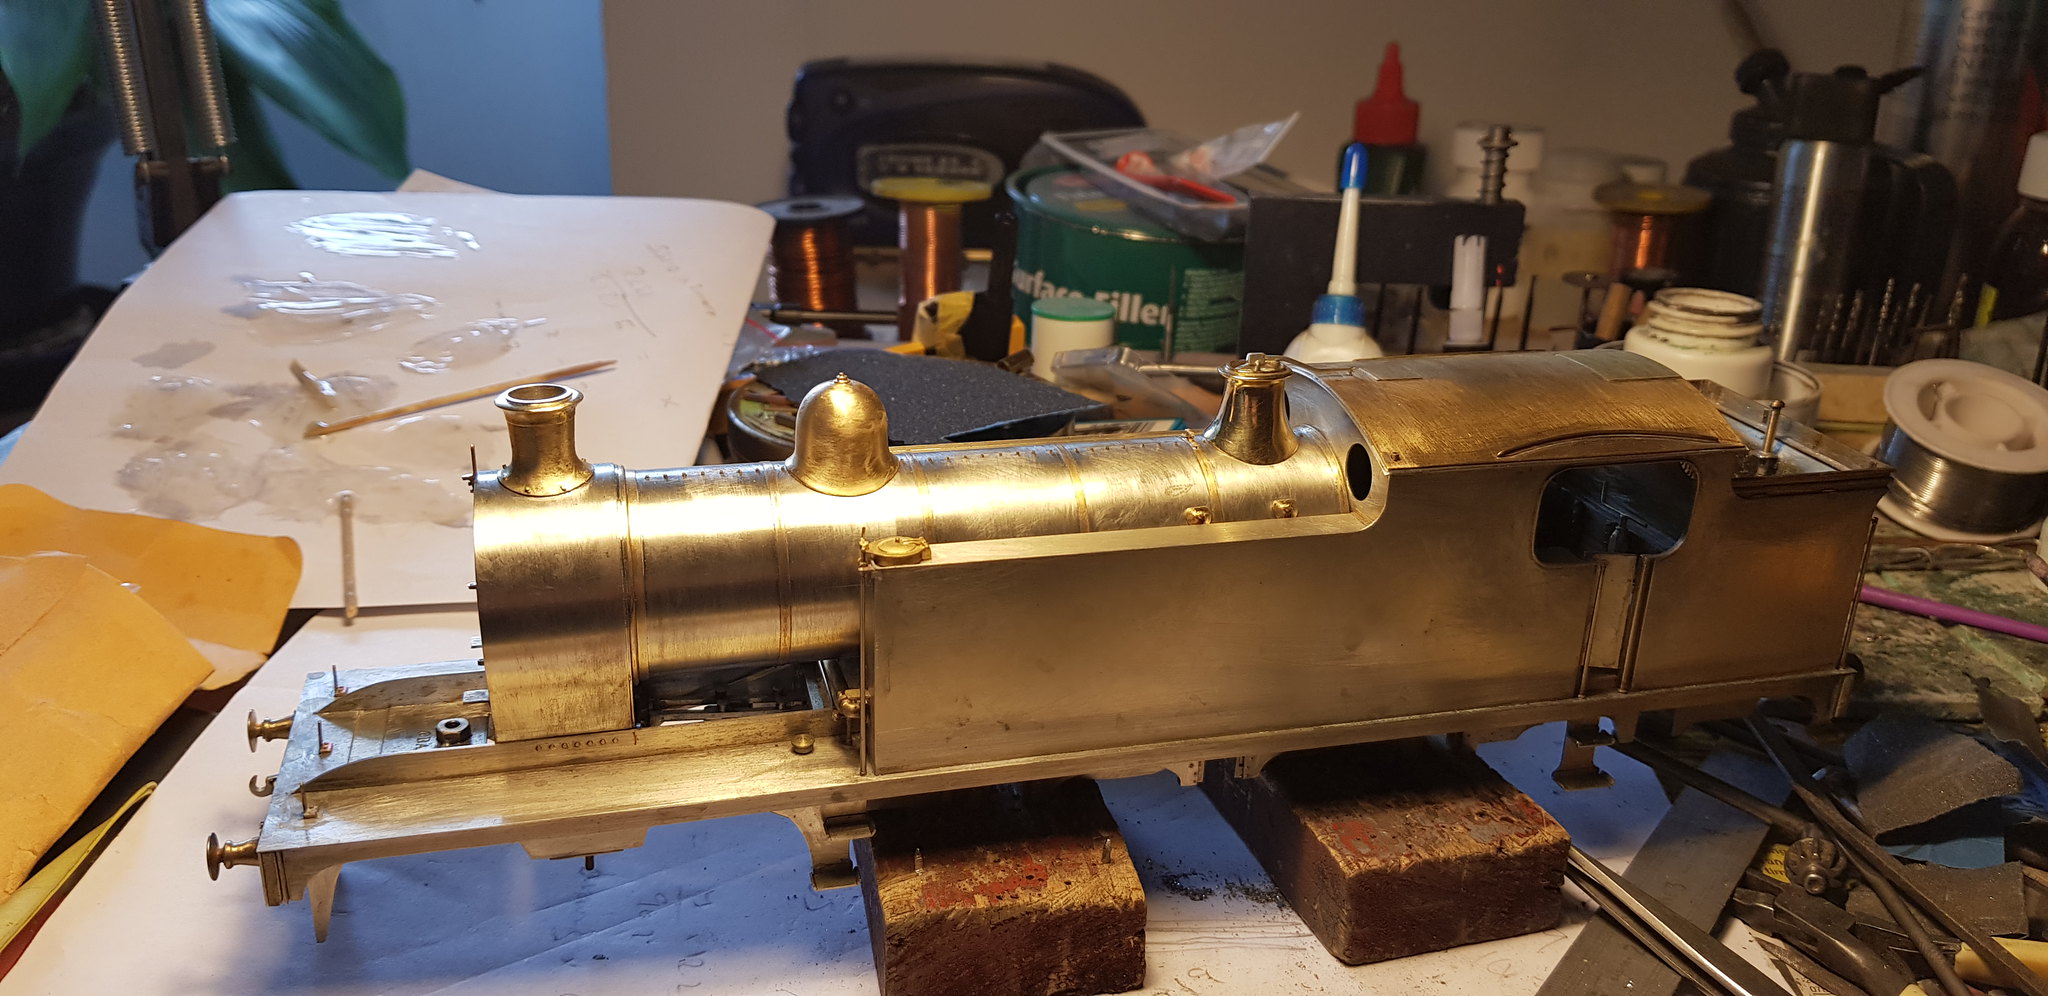
Then the rest of the soldering could be done with the assembly off the rest of the body. I added the polished brass joint cover, the first boiler band, a cleat and the last few screws along the top of the boiler clothing.

41482412462_f94eb7ccdb_k.jpg


27653245808_73c200d8b6_k.jpg


41482414192_2aef5cbe35_k.jpg


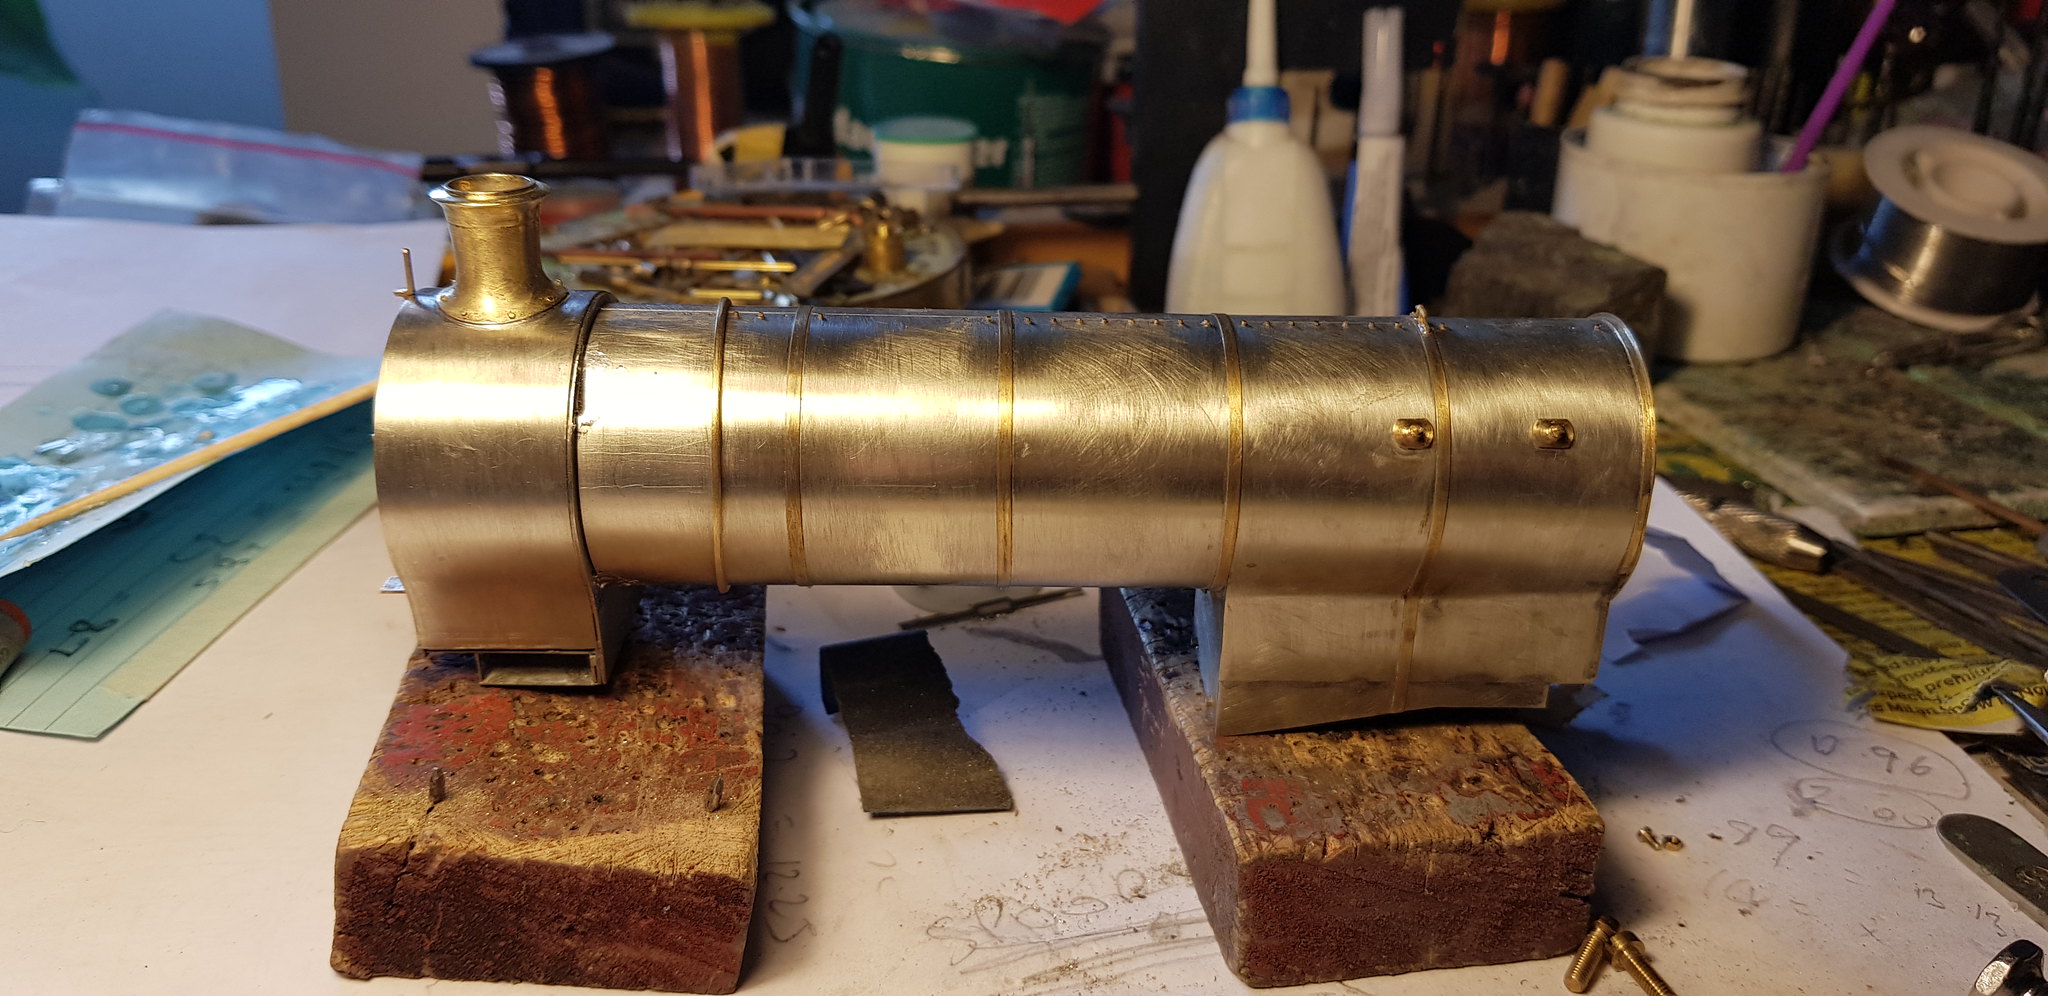
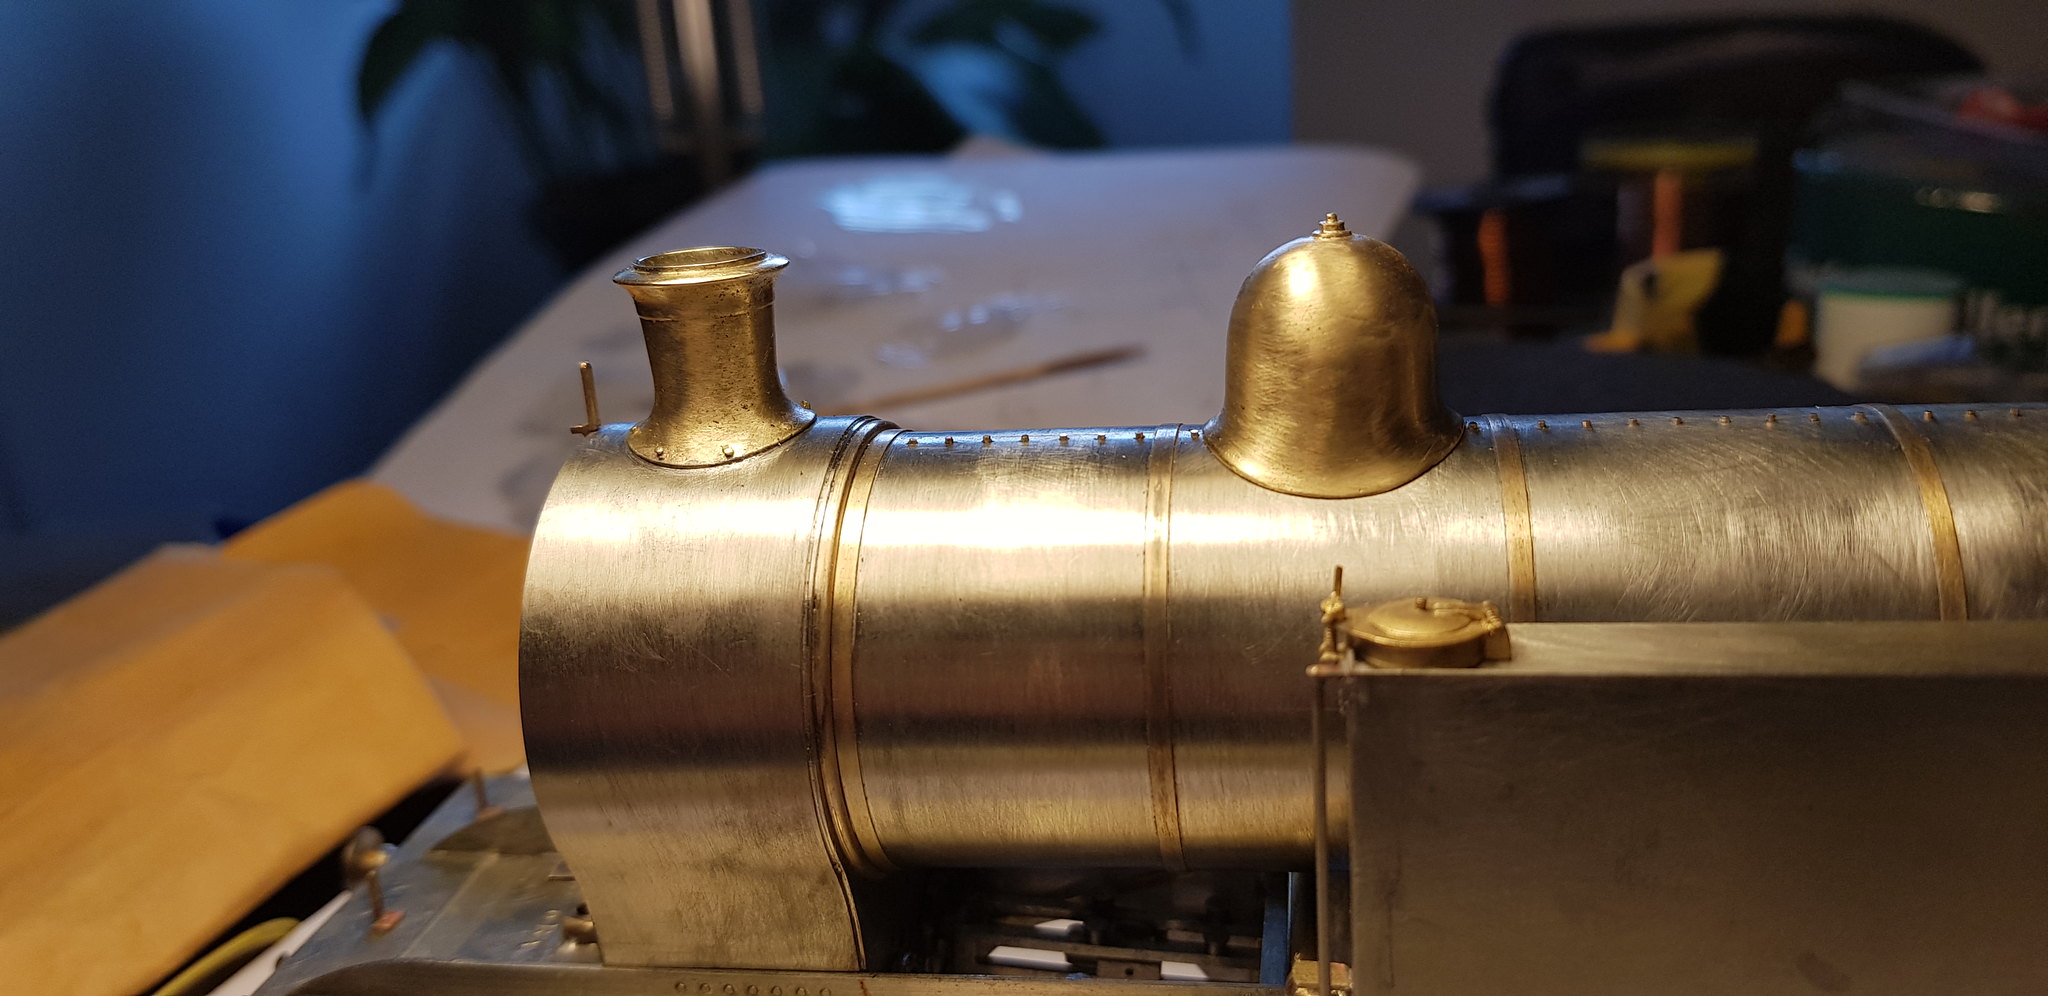
So that's all the main structures of the loco completed. Just a ton of detail to go!

26653980997_b3f6ab2f96_k.jpg


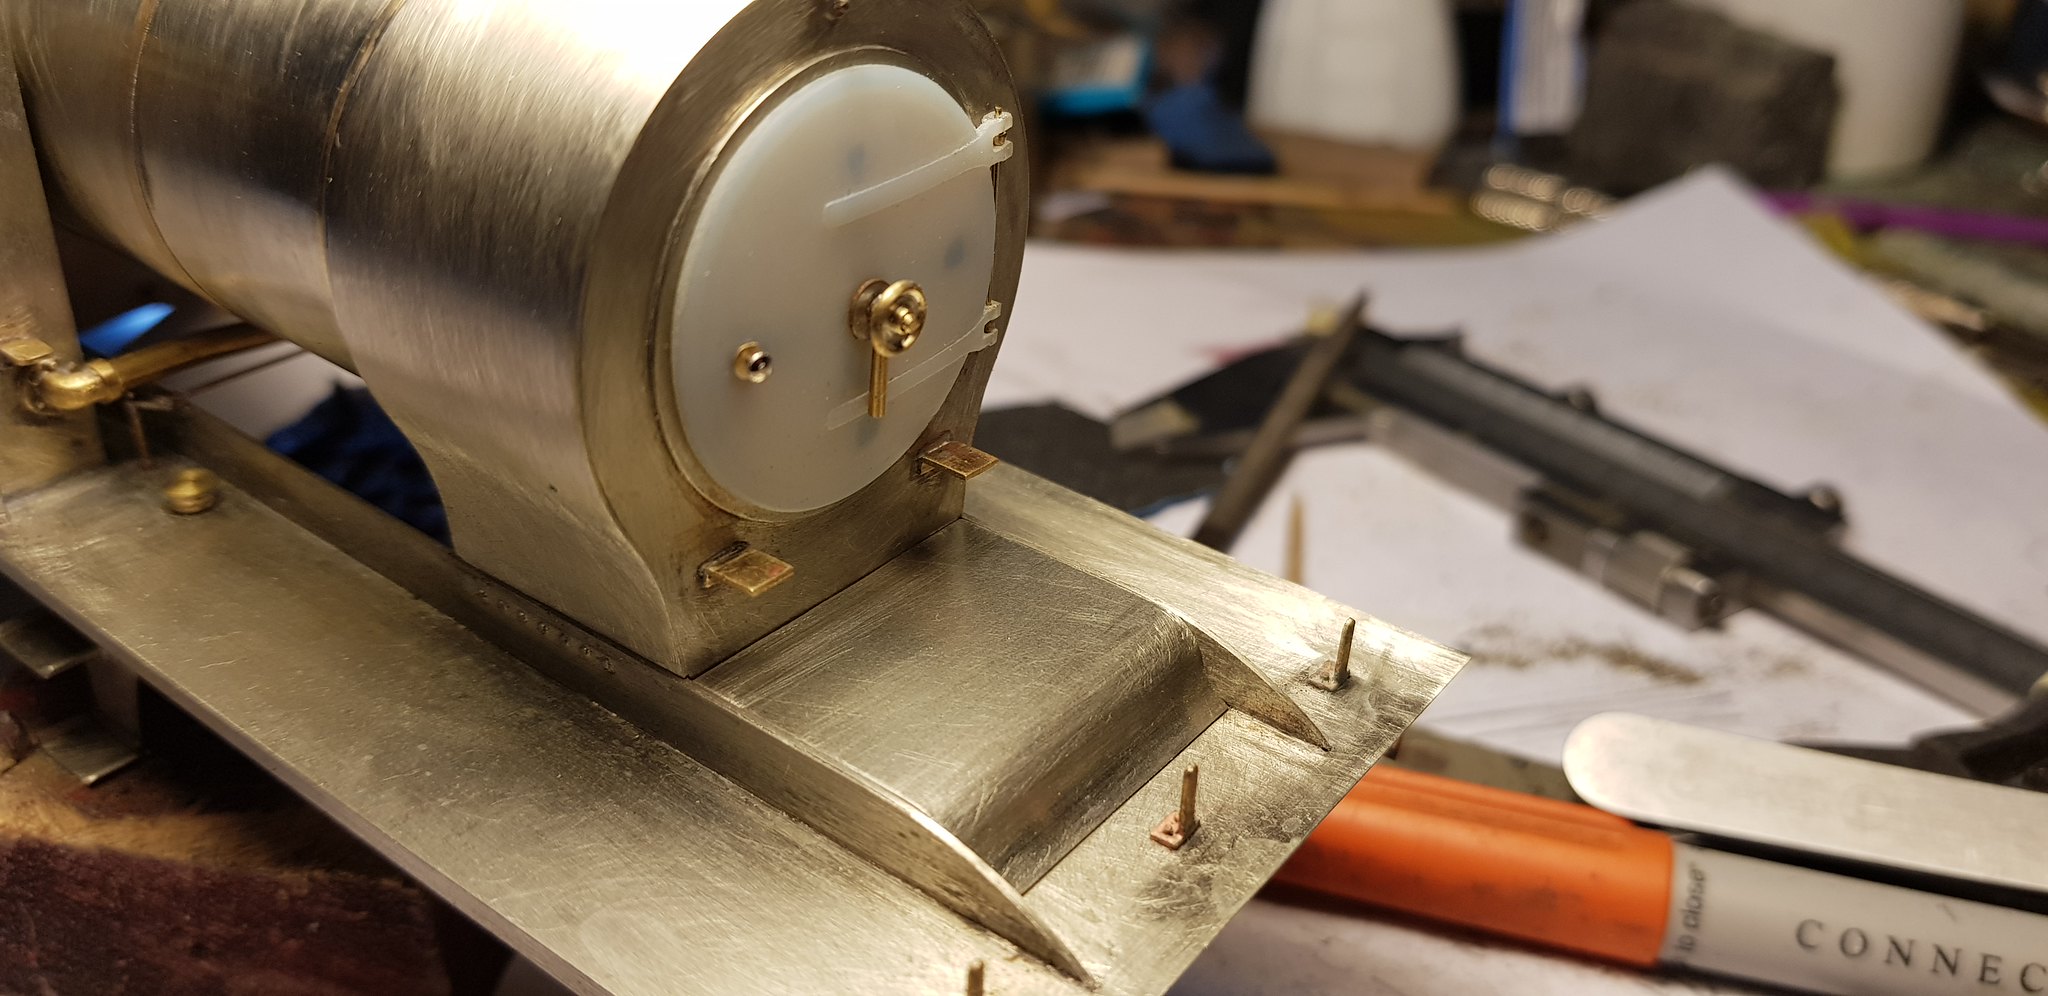
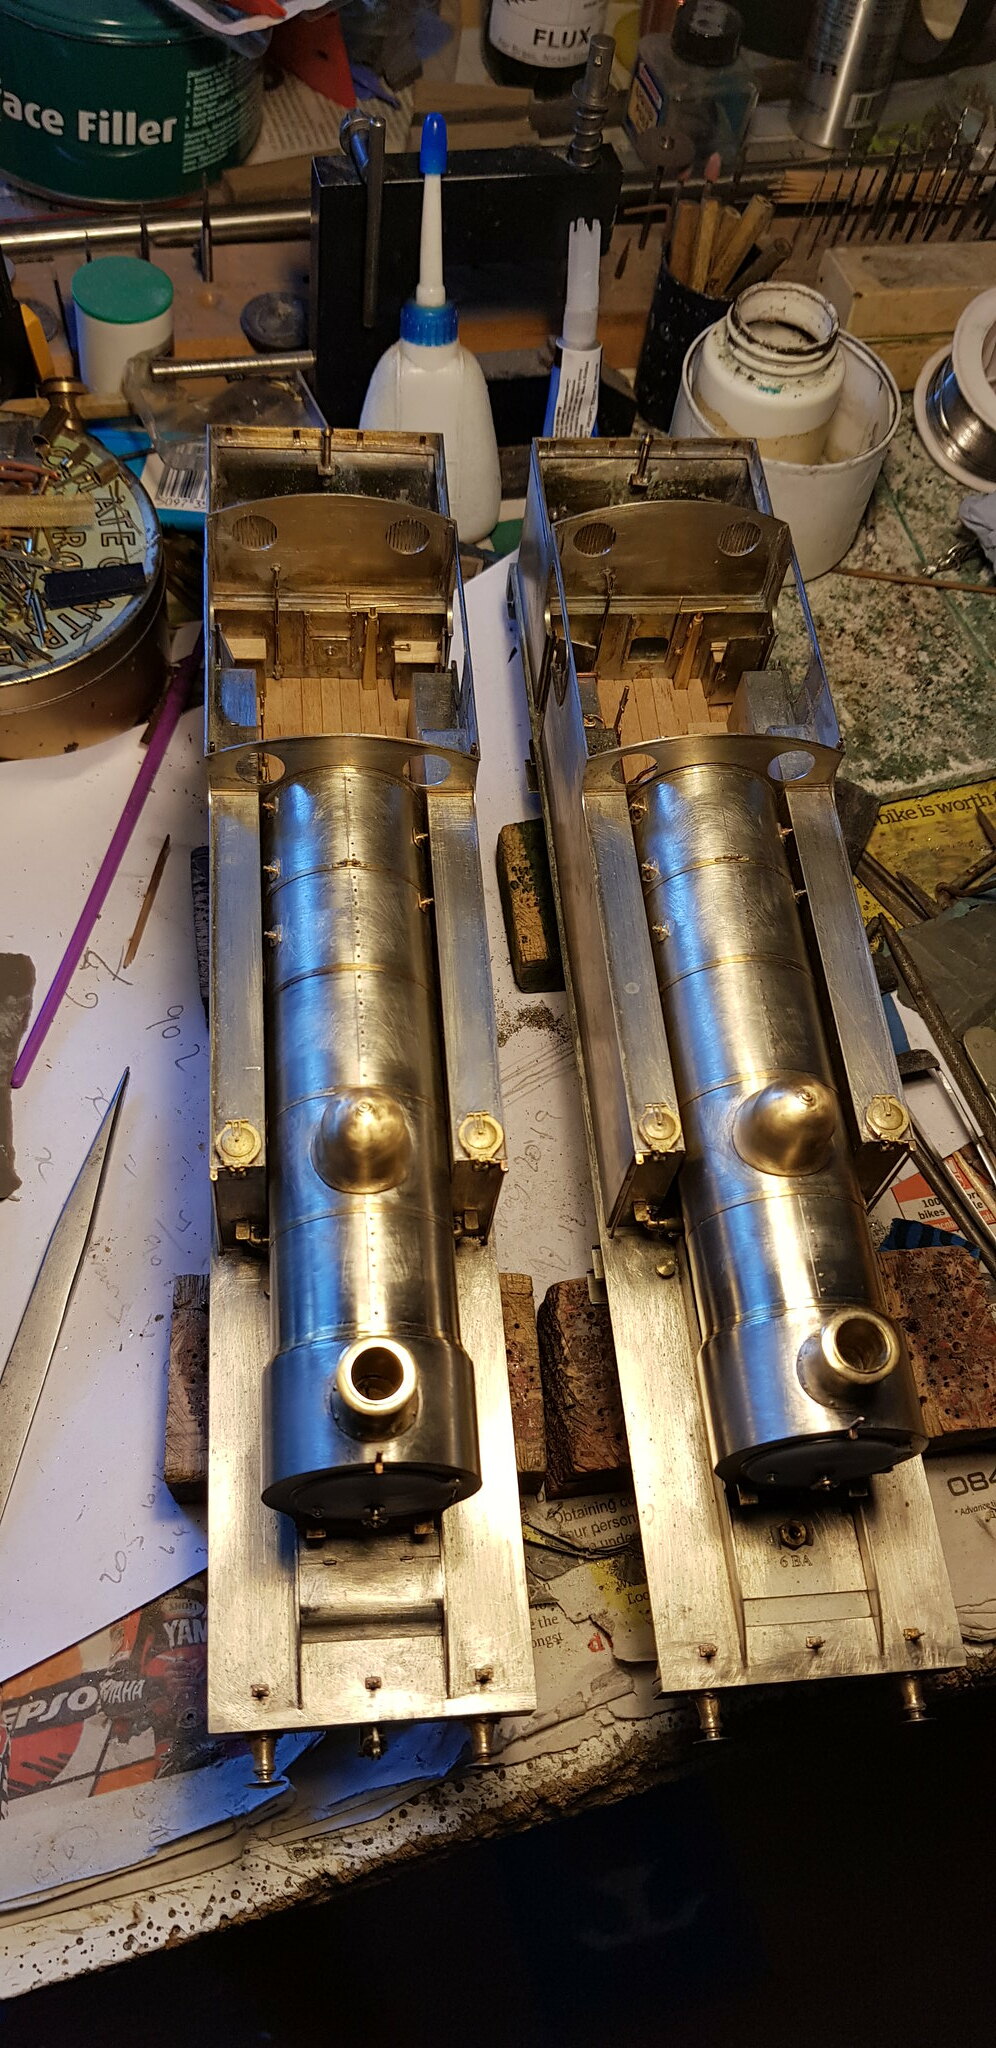
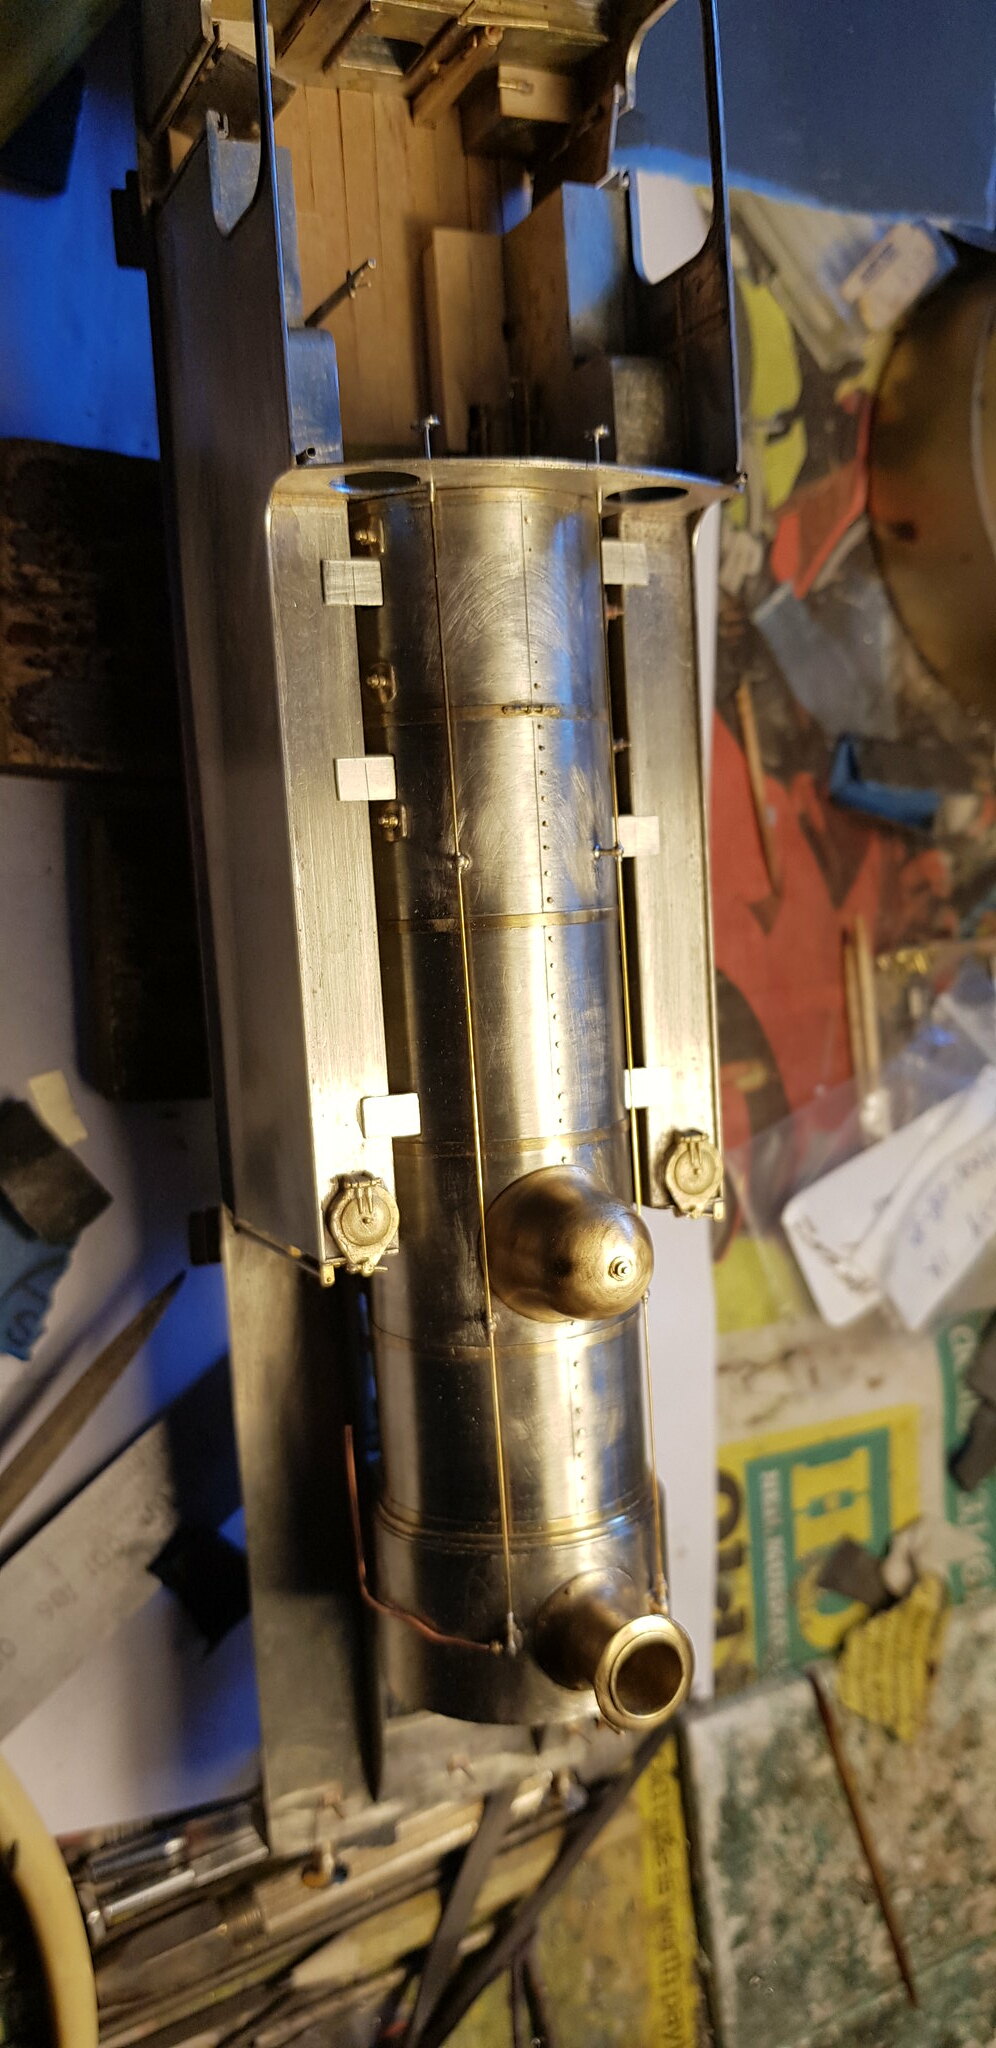
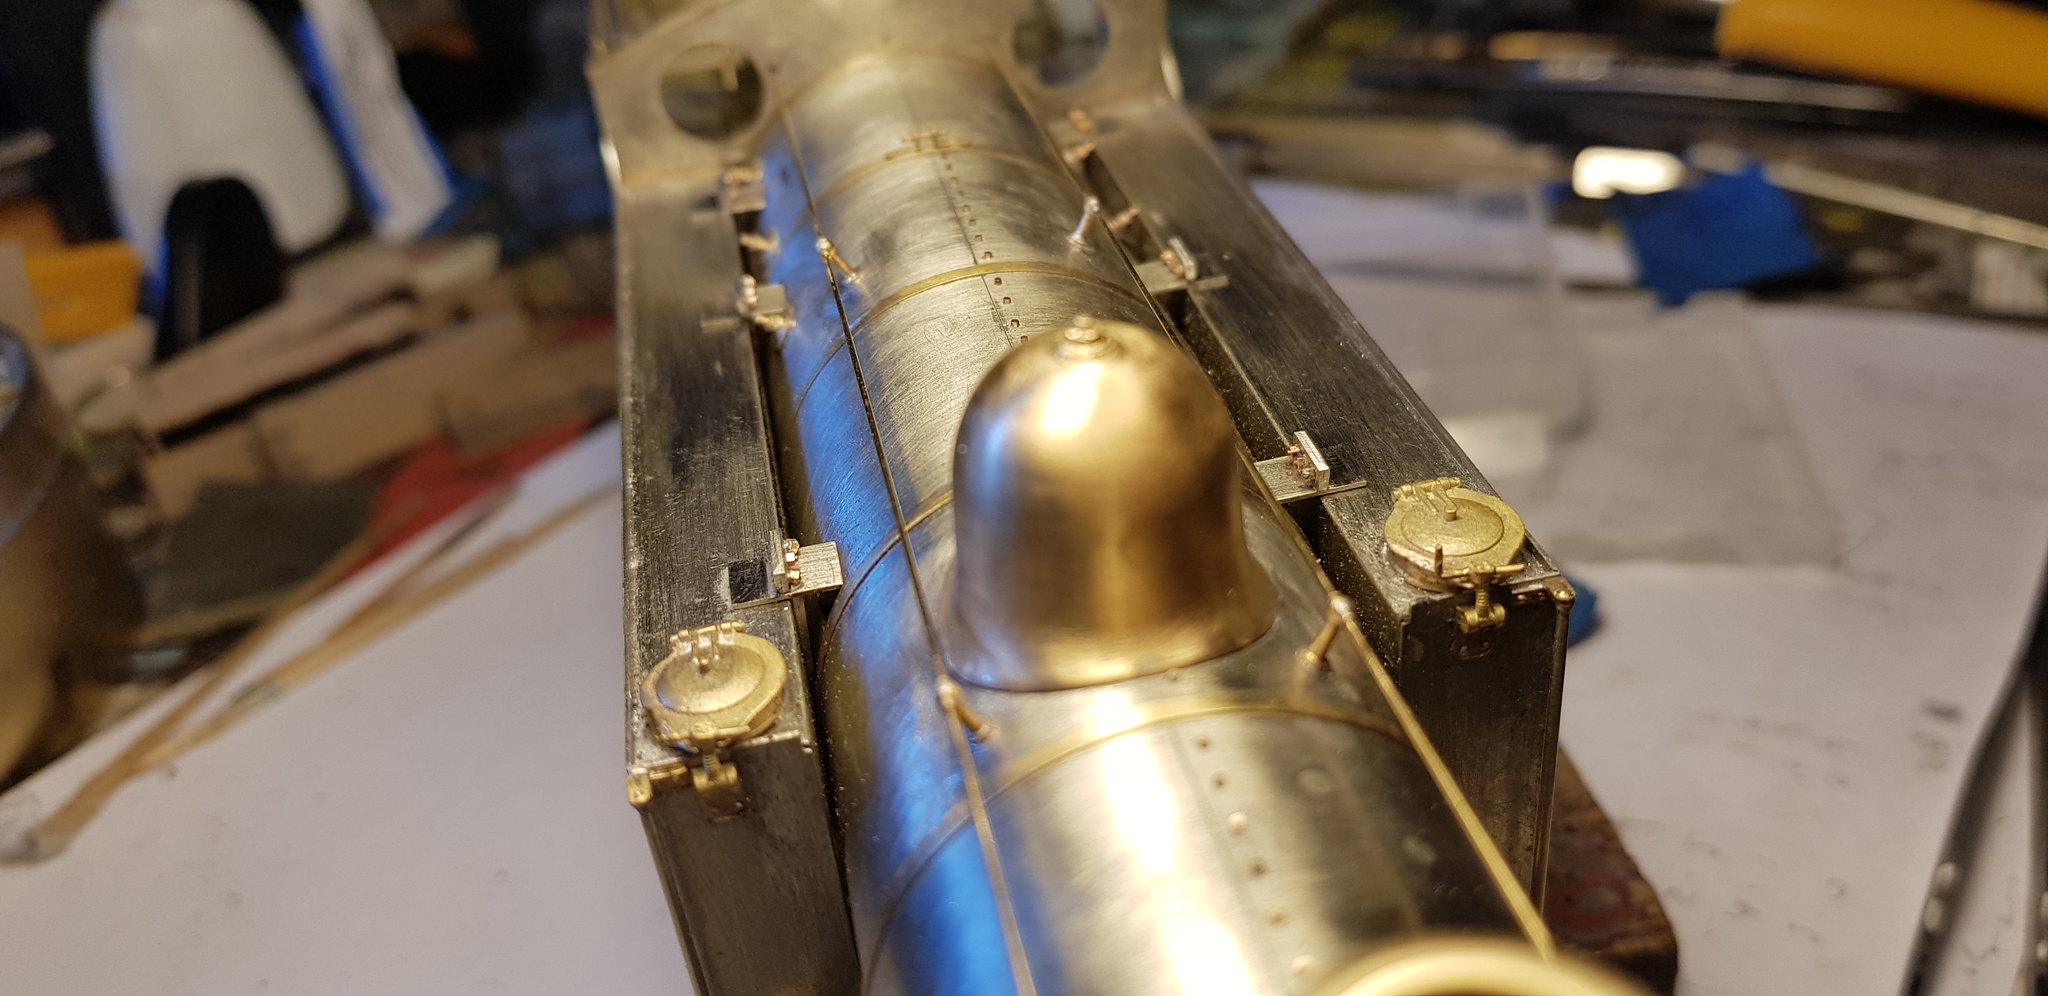
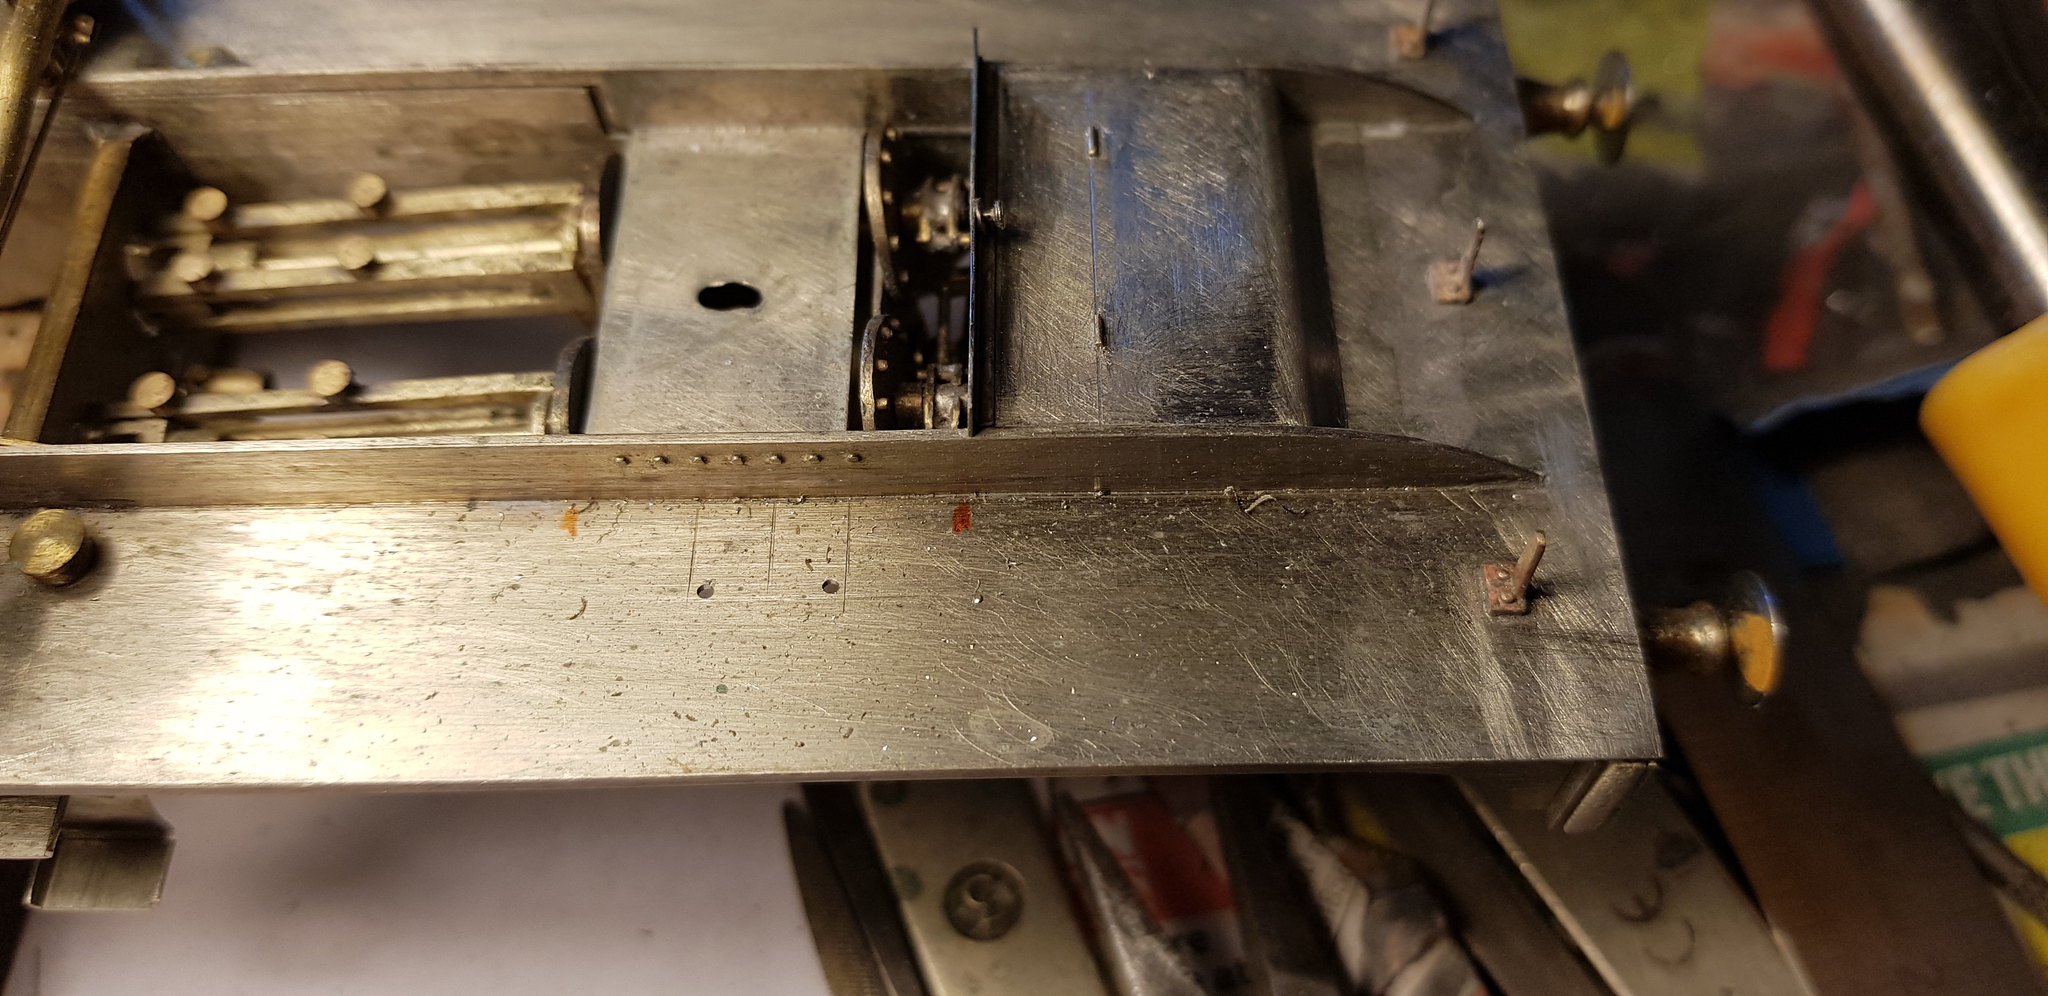
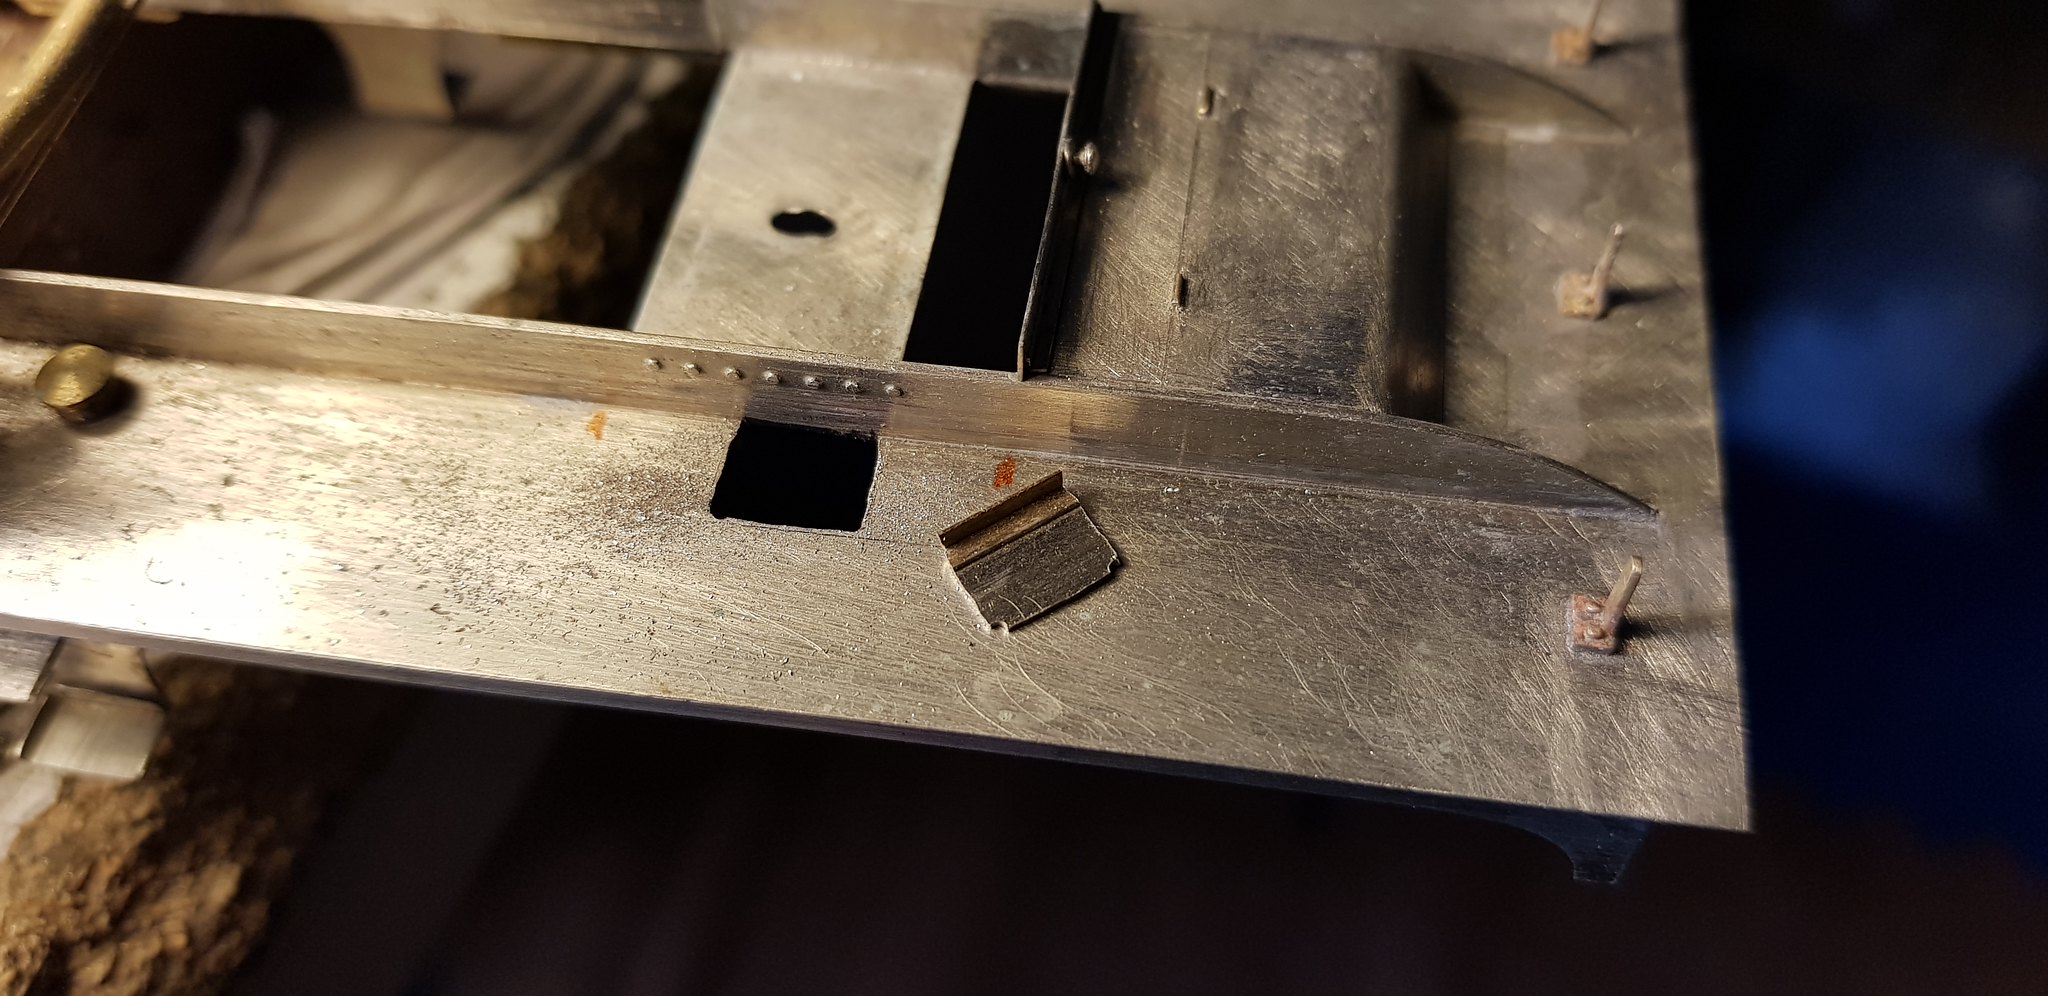
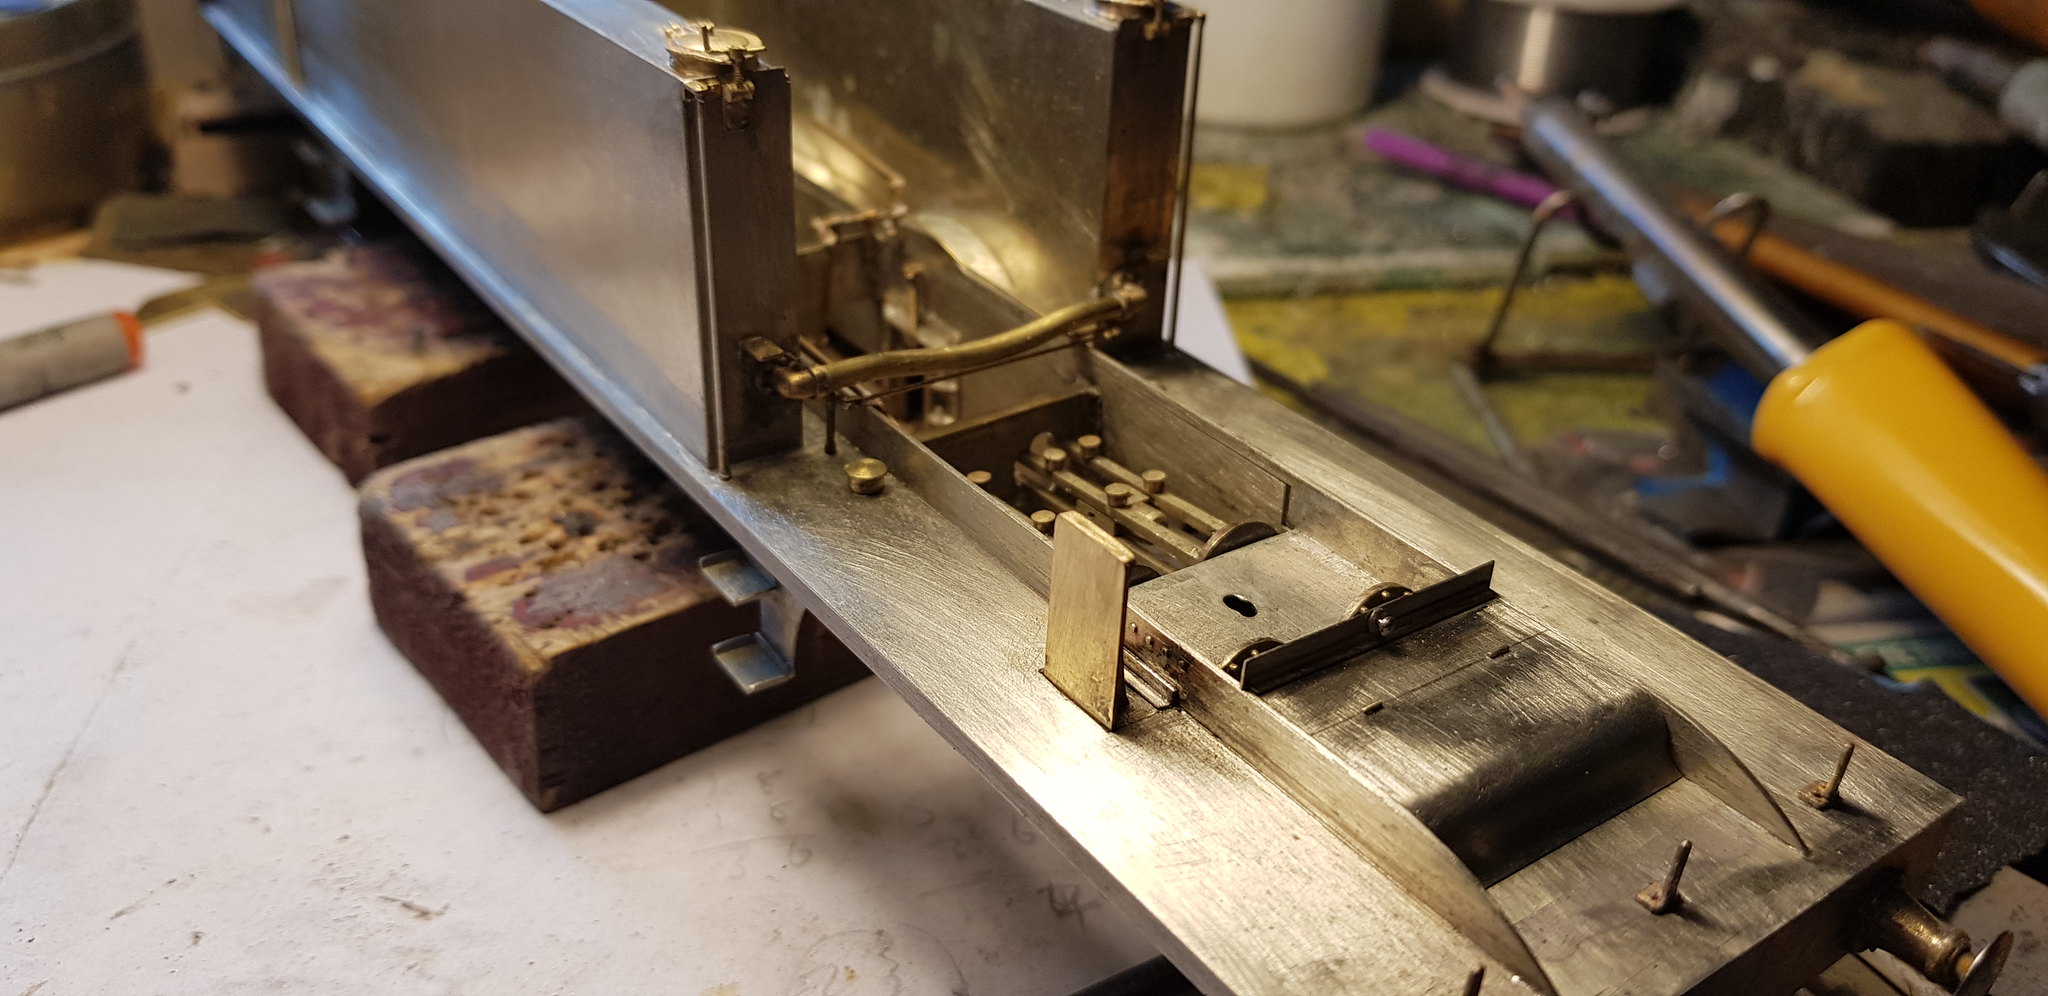
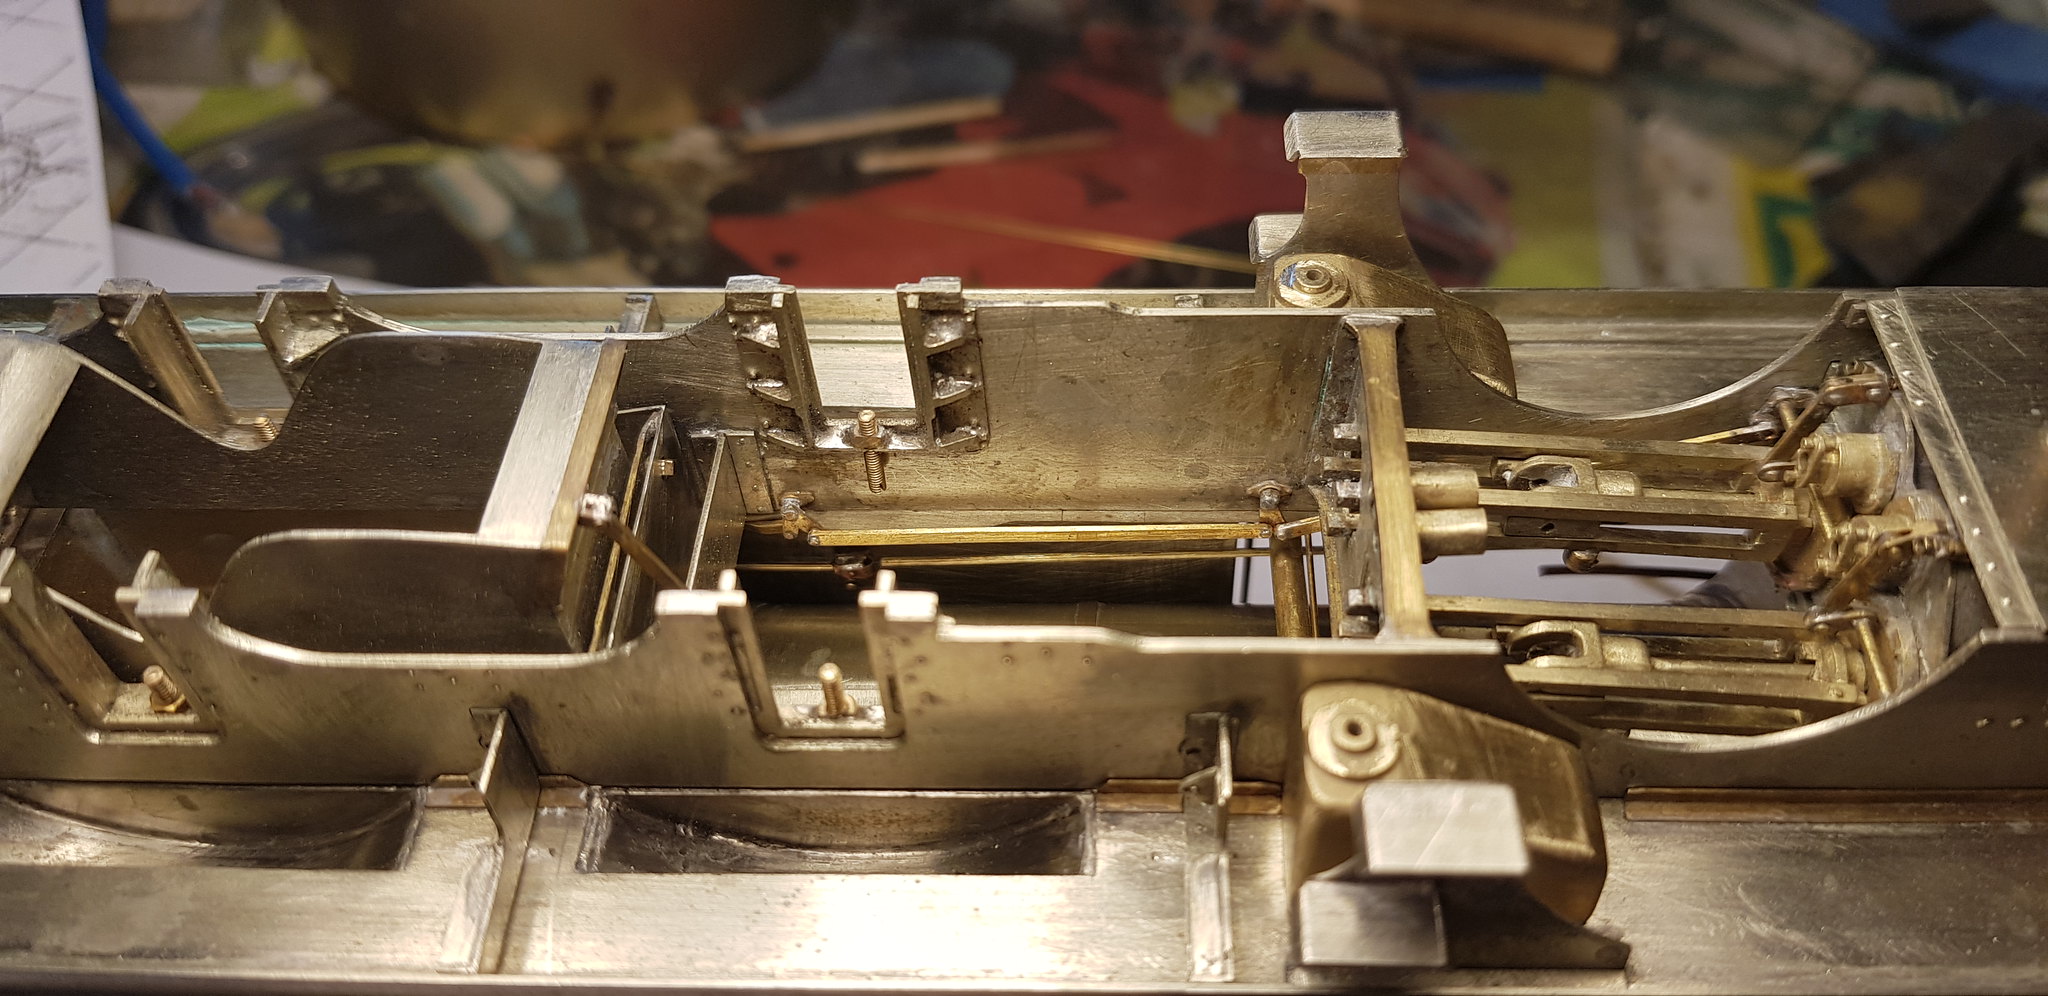
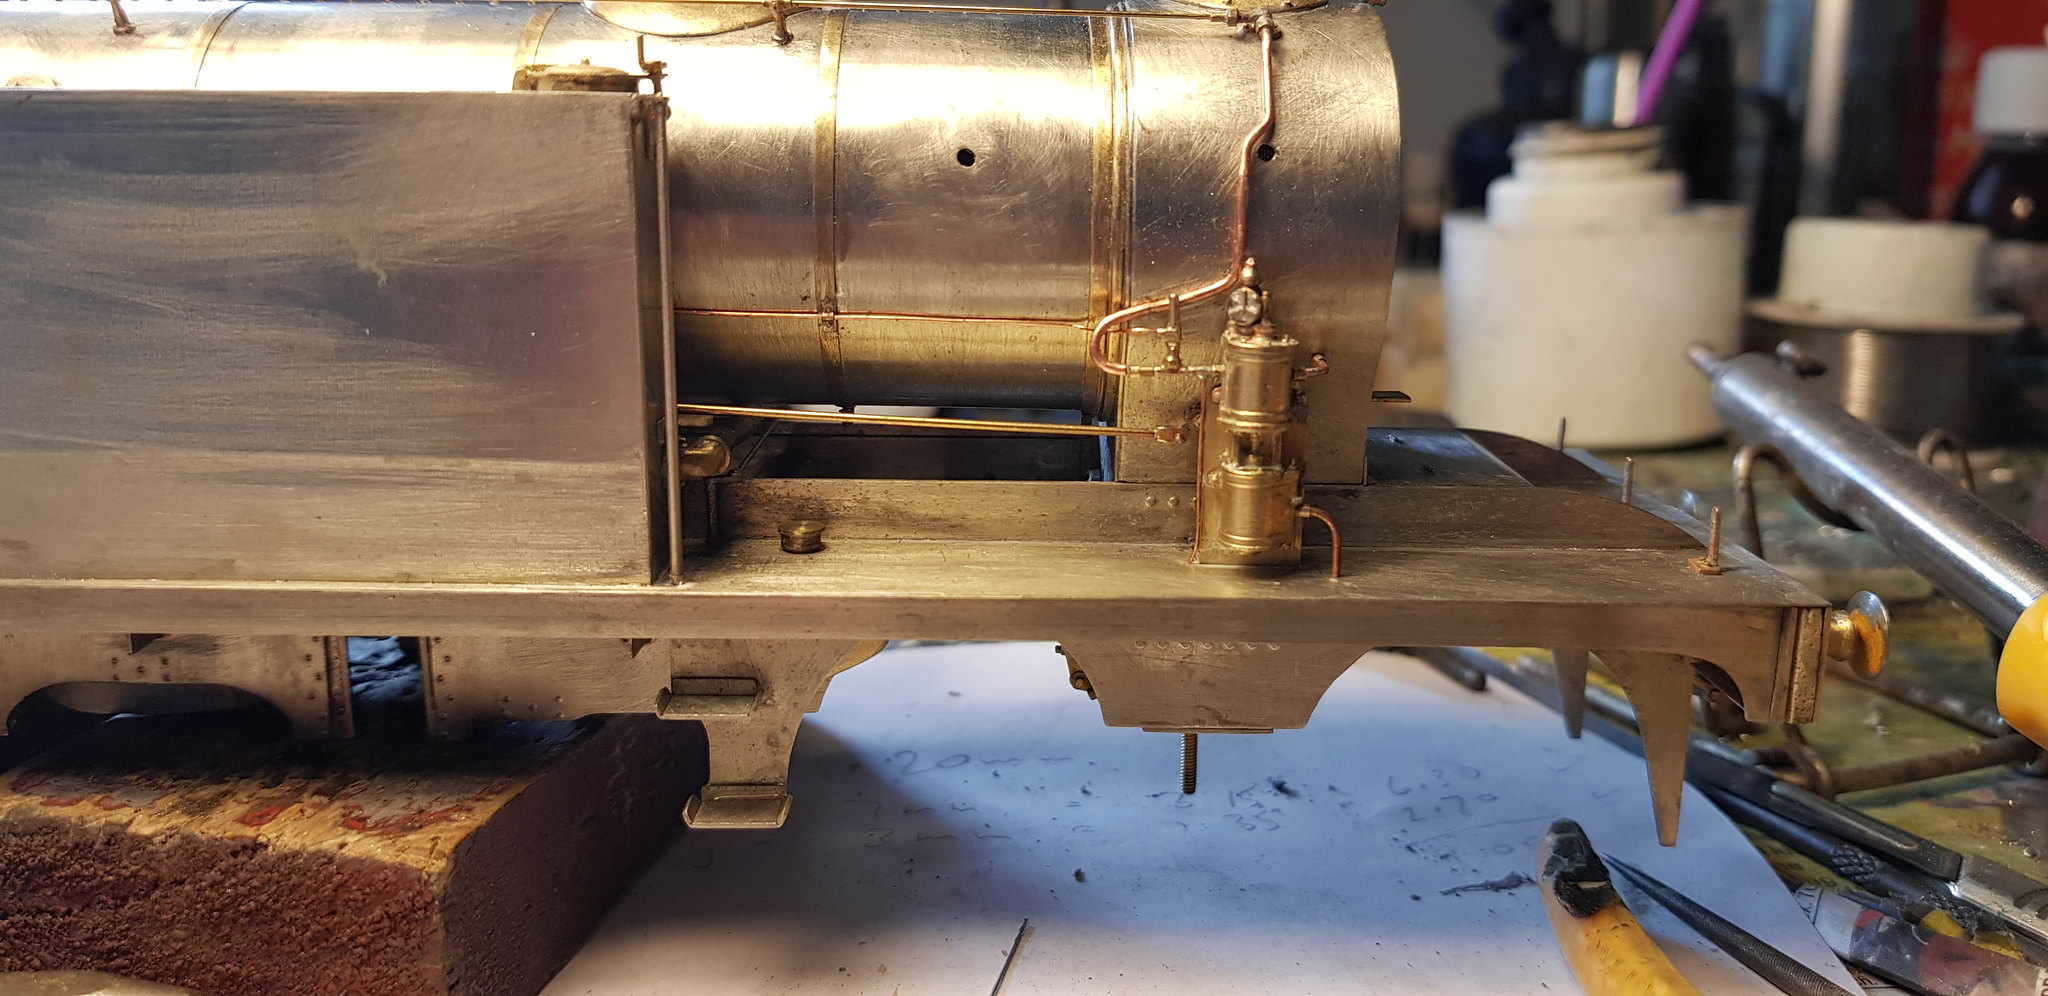
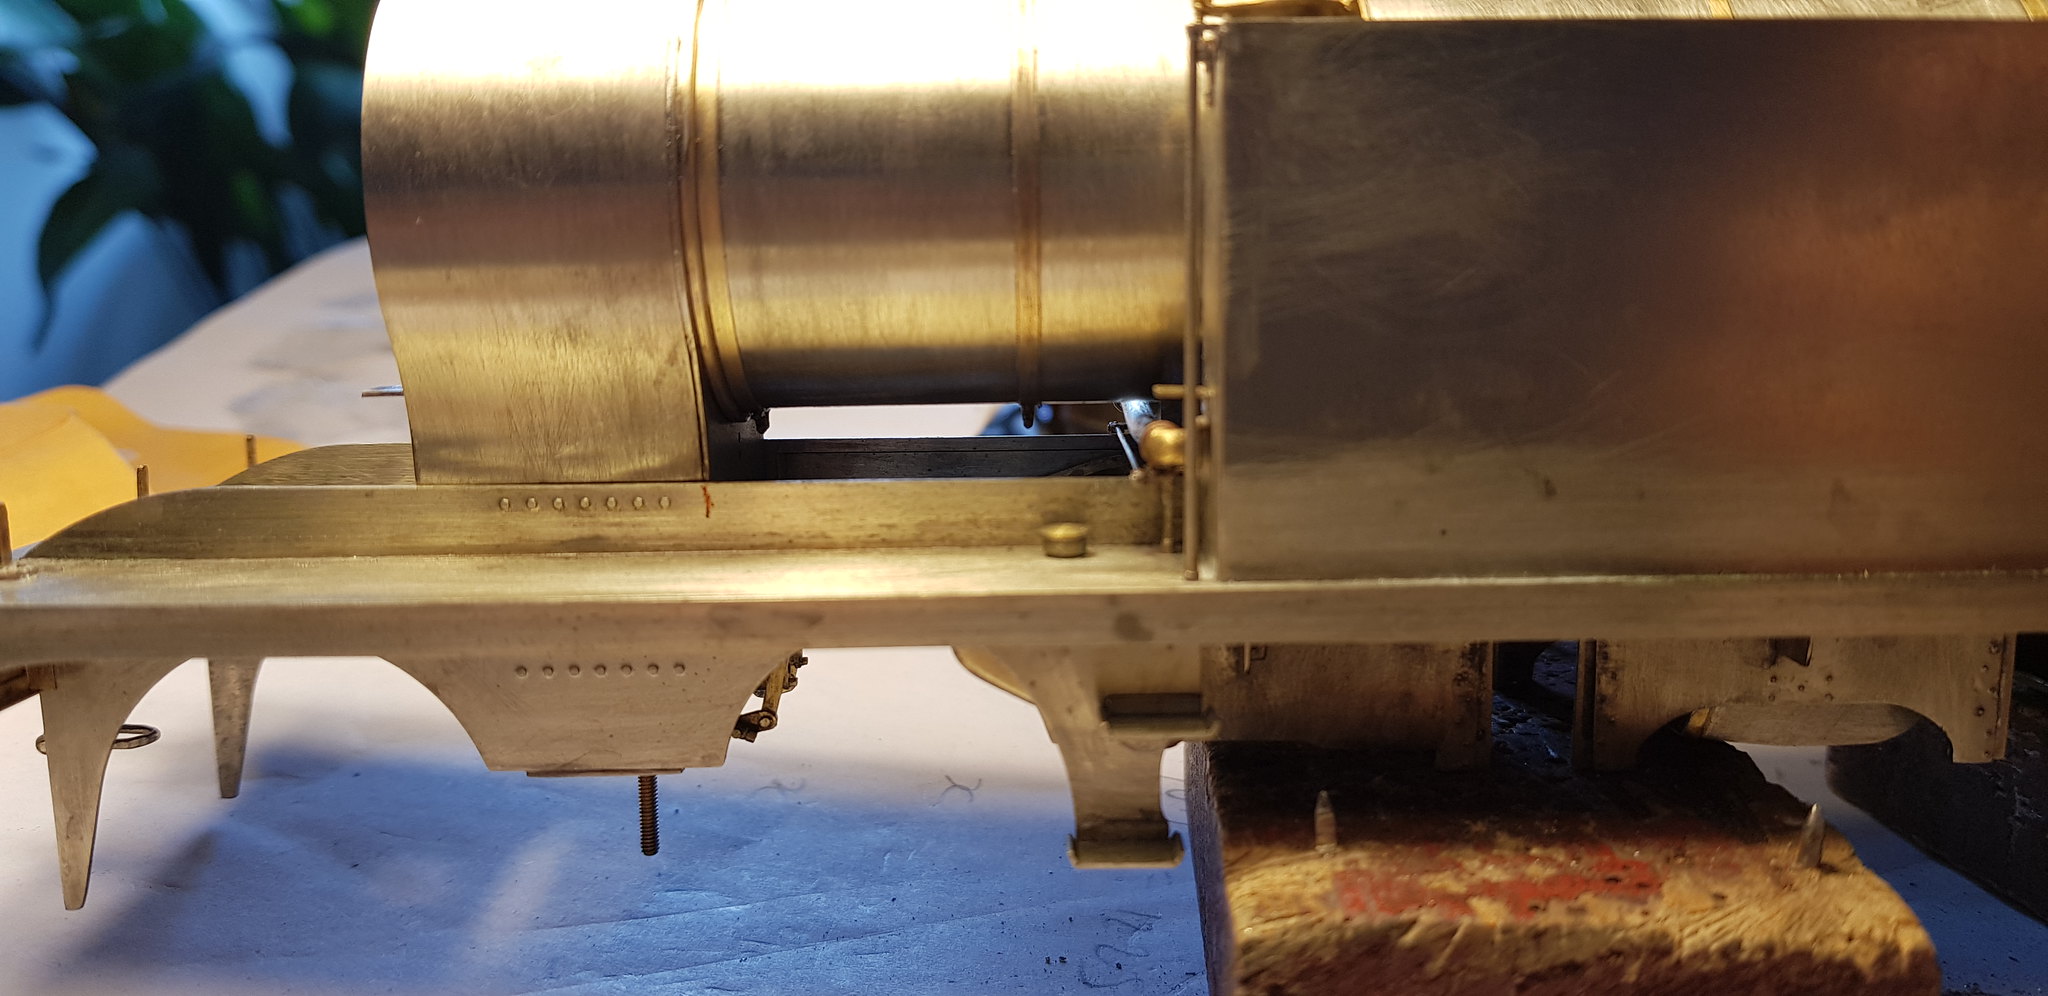
You can see the valve chests for one last time before I make a cover! It captures the look of the prototype I think.

26653981287_db314ea324_k.jpg


41482414042_a20a266877_k.jpg


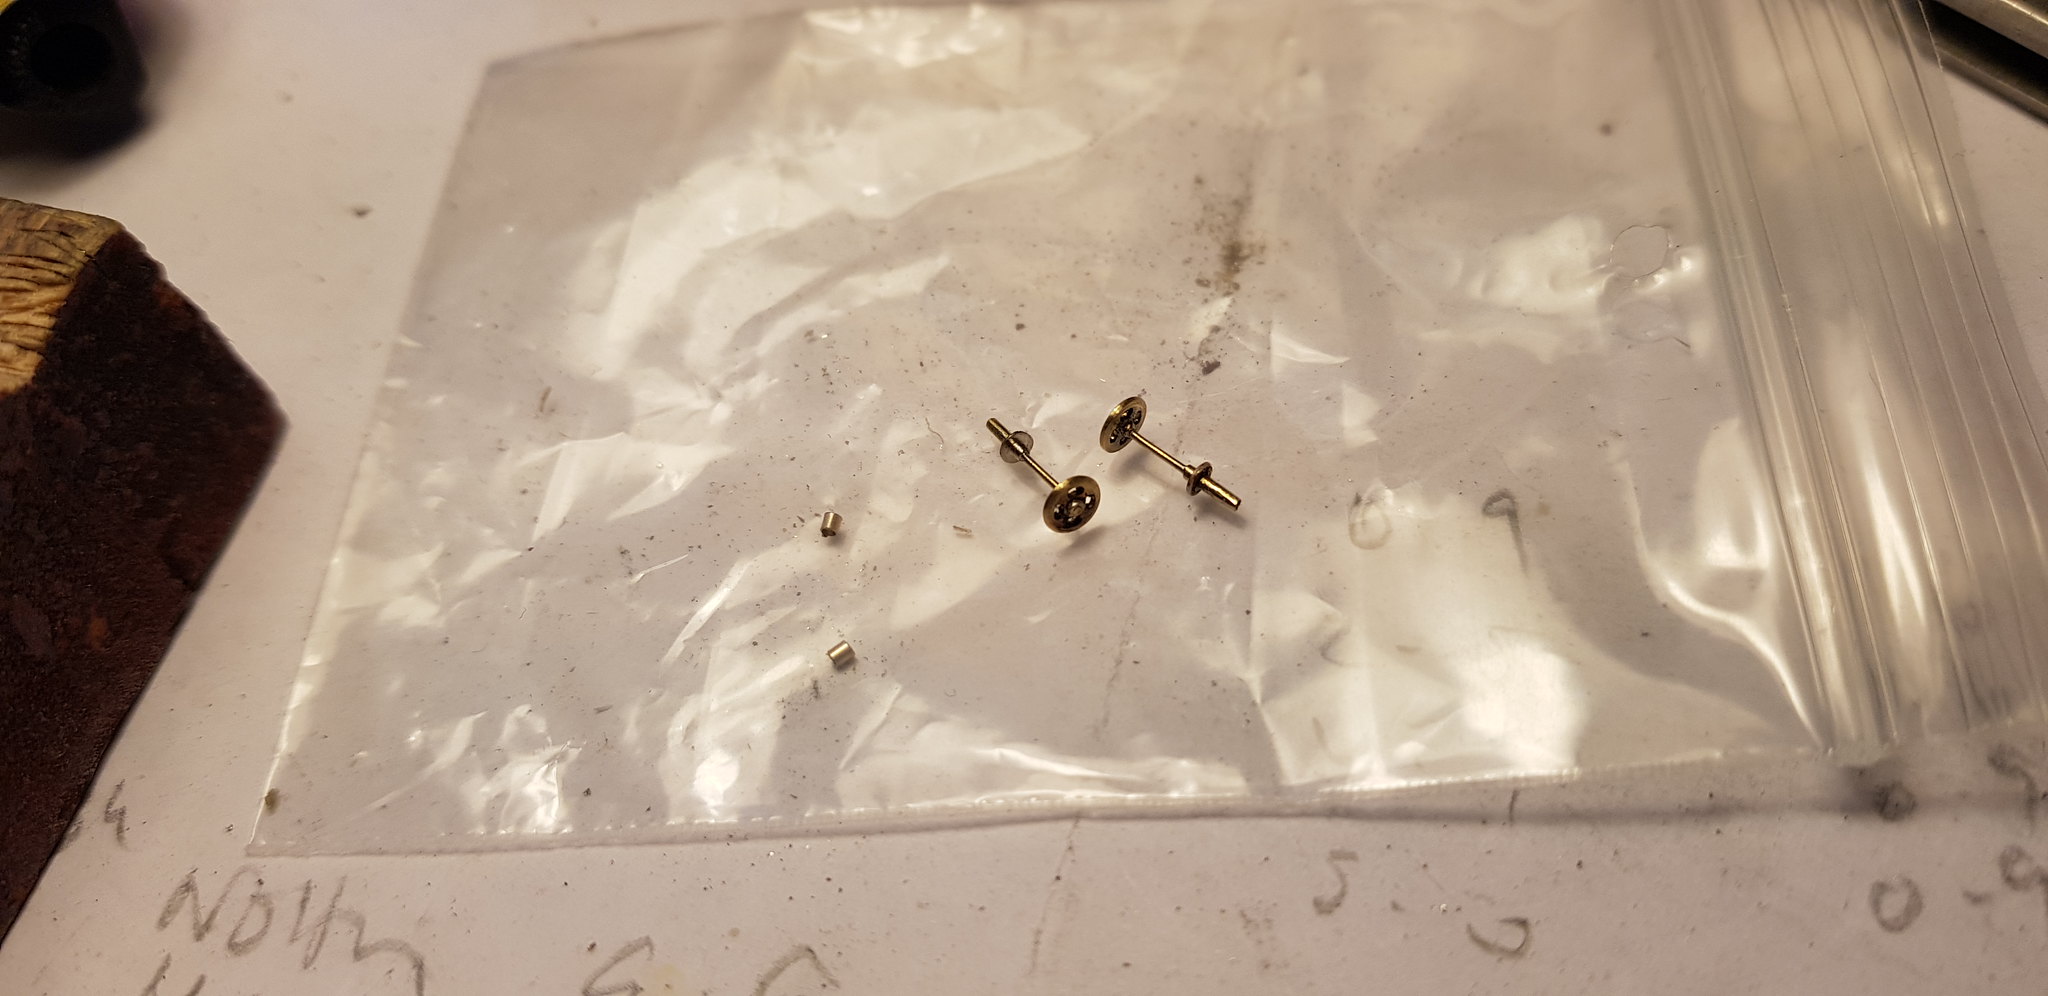
Valve covers and control rods next......
 

Nick Dunhill

Western Thunderer
....This is a note to the half dozen or so of you out there in WT land making one of these locos. My boiler is screwed to the cab front and the smokebox to the section of footplate under it. You may find you have to trim the end of the boiler so that the rear of the smokebox aligns with the cylinder heads and is vertical. Mine were cut to the dimensions in a previous post and needed 0.2 - 0.3 trimming off the end. This is presumably to compensate for planting a piece on the boiler rear, up against the cab, to represent part of the angle iron present between firebox and cab.

I had to plant a very thin strip below the smokebox wrapper on one side (I started soldering the wrapper on the other side at the top of the frames) to bring it down to the top of the frame. So maybe the length of the wrapper should be increased by 0.3 mm, or a bit more to trim back?

This one is yours Dave, finally got round to sorting it out after a week without progress. I had to fit some guttering (wooden) to our offshoot kitchen, and took advantage of the good weather for painting.....

41651428421_e7623cc1de_k.jpg
 

Nick Dunhill

Western Thunderer
....well I made the cover to fit into the half etched recess and summat was definitely up! A bit of a measure revealed the half etched rectangle to accept the bonnet to be in the wrong place! It should start where it ends.

40980600994_a453c17f2a_k.jpg


Mercifully some of the waste on the 0.4 mm thick etch is the correct thickness (check with the depth gauge on your calipers.) Sorry about that chaps but at least it's an easy fix, even easier if you do it at the beginning!

39891551950_572de4374f_k.jpg


The bonnet was formed round a 5 mm drill, top curve first then the bottom one. I tweaked it by hand to match the former present in the etches. I scored the join, added hinge pins and an upstand with handle. It was a bit tricky to make fit properly but worth the effort.

41658386472_094a5c1584_k.jpg


40799546895_6f5173150a_k.jpg


Next the interesting brackets that connect the tanks to the boiler.....

40799546895_6f5173150a_k.jpg
 

mickoo

Western Thunderer
The recess is in the right place!

You just cut your cover front end too short, bending short tight curves like this is difficult, so that bit you added, should of been on the cover you bent and then you blend it in.

You made your cover like the blue one and then pulled it forward to the front instep, it should of been like the red one, easier to bend and get smoother curves and blend the toe in.

To get the base hinge joint on the red one, you just scribe a line once bent.

Image4.jpg
Hope that helps.

MD
 

mickoo

Western Thunderer
Well, there are no instructions, and there have been other errors (but this isn't one of them) so it's understandable.

The design is to enable you to get more material to form the lower curve, we did the same with the bunker rear, by making it over long to give some purchase when bending and then trim to size. Bending curve this close to an edge is always hard work.

MD
 

mickoo

Western Thunderer
No, my membership has lapsed and I've an overseas deployment for three months as soon as I get back from hols. So I see little point paying for something I'll get little use of.

Your quite welcome to cut and paste my response over there if you wish.

MD
 

Nick Dunhill

Western Thunderer
......I have made more progress on the boilers. I have cut holes in the boiler clothing for the brackets that attach the boiler to the tank tops on NER locos. Brackets and gussets were made and attached to the inside of the boiler. A curved representation of the boiler itself was also incorporated as it is now visible through the holes. The bracket assemblies were held in place externally with blutac and soldered inside the boiler.

The next job was the control rods for the blower and Westinghouse pump. This was a tricky job to get the rods parallel and straight. The control wheels in the cab are removable for painting, and are made from tube and washers.

40990827305_165e88801e_k.jpg


41846698192_0965101b8b_k.jpg


41846698772_1f3d34a34b_k.jpg


40990830755_b24836f884_k.jpg


41846444652_2779e8cc80_k.jpg


40990516365_51738b076a_k.jpg


41846446812_c734f390b6_k.jpg


41172107274_c42c30a67e_k.jpg


Now my Scalehardware fake nuts have arrived I can finish the tank brackets.......
 

Nick Dunhill

Western Thunderer
...well my Scalehardware stuff has turned up and I have finished the brackets between boiler and tank tops.

41967073832_d5e43cdf91_k.jpg


40204546470_2f7238a663_k.jpg


41111745165_56d0656ec9_k.jpg


Also I have made the Westinghouse pump brackets from 0.8 mm sheet brass. They are to be fitted through a hole in the footplate. The dimensions are shown, note the measurements are to suit the Gladiator pump casting which seems to be the best representation.

41967075582_39c42a9fa7_k.jpg


28138732718_88812832cf_k.jpg


41967077662_ac2d0ac5d5_k.jpg


More Westinghouse pump fun next.....
 

Nick Dunhill

Western Thunderer
.....anyway, the brackets are now in place. I think the pics are pretty self explanatory. The footplate was drilled first to allow a piercing saw blade to be inserted, then off you go, carefully! File and check, file and check, carefully! File into corners with a triangular section needle file. Solder solder, done! I've never made one of these before.

40216770010_b9e8f45328_k.jpg


28151460428_e9bd9e2ed1_k.jpg


41979747982_cbb6341860_k.jpg


40216773110_6d9e75be31_k.jpg


Next detailing up a Westinghouse pump casting.....
 

Nick Dunhill

Western Thunderer
....Was going to do the Wesringhouse pump but went off on a side quest. I made the control rodding for the blastpipe. It illustrates my descent into madness and proves this is just a vanity project! The rod exits the smokebox on the driver's side and continues to the cab. You can only see most of it if you turn the model over. (WTF Dunhill.)

41997082422_5f1f0542d5_k.jpg


42041496621_663383bfc5_k.jpg


41997082072_89347487a4_k.jpg


Westinghouse pump next. Deffo......
 

Nick Dunhill

Western Thunderer
....so I said it was time to sort out the Westinghouse pumps and here we go. Firstly I thought it needed a bit of detailing. There's a fitting atop not on the casting, and it has a flange with a weird Y shaped web and some rivets. The flange was fashioned from some left over etched discs and a fabrication was added from telescoping tube. The assembly was added to the top of the pump with the cast lubricator supplied. The pump also has an upside down T shaped guvnor sticking out of the left side. This was made and attached.

42121331432_bdf98753dd_k.jpg


42121331392_9d80c6d96f_k.jpg


The modified pump was then offered up to the mounting bracket and soldered in position. All the pipework was then attached.

27296256307_c8b91327b6_k.jpg


42167699321_f64a0037d9_k.jpg


28295007828_a5fa4ebb4c_k.jpg


The last job on the bodywork is to make the handrail. I'm having a problem finding long enough knobs. I need some that are 4.5 mm from base of flange to centre of hole. Does anyone know who makes such an item? I will also be sending the knobs away to be zinc plated so they look like polished steel on the finished model. If anyone wants to have some knobs zinc plated as well get in touch. This makes the process more cost effective......
 
Top