Nick Dunhill
Western Thunderer
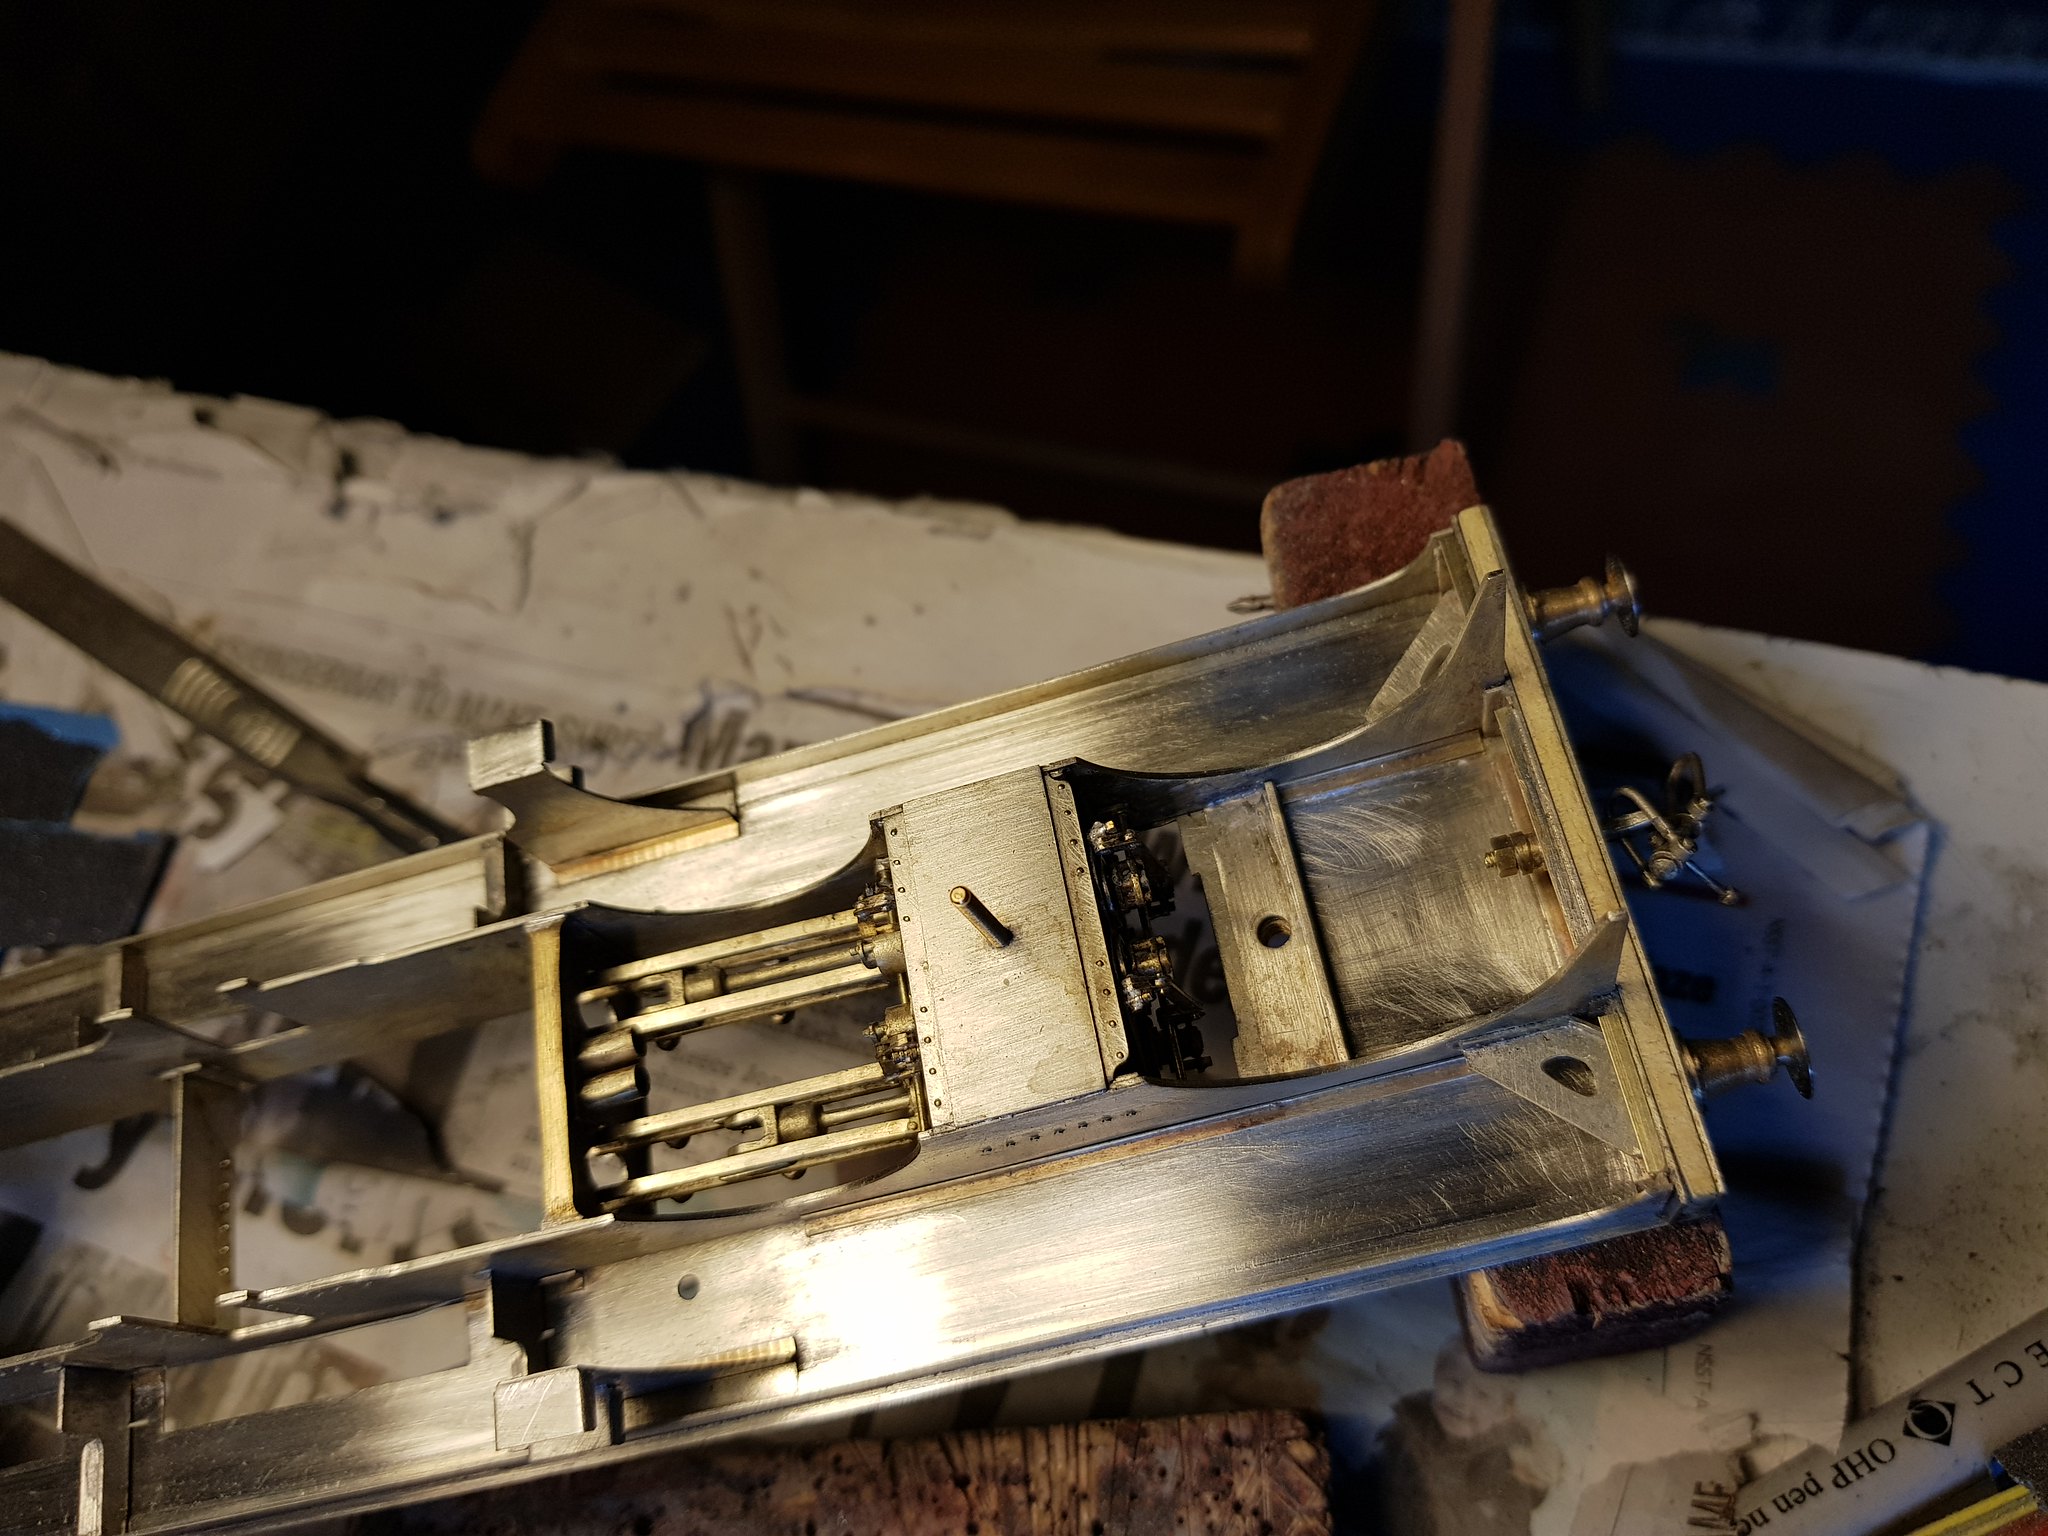
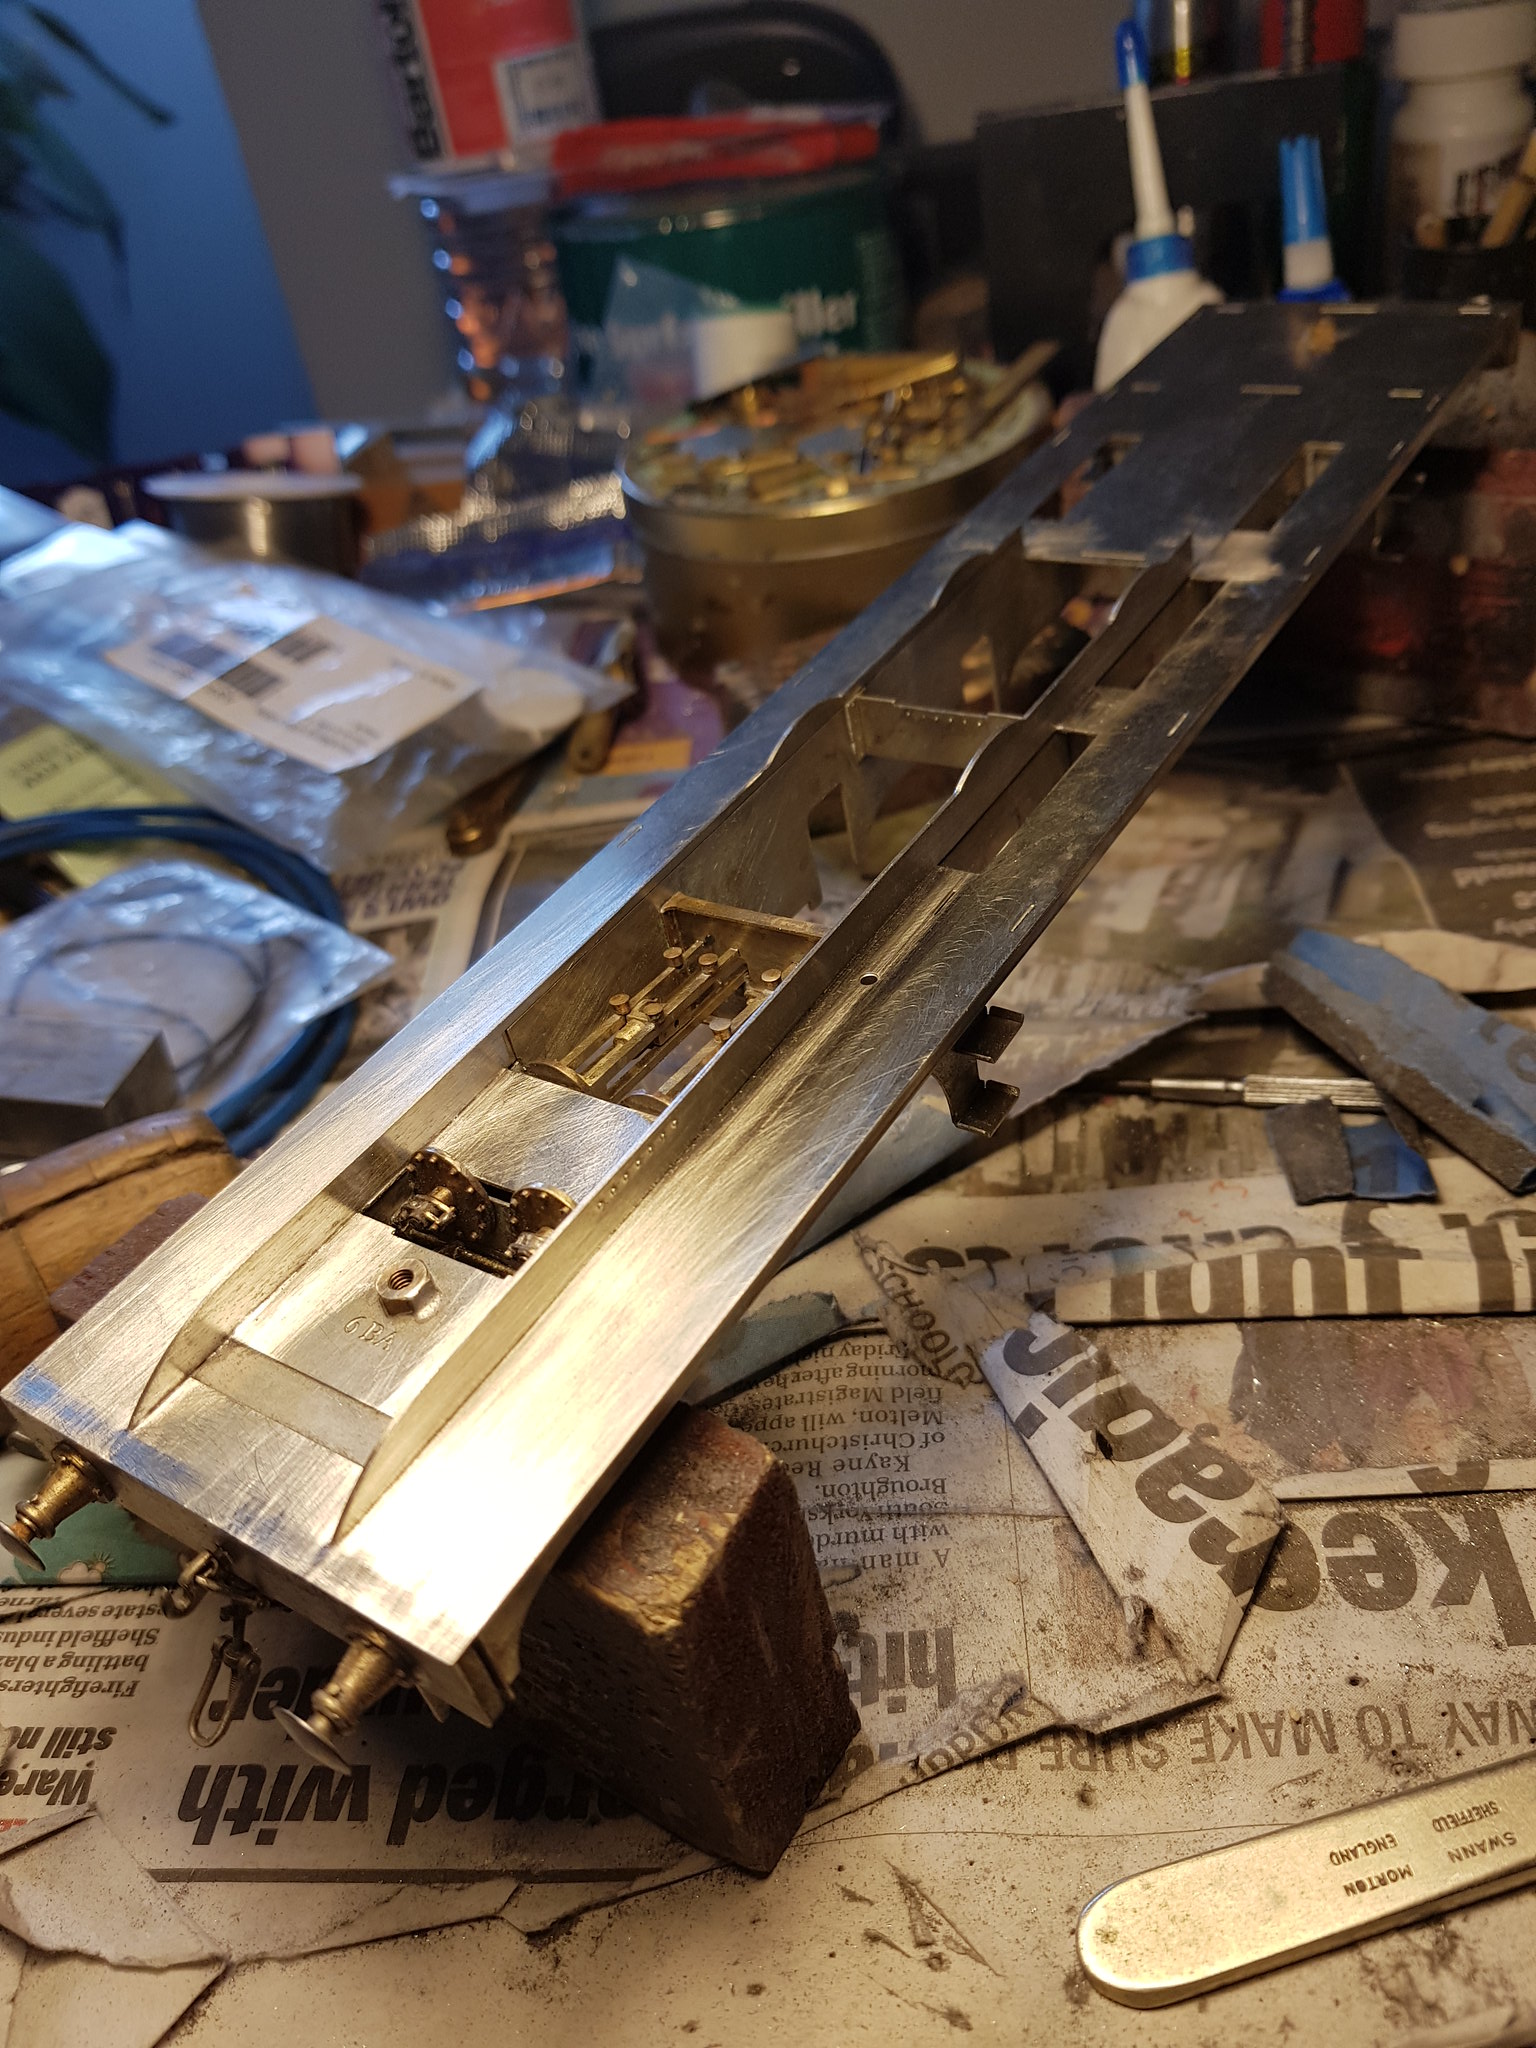
.....I finally finished adding all the runs of angle and strip for under the chassis. They are present on the prototype to support the footplate on the chassis and to strengthen the buffer beams. Oddly the rear coupling hook is attached to a substantial drag beam, but no such structure exists for the front coupling, the buffer beam transmitting most of the weight of the train. Clearly the NER turned their Whitby tanks a lot!
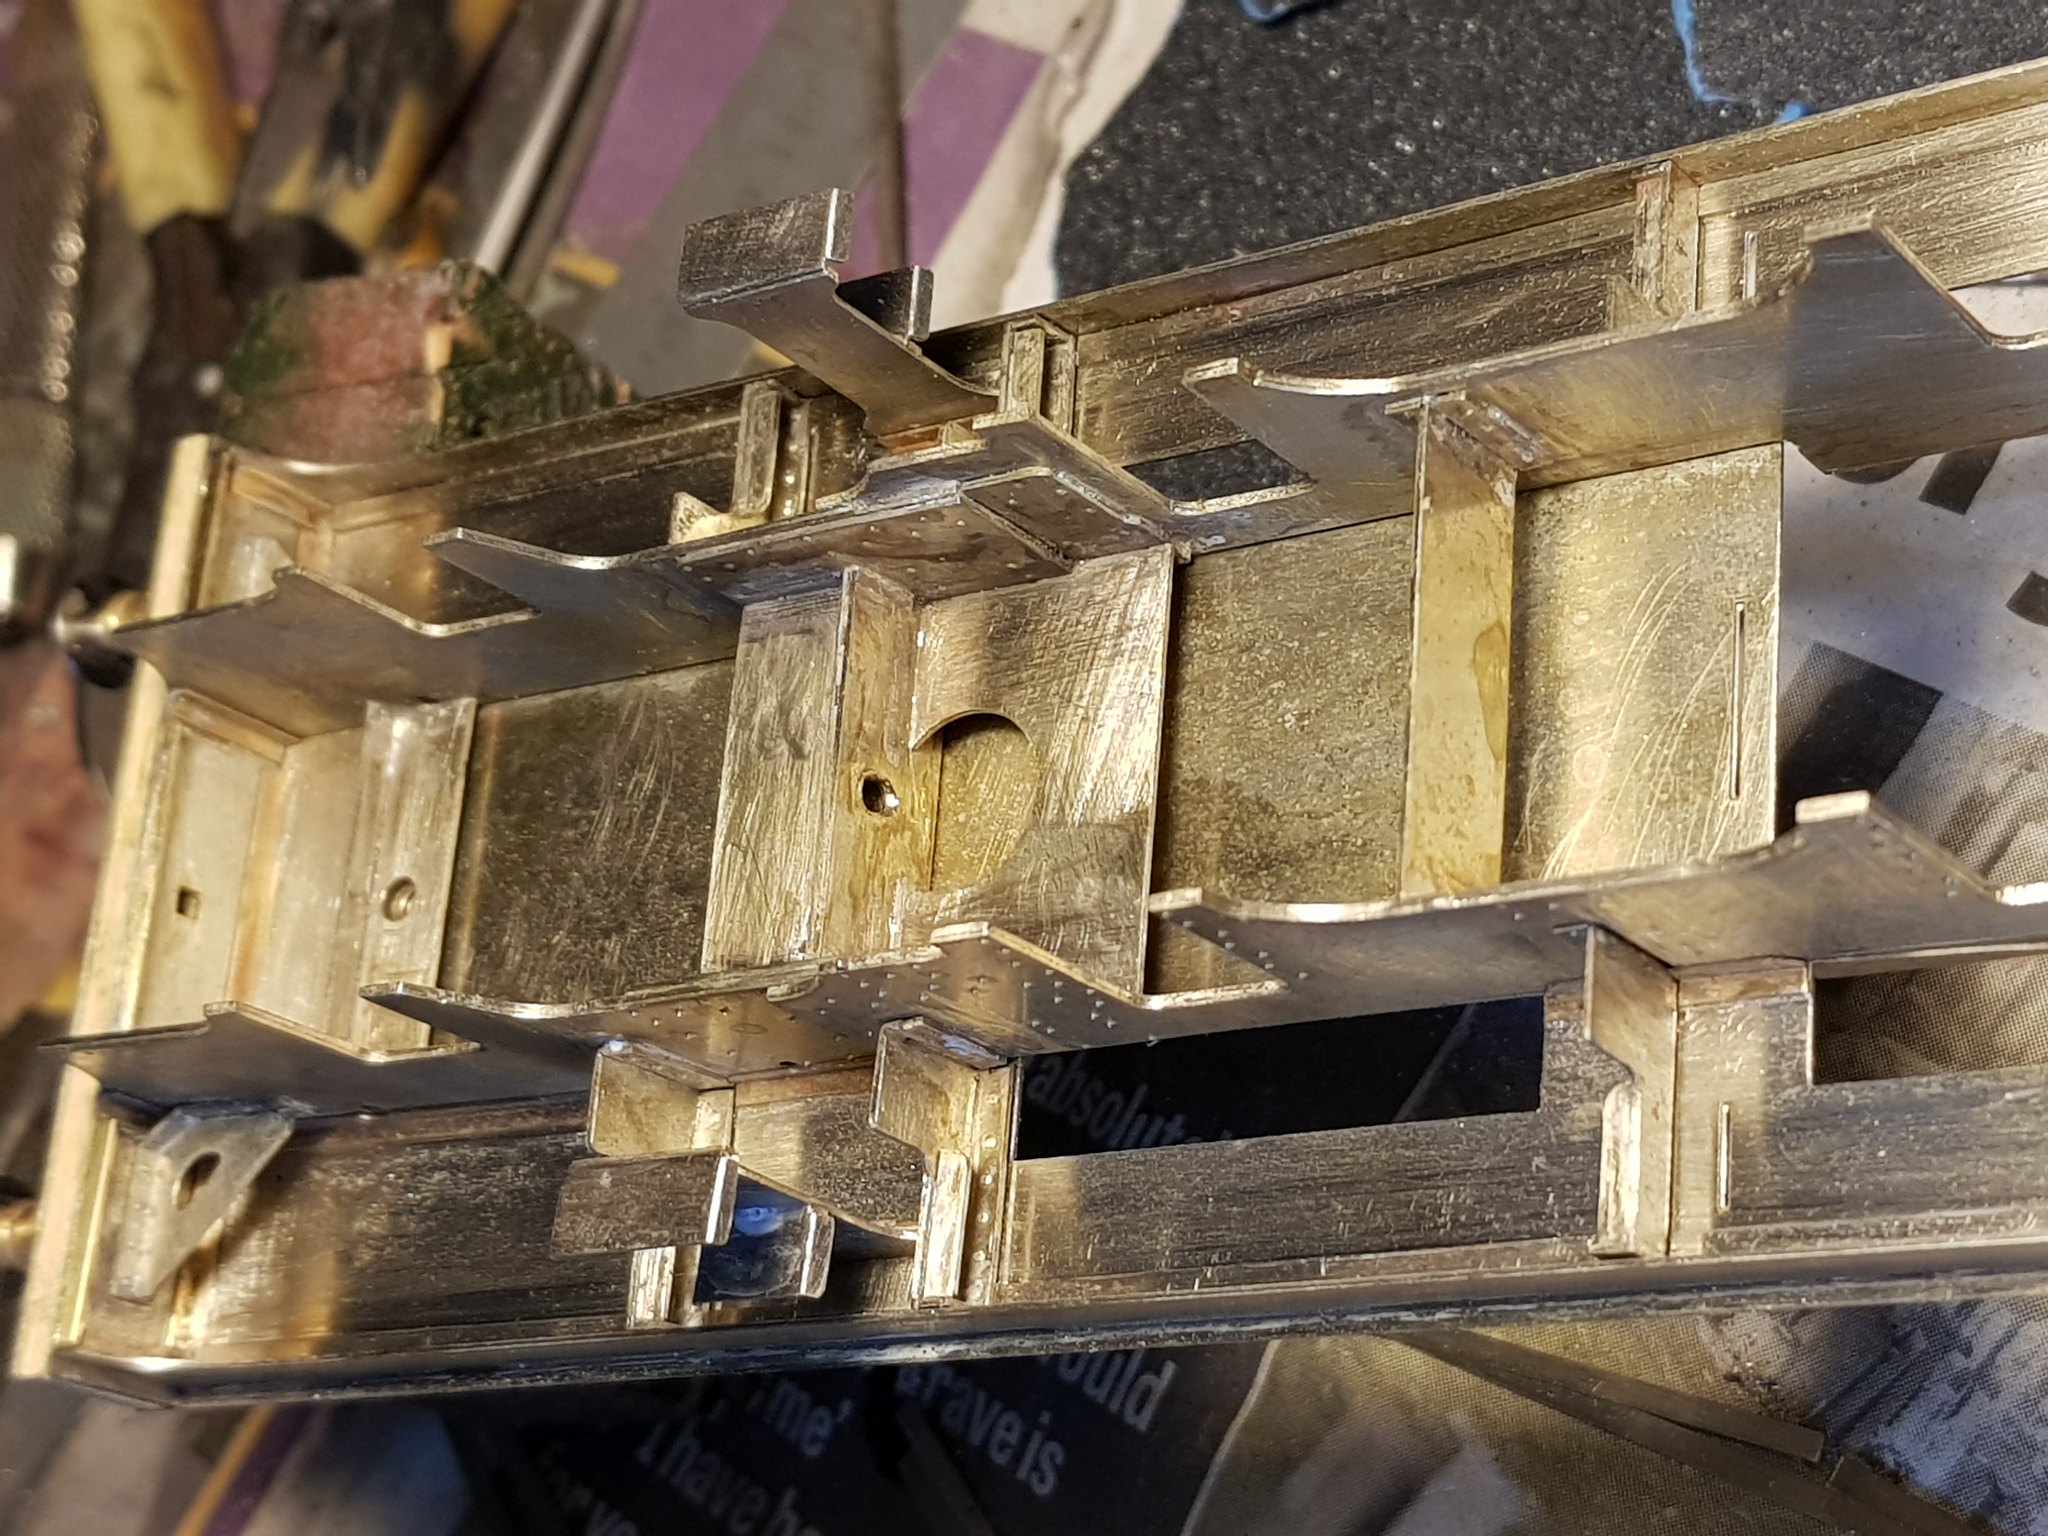
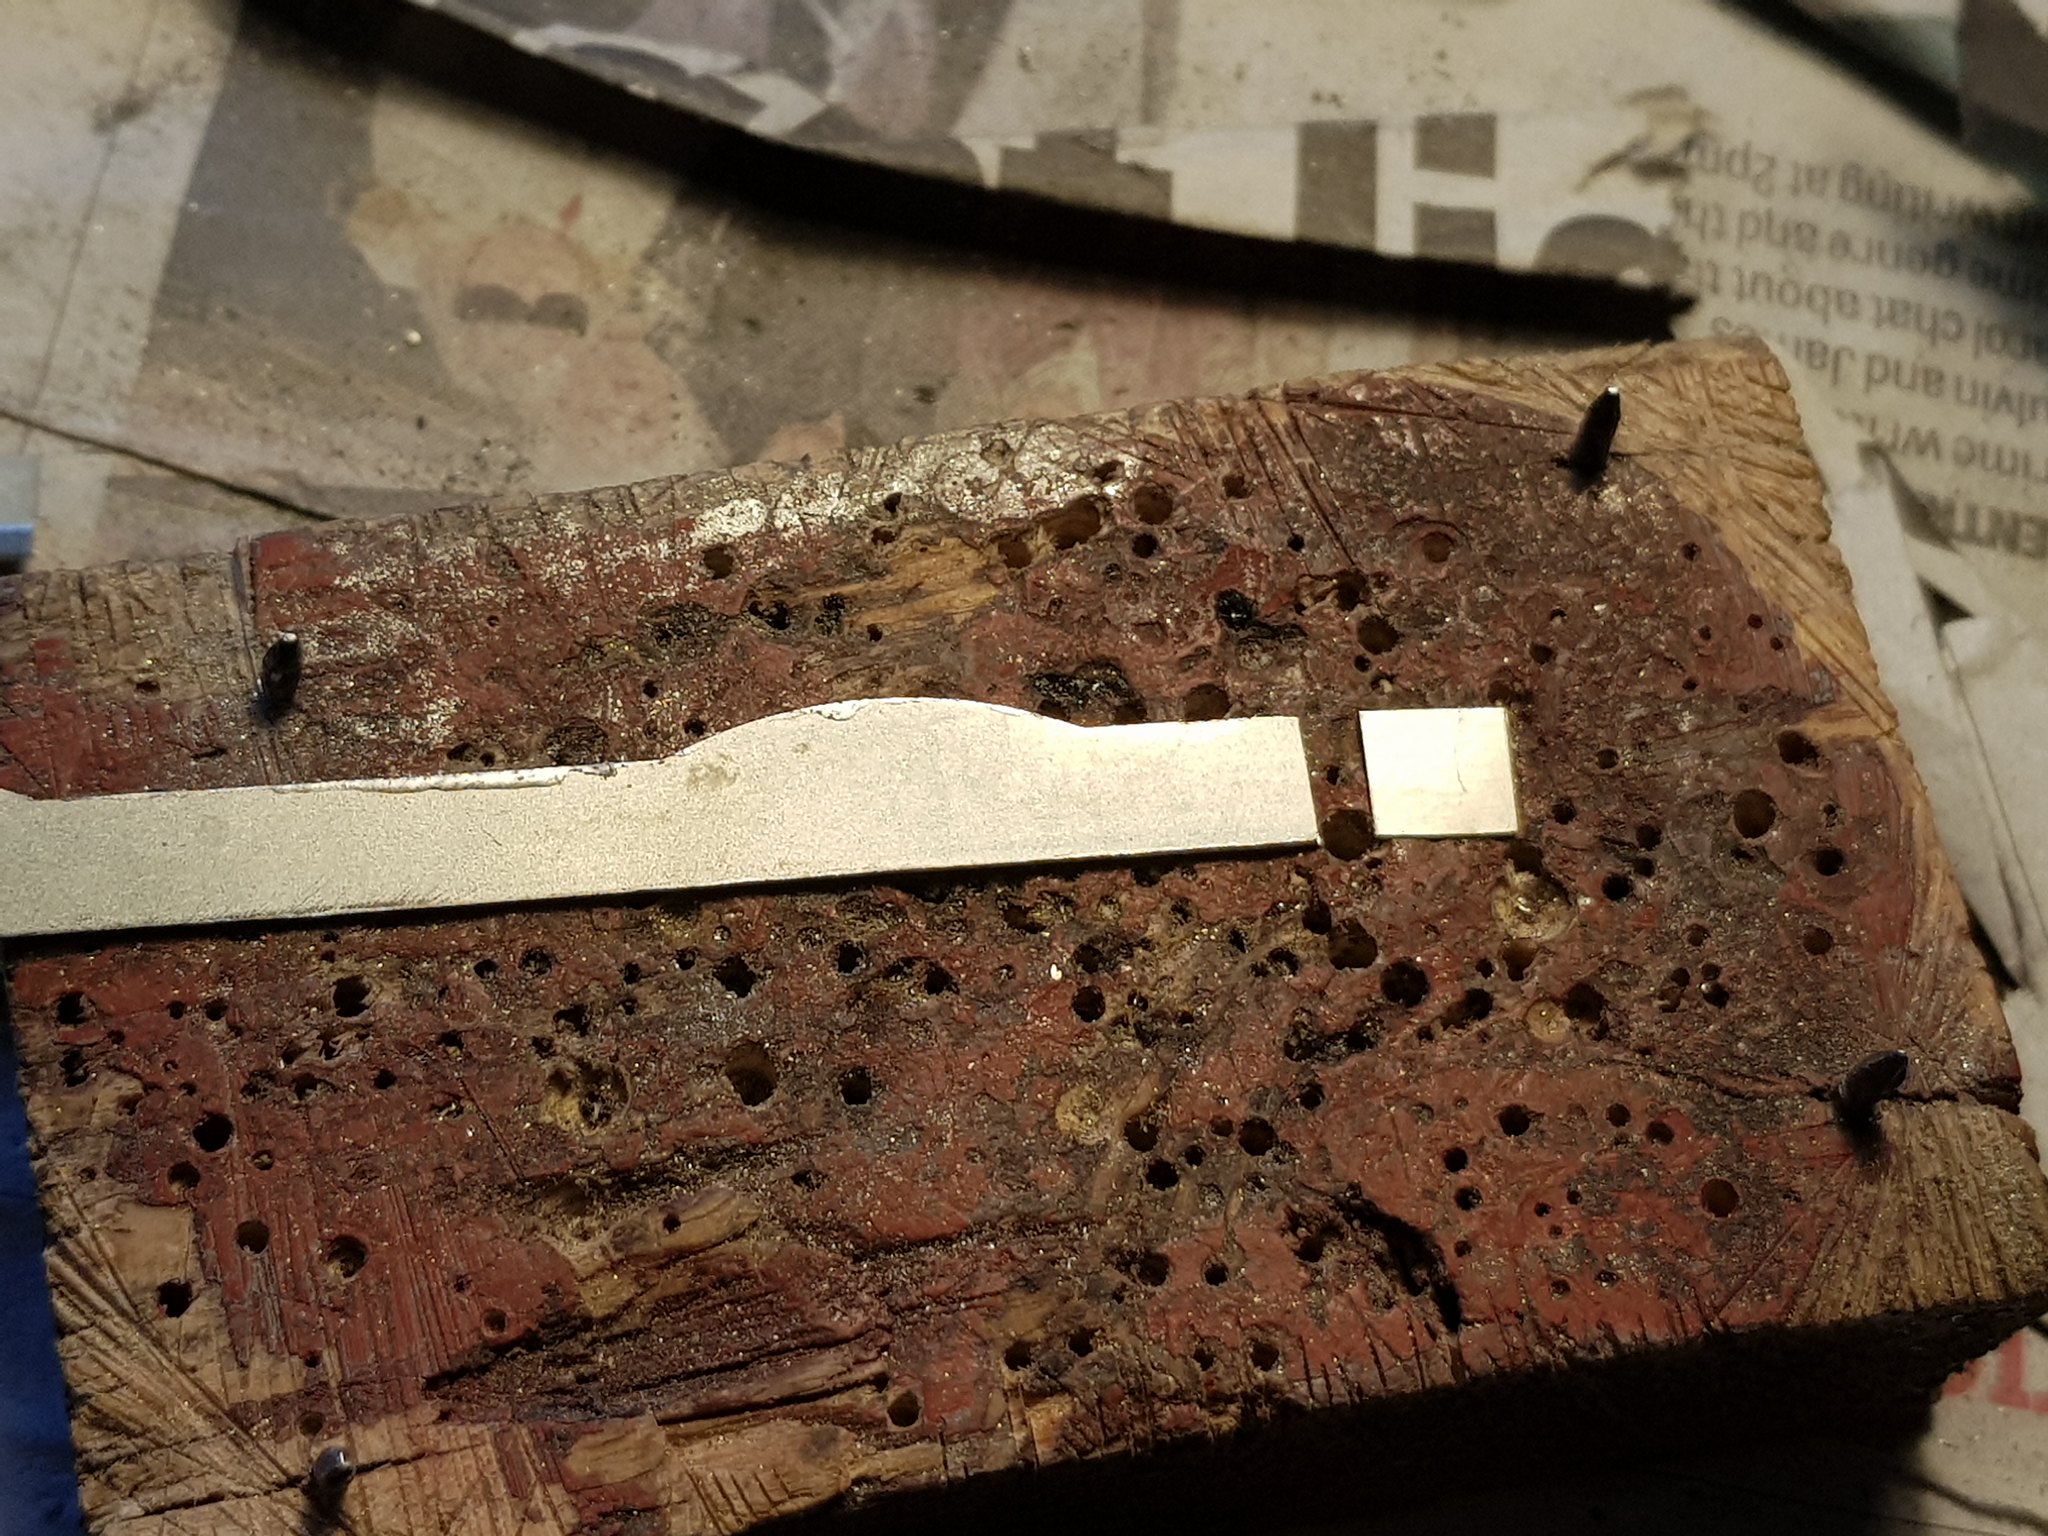
Next I moved on to the section of the chassis above the footplate. The two etches to be laminated don't match, but again an easy fix. The outer portions are correct, the half moons for the splashers are in the wrong place on the inner etch.
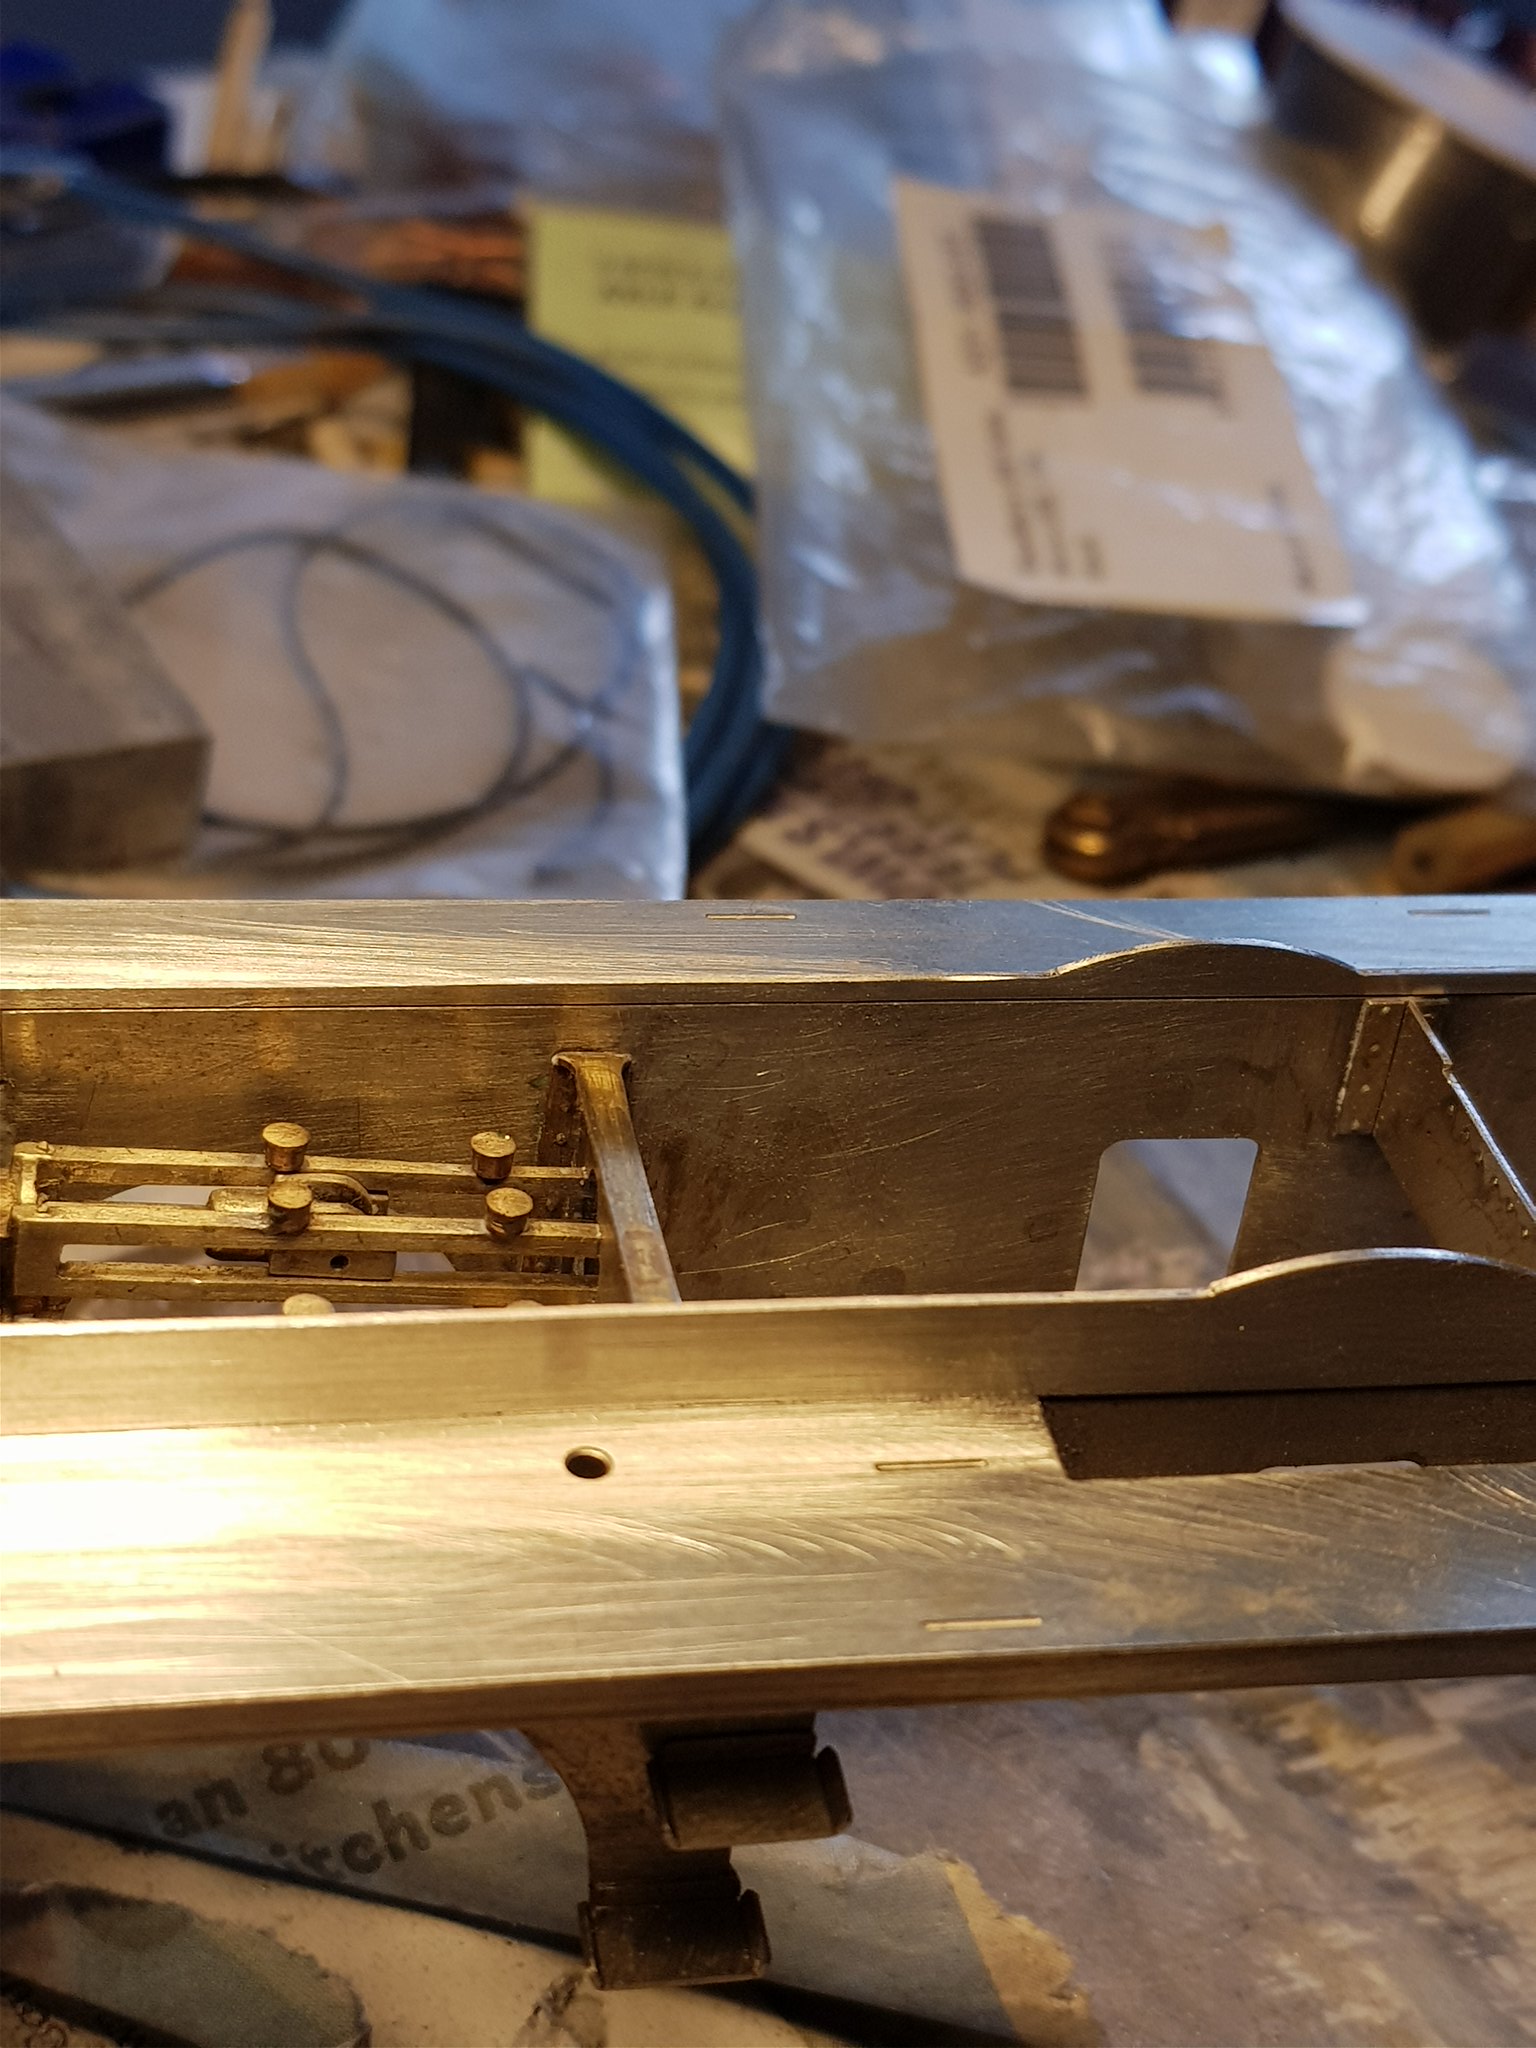
Here's what I did. First make a cut through the inner lamination, the one with the rebate . I did it near to the front of the front 'moon.'
Then solder the rear portion of the inner etch to the outer etch aligning the half moons.
Then I cut off the bit hanging over the end and soldered it to the front.
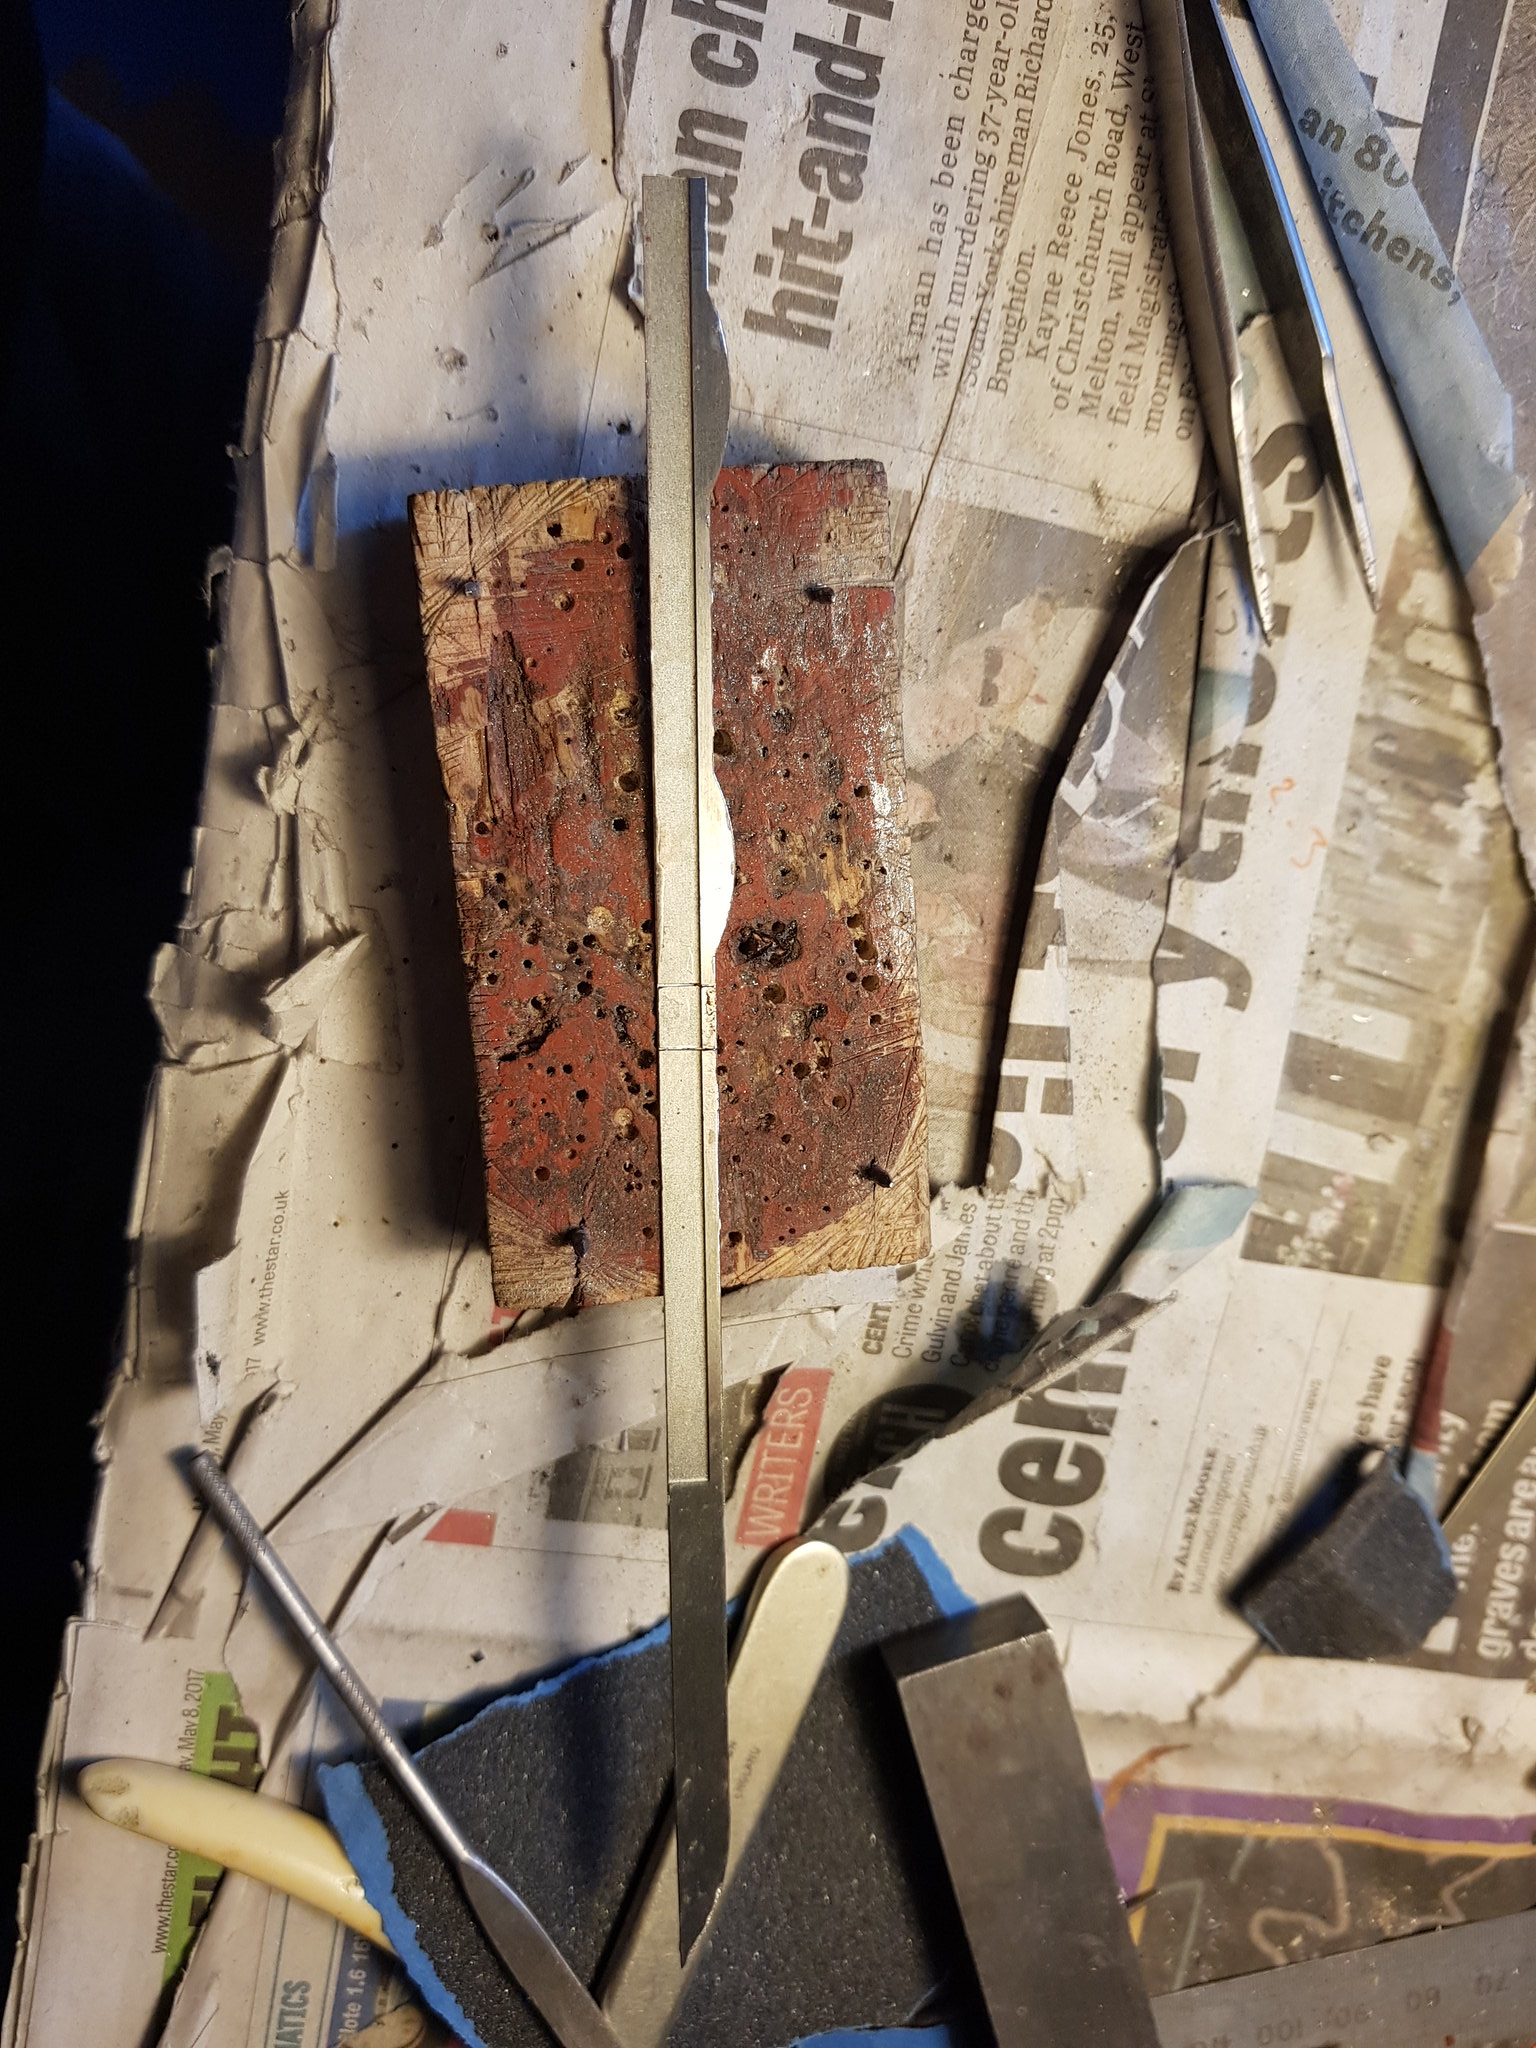
It's all self explanatory looking at the pics. Then solder the front of the inner etch to the outer etch and make good....phew. Easier than it looks honest.
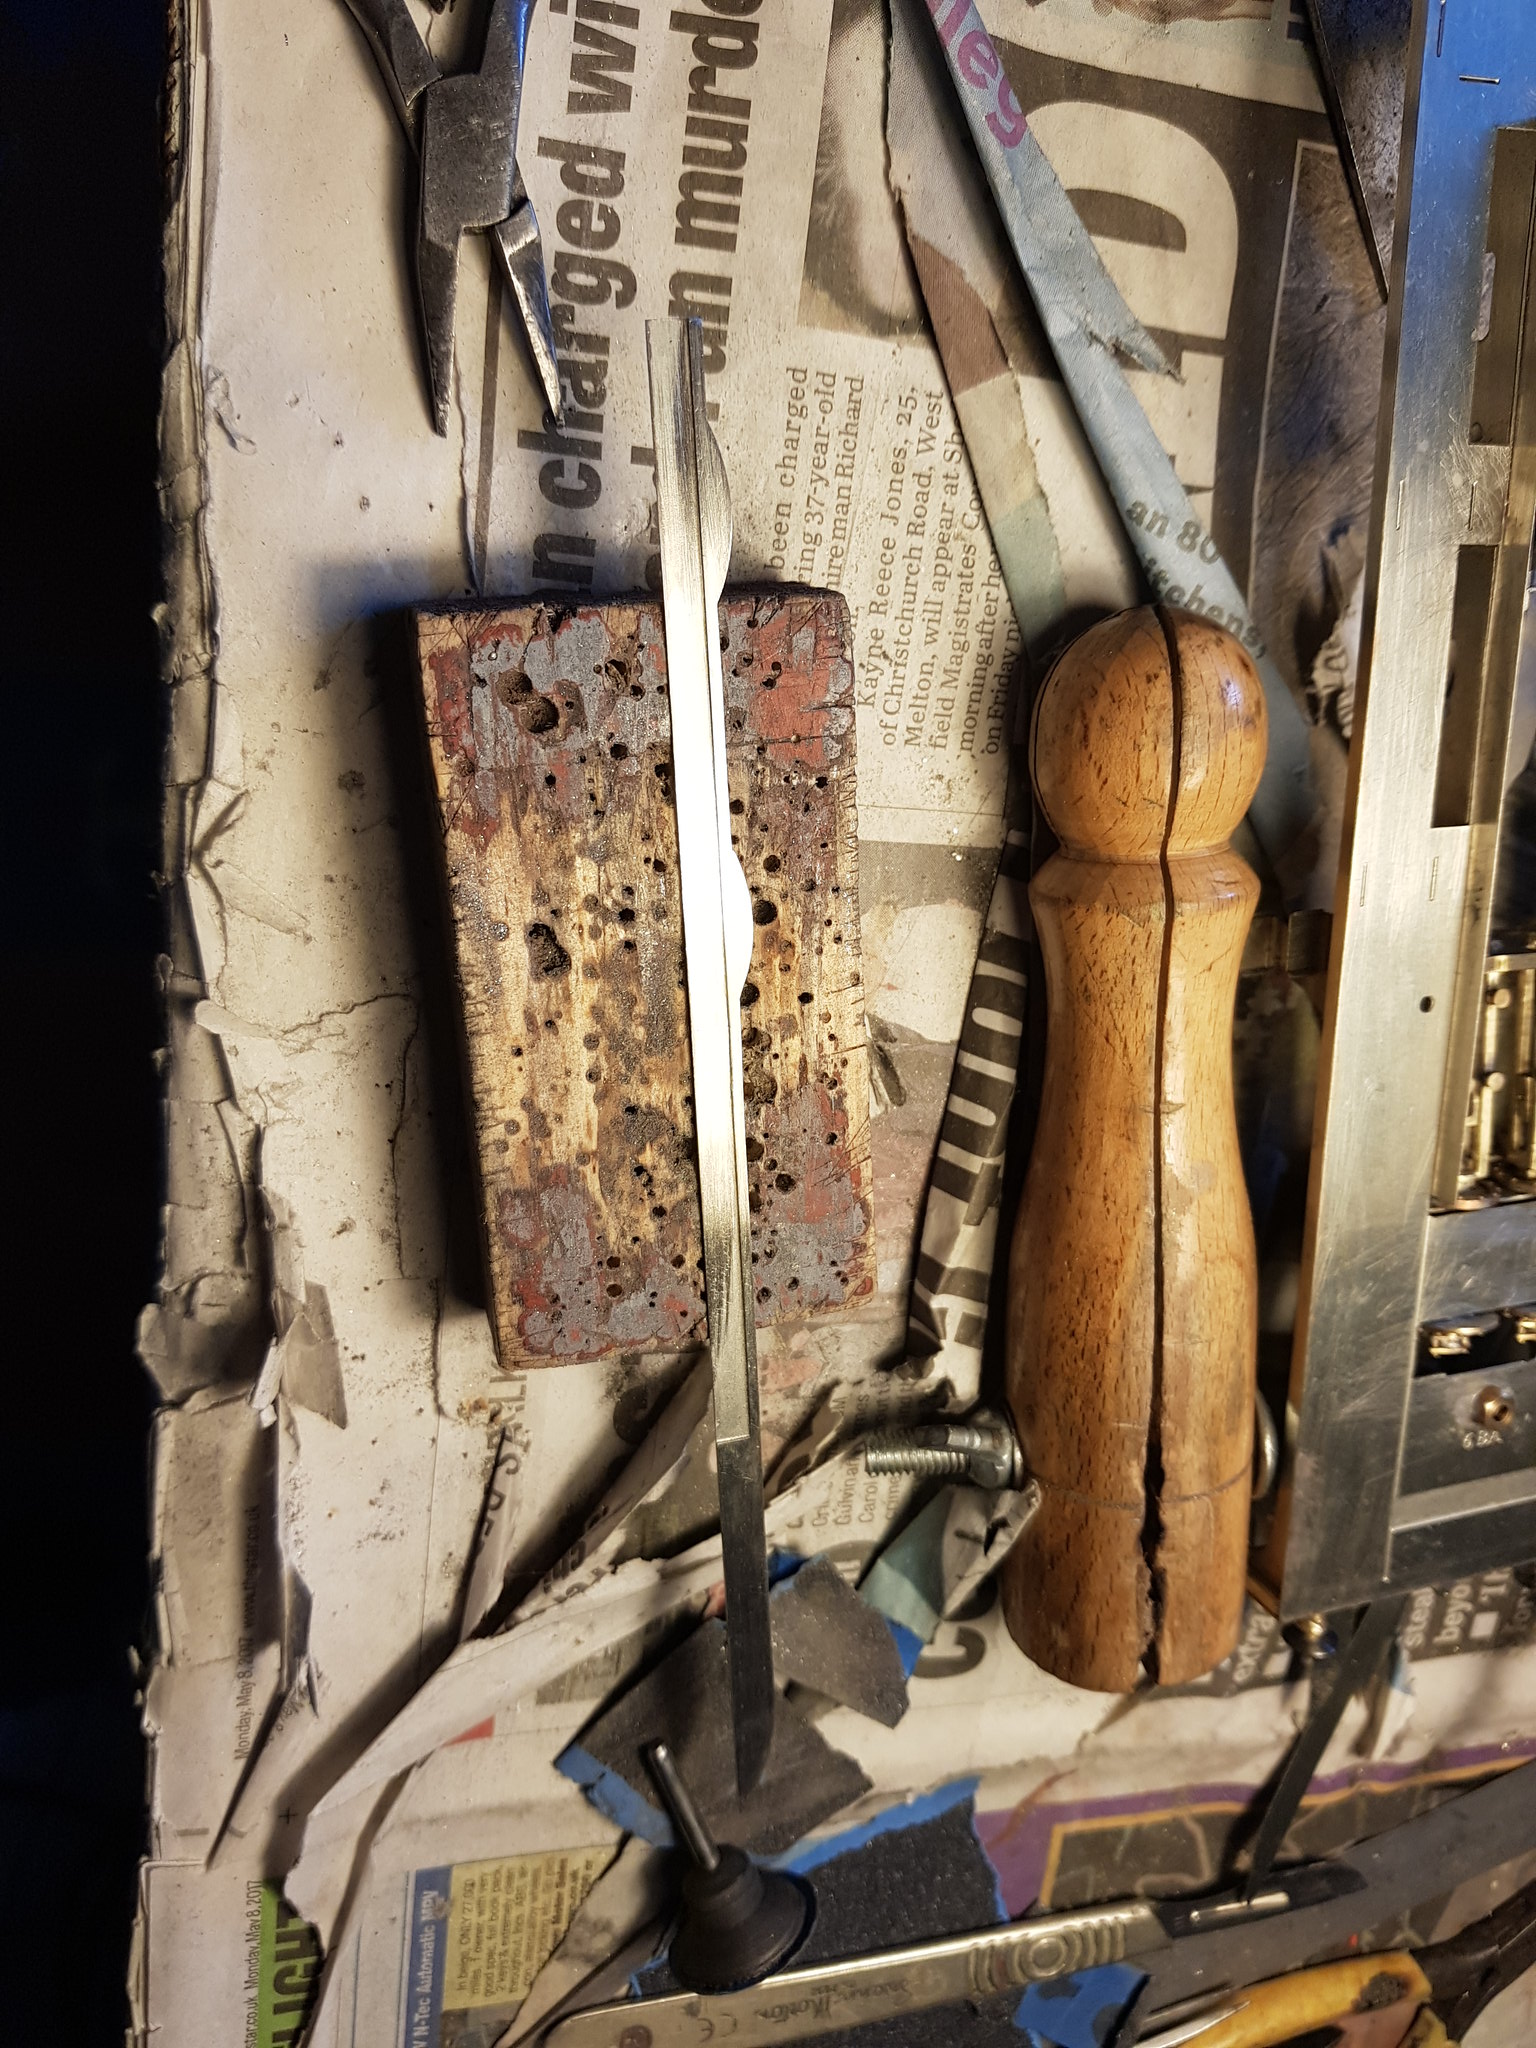
Will attach chassis sections next.....
Next I moved on to the section of the chassis above the footplate. The two etches to be laminated don't match, but again an easy fix. The outer portions are correct, the half moons for the splashers are in the wrong place on the inner etch.
Here's what I did. First make a cut through the inner lamination, the one with the rebate . I did it near to the front of the front 'moon.'
Then solder the rear portion of the inner etch to the outer etch aligning the half moons.
Then I cut off the bit hanging over the end and soldered it to the front.
It's all self explanatory looking at the pics. Then solder the front of the inner etch to the outer etch and make good....phew. Easier than it looks honest.
Will attach chassis sections next.....

")


 - I'll have to desist then....