You are using an out of date browser. It may not display this or other websites correctly.
You should upgrade or use an alternative browser.
You should upgrade or use an alternative browser.
Nick Dunhill's 7mm W (A6) or Whitby Tank Workbench
- Thread starter Nick Dunhill
- Start date
Nick Dunhill
Western Thunderer
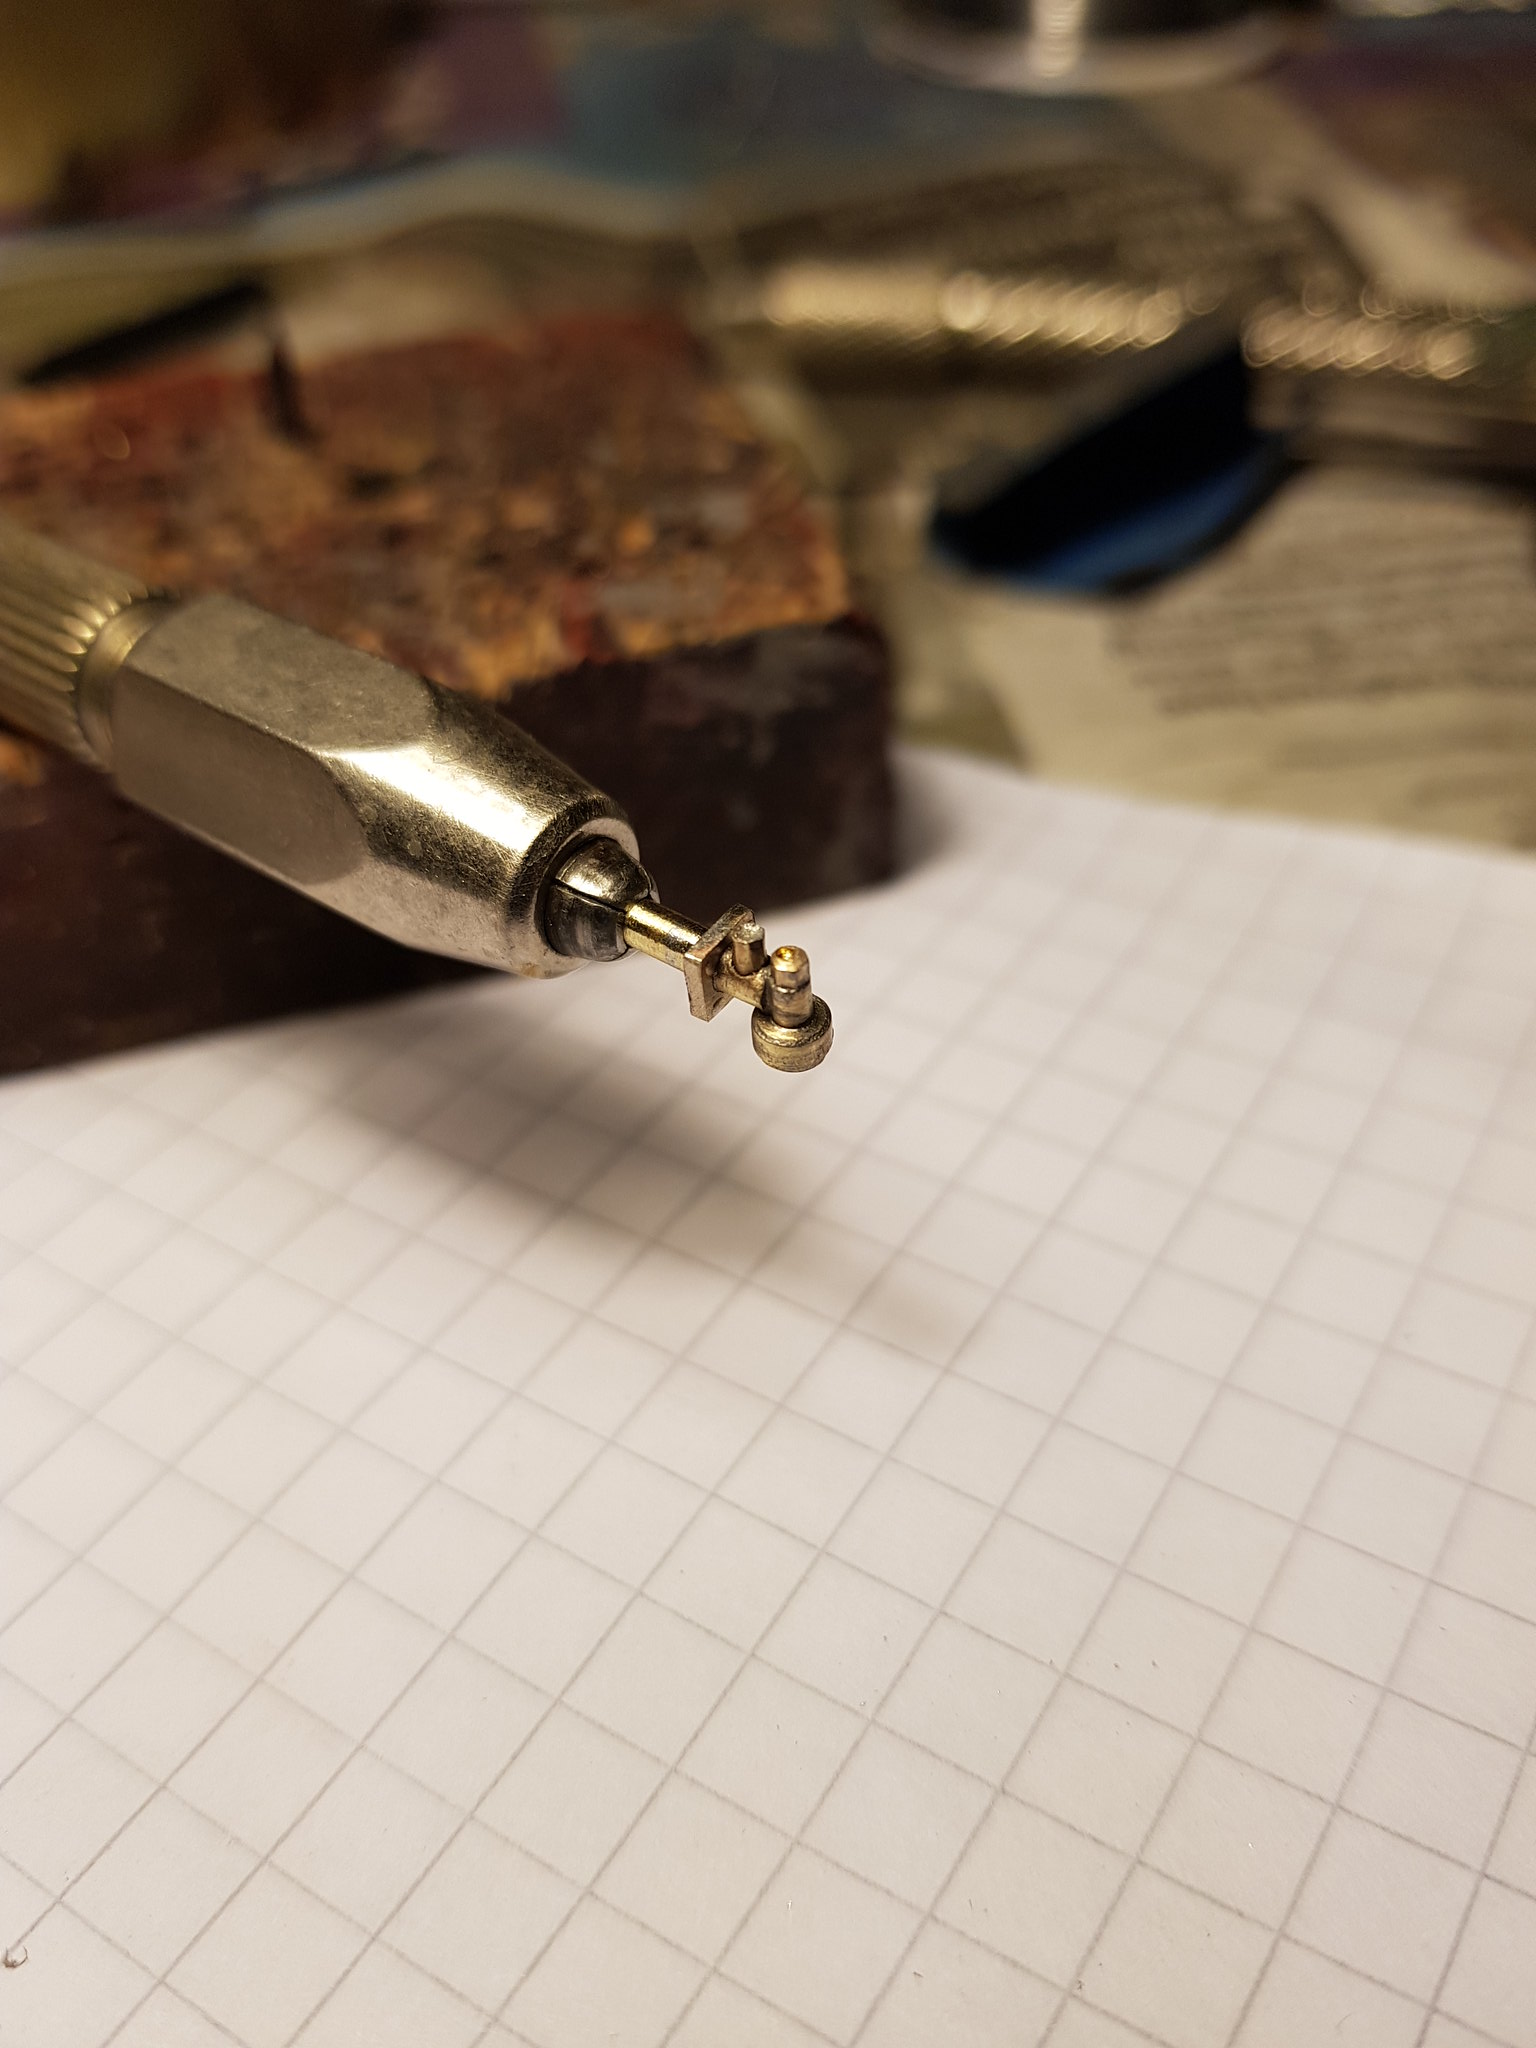
...bit of pattern making this week. J hangers and equalising beam for loco suspension, An injector, an anti-vacuum valve and an atomiser for the cab.
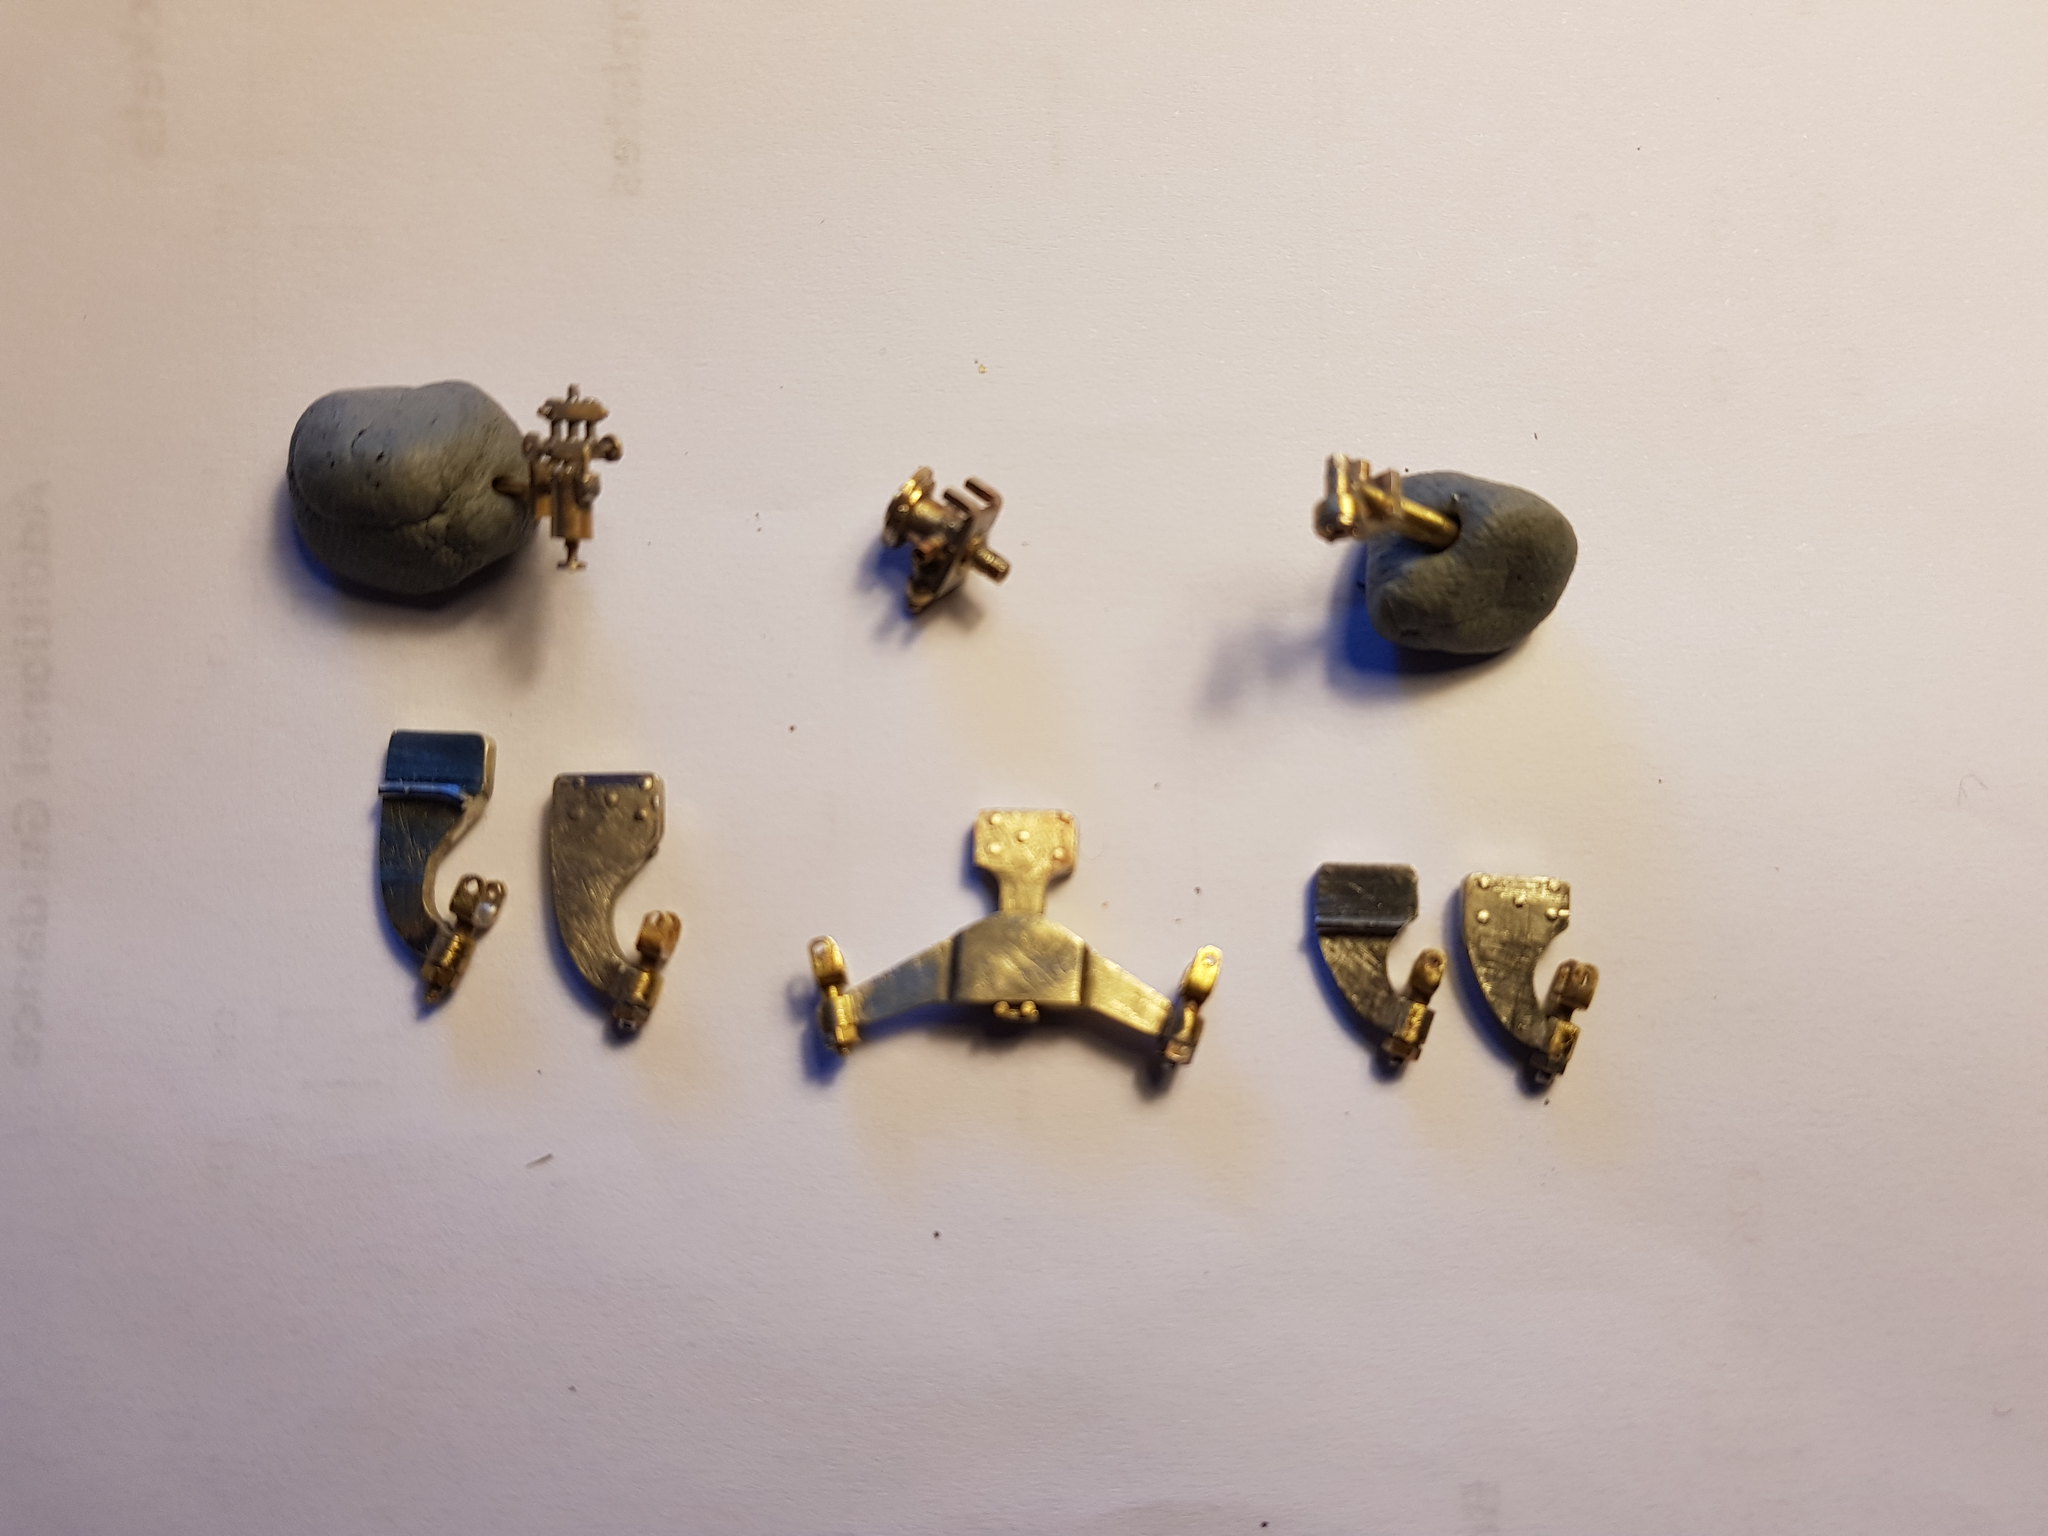
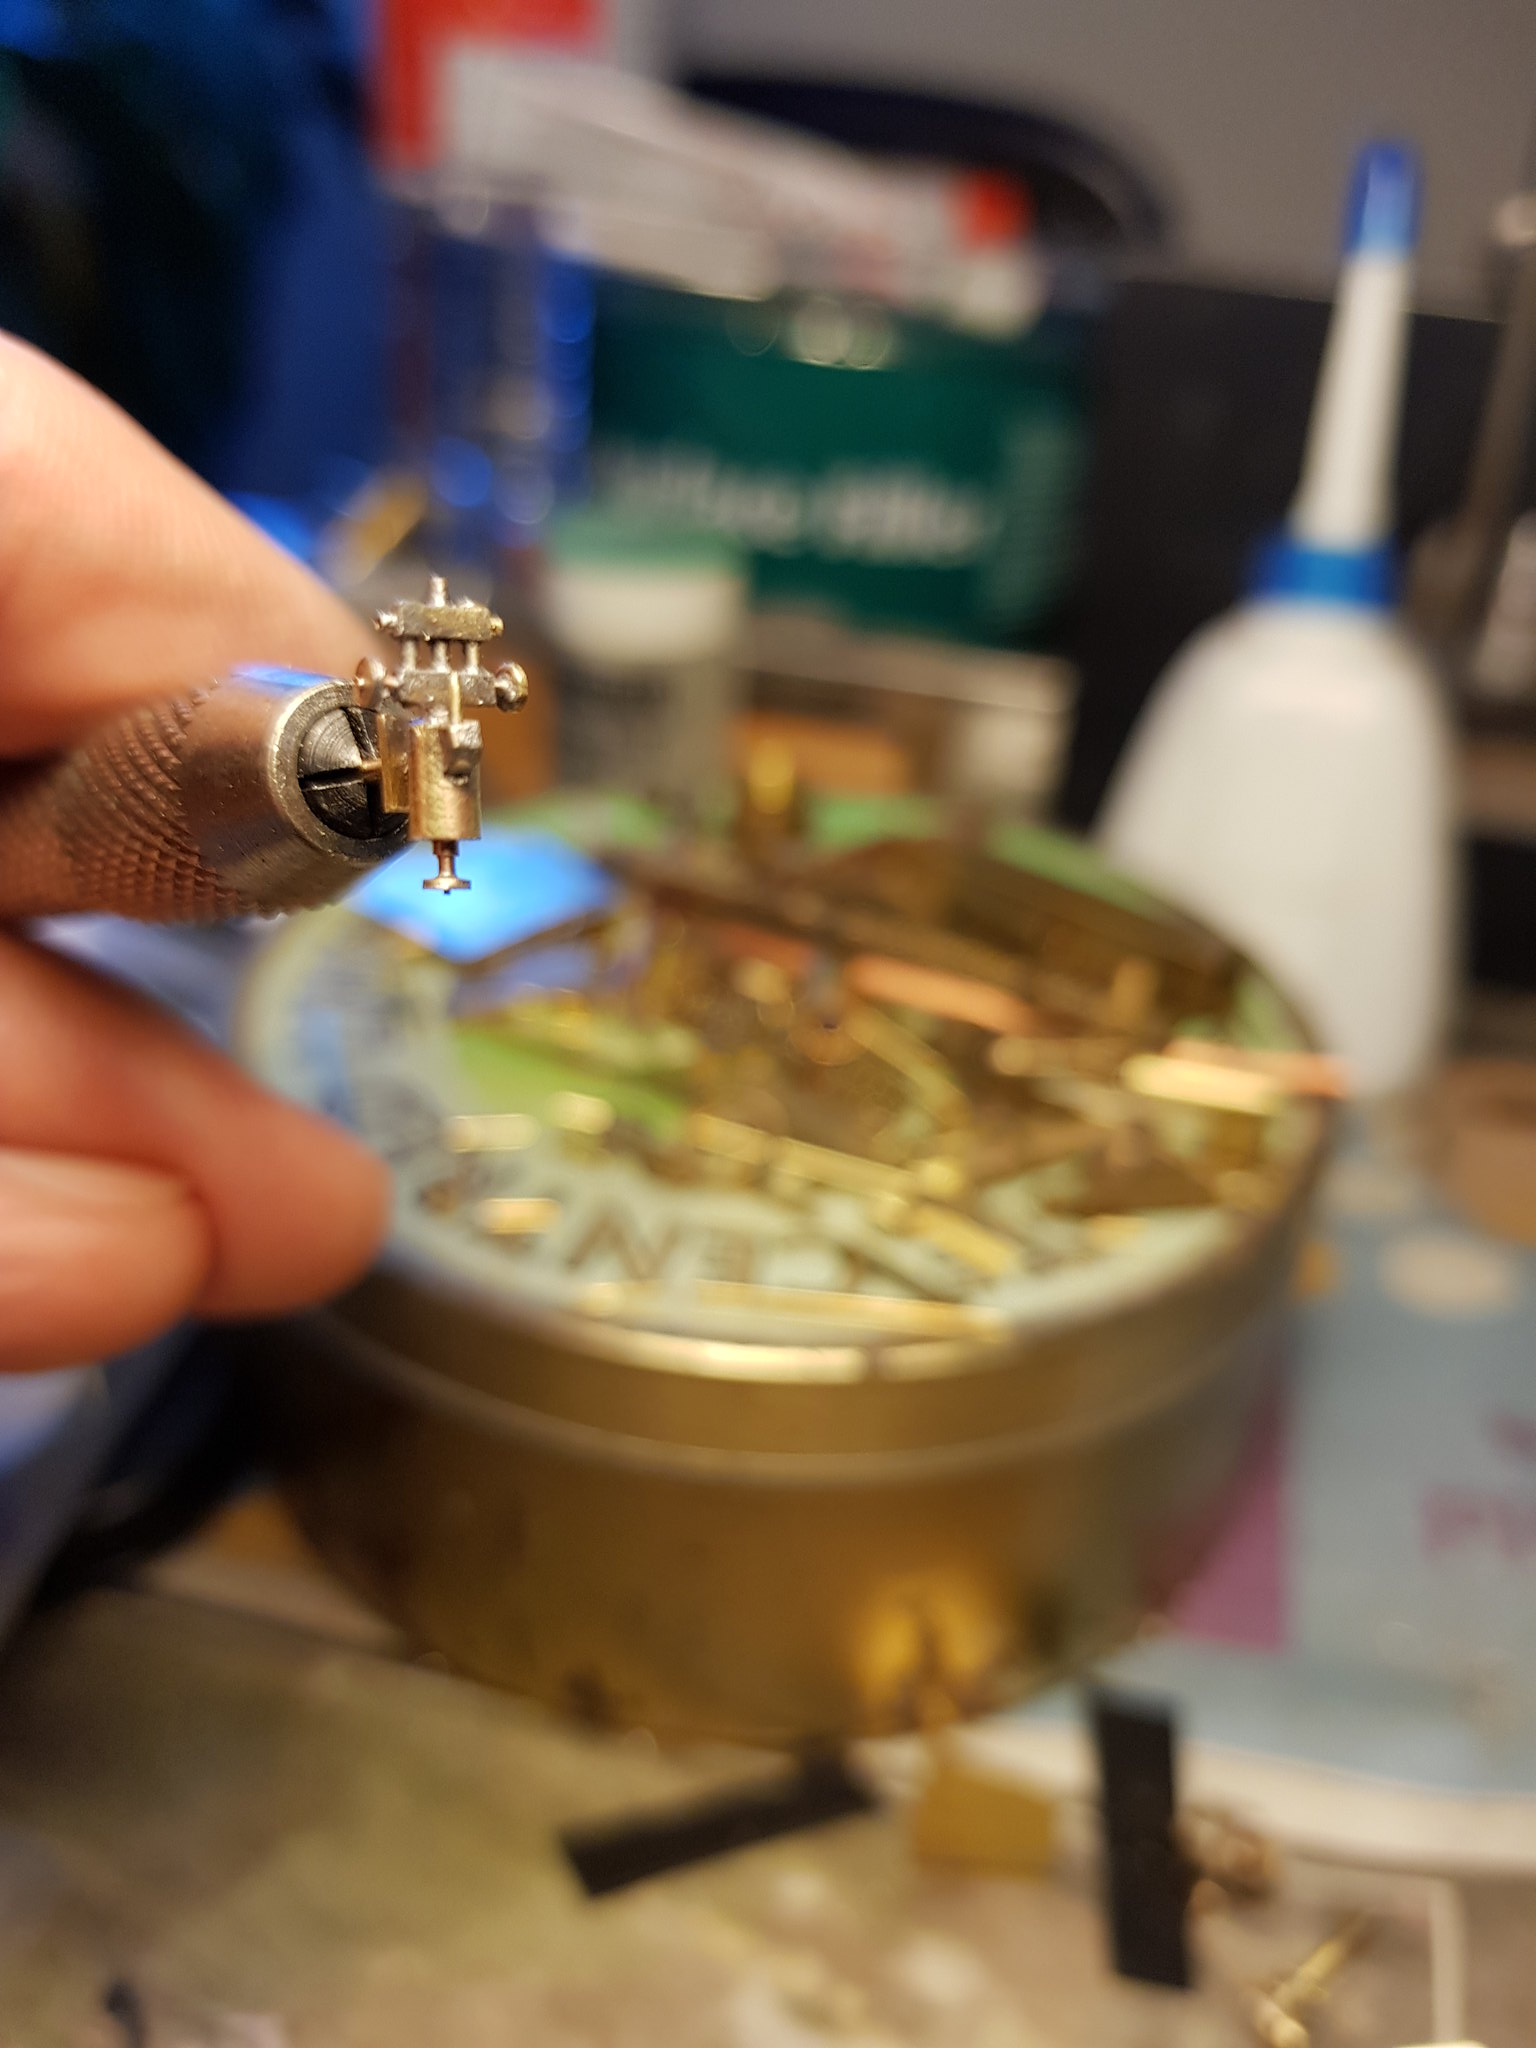
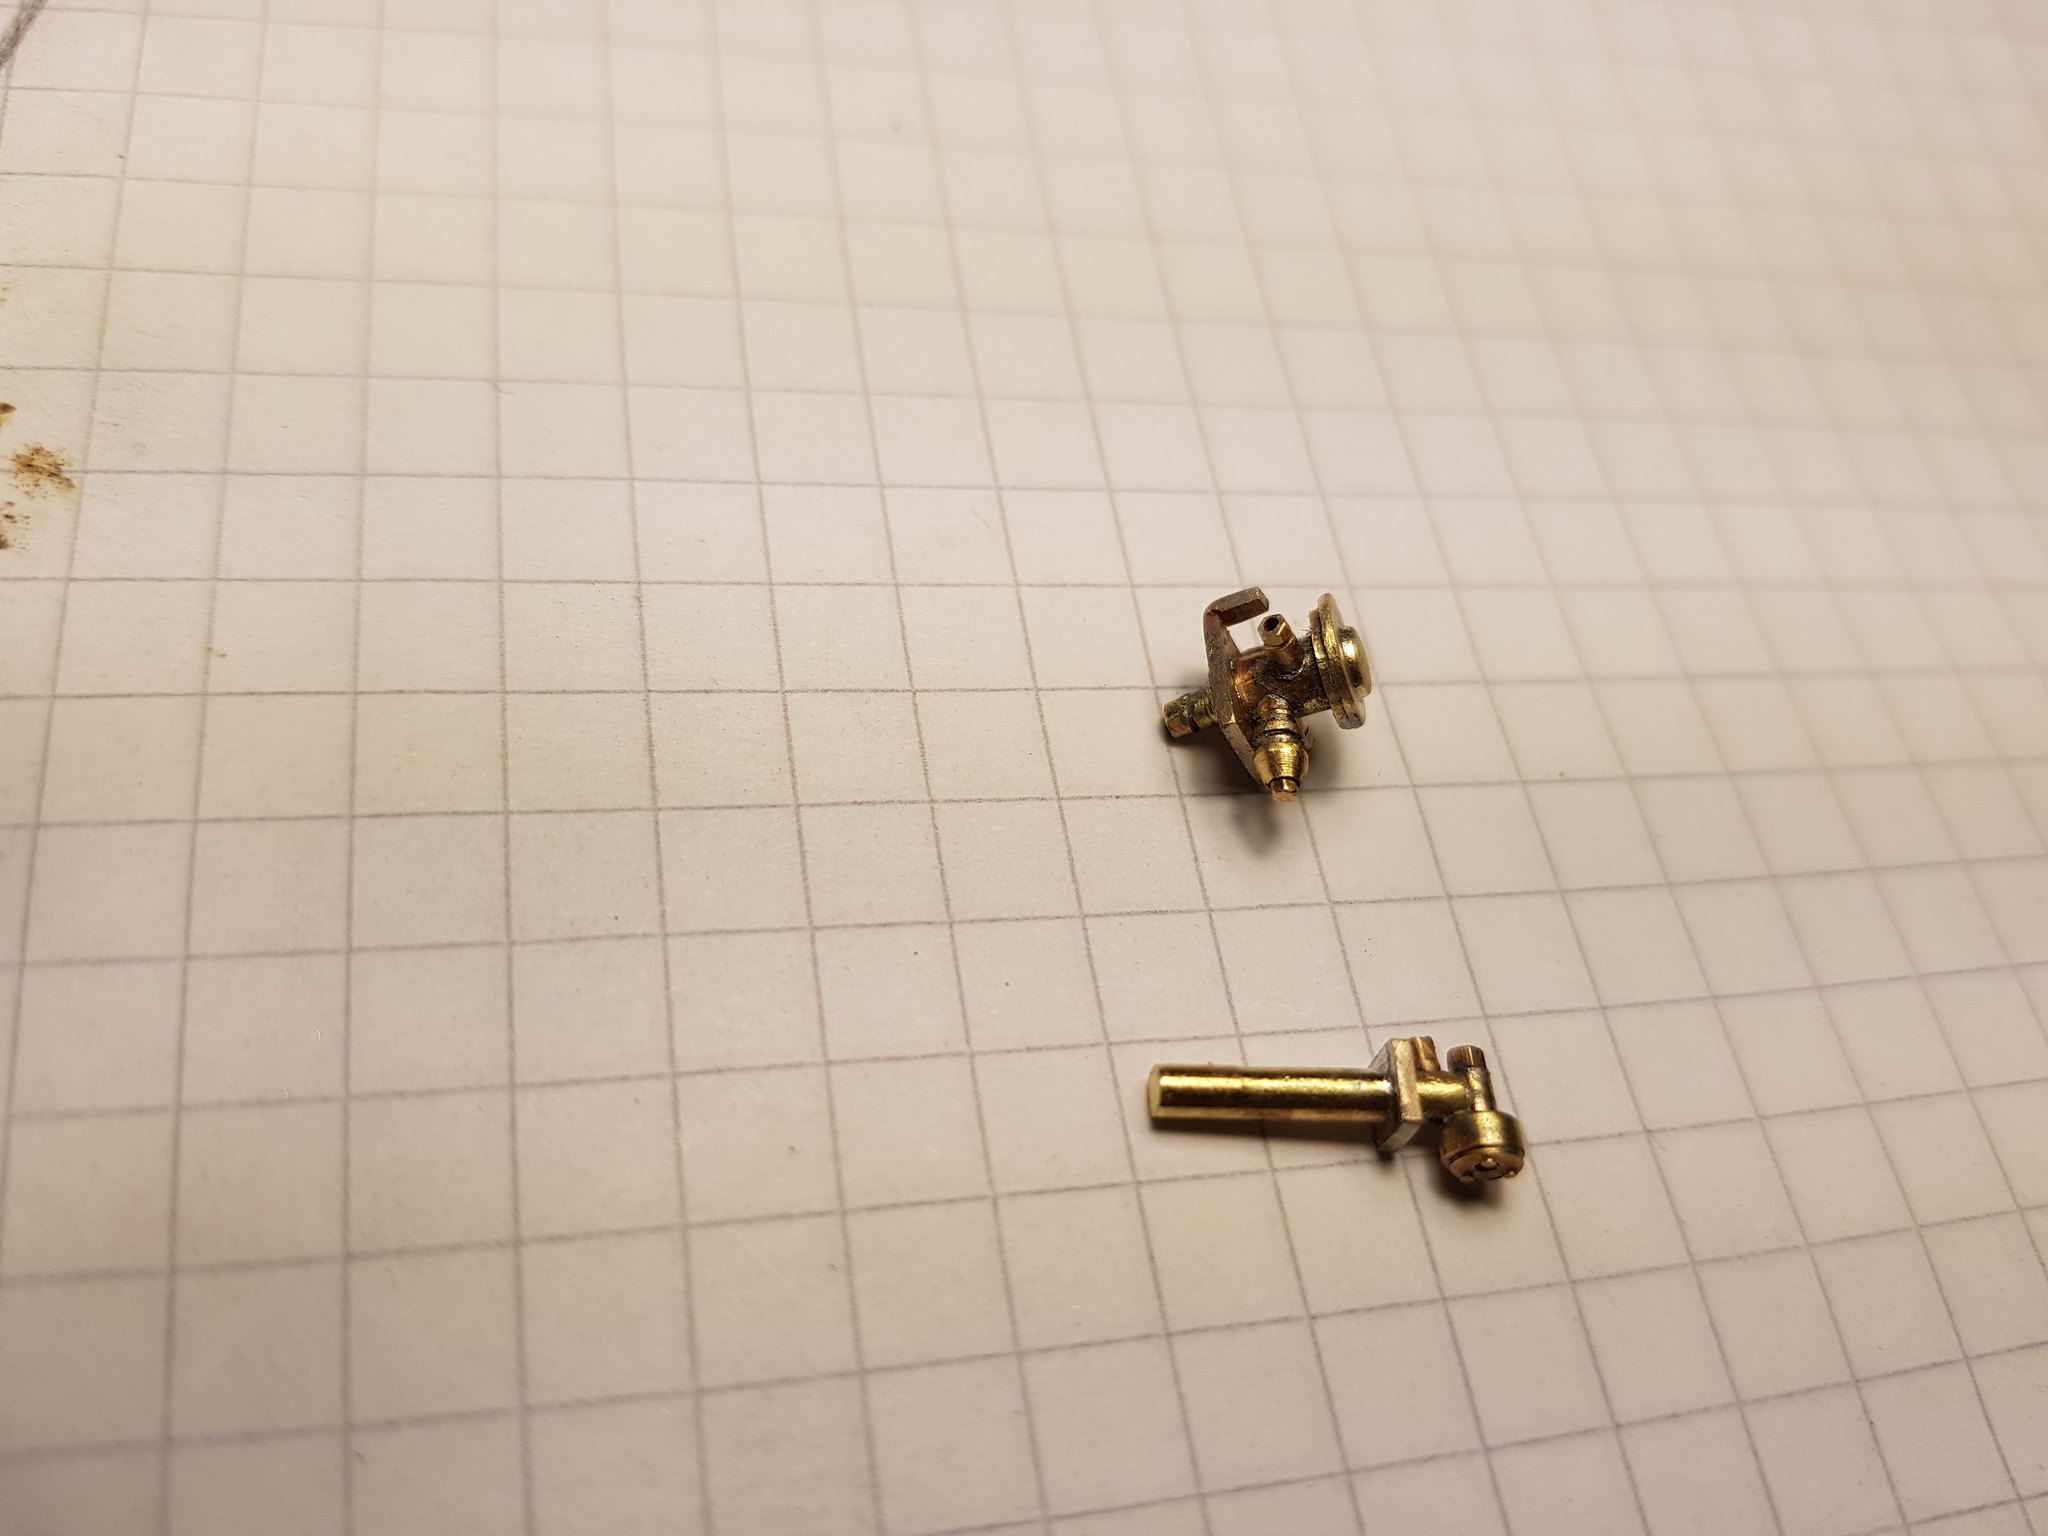
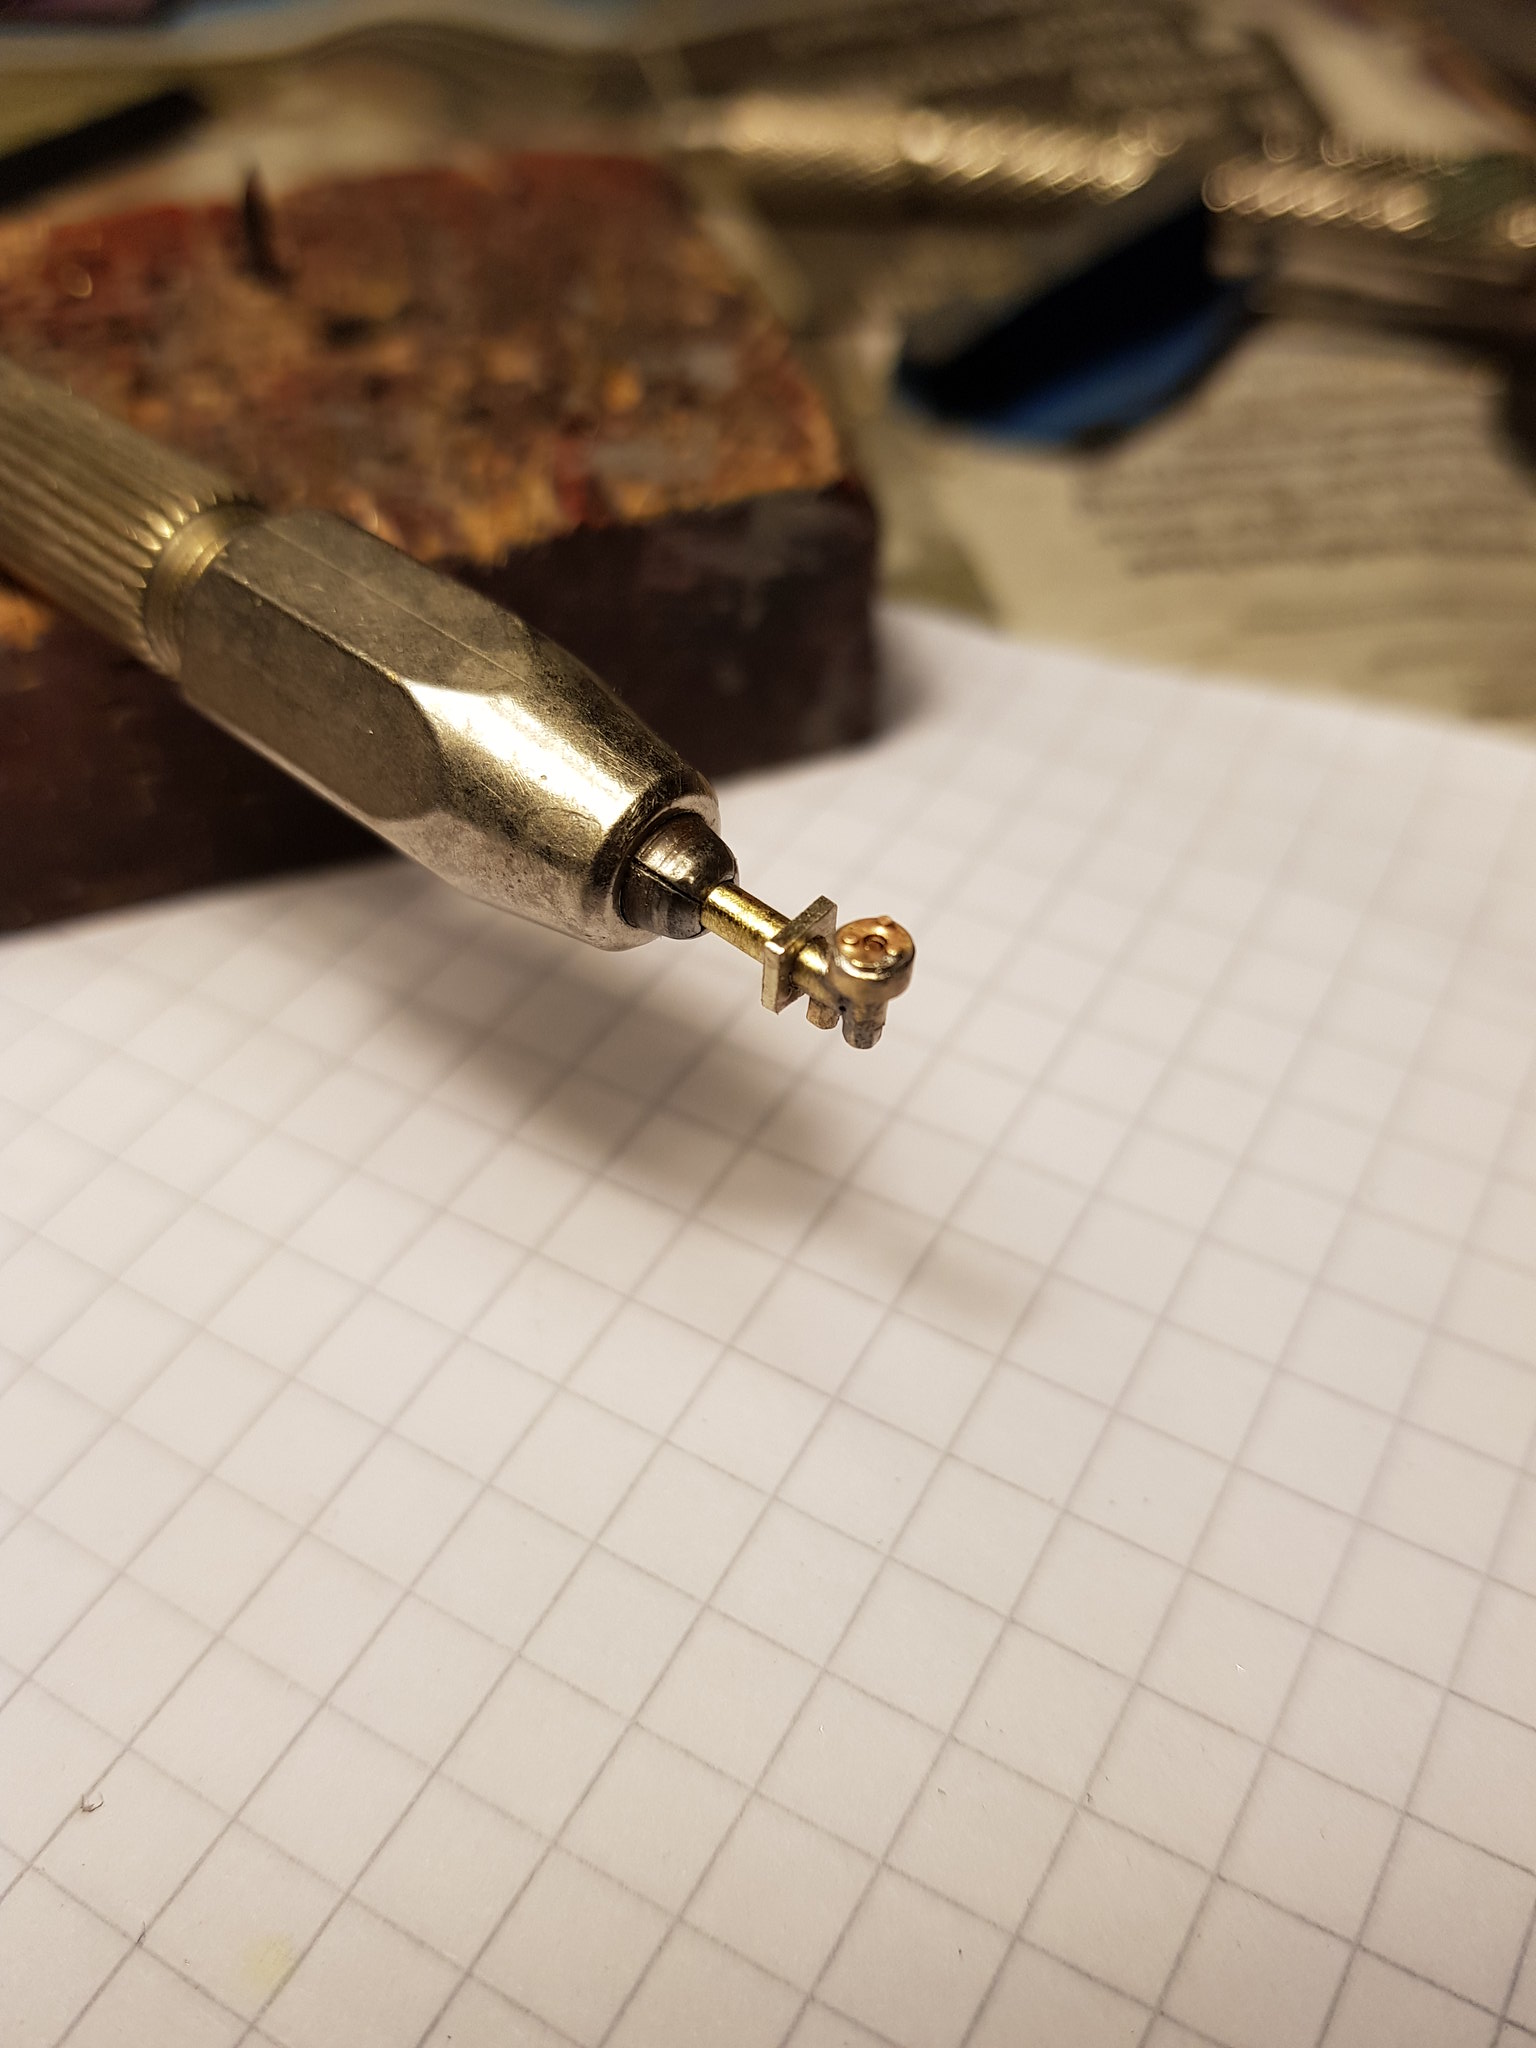
Someone is machining me a sand box and I'll make a reversing lever when I've made the tank inner inside the cab.....
Someone is machining me a sand box and I'll make a reversing lever when I've made the tank inner inside the cab.....
FiftyFourA
Western Thunderer
Sorry about the langauge but ... bloody hell!
That is some work Nick ... or are you taking pictures of the real thing and then using Photoshop to make them look like models?
I keep lookng at your work and trying to emulate it but I doubt if I will get anywhere near it ... but please keep posting, it's the only way we will take things forward in this area or any other (like proper railway operation).
Peter
warren haywood
Western Thunderer
Supose sat making those is more interesting than watching Sheff Weds)")
Nick Dunhill
Western Thunderer
At the moment yes.
Locomodels
Western Thunderer
Beautiful pattern making Nick, do you silver solder them?
Paul.
Paul.
Nick Dunhill
Western Thunderer
Done with electrical solder Paul, and using 145 solder for filler.
Nick Dunhill
Western Thunderer
I'm after a Mason Reducing Valve casting. If you look at the drawing and the LHS injector, there is a pipe coming out of the left side. I believe that's the steam heating pipe, and if you follow it, it goes through a Mason Reducing Valve (pot bellied thing) and off through the cab floor via a larger diameter pipe. Apparently they're standard GWR fittings so someone must do a casting for it. Any ideas anyone?


Ta.....
Ta.....
Heather Kay
Western Thunderer
I probably have dozens in my Bits Box. It's a standard JLTRT casting on a sprue that has one or two bits used in most kits. You're welcome to have one.
I'll do a photo later, hopefully identifying the right thing!
I'll do a photo later, hopefully identifying the right thing!
Heather Kay
Western Thunderer

I believe the indicated parts are Mason's valves. If you want 'em, PM your address and I'll pop them in the post as soon as.
Nick Dunhill
Western Thunderer
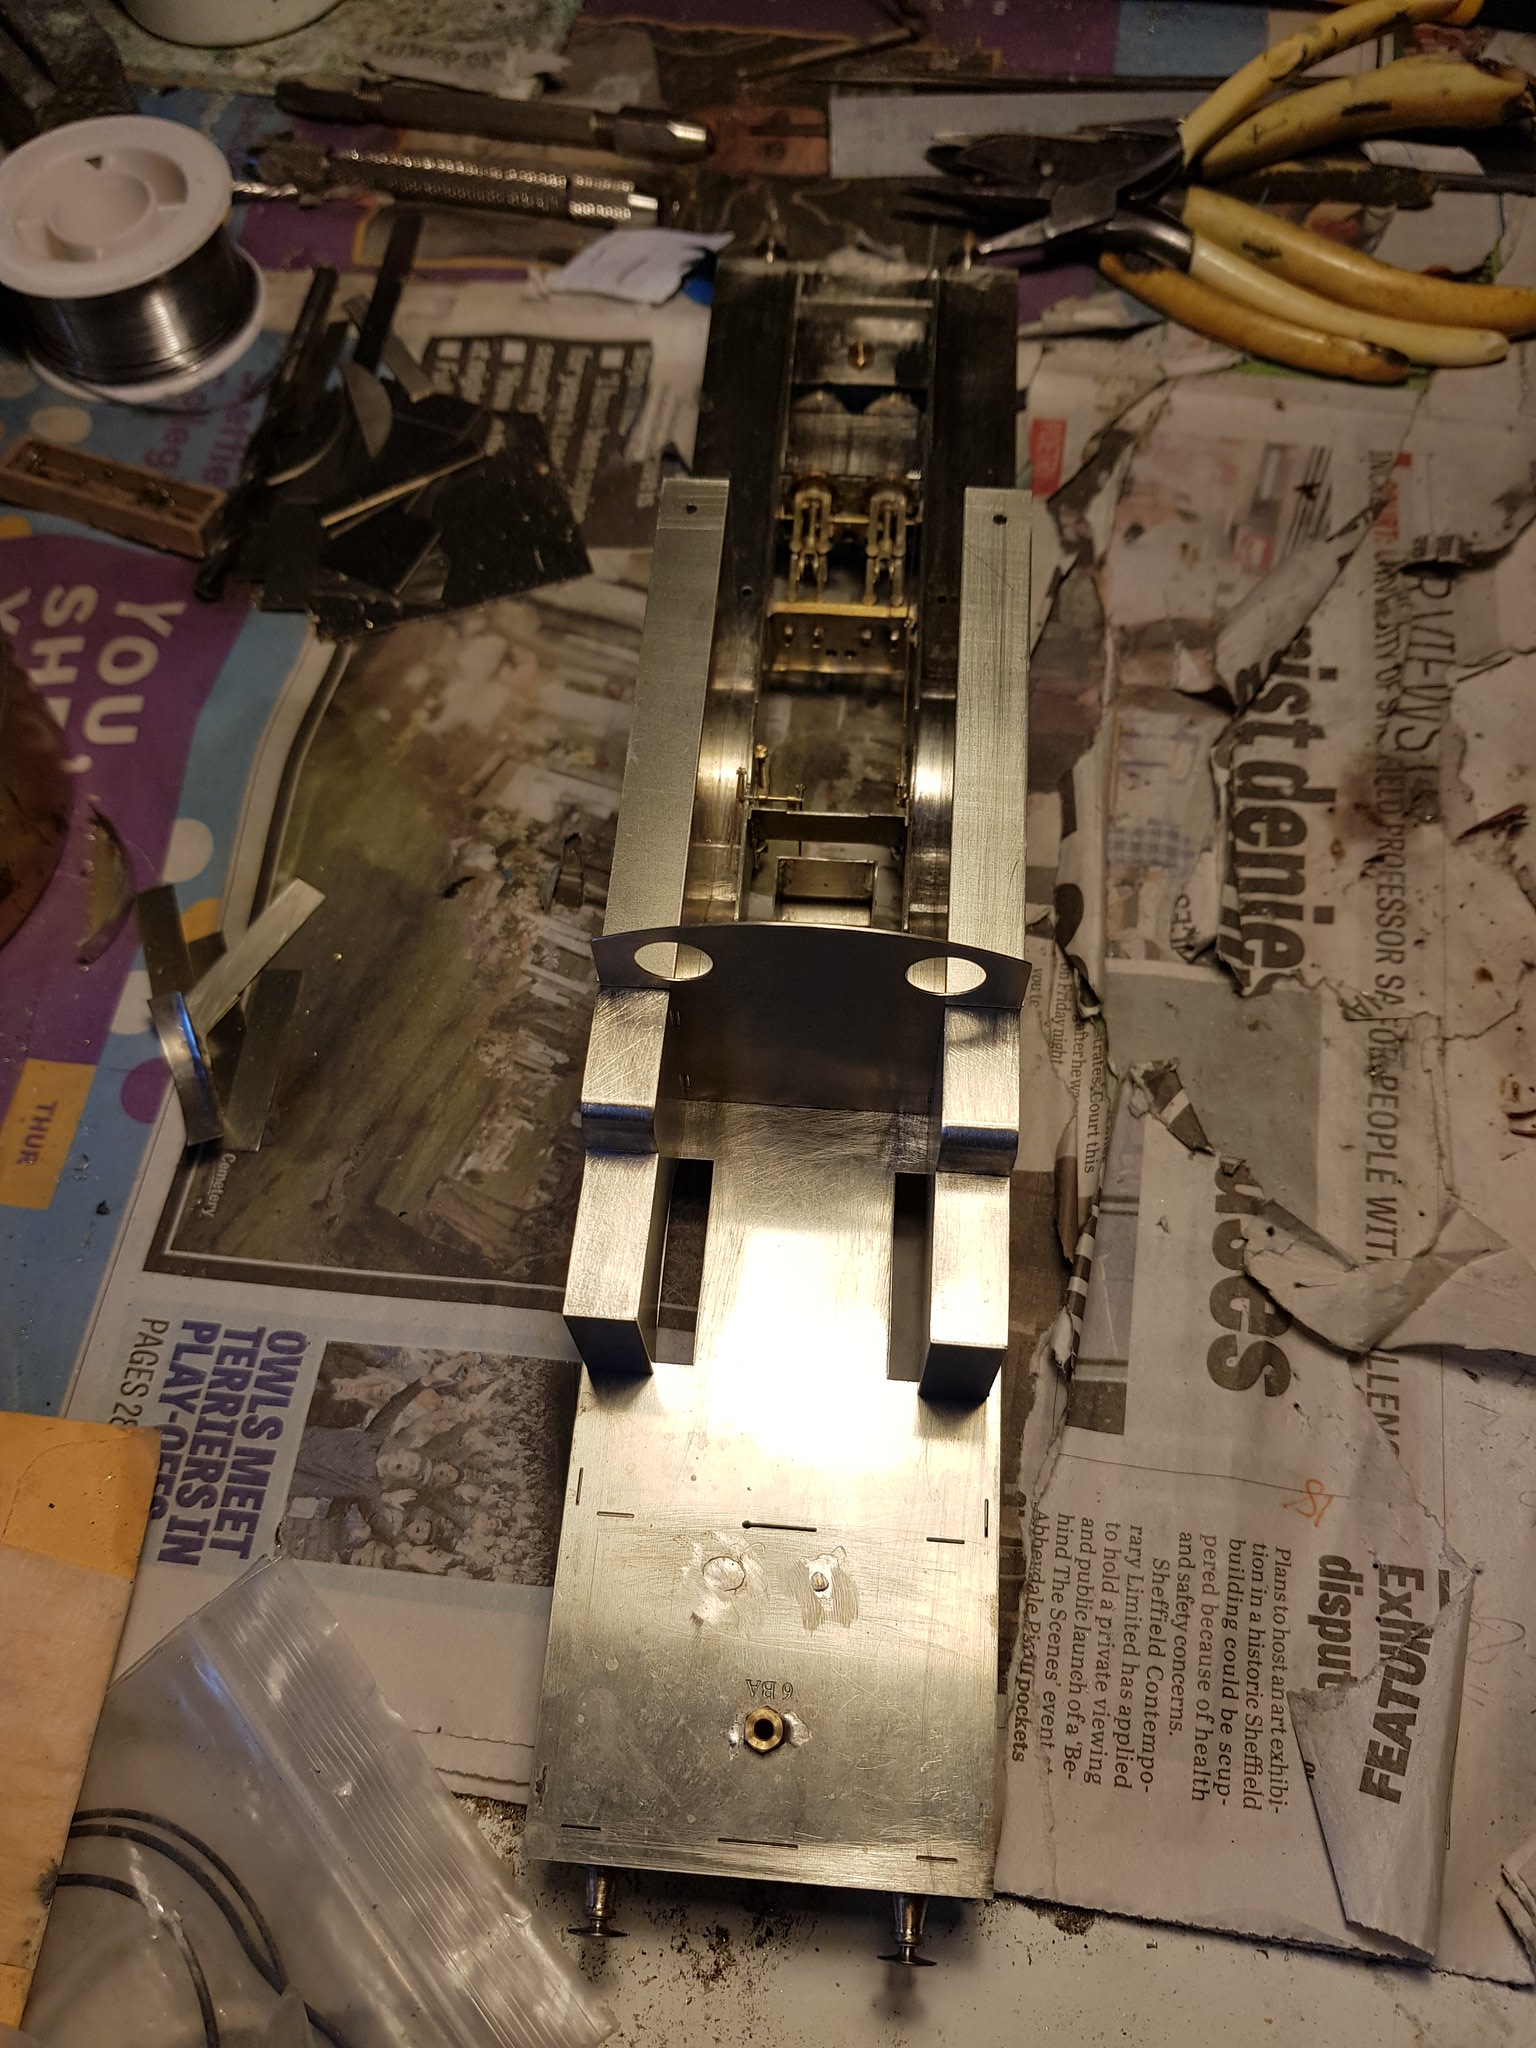
....I have curved the splasher tops and located them on the footplate using the inner tank panel. Then I soldered the inner tank panel in place and added the cab front.

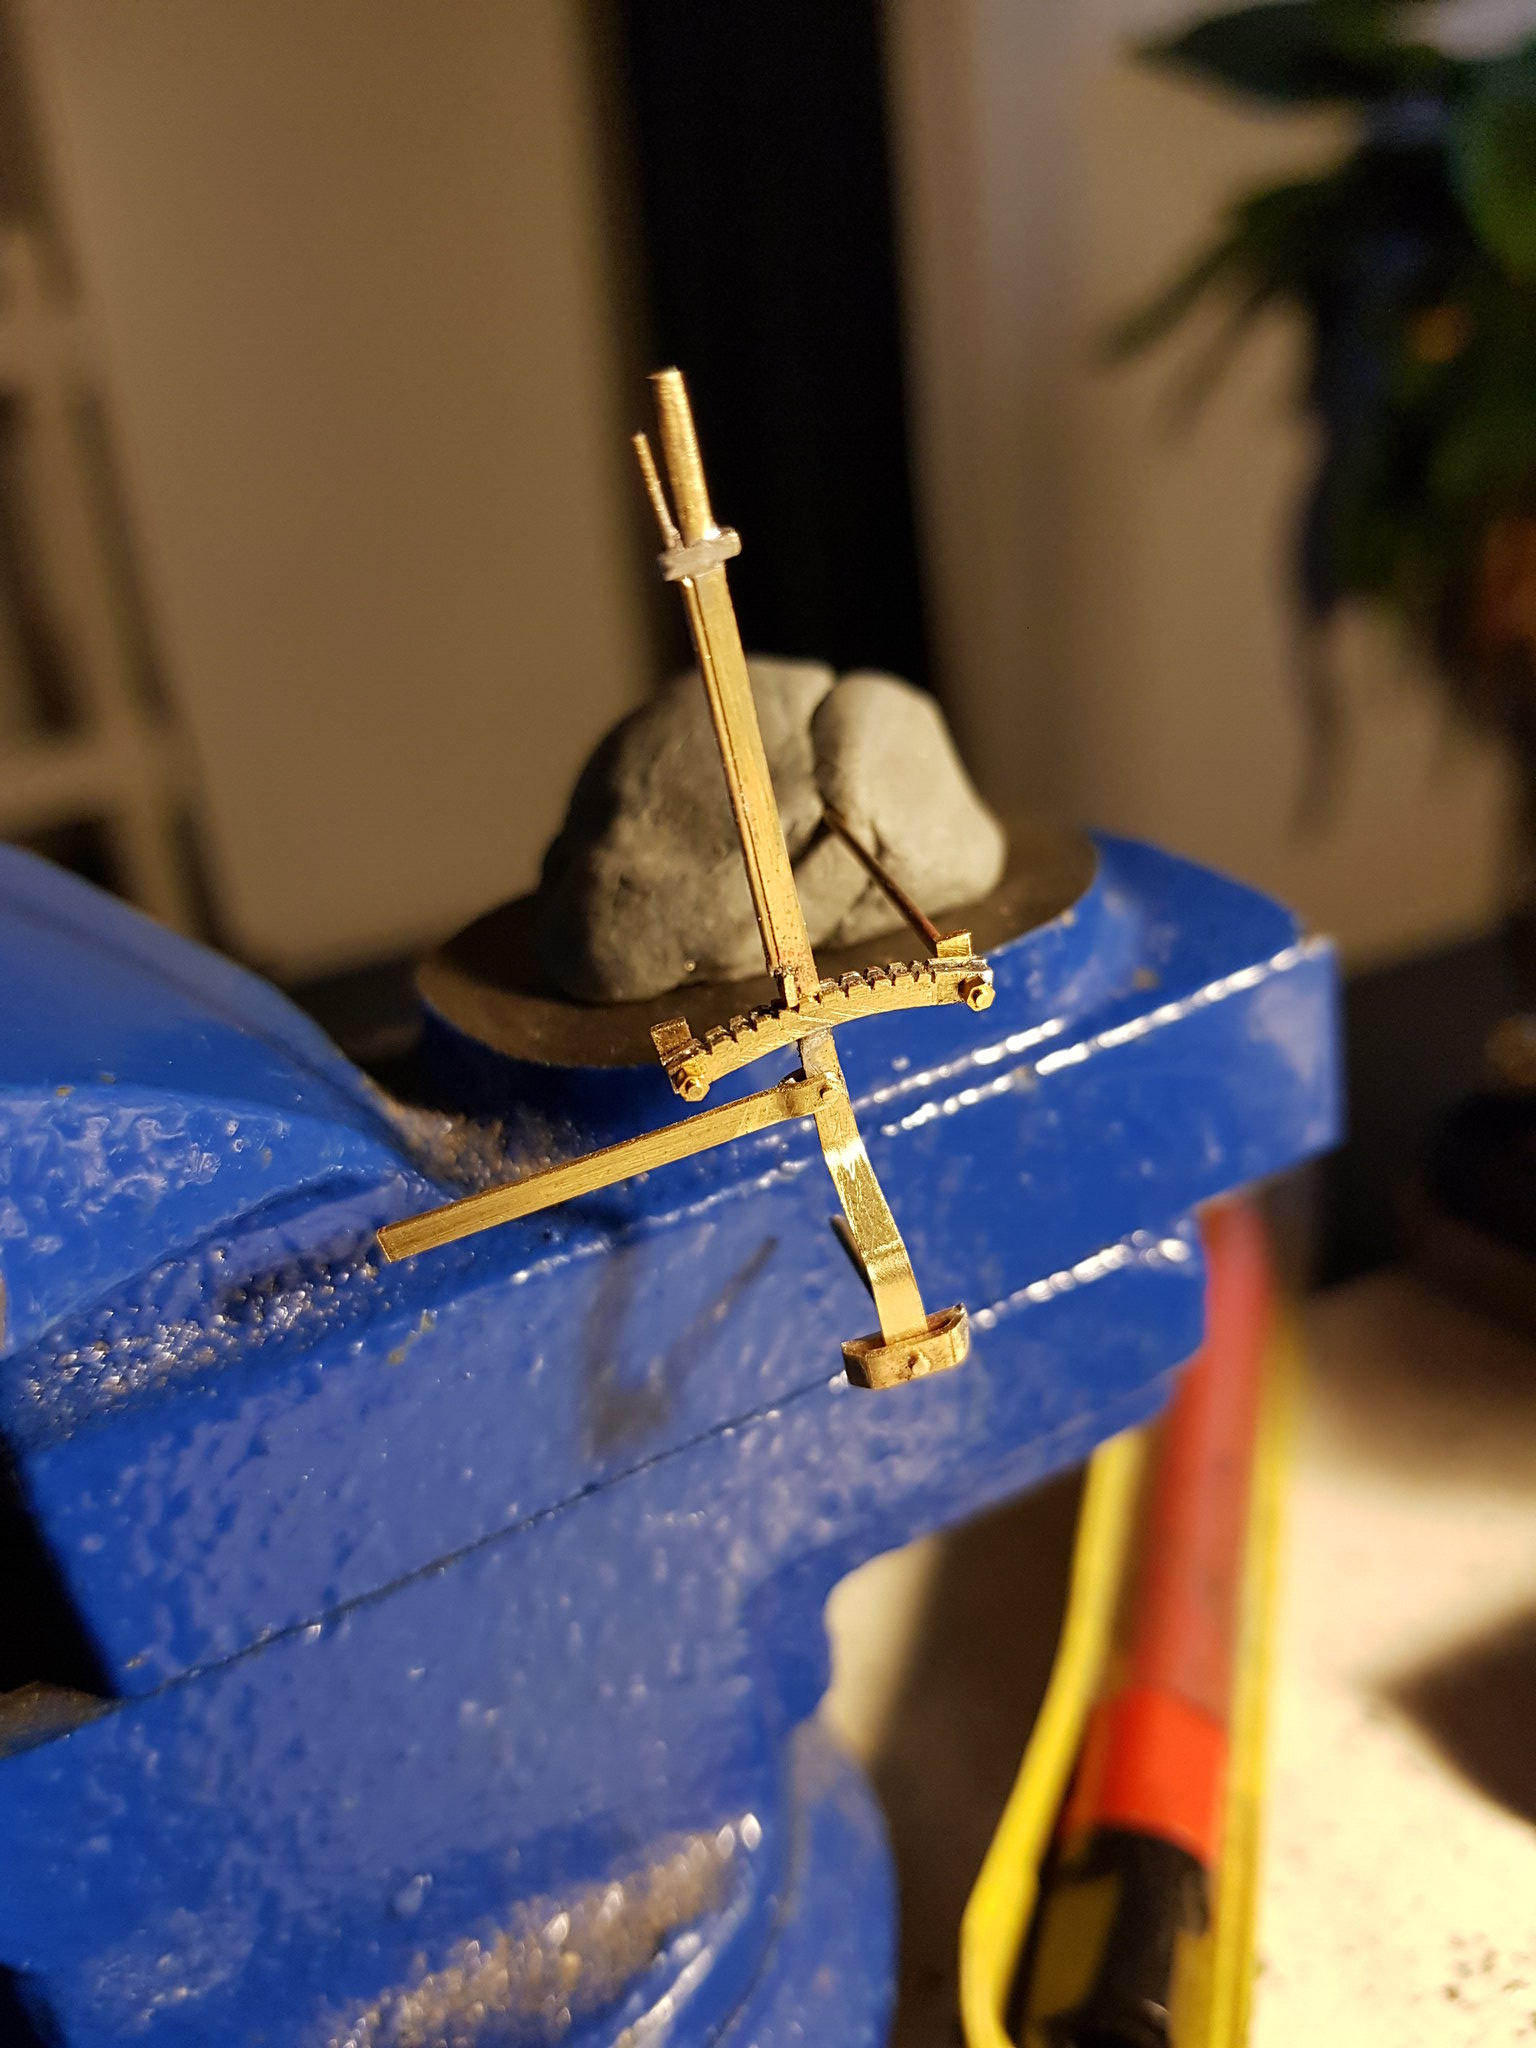
I also finished the last pattern, for the reverser.
More panelwork next.....
I also finished the last pattern, for the reverser.
More panelwork next.....
Rob Pulham
Western Thunderer
Wow Nick,
That reverser is superb
That reverser is superb

Locomodels
Western Thunderer
Mick, c,mon now did you ever have any real doubts? 

Paul.
Paul.
mickoo
Western Thunderer
Paul, very very much so!Mick, c,mon now did you ever have any real doubts?
Paul.
Even more so on a model that I've not had sight of and Nick is literally building test bed one and two.
C'tain cock up doesn't visit often these days, but when he does, he wreaks havoc on a biblical scale. Happily he seems to have solely and savagely targeted my A7 etches and not Nicks A6 or the B1 frames (thus far).
Maybe in thirty years time the files and photos will be released to the public

MD
Nick Dunhill
Western Thunderer
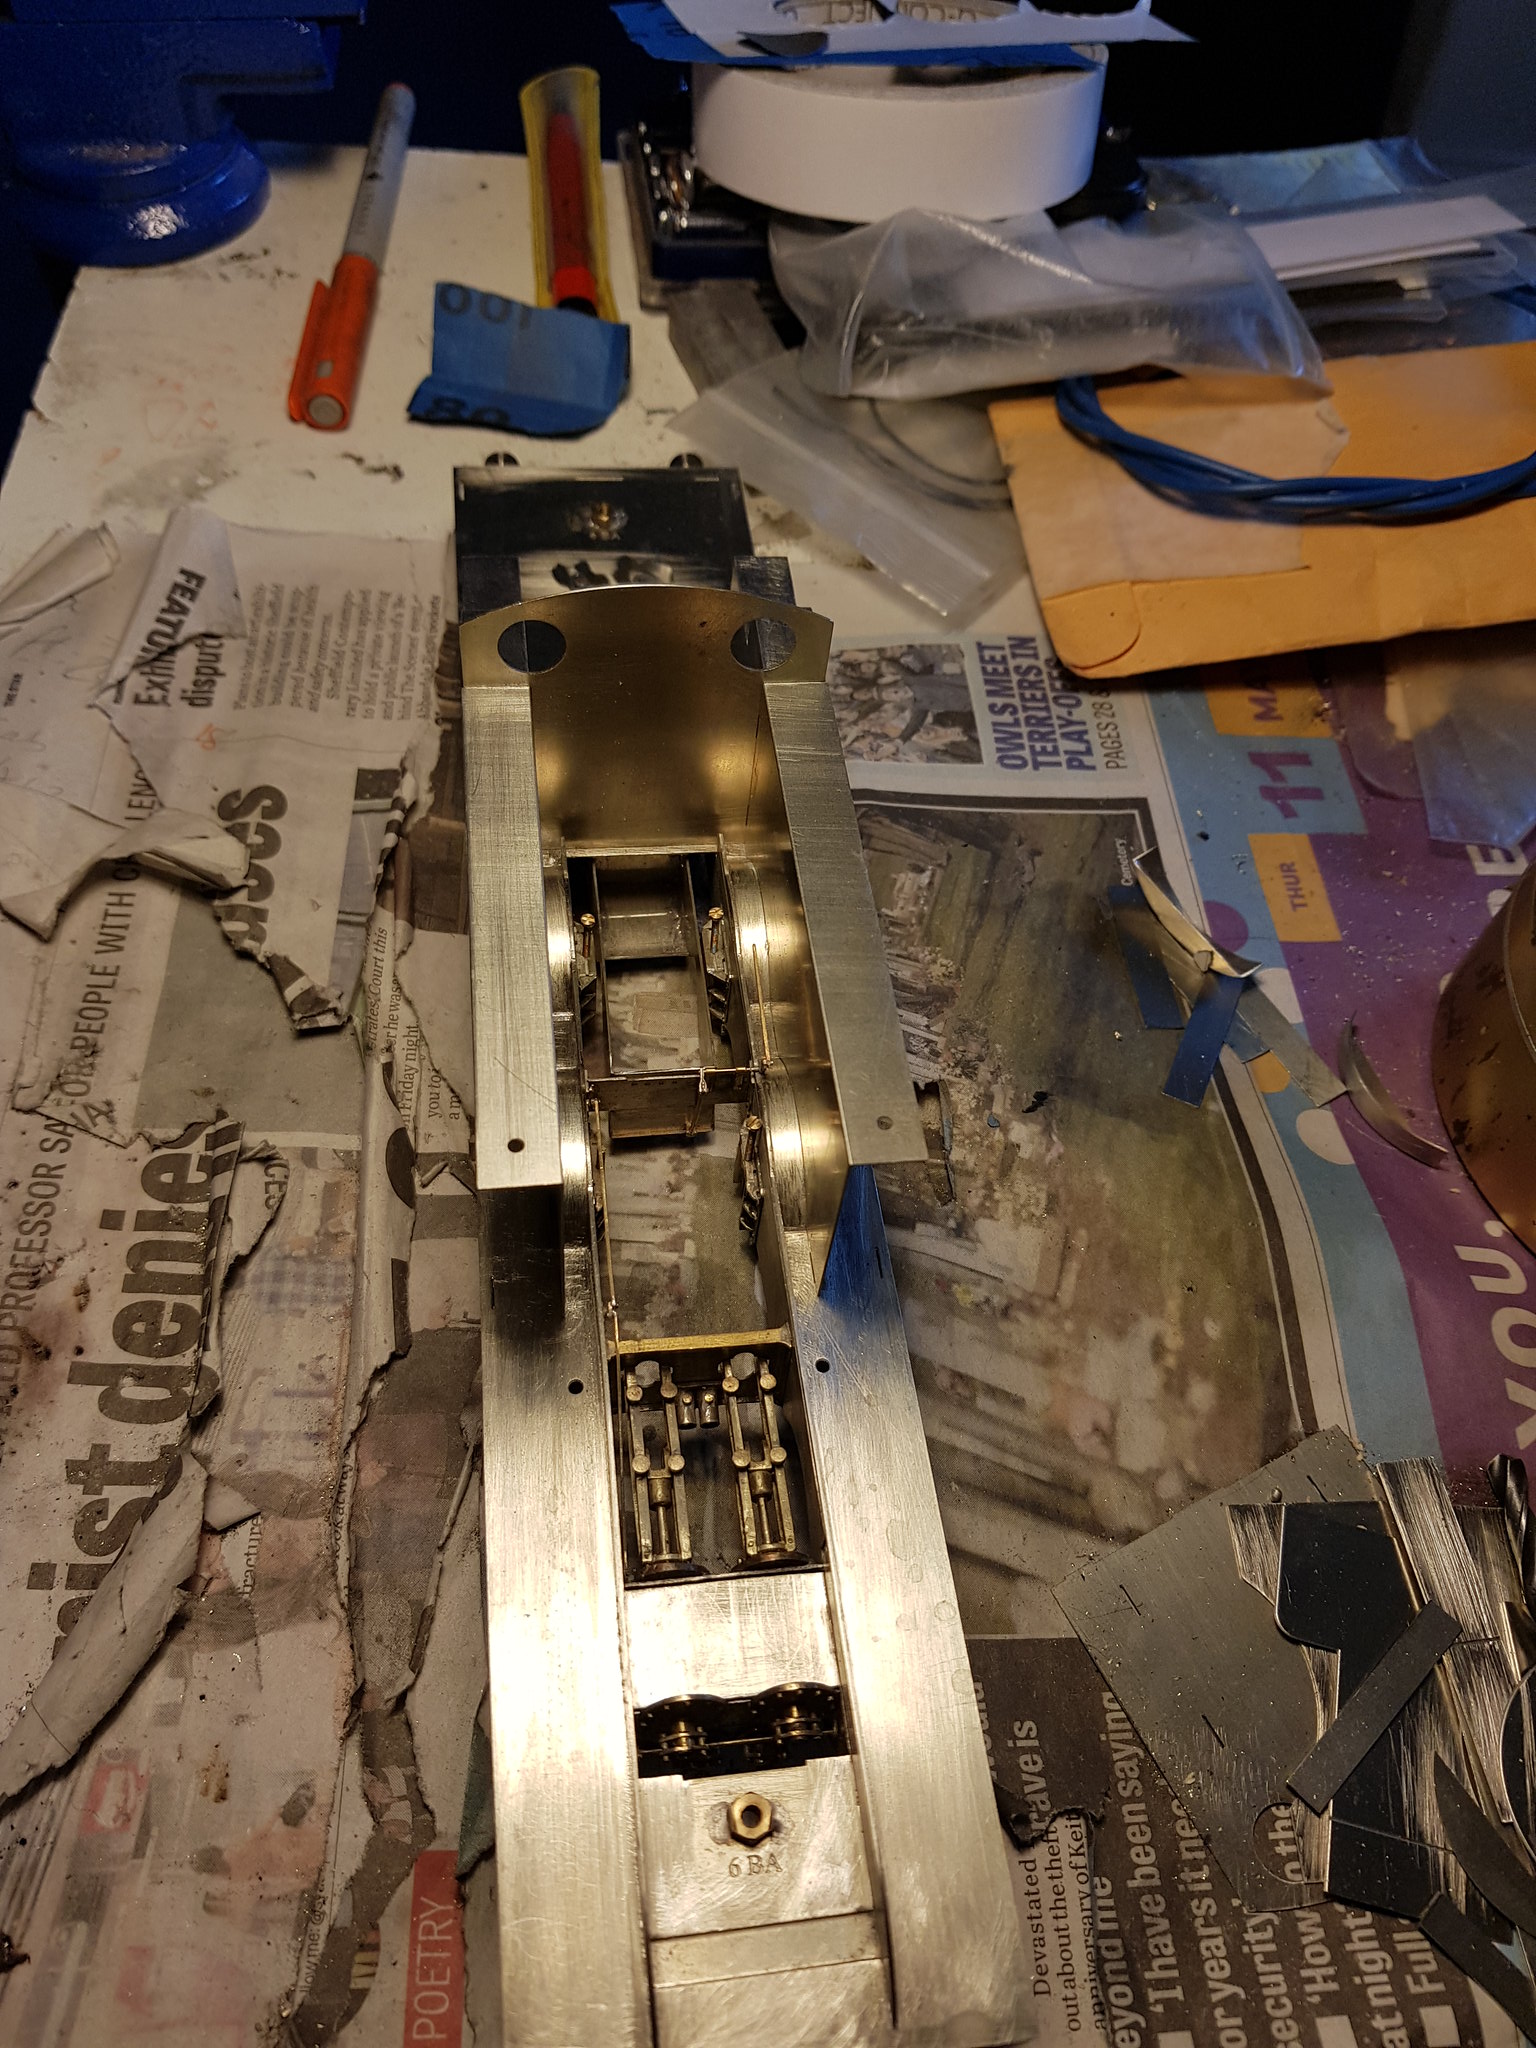
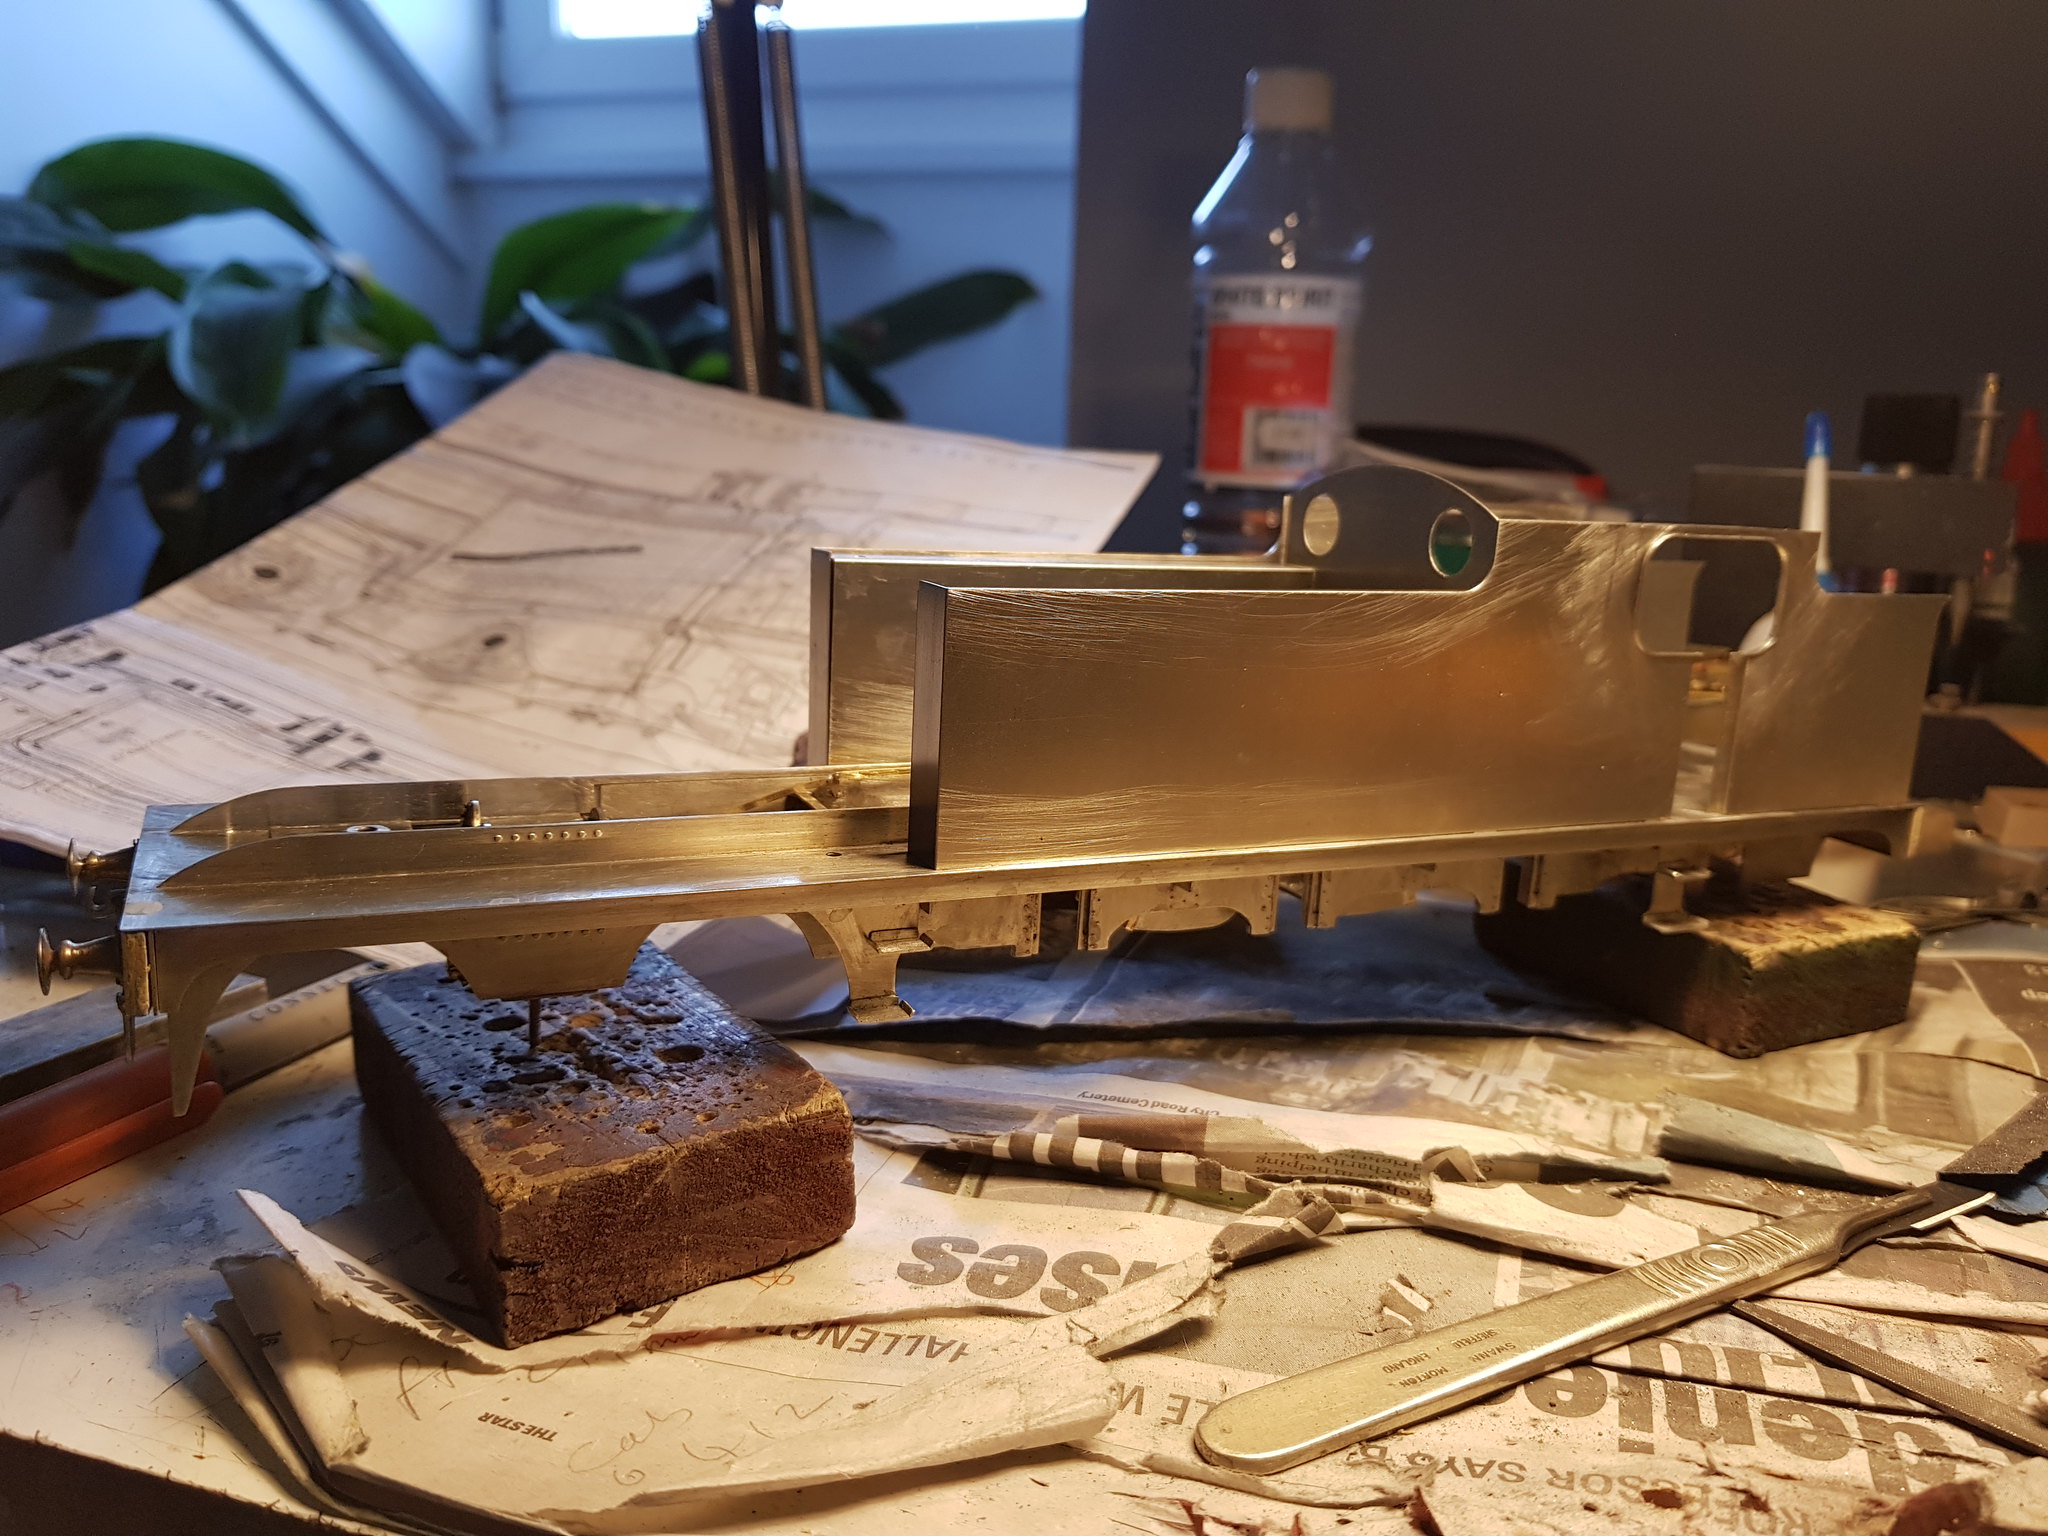
...so loads of bodywork. The splasher tops have been curved and fitted using the inner tank panel as a guide. (As an aside I ran a 0.5 mm drill along all the slots in the footplate as they give a better fit for the tabs on the bodywork.) Then I fitted the cab front into the footplate and the tank inners and soldered up. I added bits of scrap to the splashers to complete the illusion of them having a front and rear.
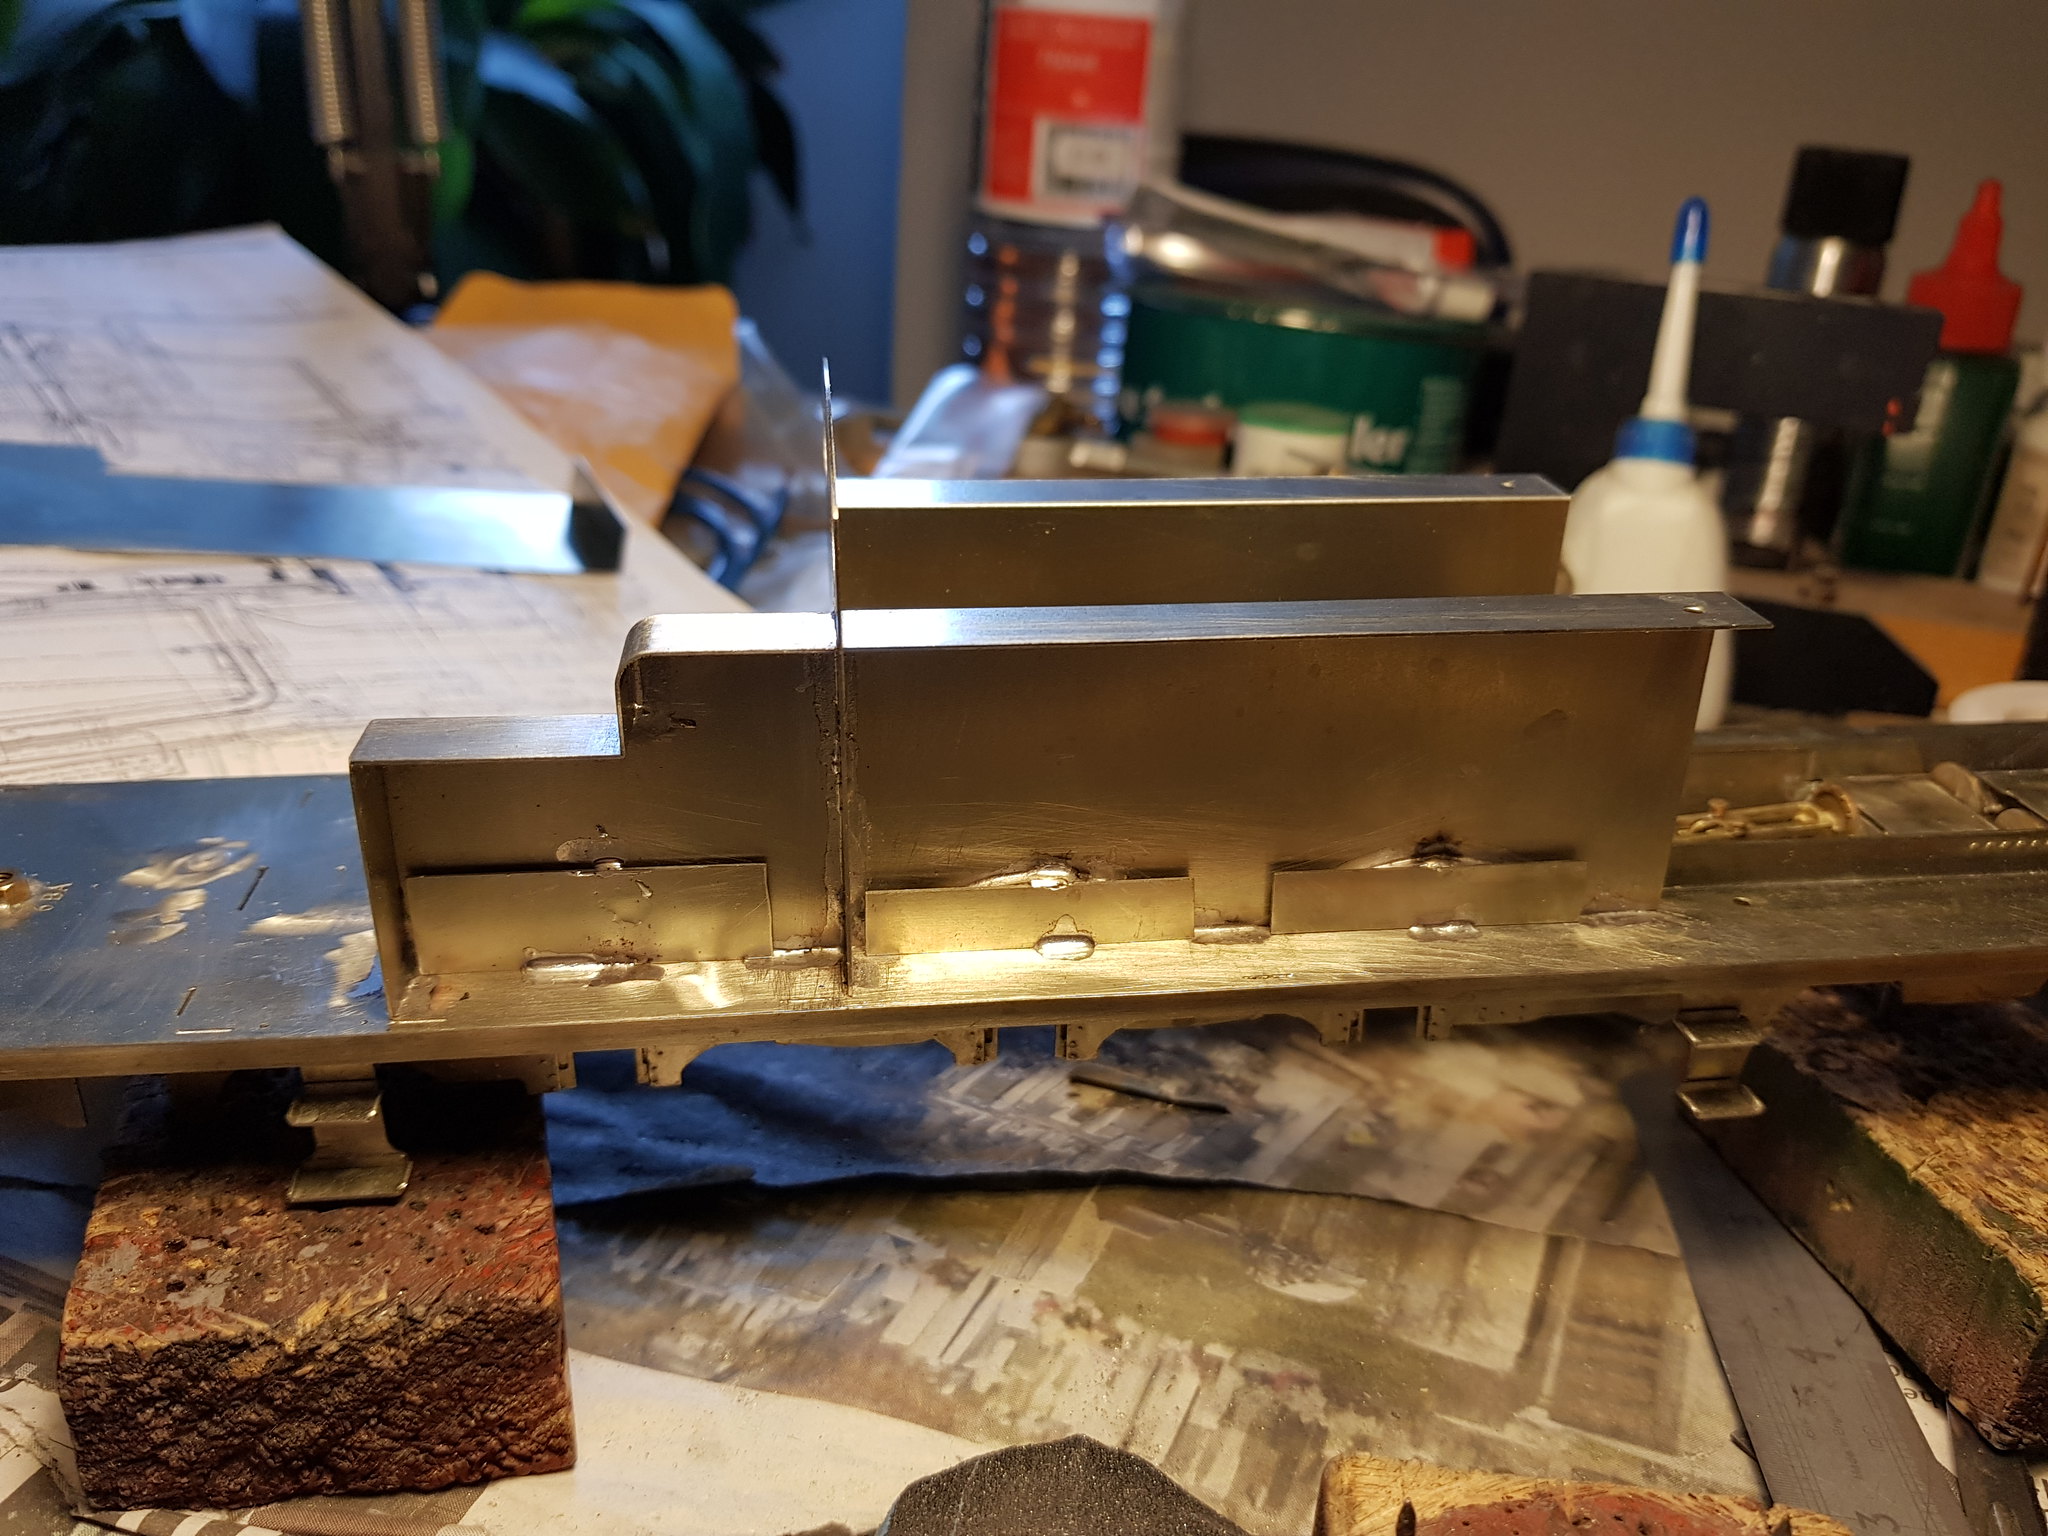
Note the snotty soldering! The cab tank inners were added to the footplate using the cab/bunker/tank outer panel as a guide. The handrail holes have been drilled, but the main panels will be fitted next after I have made cab doors. If you're making one of these from my etchings you will need to shave 0.3 mm off the tank tops to allow a nice fit for the cab sides.
Still on with the cab doors.......
Nick Dunhill
Western Thunderer
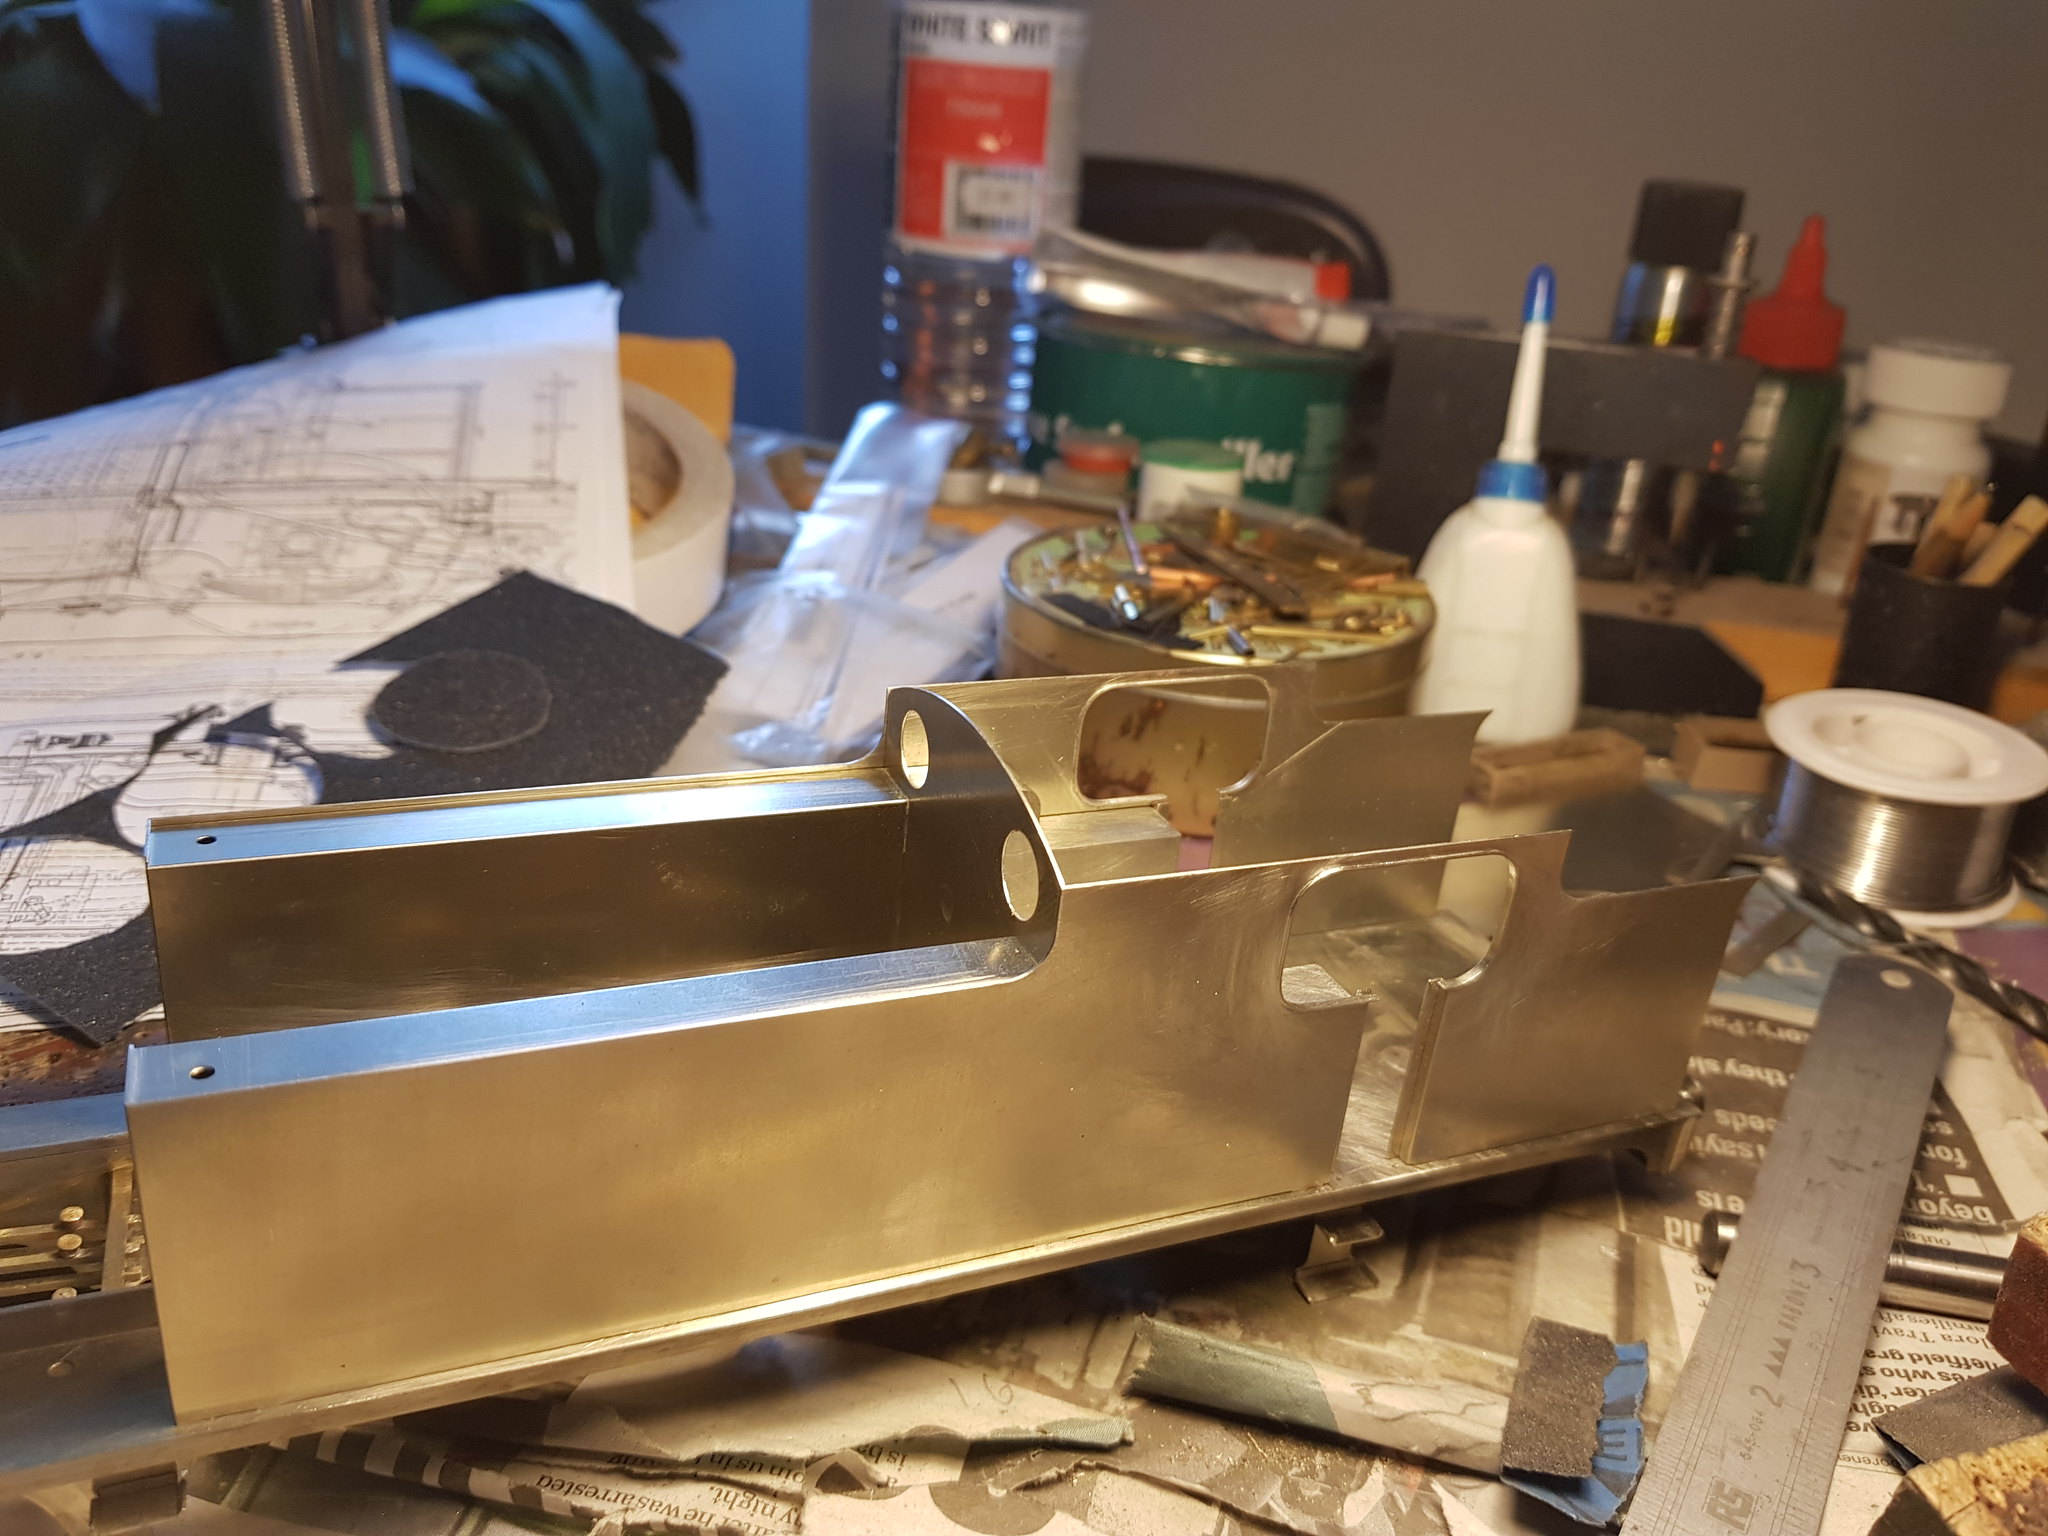
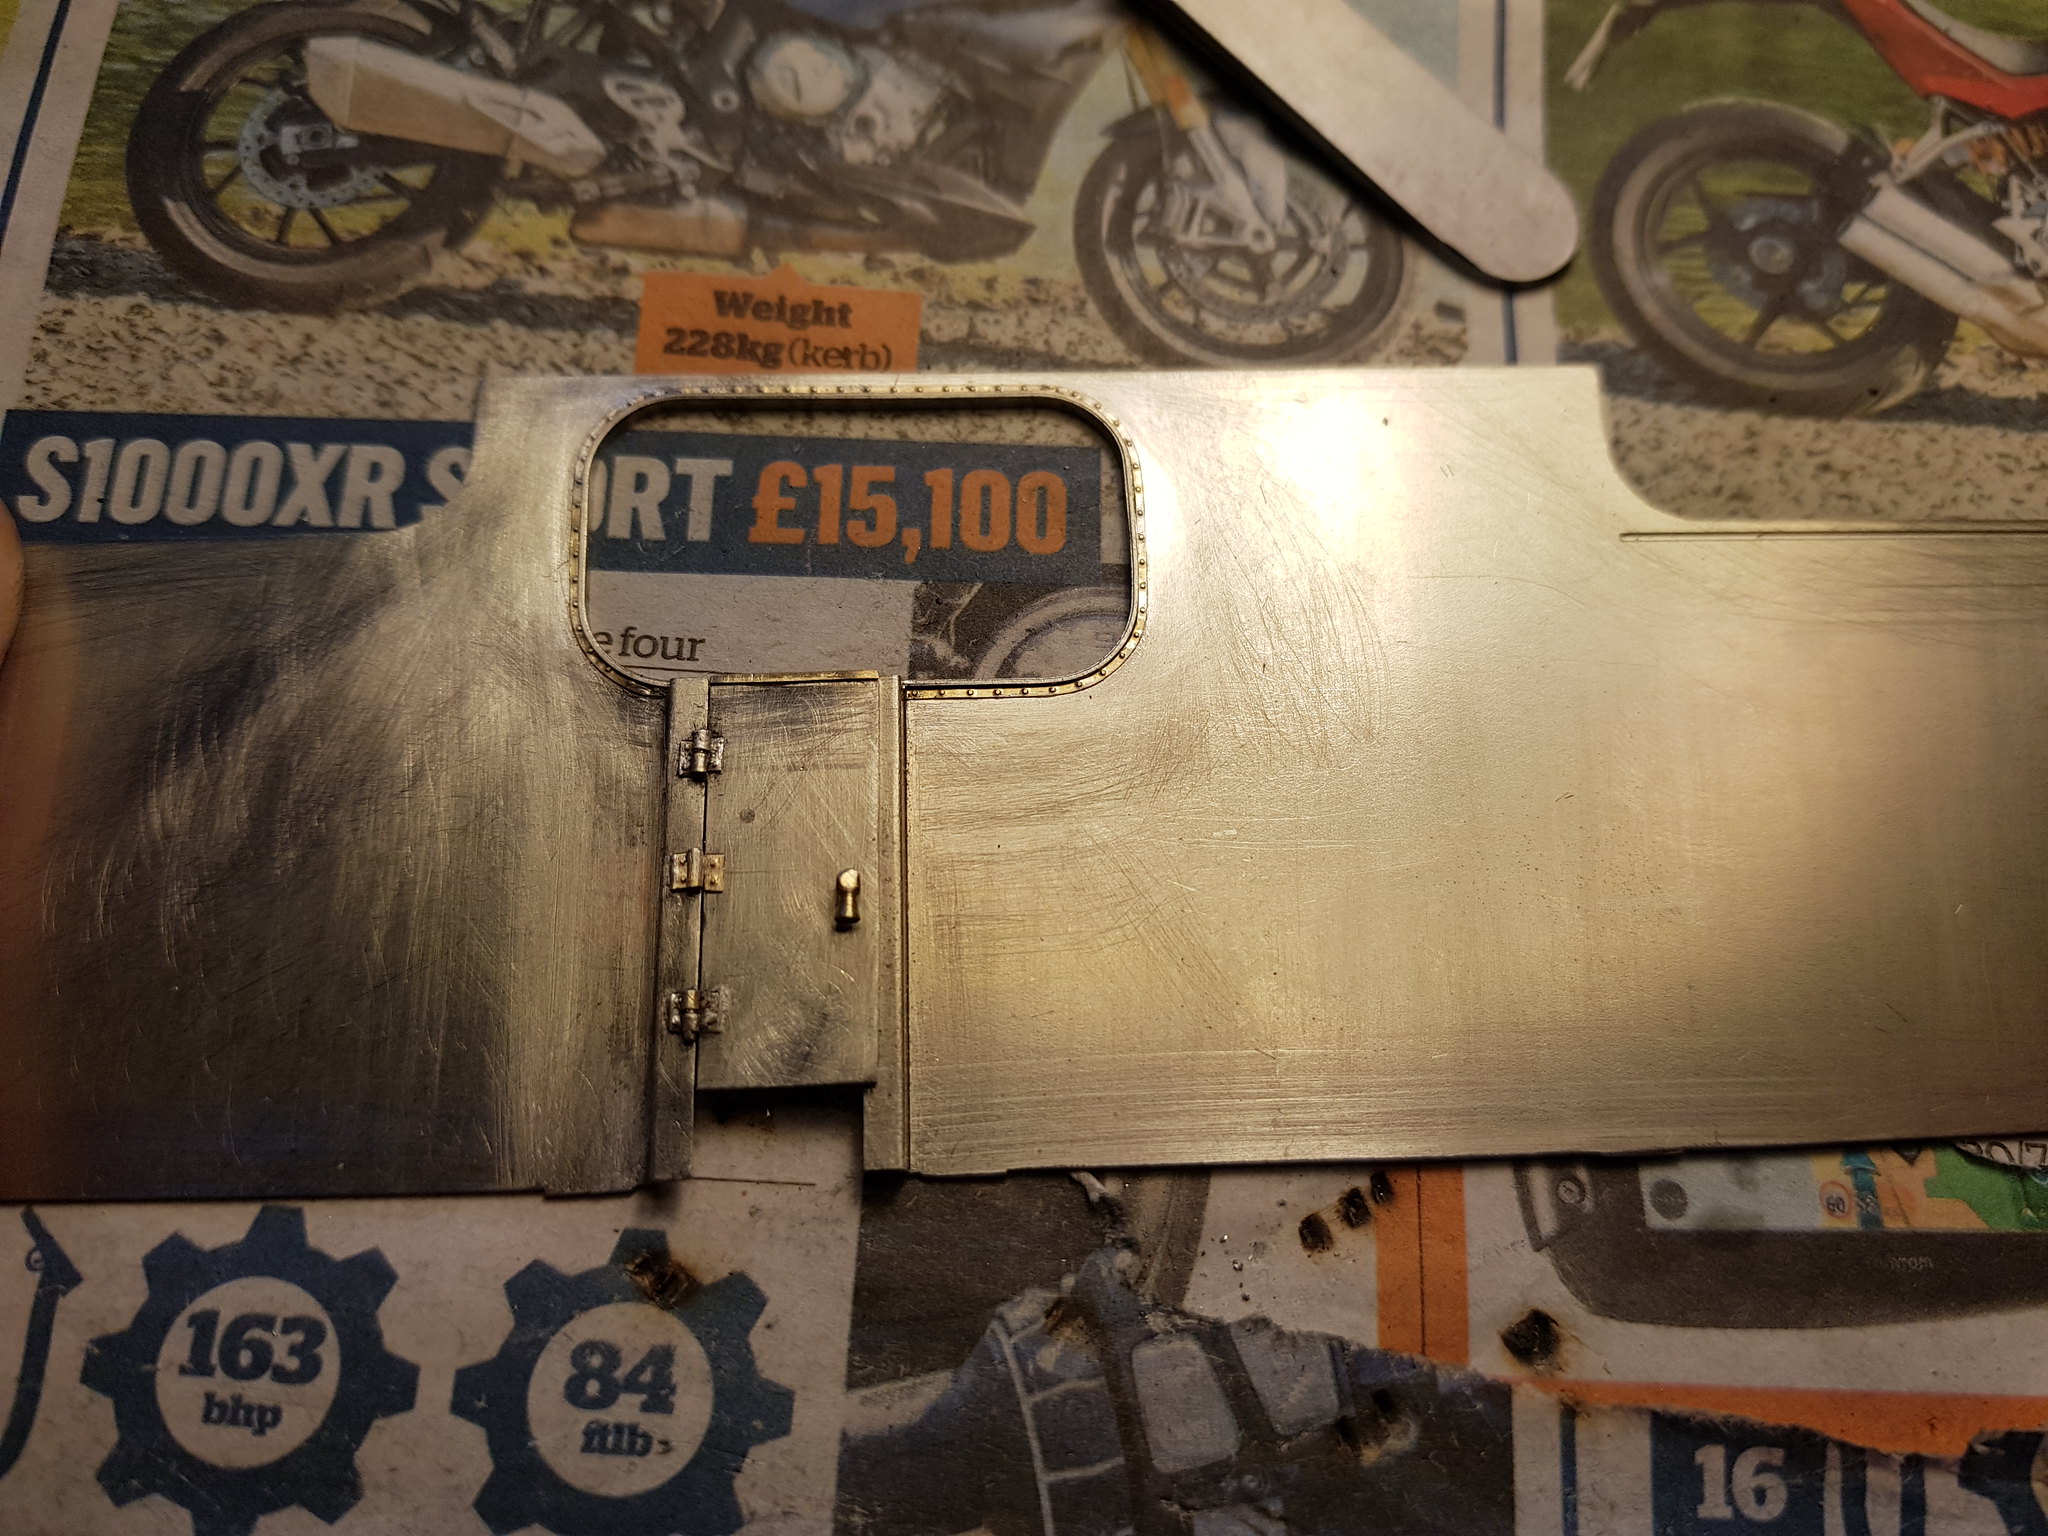
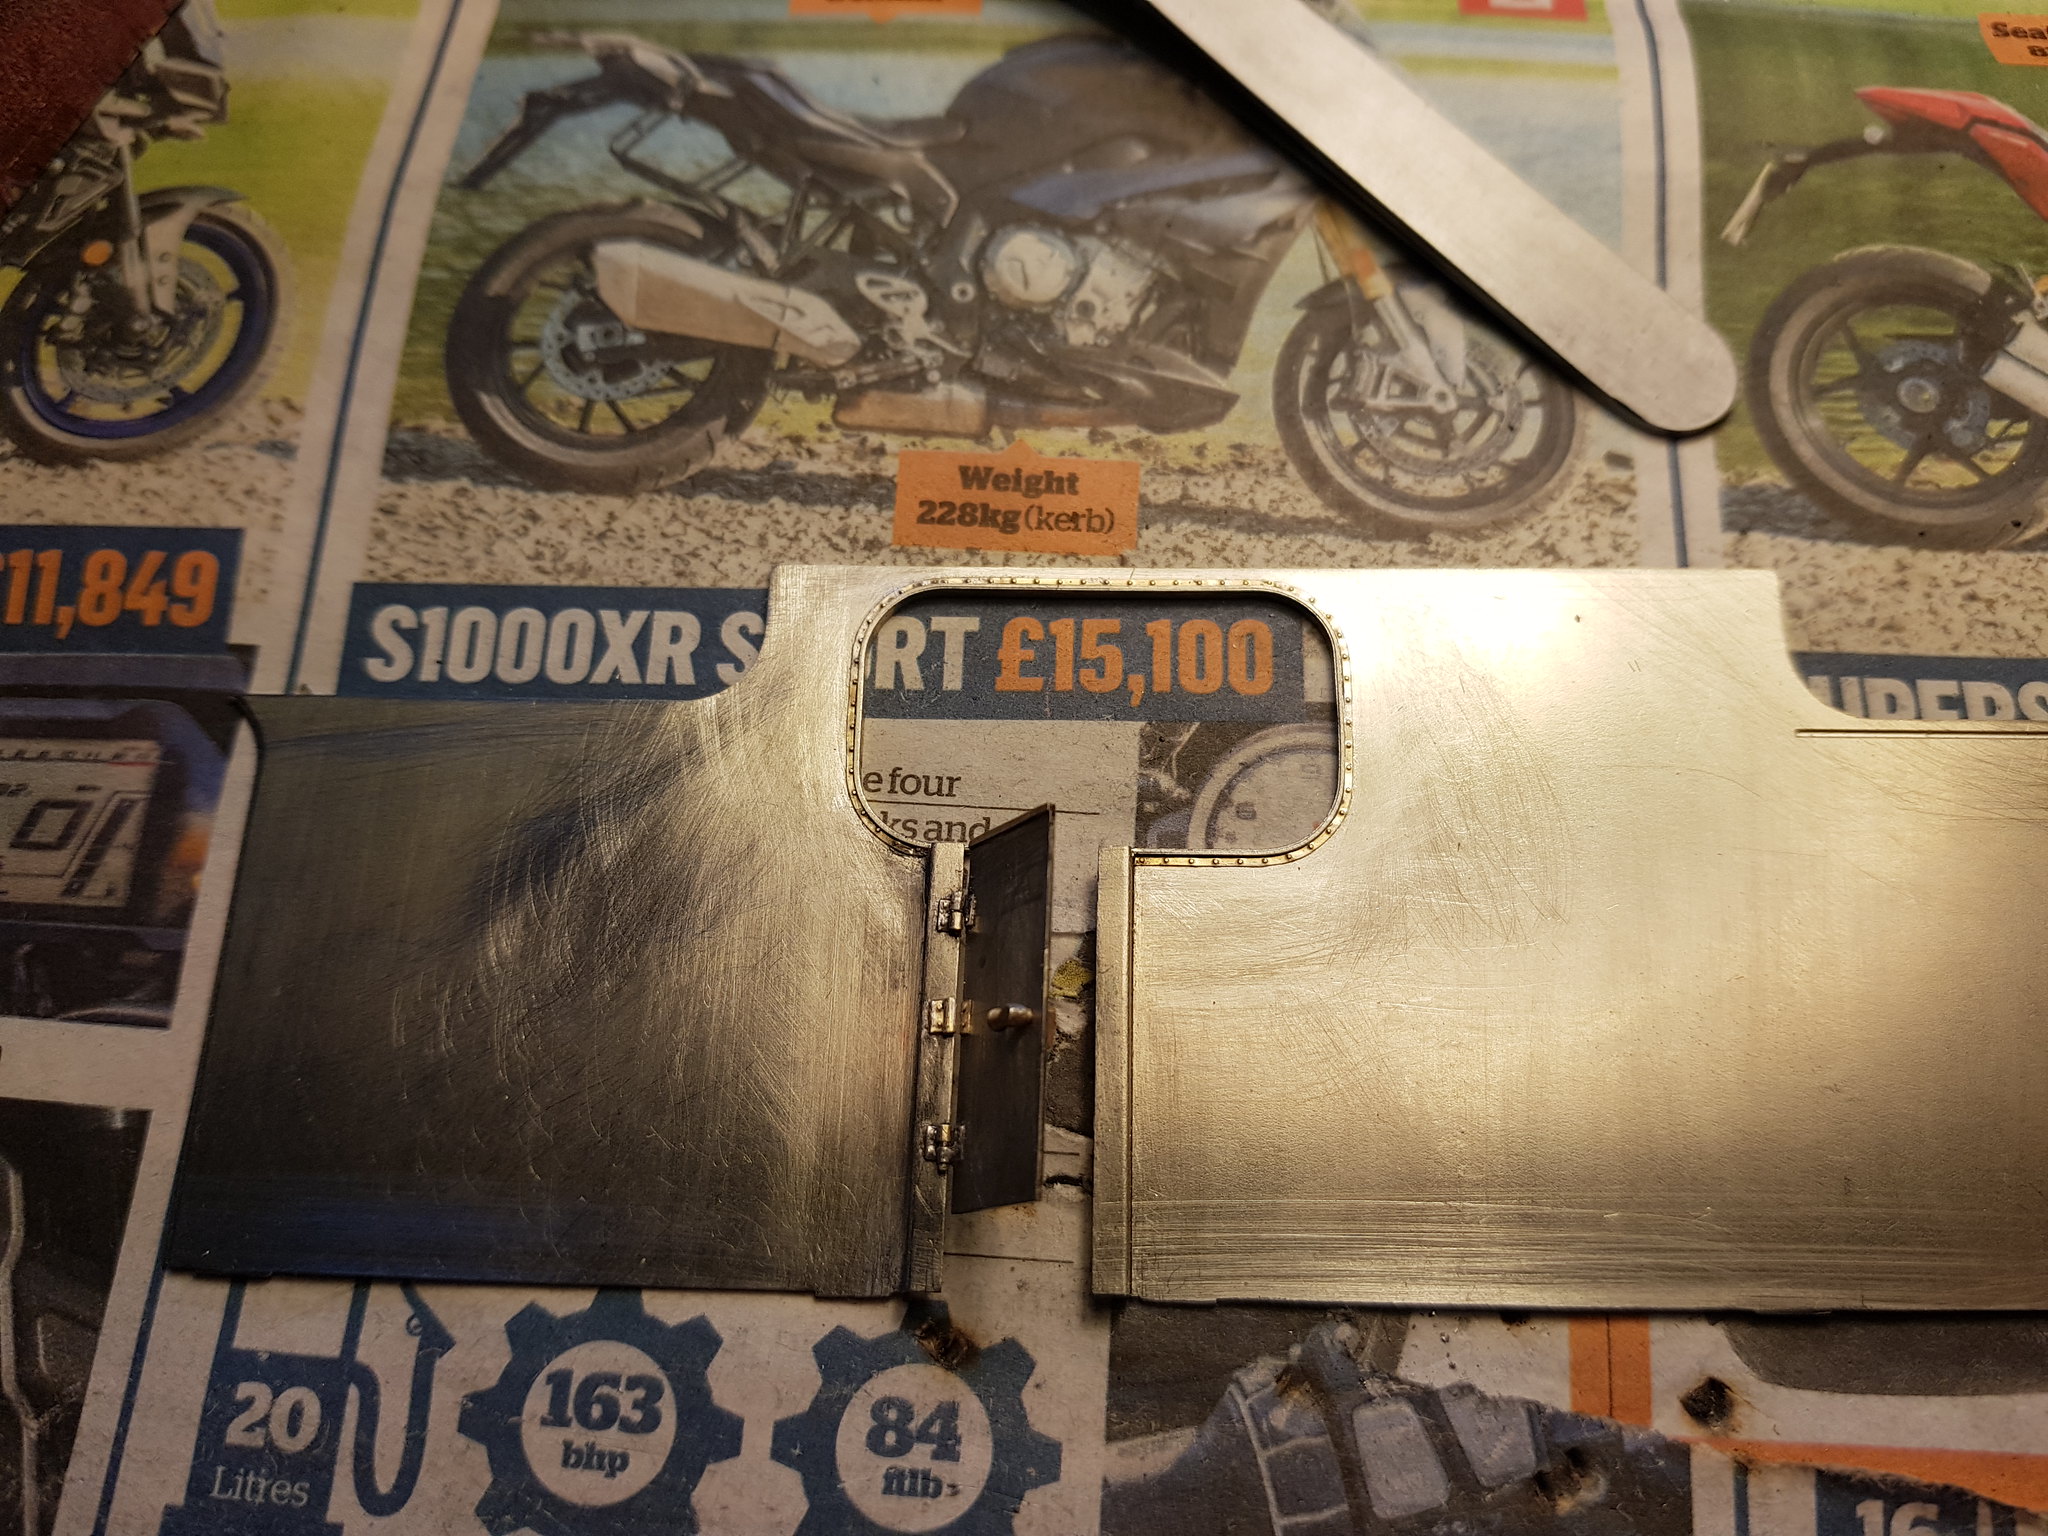
....so on with some more fabrication. As you can see I have added the beading strip that goes round the perimeter of the cab opening. It's on the etchings hidden down one side. The rivet strip round the beading is from an etch produced by Scale Link (sheet SLF016.) The cab doors have to be scratchbuilt. I took the tortuous route of making working hinges, they're also made by cutting short lengths of the above rivet strips and bending round a 0.6 mm drill shank. The latch also works!
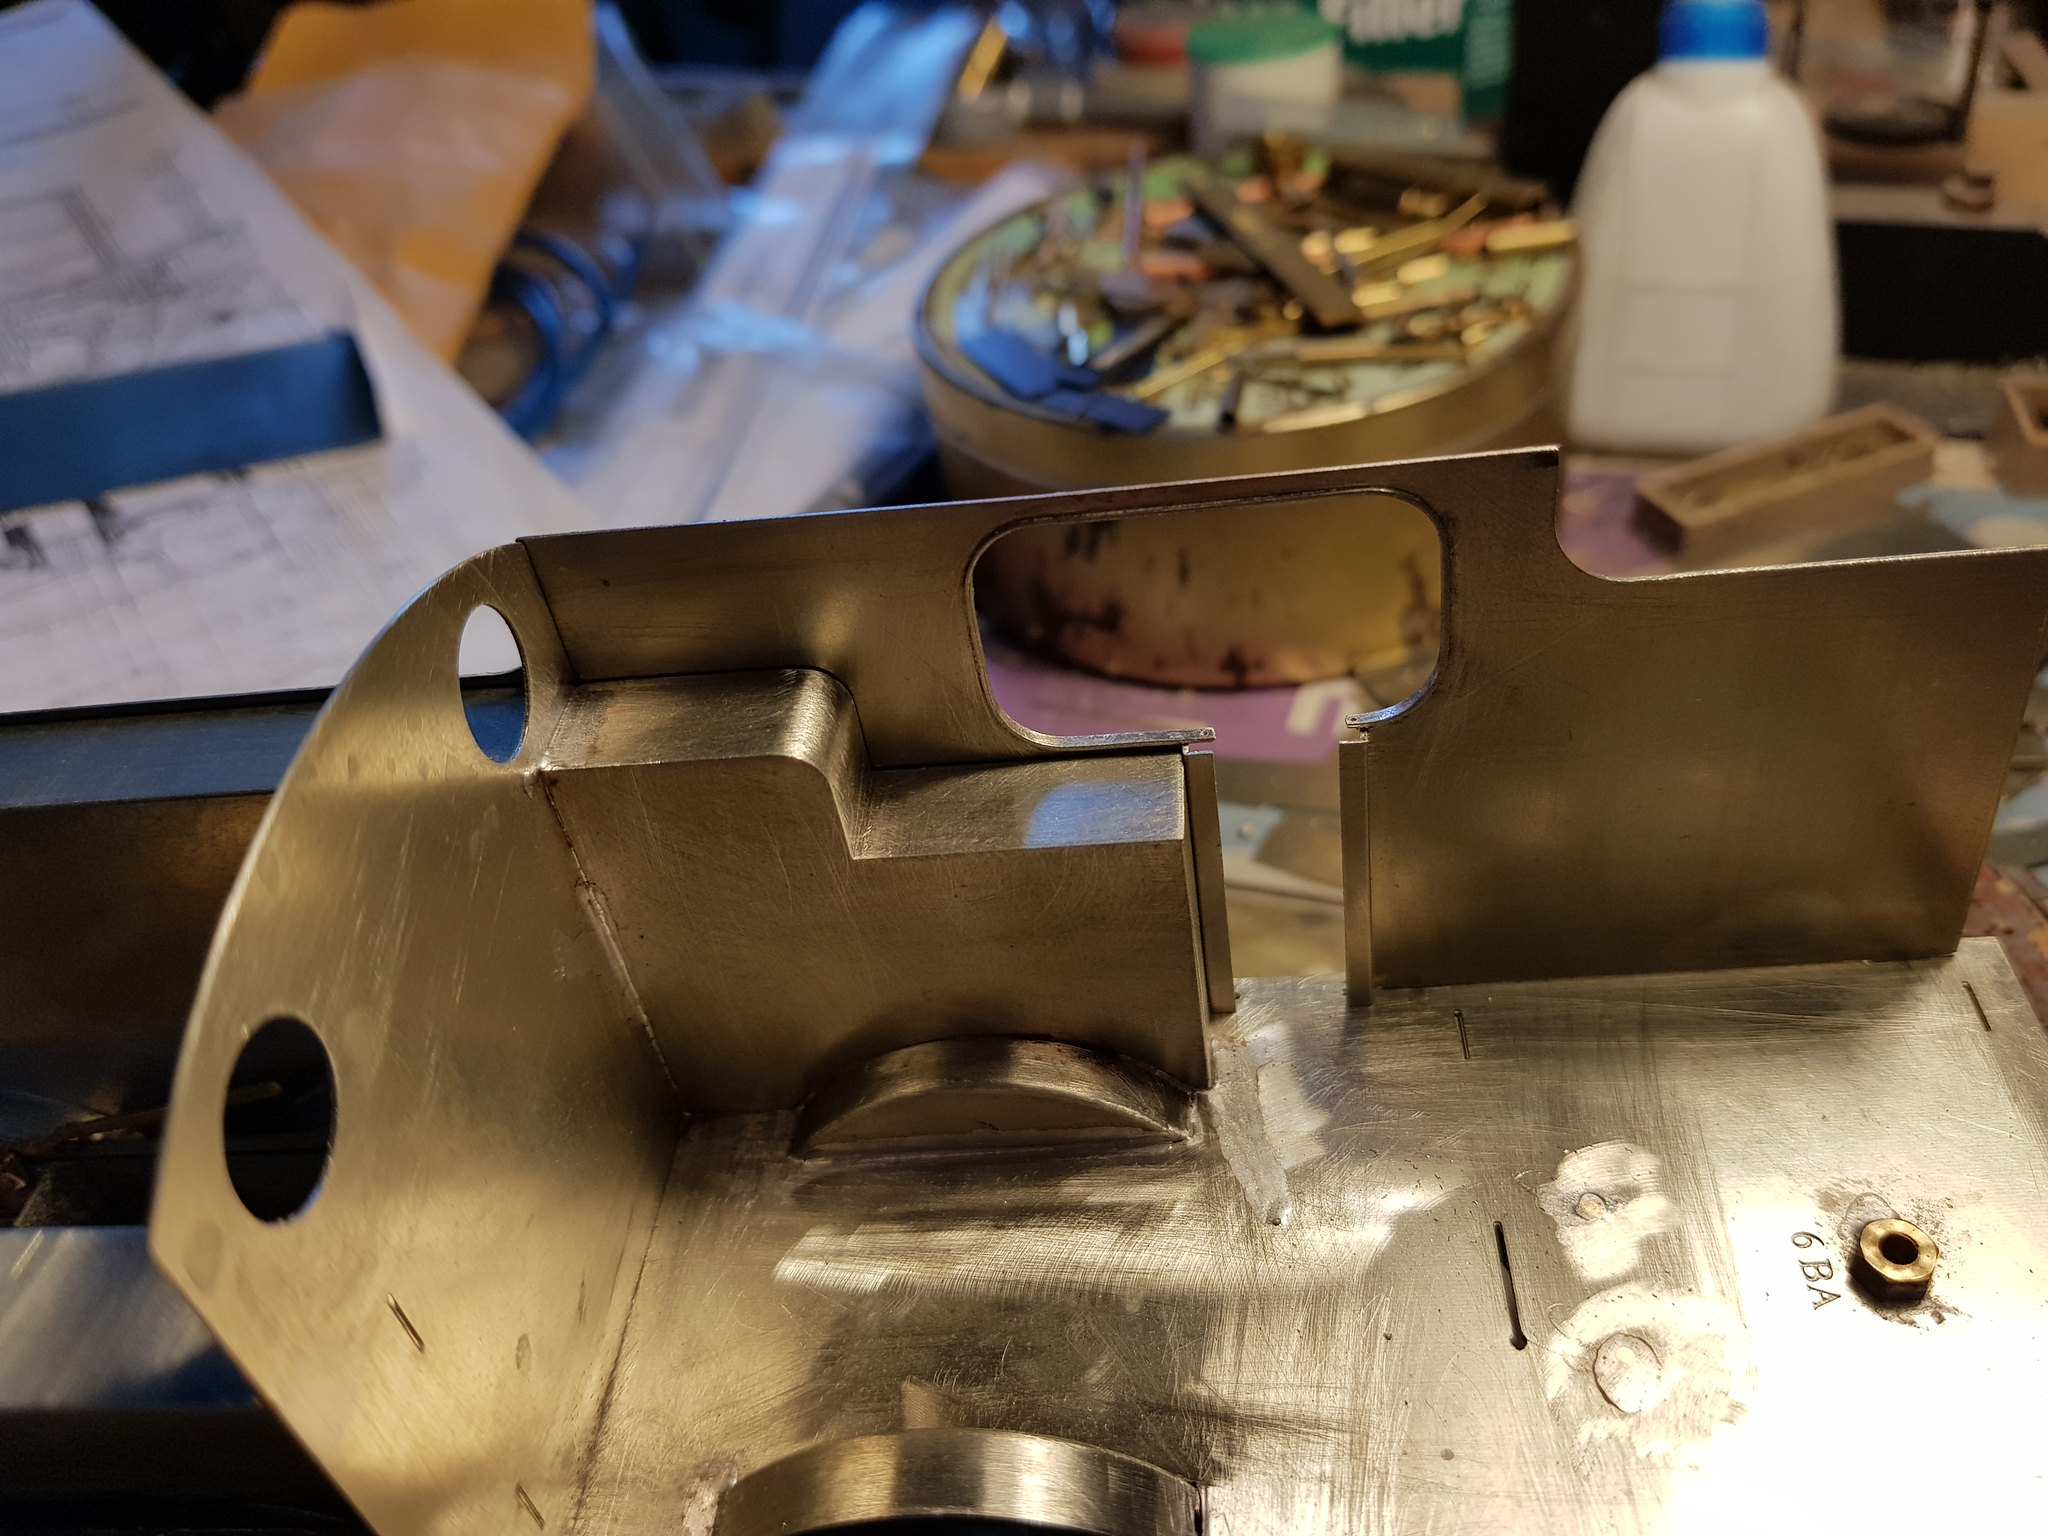
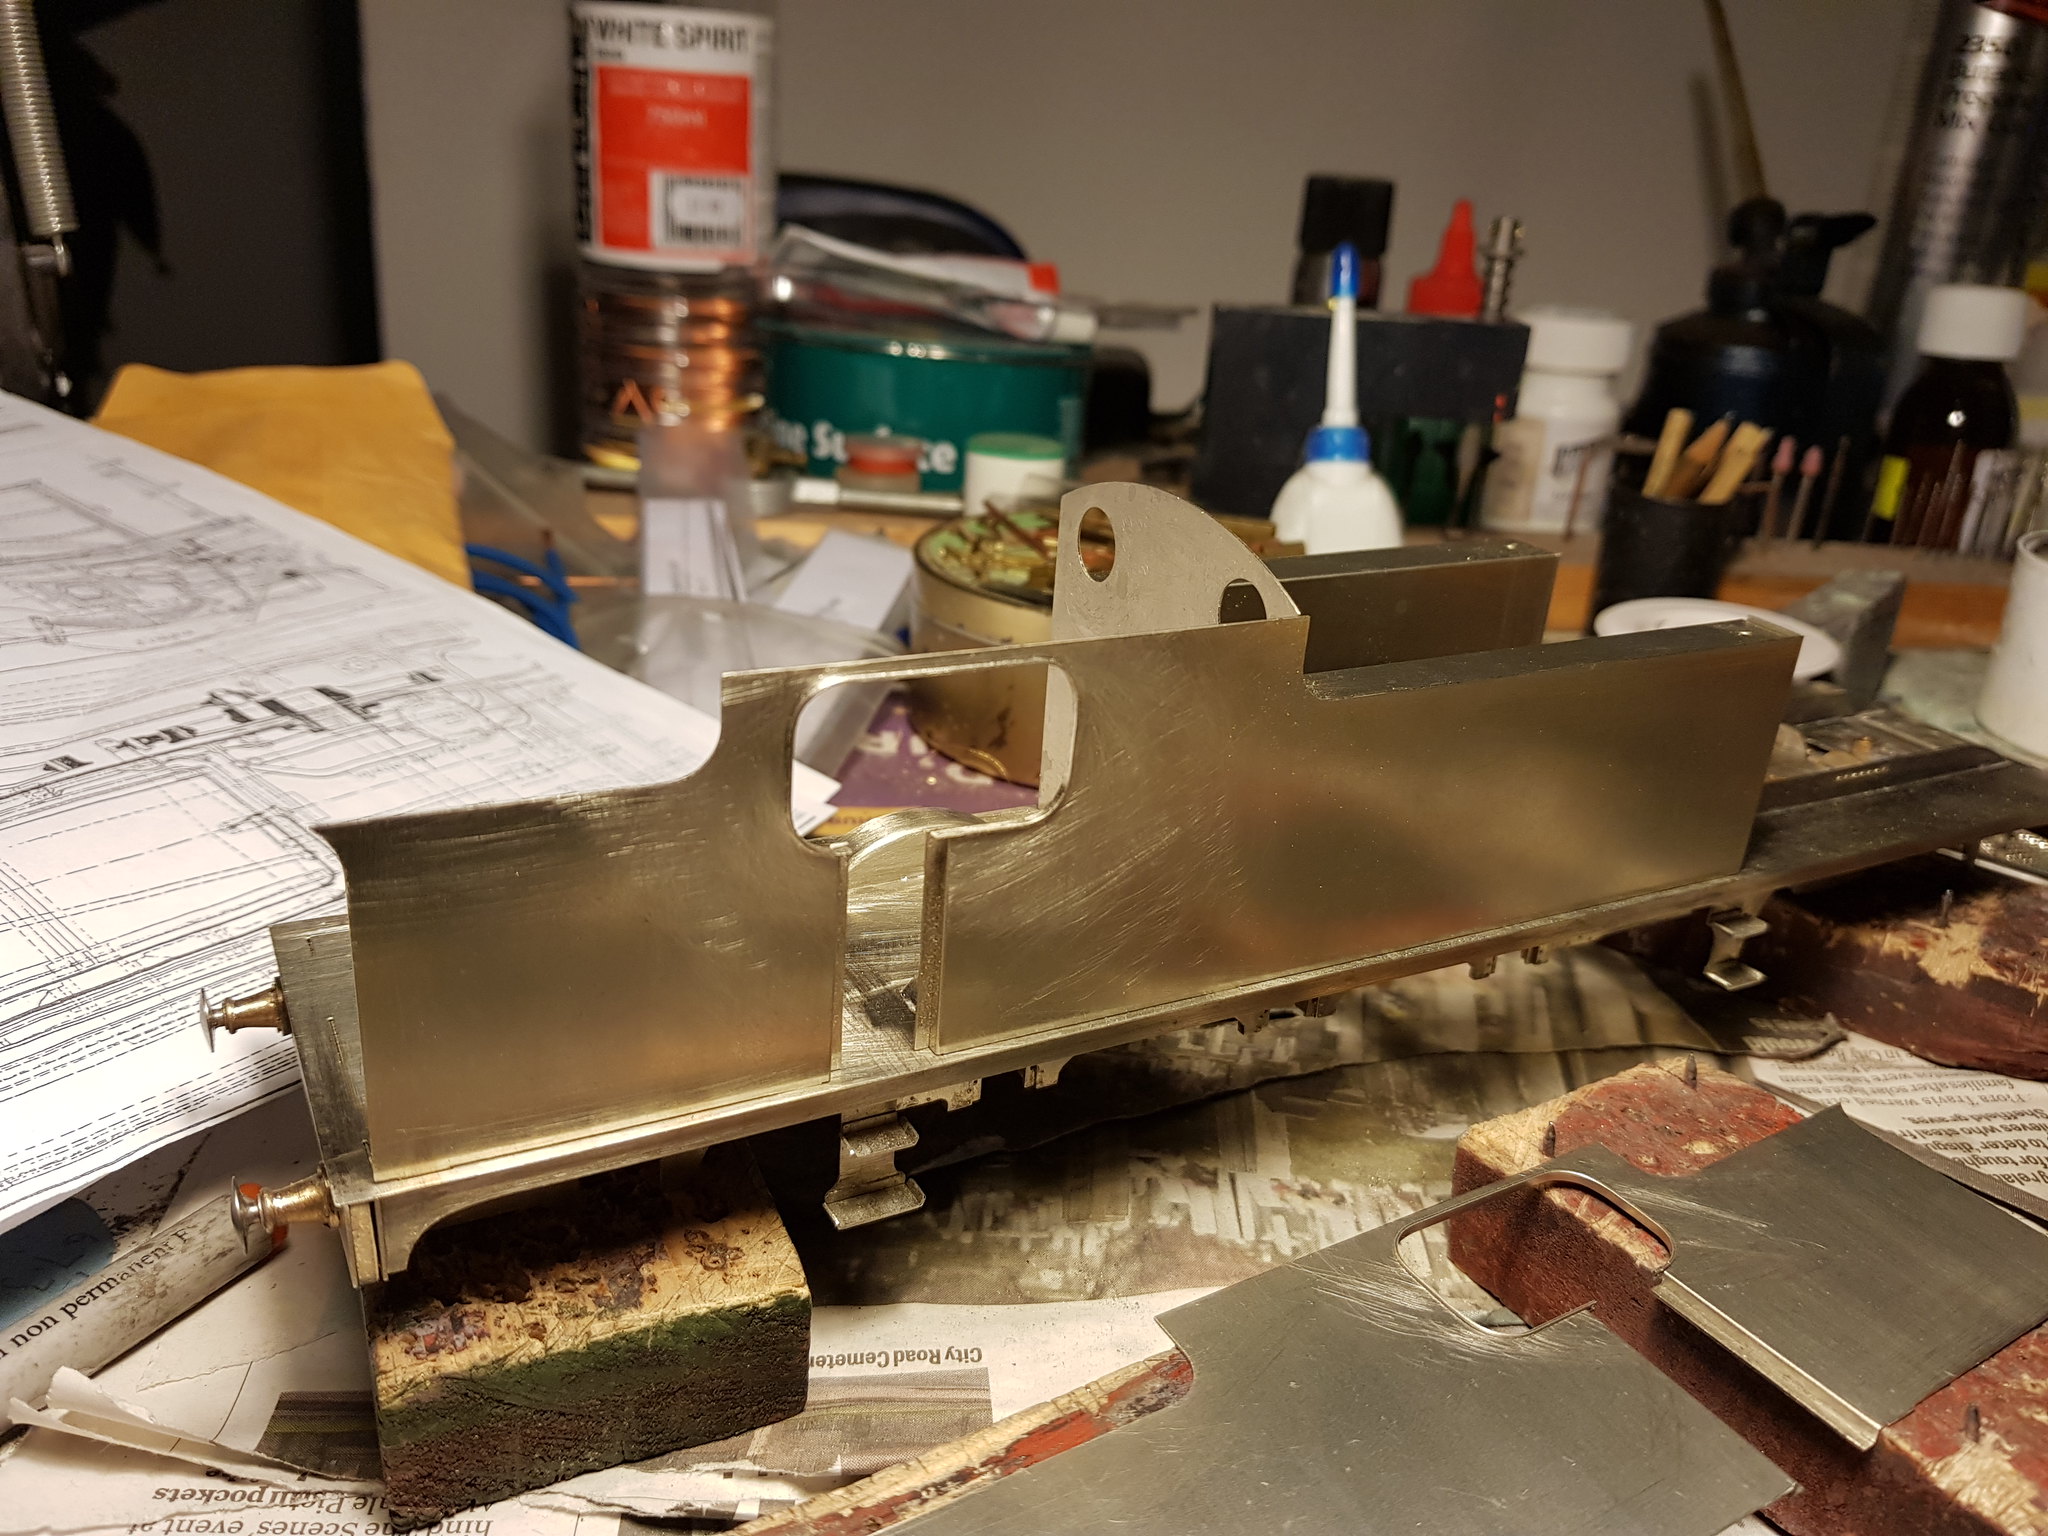
The cab/tank/bunker sides were then added. All the parts are a very good fit so care must be taken to ensure the tabs fit fully in the slots. As I said earlier I had to shave 0.3 mm off the top (side) of the tank inner etch so that it locates in the half etched slot in the cab/tank/bunker side AND meets the cab front. One of my models needed a fraction shaving off the sides of the cab front, rear and bunker rear to get a perfect fit, the other did not. Obviously variations in the etching time....
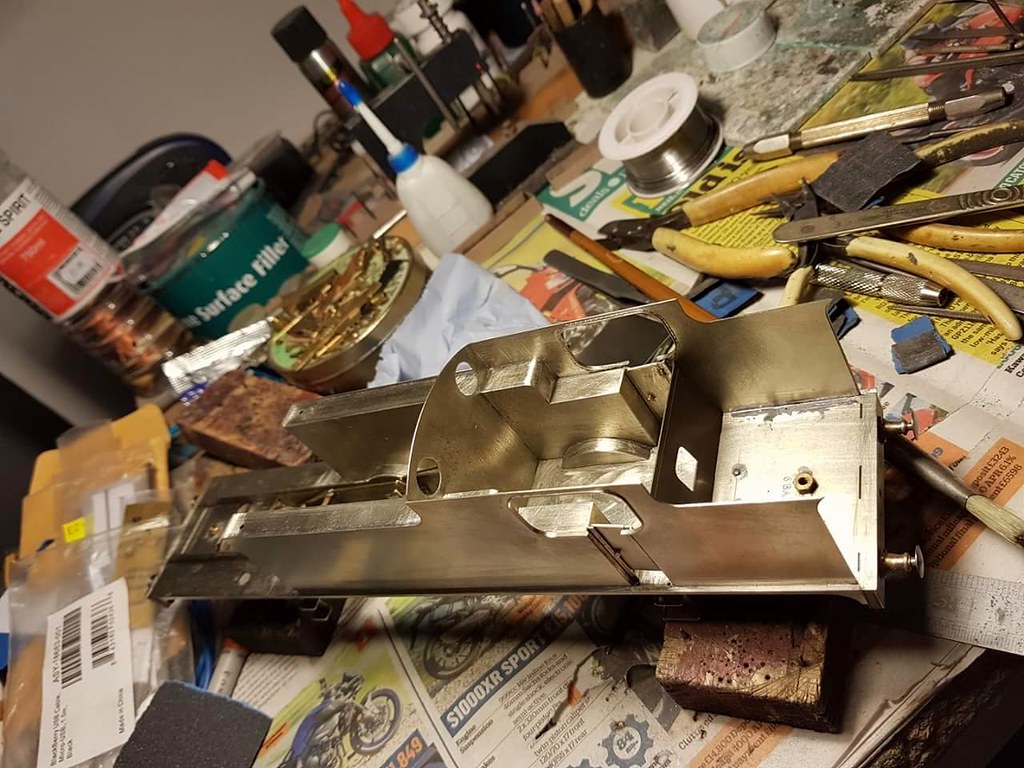
Detailing the cab sides a bit then adding the cab rear next.....
The cab/tank/bunker sides were then added. All the parts are a very good fit so care must be taken to ensure the tabs fit fully in the slots. As I said earlier I had to shave 0.3 mm off the top (side) of the tank inner etch so that it locates in the half etched slot in the cab/tank/bunker side AND meets the cab front. One of my models needed a fraction shaving off the sides of the cab front, rear and bunker rear to get a perfect fit, the other did not. Obviously variations in the etching time....
Detailing the cab sides a bit then adding the cab rear next.....
Nick Dunhill
Western Thunderer
Can anyone help with the detail on the rear of the cab and bunker? The cab rear has some device for showing water levels (?) on the driver's side? The bunker rear appears to have a step on it. Which side? Is it on the driver's side above the buffer step? Does anyone have any detail about how the buffer step is attached?
Ta
Nick
Ta
Nick
Nick Dunhill
Western Thunderer
cheers JP.