Scattergun 3.5” King Arthur ‘Sir Sagramore’

Brian McKenzie

Western Thunderer
A long time ago when I was building a large scale traction engine I screwcut a double start square thread on both brake screw and nut! Once you get your head round the technique it's not that difficult if you have the correct equipment. However having done it once I am in no hurry to repeat the exercise but it's nice to be able to say I could.

Ian.

Ian,
Some years ago, I followed Sid Stubbs article in MRJ #42, and made several two-start worms in stainless steel on 1/16" dia shafts.

Two-start worms_6591a.jpg


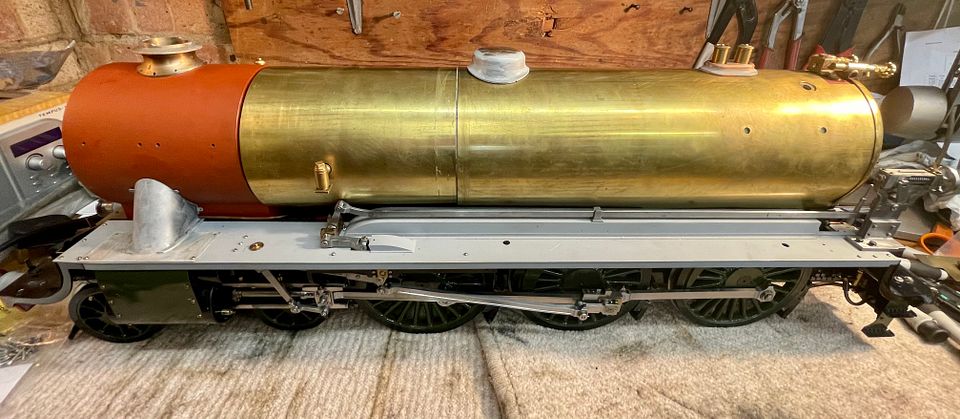
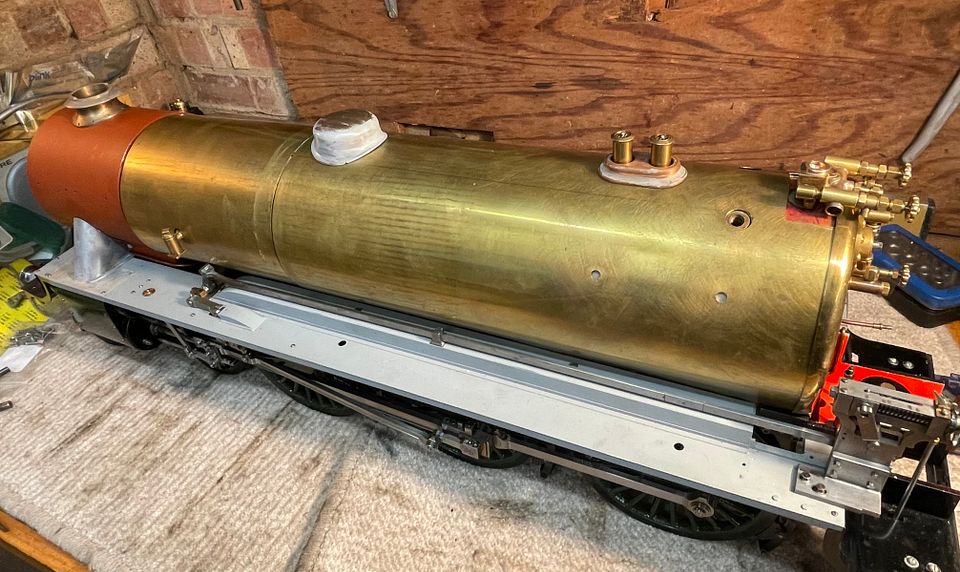
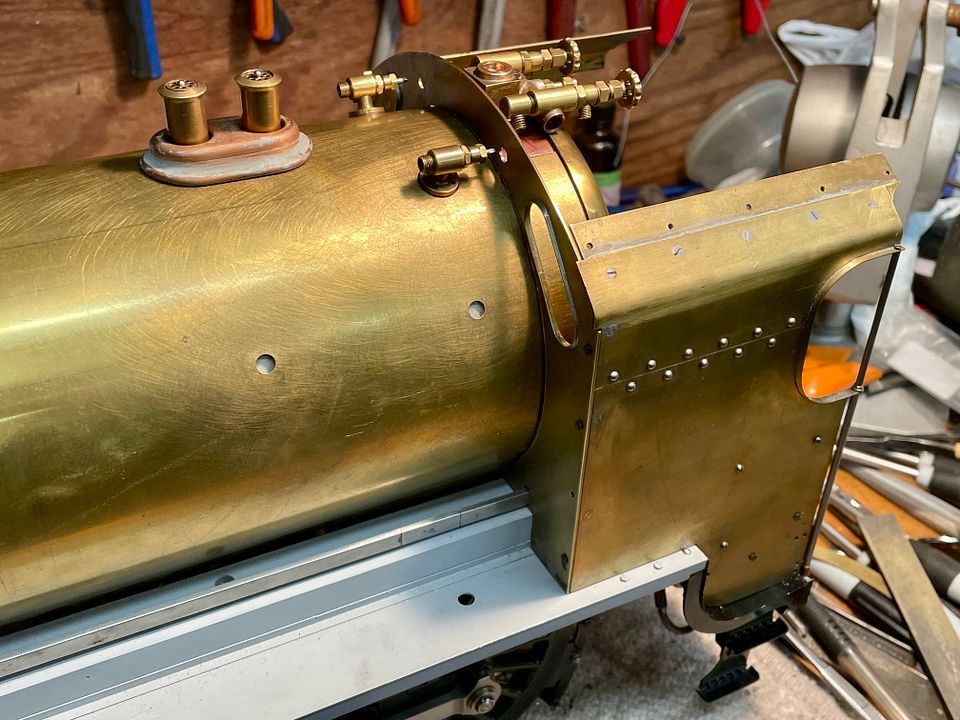
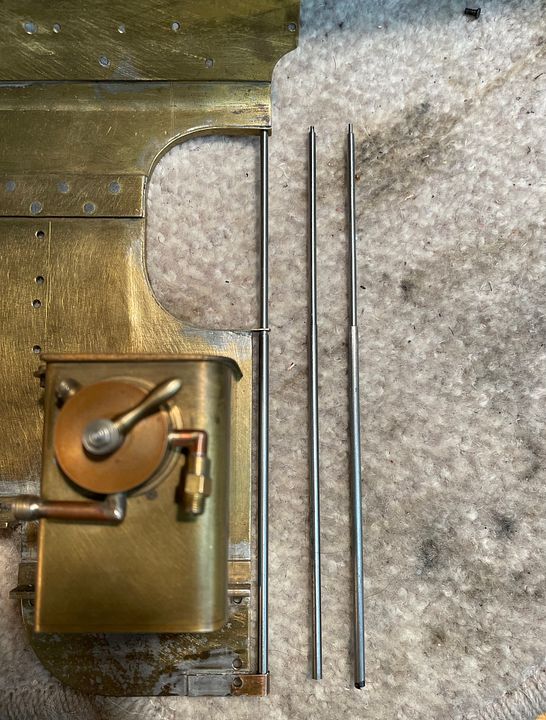
The reversing gear shaft for my model is only 1.3mm in diameter. I 'might' :rolleyes: be able to scratch a 3-start thread in it and mould a die block over the top.

Three-start thread diagram.jpg
 

Ian@StEnochs

Western Thunderer
Brian that is very impressive, my two start thread was on 1/2” bar! Same principal but very different making miniature cutting tools and so easy to break if too big a cut is attempted.

Tim, I would screw cut the thread and while set up use the same setting to machine a piece of silver steel to make a tap.

Ian.
 

Tim Watson

Western Thunderer
I have fettled the boiler cladding into place this morning. I don’t think that has been done before, as it was catching on the firebox retaining slides. The boiler bands will pull the tapered front sheet into shape.

As one would expect, there is a beautifully finished corner beading for the firebox in the cab. Again this needed quite a bit of trimming, but will be a good basis for the false back head that I will make.


Tim
 

Tim Watson

Western Thunderer
I have been trial fitting the cab sides & spectacle plate.

I will have to roll the cab roof, which will be made of steel. For ease of driving, part of the roof will need to be removable. The fixed front section might go as far as the rear of the firebox. The removable section will be retained by a row of rare earth magnets let into the brass. However, I am a bit concerned that the rear ends of the cab roof will be quite vulnerable as they are unsupported. Tying them together with a cross bar might defeat the object of a removable cab roof, but there is a prototypical bar in that area.

Any thoughts?

Tim
 

mickoo

Western Thunderer
You might find that adding the rear roof support on the section that is fixed may well be strong enough, more so if the angle was made from L section.

Curving L section is a chore but you could do it in two pieces, the rear vertical piece then solder the flat flanged piece on the inside.

All looking very nice so far, impressive size it has to be said.
 

Tim Watson

Western Thunderer
Those look very nice and clean, what have you used as design information? They really are good looking fittings.

Michael
This is all the work of Ian Jaycroft, the original builder, Michael. He made his fittings to his own design. It is 90% complete, but I will have to reverse engineer some new fittings to equivalent standards. He used 60 TPI threads quite commonly which allows for finer fittings. I have fortunately sourced the relevant taps & dies.

It is an amazing piece of work and a privilege to be able to work on it. It’s a 1/16 scale engine built to 1/150 standards.

Tim
 

Tim Watson

Western Thunderer
How much does it weigh?
A lot! I can just lift the engine on its own, but not in its travelling box. I probably need to make a turning device, holding it at each end for work underneath. I have recently got a lifting table on wheels for moving the engine around.

Tim
 

Tim Watson

Western Thunderer
I returned to the front end yesterday. The smokebox door dogs were originally rectangular in shape whereas they should be more trapezoid in shape.

The fixing bolts are 10BA with 12BA heads. Two are long enough with a decent shoulder, but four are too short, so it’s not a matter of if they’re lost but when. I have some 12BA steel hex stock of the right size on order so that will rectify that problem. I can’t think of any clever way to make the bolts captive…
The hinge support base also needs re-engineering, but again currently waiting for a tap & due set.
The straps themselves are not quite the right shape on the ends, so I will punch out the copper rivets, remove the straps, refinish the ends and polish the steel - but use steel bolts / rivets to re-fix them.

Tim
 

simonr

Member
Morning Tim,
Regarding making captive bolts have you considered using aerotight nuts threaded loosely on to the end of the bolts? Definitely not available commercially in10 BA size but not beyond the ability of a fine 2mm modeller. A quick Google will yield drawings and photos.

S.
 
Top