michael mott
Western Thunderer
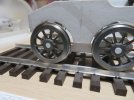
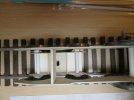
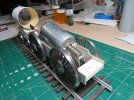
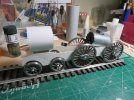
A couple of years ago I purchased a set of Mark woods wheels for the G1RMA "Dee" project for Live steam. Since then I changed my mind (who ever does that) and the wheels which are so nice needed a project. and also I decided that I would rather it be a P2. I know the wheel sizes are all a bit off but a bit of creative license, and the drawing that was published a while back in Railway modeller, and the wonderful article by Peter Dobson in the March 2005 issue was enough to get me started a while back. Now seems like a good time to move it forward a bit, and eventually have my hybrid P2 lope around the garden track.
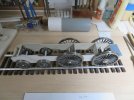
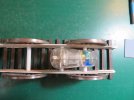
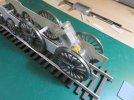
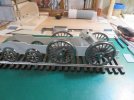
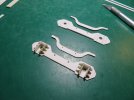
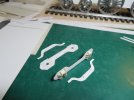
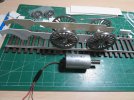
The frames were printed on card stock then stuck to some acid free matt board with some 3M double sided tape to give a total thickness of .064" the edges wer soaked in CA glue.
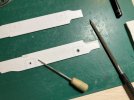
The holes for the 3/16 axles were first punched out with a small chisel then opeded up with a 3/16 punch then given the CA glue treatment befor opening up a tad with a large tapered broach.
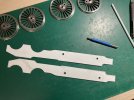
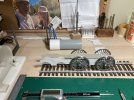
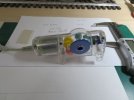
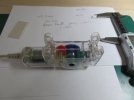
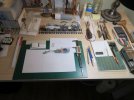
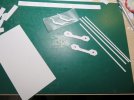
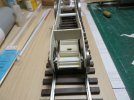
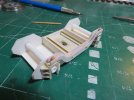
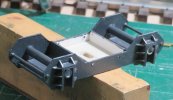
The frames will now get some spacers made from card and then the footplate I have a decent motor for it so will figure that out soon. Judy has been very patient getting me supplies from the model workshop to allow me to work in the office with the rudimentary materials and my little rivet punching tool. The rivet detail looks good in the cardstock, I was used to marking the area that i wanted punching with tick marks but found out recently that drawing the rivets on the back side of the sheet that will have the rivet detail made it much easier to get the rivets punched more accurately and easier to see them wile doing the punching.

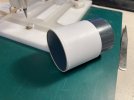
This will keep me satisfied for a few weeks till I can move back to the workshop.
Michael
The frames were printed on card stock then stuck to some acid free matt board with some 3M double sided tape to give a total thickness of .064" the edges wer soaked in CA glue.

The holes for the 3/16 axles were first punched out with a small chisel then opeded up with a 3/16 punch then given the CA glue treatment befor opening up a tad with a large tapered broach.


The frames will now get some spacers made from card and then the footplate I have a decent motor for it so will figure that out soon. Judy has been very patient getting me supplies from the model workshop to allow me to work in the office with the rudimentary materials and my little rivet punching tool. The rivet detail looks good in the cardstock, I was used to marking the area that i wanted punching with tick marks but found out recently that drawing the rivets on the back side of the sheet that will have the rivet detail made it much easier to get the rivets punched more accurately and easier to see them wile doing the punching.


This will keep me satisfied for a few weeks till I can move back to the workshop.
Michael

 !
!



 !
!