Matt.S.
Western Thunderer
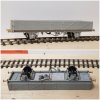
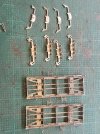
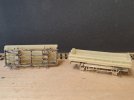
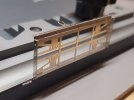
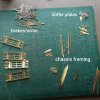
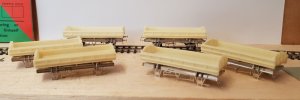
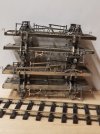
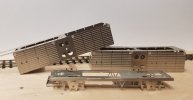
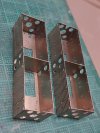
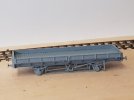
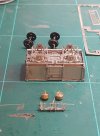
Just to prove things don't always go to plan, today I made a start on a Harris Grampus. five pieces later, each end fell from the etched carrier along with a set of axleboxes (5 laminations here). The body laminations sweated perfectly first time, then I promptly warped the whole affair putting the floor in - back to square one!
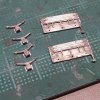
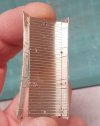
At this point I called it a day and dug in the box for a quick win - 2-511, an LMS van part built by someone else and fitted 8 shoe chassis.
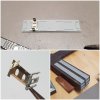
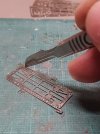
Which starts like this, Bartlett albums reviewed, bearing holes reamed, brake gear pricked through, bearings and vac cylinder fished out ready for a round of tinning.
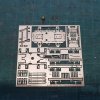
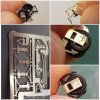
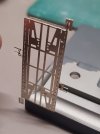
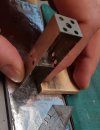
Journals sharpied - (a trick stolen from Stephen Harris' instructions to stop solder escaping) and sides removed form the etch, ready for a quick RSU zap to tack then sweat them in place with particular care to the axlebox/springs.
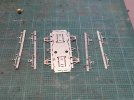
A careful bend later sees a chassis appear - depending how brave you are it's test time. I usually check they run straight on a piece of glass. Brake gear folded and cusp scraped from inside the shoes we are ready to zap once more.
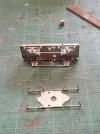
At this point bufferbeams can be sweated on, vac cylinder tacked on. I usually plonk the body on, procrastinate and make a brew.
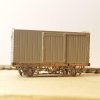
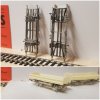
Feeling suitably guilty as I wonder if any might have had the rest of the brake gear left off as a cost saving exercise it's time to fold up levers and guides, solder in a cross bar and cuss. Finally 3d printed buffers fit with a dab of black superglue and you're done(ish). The roof will be popped on once I have enough of an order for Shop 3.
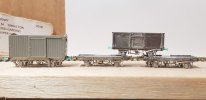
DGs to follow after paint and I'll need to work out how much a high vac pipe will stop the loop rising before painting...


At this point I called it a day and dug in the box for a quick win - 2-511, an LMS van part built by someone else and fitted 8 shoe chassis.
Which starts like this, Bartlett albums reviewed, bearing holes reamed, brake gear pricked through, bearings and vac cylinder fished out ready for a round of tinning.

Journals sharpied - (a trick stolen from Stephen Harris' instructions to stop solder escaping) and sides removed form the etch, ready for a quick RSU zap to tack then sweat them in place with particular care to the axlebox/springs.

A careful bend later sees a chassis appear - depending how brave you are it's test time. I usually check they run straight on a piece of glass. Brake gear folded and cusp scraped from inside the shoes we are ready to zap once more.

At this point bufferbeams can be sweated on, vac cylinder tacked on. I usually plonk the body on, procrastinate and make a brew.

Feeling suitably guilty as I wonder if any might have had the rest of the brake gear left off as a cost saving exercise it's time to fold up levers and guides, solder in a cross bar and cuss. Finally 3d printed buffers fit with a dab of black superglue and you're done(ish). The roof will be popped on once I have enough of an order for Shop 3.

DGs to follow after paint and I'll need to work out how much a high vac pipe will stop the loop rising before painting...

