allegheny1600
Western Thunderer
Oh dear! Another long time between updates.
My excuse is that I have simply been too busy to write anything! Now that I am taking a short break, I can do a catch up although I’m sure I missed taking some pictures that may have helped explain things.
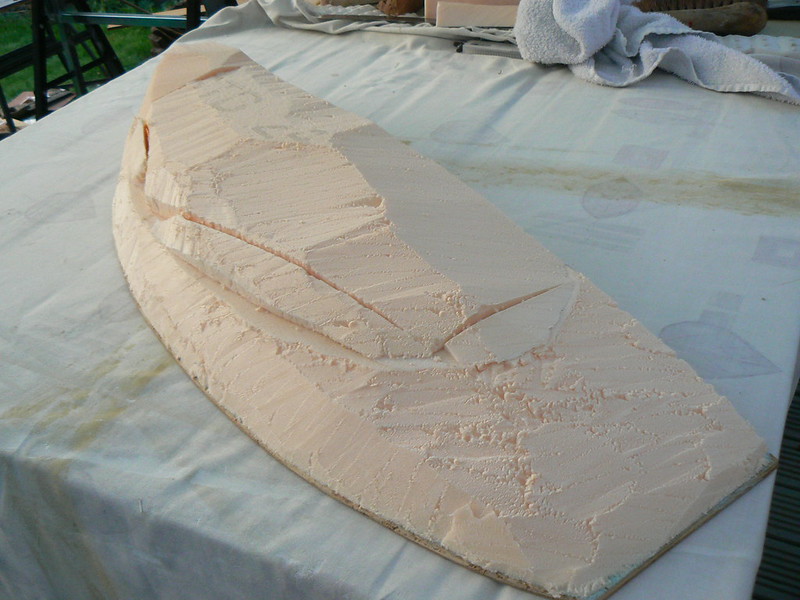
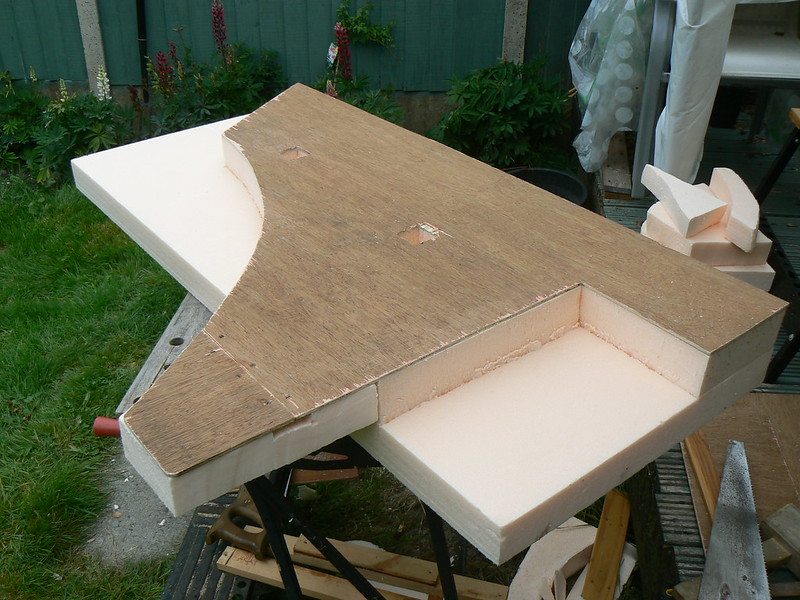
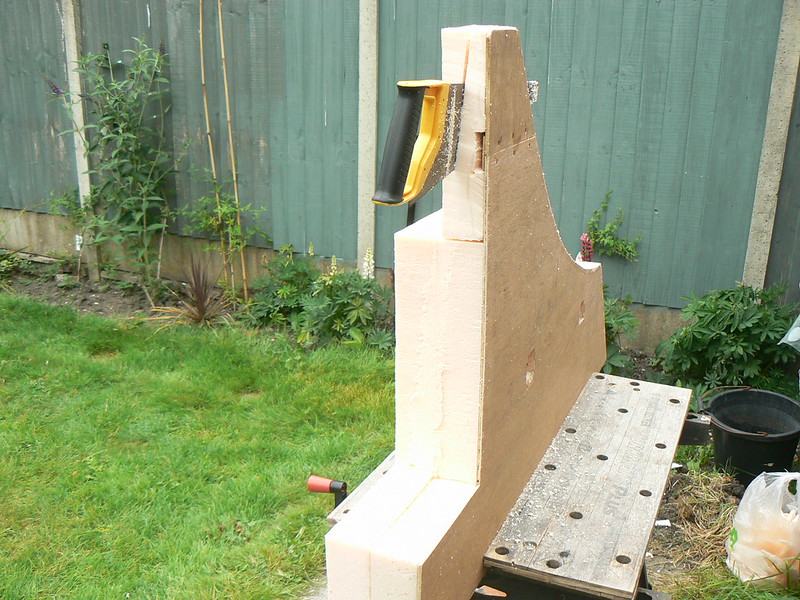
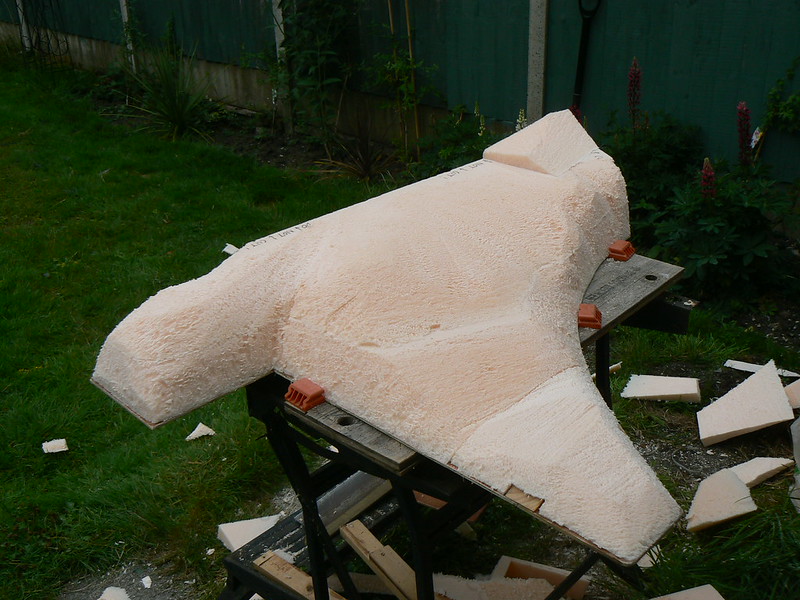
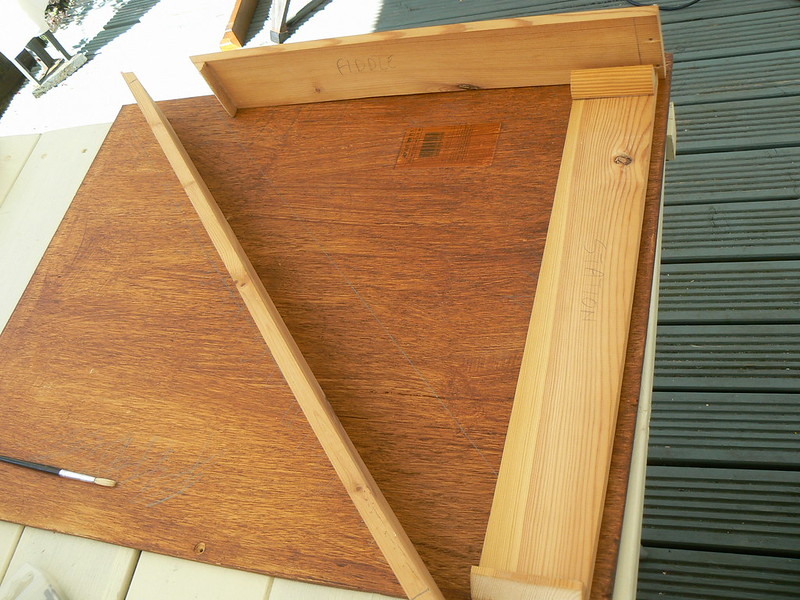
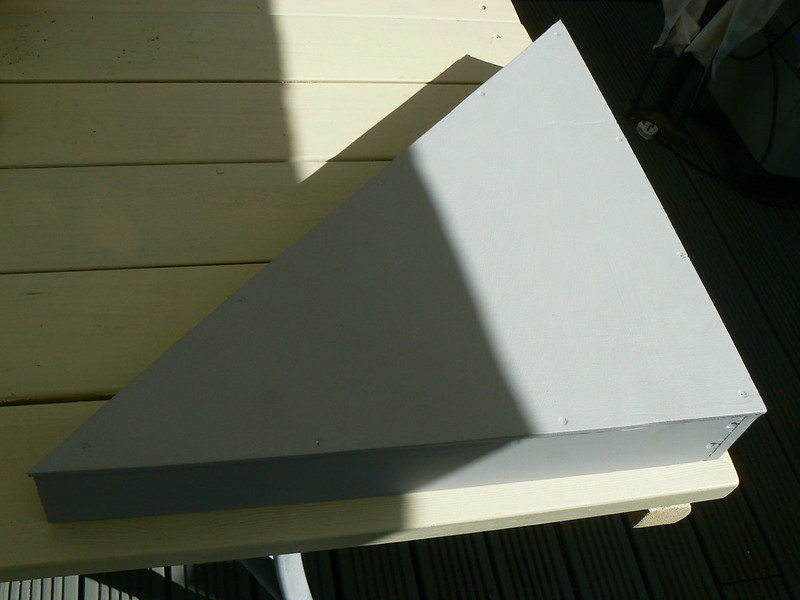
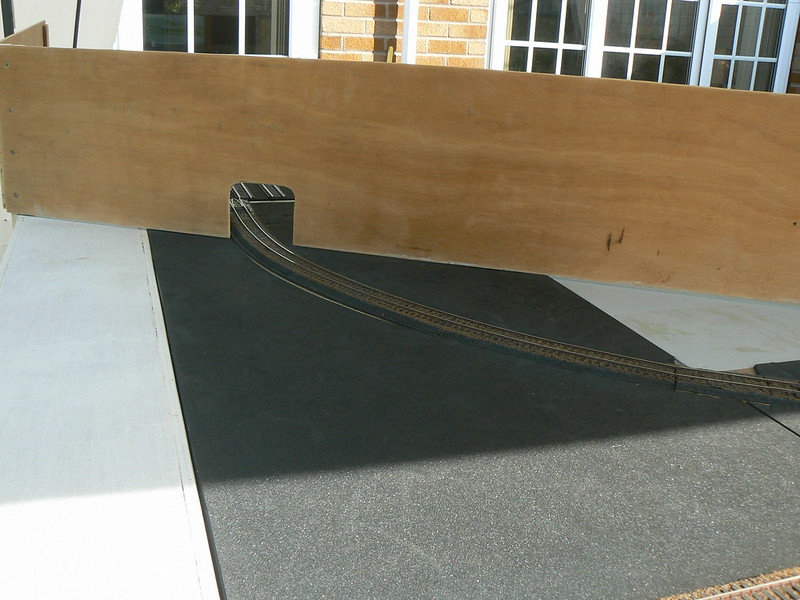
Firstly, I built a small triangular ‘filler’ board for the corner where the layout turns through 90 degrees - this provides a base for some scenery beyond the railway itself, supports part of the backscene and hopefully, provides a way of getting rolling stock onto the traverser (more on this later).
Now the weather had turned threatening so I re-assembled the whole layout in my box-room and gave my Prussian motive power a running test, this was very therapeutic and enjoyable. It also served to show that certain of my locos are unsuitable for use on the layout, sadly the lovely Weinert T13 0-8-0T is of too rigid a wheelbase to handle one short but tight curve and my Roco T14 2-8-2T is just too poor a runner - no real surprise there. Also, few of my tender locos will be suitable as they are too long for my little turntable.
My scenic expert, Doug had lent me some plaster cast samples of various items, including some lovely “old fashioned” platform sections. These showed that I needed to raise the area around where such items will be installed so I built up the area using strips of Woodland Scenics roadbed. Once this was done, the platforms looked much better.
Now, I had to tackle the job that so many folk hate - the ballasting. By now, time was running short and I had to get the layout to a certain state before I could take it to my very good friend, Doug’s house so that he can work his magic on the scenery.
So, I had to get a move on! I decided the least tearful way of doing the ballasting was to simply mask everything off where I didn’t want any ballast to appear.
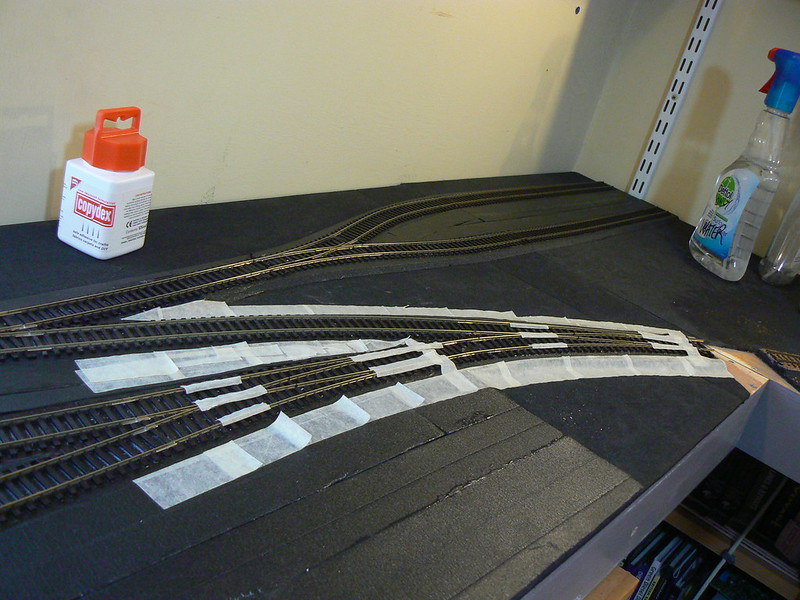

Once the masking tape was in place, it was a simple matter to use a small spoon and apply the ballast. Now, I have had some dreadful experiences with ’real’ stone chippings in the past so this time, I am using C&L lightweight ballast, which I believe is made from crushed Apricot stones - it is supposed to be quieter than regular stone and was quite easy to apply. It seems much less abrasive of the finger ends as you work it into position.
Once in place, I lightly moistened the area by gently spraying with ‘wet’ water, then applied diluted scenic glue from Woodland Scenics that does not set hard.
The trick now is once the glue has seeped into position - get the masking tape off quickly as it is a nightmare once everything has dried in place. By rinsing each piece of tape in a tub of water as it came off the board, I was able to recover quite a lot of ballast too. No sense being wasteful, I always say.
Amazingly, each baseboard must have taken at least 8-10 hours to ballast but that includes all the cleaning up of all the rails after each session.
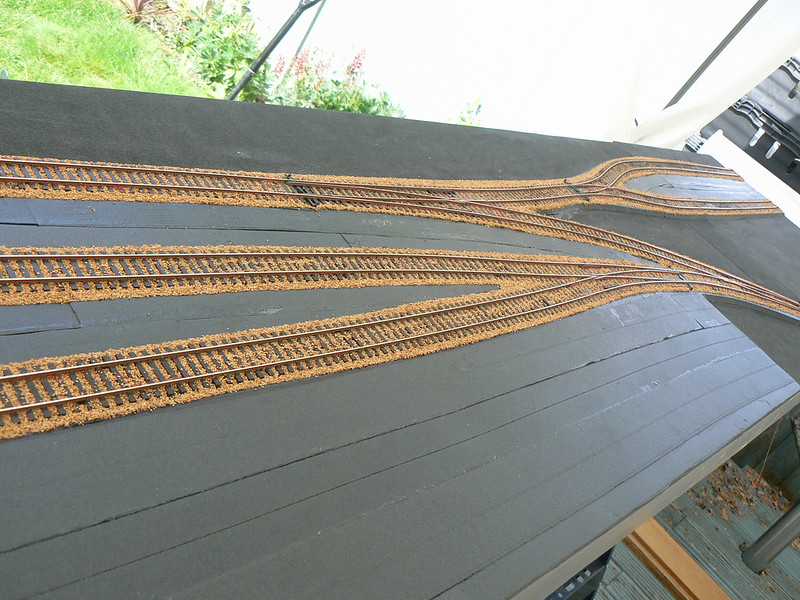
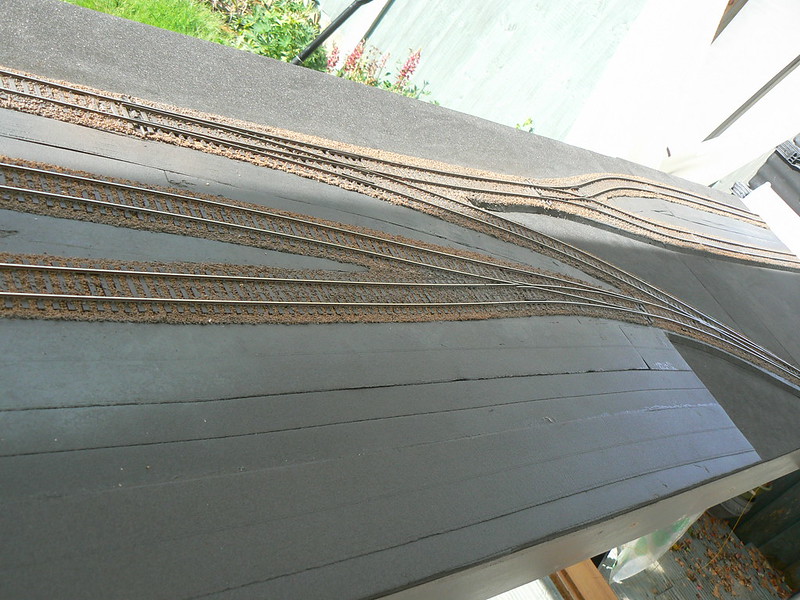
Before I painted the sides of each rail with rusty coloured paint, I spent some time cleaning off the little pieces of grit that had glued themselves to the rail, this was another rather tedious job but worth it, I feel.
The beauty of working on a portable layout is that it is so easy to separate the boards and turn them around to gain easy access to each side, saves a lot of backache.
In anticipation of this job, I had invested in a “Rusty Rails Painter”, a miniature paint roller with a drip feed type applicator. This made painting the rail sides go very much faster than when I’ve used a brush previously. However, I still used a brush to do the finishing touches on the points.

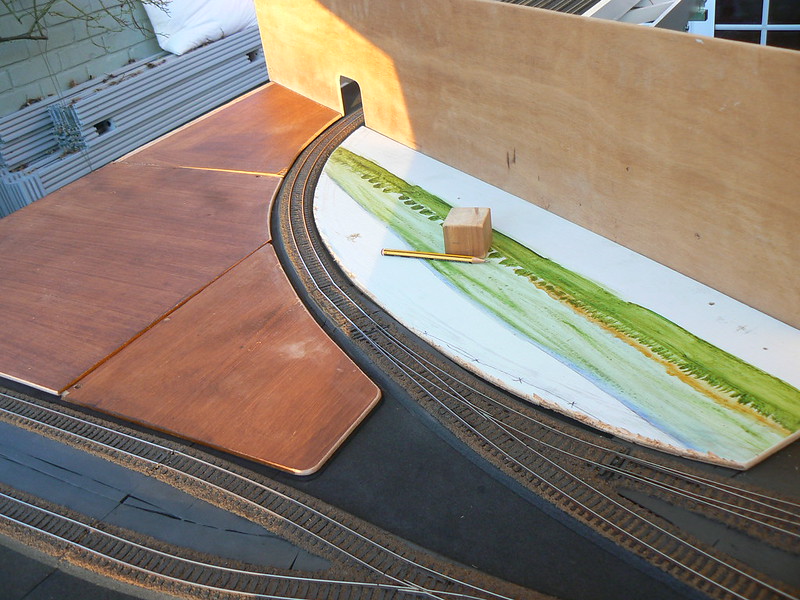
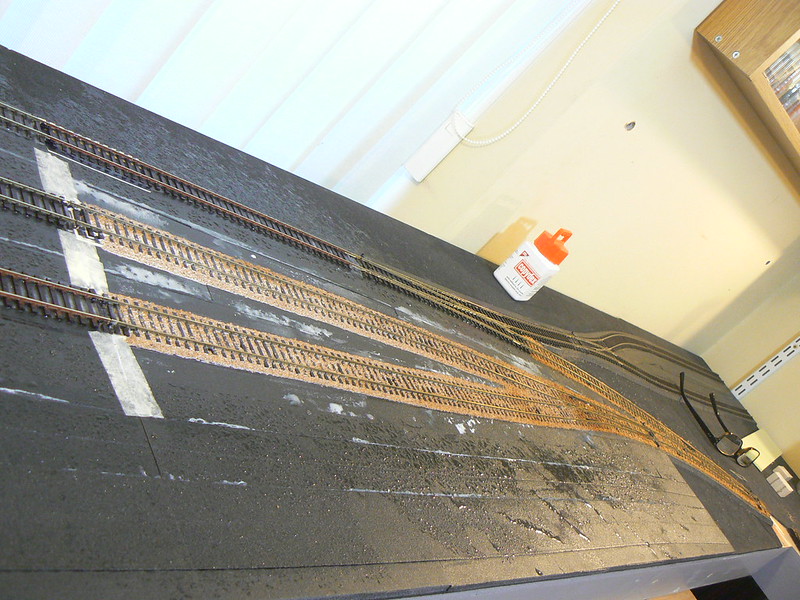
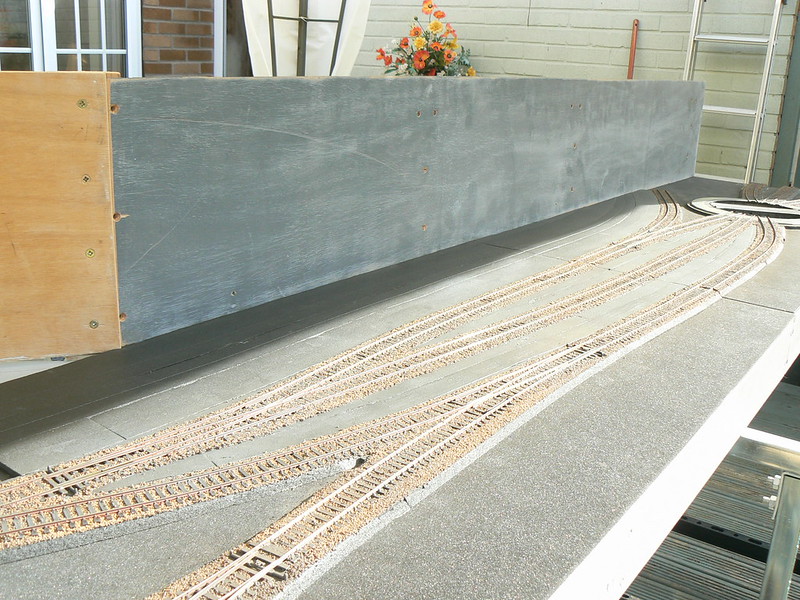
With a spell of clear weather on the horizon, it was back outside with the layout so I could now get the whole track-bed weathered. It had been a long while since I last used my airbrush so that got a thorough clean first, then a few practice blasts before I hit the track. After a couple of deep breaths, I did it, from both sides of the layout, first with grey then with track colour, cleaning the railheads both times. Remarkably, this job took only a couple of hours of quick work.
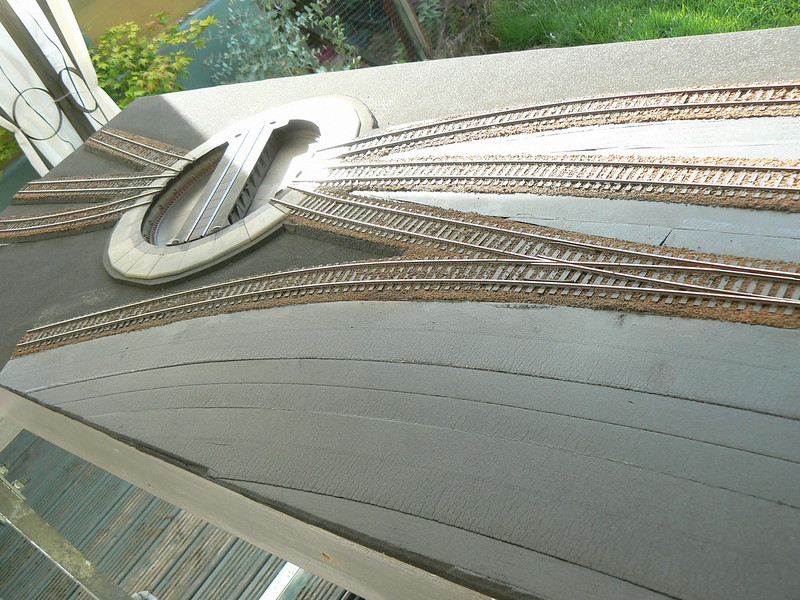
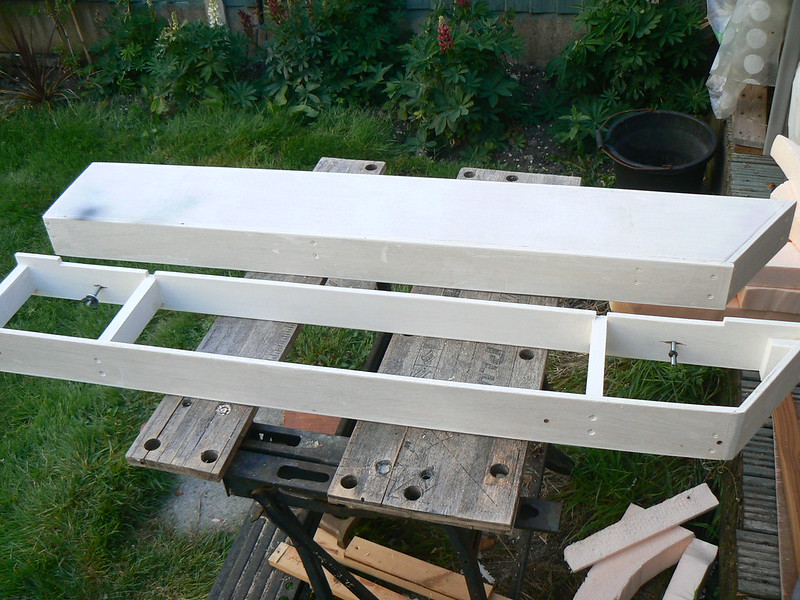
I had also started on my back-scene boards which for now, are simple strips of thin plywood, some recovered from other projects and are to be painted a neutral pale to mid grey.

End of Pt. 1
My excuse is that I have simply been too busy to write anything! Now that I am taking a short break, I can do a catch up although I’m sure I missed taking some pictures that may have helped explain things.
Firstly, I built a small triangular ‘filler’ board for the corner where the layout turns through 90 degrees - this provides a base for some scenery beyond the railway itself, supports part of the backscene and hopefully, provides a way of getting rolling stock onto the traverser (more on this later).
Now the weather had turned threatening so I re-assembled the whole layout in my box-room and gave my Prussian motive power a running test, this was very therapeutic and enjoyable. It also served to show that certain of my locos are unsuitable for use on the layout, sadly the lovely Weinert T13 0-8-0T is of too rigid a wheelbase to handle one short but tight curve and my Roco T14 2-8-2T is just too poor a runner - no real surprise there. Also, few of my tender locos will be suitable as they are too long for my little turntable.
My scenic expert, Doug had lent me some plaster cast samples of various items, including some lovely “old fashioned” platform sections. These showed that I needed to raise the area around where such items will be installed so I built up the area using strips of Woodland Scenics roadbed. Once this was done, the platforms looked much better.
Now, I had to tackle the job that so many folk hate - the ballasting. By now, time was running short and I had to get the layout to a certain state before I could take it to my very good friend, Doug’s house so that he can work his magic on the scenery.
So, I had to get a move on! I decided the least tearful way of doing the ballasting was to simply mask everything off where I didn’t want any ballast to appear.
Once the masking tape was in place, it was a simple matter to use a small spoon and apply the ballast. Now, I have had some dreadful experiences with ’real’ stone chippings in the past so this time, I am using C&L lightweight ballast, which I believe is made from crushed Apricot stones - it is supposed to be quieter than regular stone and was quite easy to apply. It seems much less abrasive of the finger ends as you work it into position.
Once in place, I lightly moistened the area by gently spraying with ‘wet’ water, then applied diluted scenic glue from Woodland Scenics that does not set hard.
The trick now is once the glue has seeped into position - get the masking tape off quickly as it is a nightmare once everything has dried in place. By rinsing each piece of tape in a tub of water as it came off the board, I was able to recover quite a lot of ballast too. No sense being wasteful, I always say.
Amazingly, each baseboard must have taken at least 8-10 hours to ballast but that includes all the cleaning up of all the rails after each session.
Before I painted the sides of each rail with rusty coloured paint, I spent some time cleaning off the little pieces of grit that had glued themselves to the rail, this was another rather tedious job but worth it, I feel.
The beauty of working on a portable layout is that it is so easy to separate the boards and turn them around to gain easy access to each side, saves a lot of backache.
In anticipation of this job, I had invested in a “Rusty Rails Painter”, a miniature paint roller with a drip feed type applicator. This made painting the rail sides go very much faster than when I’ve used a brush previously. However, I still used a brush to do the finishing touches on the points.
With a spell of clear weather on the horizon, it was back outside with the layout so I could now get the whole track-bed weathered. It had been a long while since I last used my airbrush so that got a thorough clean first, then a few practice blasts before I hit the track. After a couple of deep breaths, I did it, from both sides of the layout, first with grey then with track colour, cleaning the railheads both times. Remarkably, this job took only a couple of hours of quick work.
I had also started on my back-scene boards which for now, are simple strips of thin plywood, some recovered from other projects and are to be painted a neutral pale to mid grey.
End of Pt. 1