Nick Dunhill
Western Thunderer
This is the 3rd ACE Kit I have 'made.'
The first was a Hush-Hush and I only bought the loco parts as I had a Martin Finney tender kit to go with it. As I remember I didn't get much of a discount for not buying the tender parts, but that's another story. The chassis parts were so woeful that I persuaded Dave andrews to sell me the chassis parts for his A3 and I modified that to fit. I built the cab and the windows were at knee height in the cab side, so that was replaced. The body didn't fit very well so I added card where I thought it needed more metal, flattened it out and made a new one. As I remember the only parts of the kit I used were the beading for the cab side windows, the beading round the air intakes on the front of the loco and some of the valve gear parts to make the inside motion (Hush-Hush was a 4 cylinder compound engine.)
The second was a kit for a M&GNR 4-4-2 tank engine. The M&GNR Soc had the kit specially commissioned from him and I got one to make. I got the kit and started measuring stuff up. I decided that it would be cheaper for the clients if I commissioned some custom etches for the loco. The custom etches didn't come cheap but as I was making two the developement costs were split. I sold the kit on Ebay. William Aiscough sold me two sets of the castings for the locos which came at a reasonable price but were really not better than fishing weights, so were replaced.
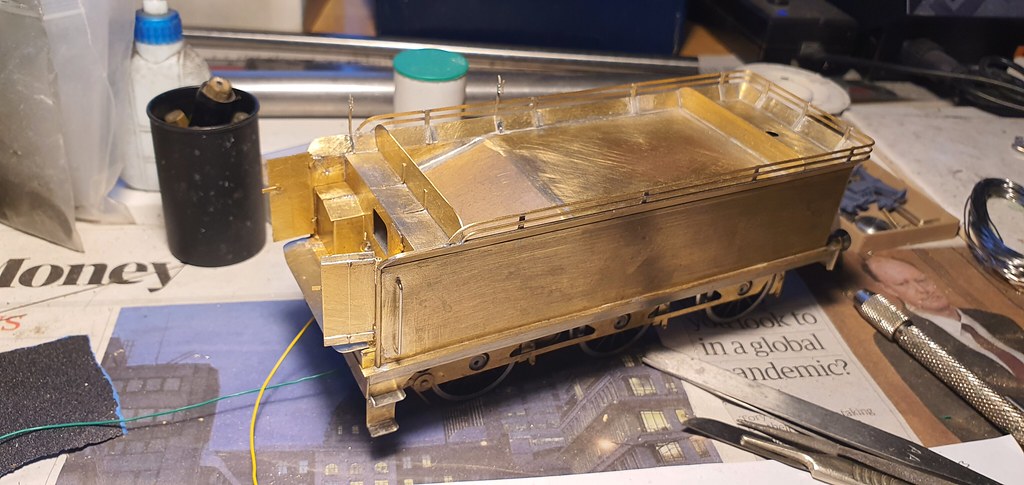
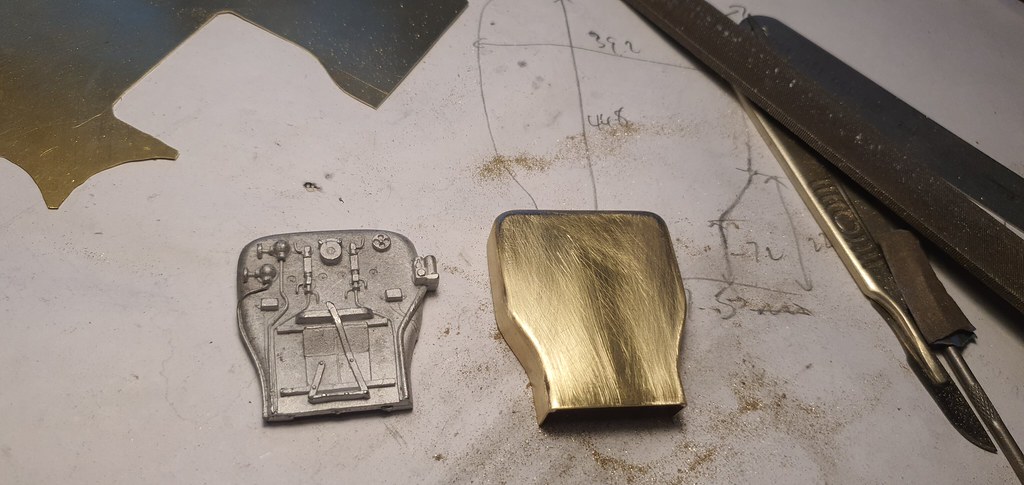
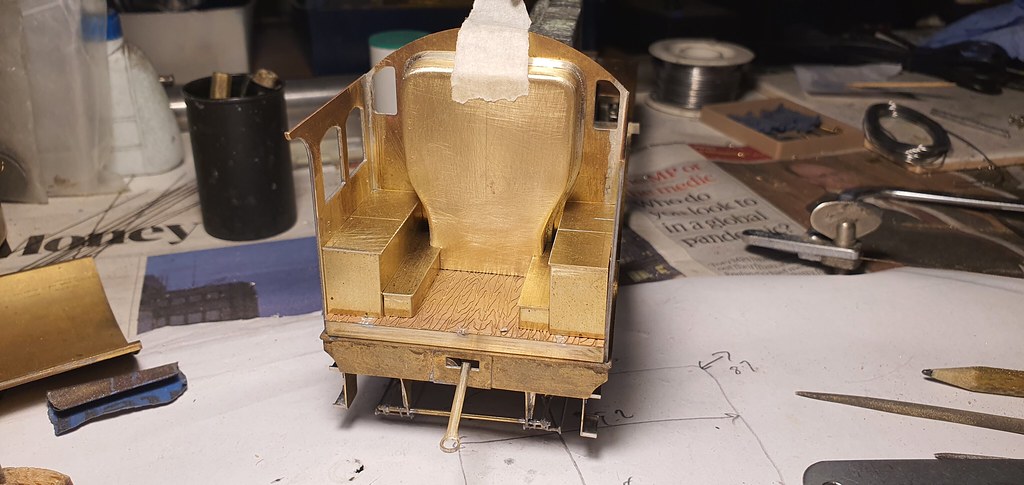
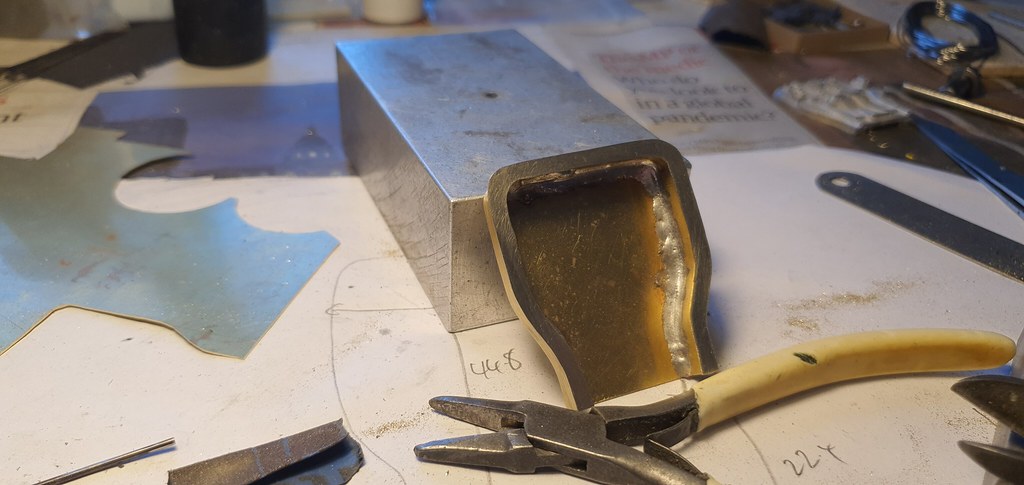
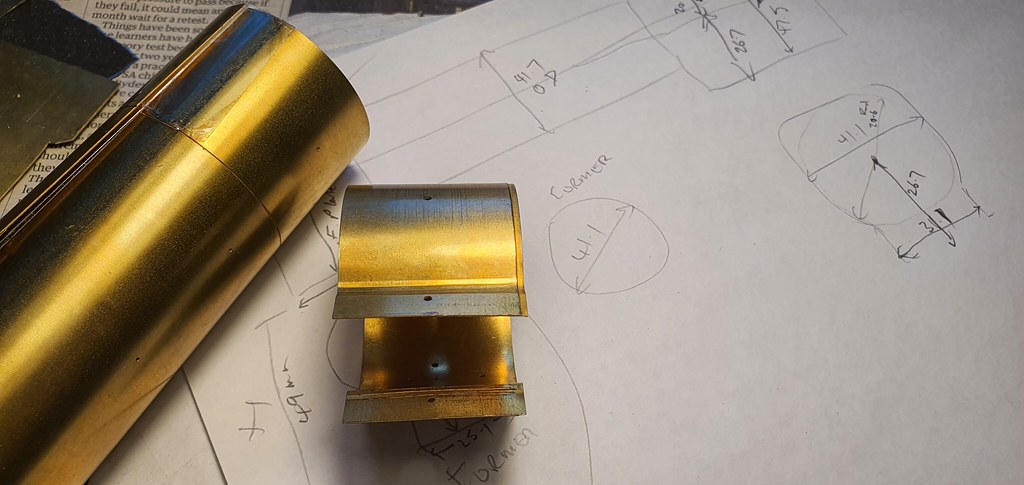
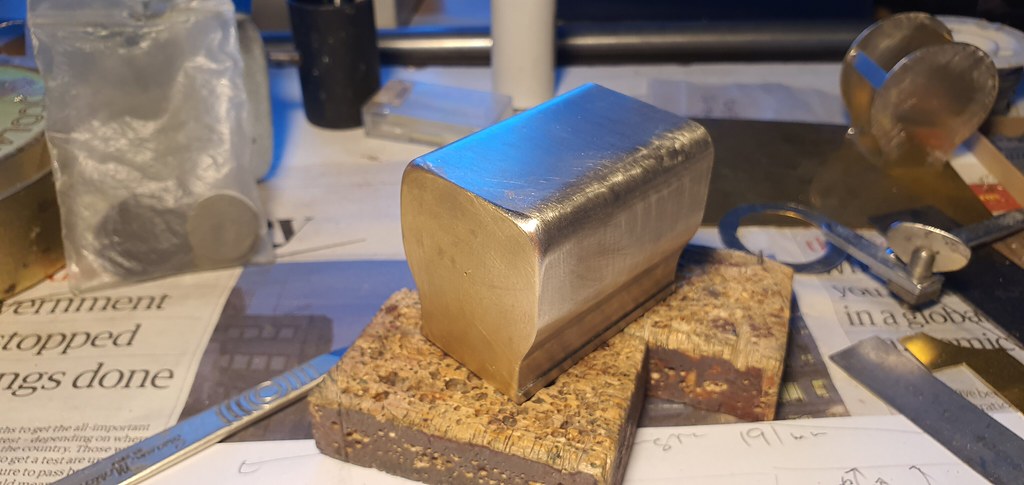
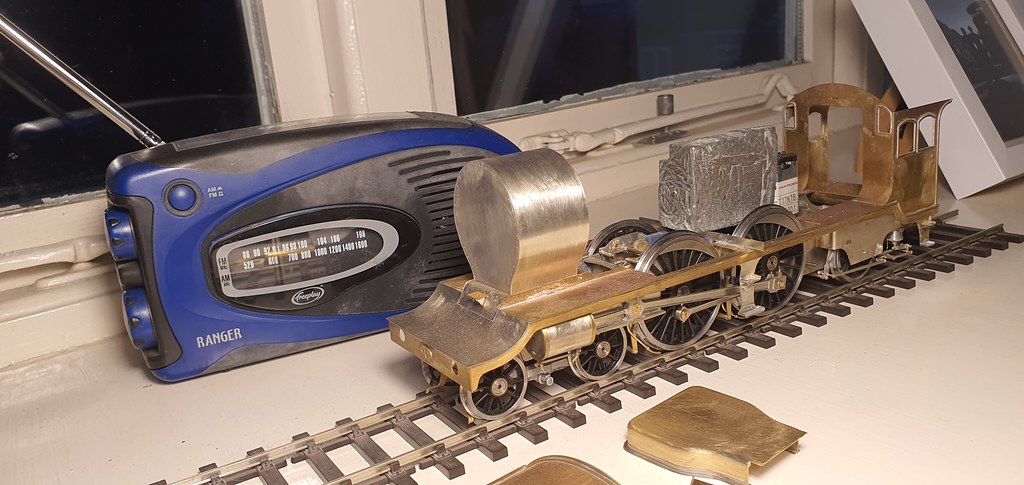
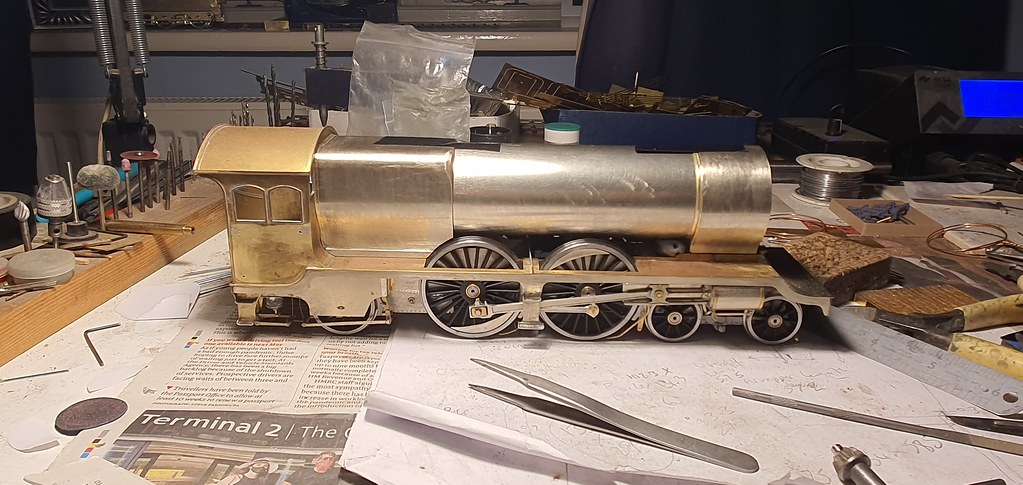
This is the 3rd and I am finishing it as a tribute to Graham Varley who made a valiant effort with the parts of the kit he built. He told me that he had agreed a price with the client to build the kit, had begun it and realised it was going to take much more work than the agreed price. He quietly put it on the back burner until it was forgotten. So far I have used the upper footplate, footplate under the cab, cab sides and roof and both buffer and drag beams. I used only the chassis frames, although they had to be so heavily modified that it would have been quicker to cut new ones. The rest of the chassis is scratchbuilt. There's a pic above of what Graham built of the tender, although this had to be modified. In fairness to the kit the tender parts do make the more popular later versions of the tender. The tender has a few shortcomings and is missing lots of detail that really should be there. I have yet to build the boiler etc and cab interior and I won't comment on those parts until I have evaluated them. The problem now is that the rest of the loco has been modified to conform to the GA and I have moved so far away from the design of the kit that it is inevitable that most remaining kit parts wil garnish my scrap bucket.
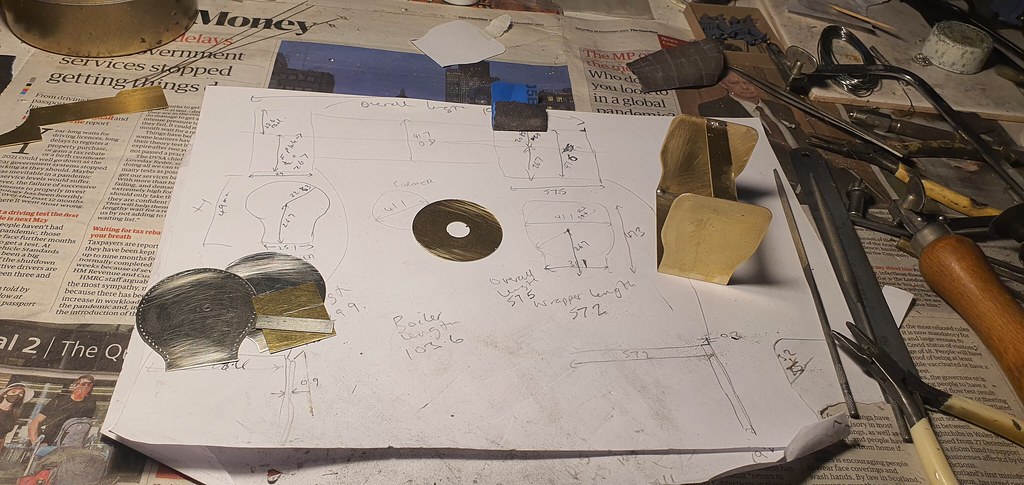
I agree with Simon that the kits produced by ACE in-house are pretty flakey and would floor the majority of beginners, maybe some of his bought-in kits are better? If you are experienced/ skillful enough you can build something from the kits, but their quality-for-money is very very low. My advice to learners would be to go for a simple kit to start. I've built some of the Connoisseur and Agenoria (original Stamper or later Beaton) kits that are very good and suitable for a beginner. My advice to more experienced modellers is to get a GA and a couple of sheets of brass and have a go at scratchbuilding rather than wasting £200-odd on an ACE Kit, you'll end up scrathbuilding lots if you attempt the kit anyway.
Websites like this, GOG Forum or RMWeb, or the many FB groups are always a good place to ask about quality of kits before you purchase.
The first was a Hush-Hush and I only bought the loco parts as I had a Martin Finney tender kit to go with it. As I remember I didn't get much of a discount for not buying the tender parts, but that's another story. The chassis parts were so woeful that I persuaded Dave andrews to sell me the chassis parts for his A3 and I modified that to fit. I built the cab and the windows were at knee height in the cab side, so that was replaced. The body didn't fit very well so I added card where I thought it needed more metal, flattened it out and made a new one. As I remember the only parts of the kit I used were the beading for the cab side windows, the beading round the air intakes on the front of the loco and some of the valve gear parts to make the inside motion (Hush-Hush was a 4 cylinder compound engine.)
The second was a kit for a M&GNR 4-4-2 tank engine. The M&GNR Soc had the kit specially commissioned from him and I got one to make. I got the kit and started measuring stuff up. I decided that it would be cheaper for the clients if I commissioned some custom etches for the loco. The custom etches didn't come cheap but as I was making two the developement costs were split. I sold the kit on Ebay. William Aiscough sold me two sets of the castings for the locos which came at a reasonable price but were really not better than fishing weights, so were replaced.
This is the 3rd and I am finishing it as a tribute to Graham Varley who made a valiant effort with the parts of the kit he built. He told me that he had agreed a price with the client to build the kit, had begun it and realised it was going to take much more work than the agreed price. He quietly put it on the back burner until it was forgotten. So far I have used the upper footplate, footplate under the cab, cab sides and roof and both buffer and drag beams. I used only the chassis frames, although they had to be so heavily modified that it would have been quicker to cut new ones. The rest of the chassis is scratchbuilt. There's a pic above of what Graham built of the tender, although this had to be modified. In fairness to the kit the tender parts do make the more popular later versions of the tender. The tender has a few shortcomings and is missing lots of detail that really should be there. I have yet to build the boiler etc and cab interior and I won't comment on those parts until I have evaluated them. The problem now is that the rest of the loco has been modified to conform to the GA and I have moved so far away from the design of the kit that it is inevitable that most remaining kit parts wil garnish my scrap bucket.
I agree with Simon that the kits produced by ACE in-house are pretty flakey and would floor the majority of beginners, maybe some of his bought-in kits are better? If you are experienced/ skillful enough you can build something from the kits, but their quality-for-money is very very low. My advice to learners would be to go for a simple kit to start. I've built some of the Connoisseur and Agenoria (original Stamper or later Beaton) kits that are very good and suitable for a beginner. My advice to more experienced modellers is to get a GA and a couple of sheets of brass and have a go at scratchbuilding rather than wasting £200-odd on an ACE Kit, you'll end up scrathbuilding lots if you attempt the kit anyway.
Websites like this, GOG Forum or RMWeb, or the many FB groups are always a good place to ask about quality of kits before you purchase.
 ....spend the £200 smackers on the wheels and motor and scratch the rest,