magmouse
Western Thunderer
Thanks everyone for the positive comments and likes - much appreciated.
Nick.
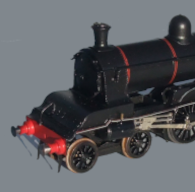
Says the man who earlier in the thread decided no holes were better than holes in the wrong place! Seriously, though - the missing hole is not forgotten. I'm just nervous about being able to drill it accurately and without causing damage. Still thinking about that...Just that one small hole to drill in the top of the curb rail, the one on the non-braked side")
Yes, I will.Start with gentle weathering and see how you feel.
Thanks - yes. At least Greenly could (figuratively) look out the window and model what he saw - though it begs the question of whether a model without any brake gear should have the stripe???The white stripe features on the contemporary models sold by Bassett-Lowke:
Nick.


 .
.

")