geoff_nicholls
Western Thunderer
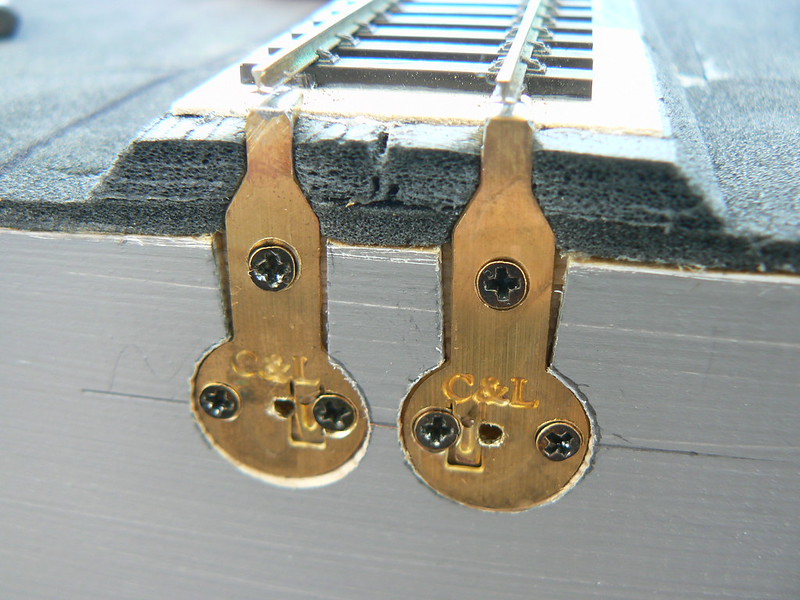
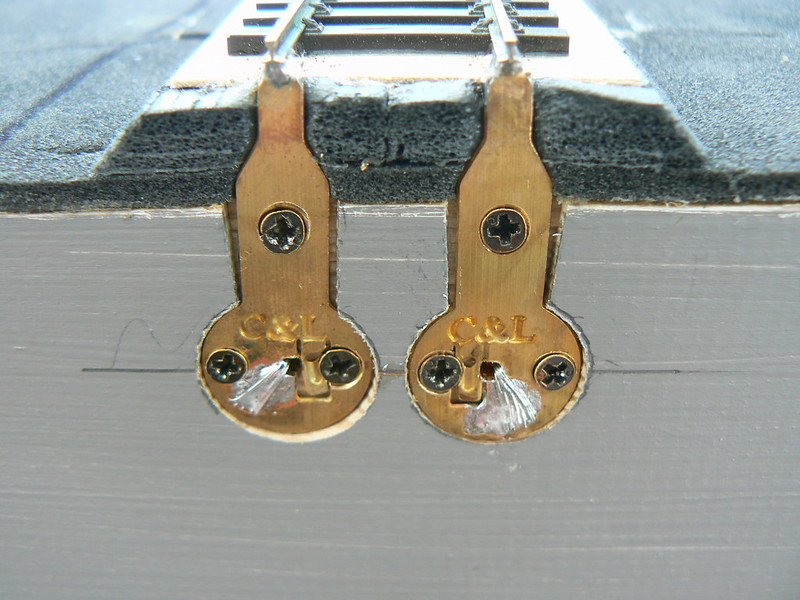
Instead of having a staggered join, or a 90 degree join with a piece of vulnerable track sticking out, would it be better to have a 'bridge' piece which just drops in over the join?


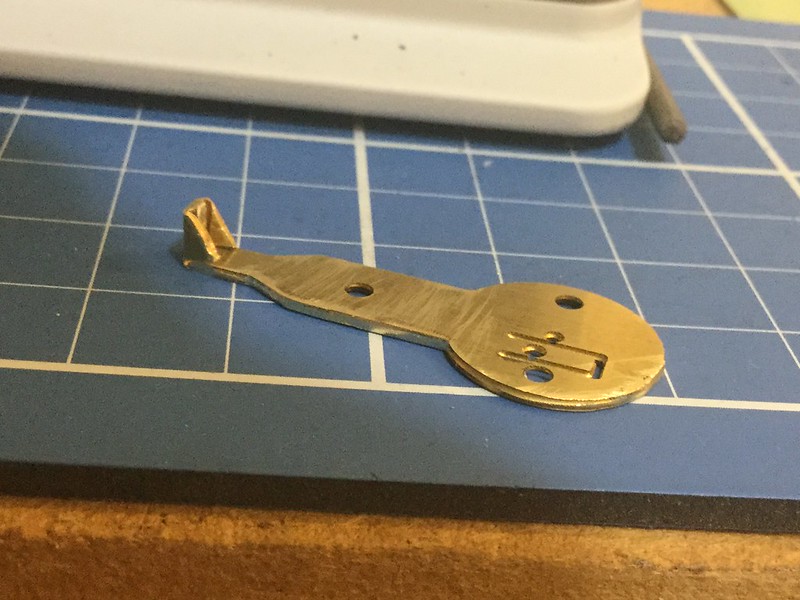
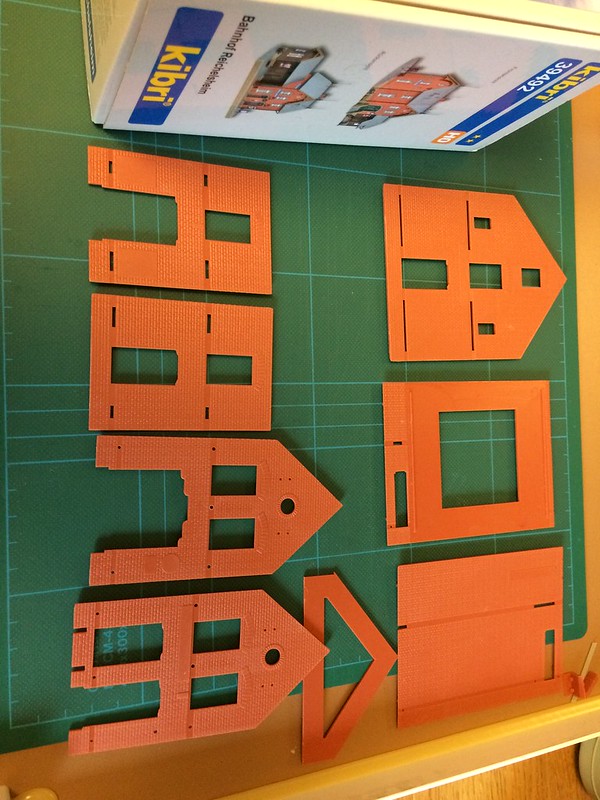
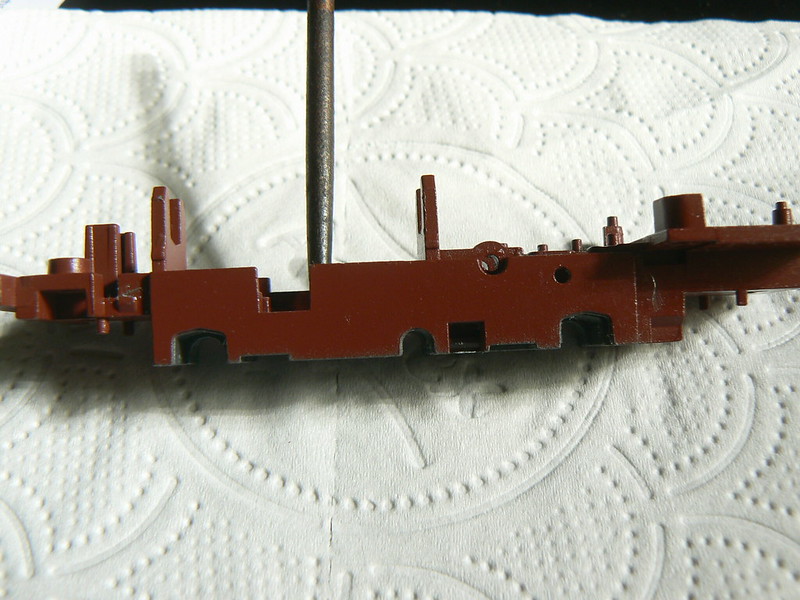
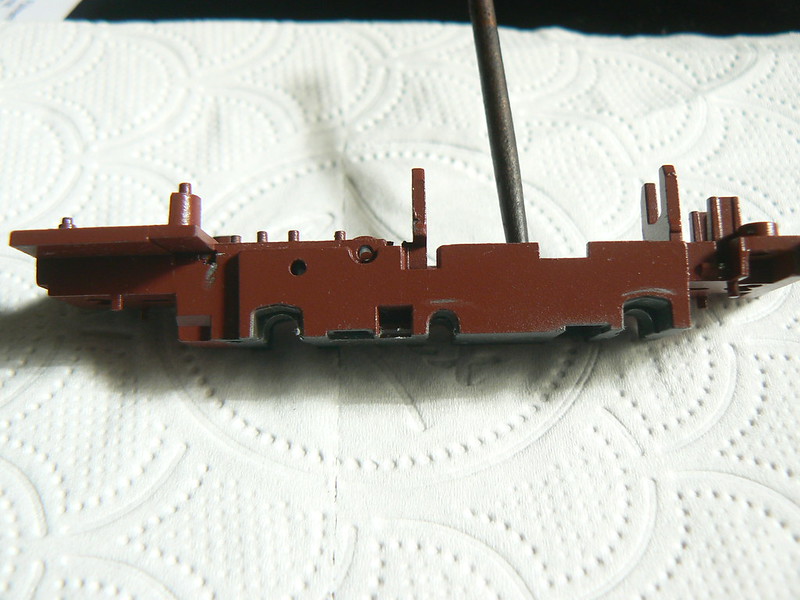
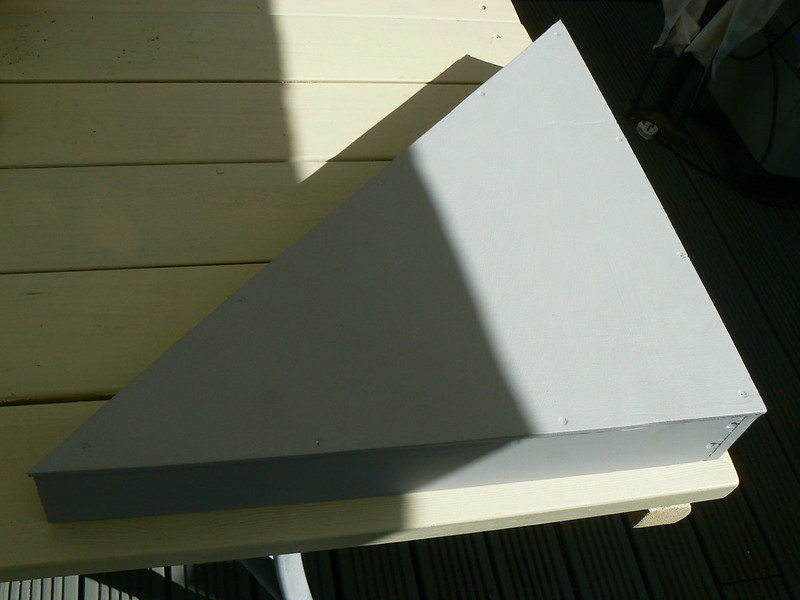
I chose dark brown ‘Oak Beams’ as a suitable colour


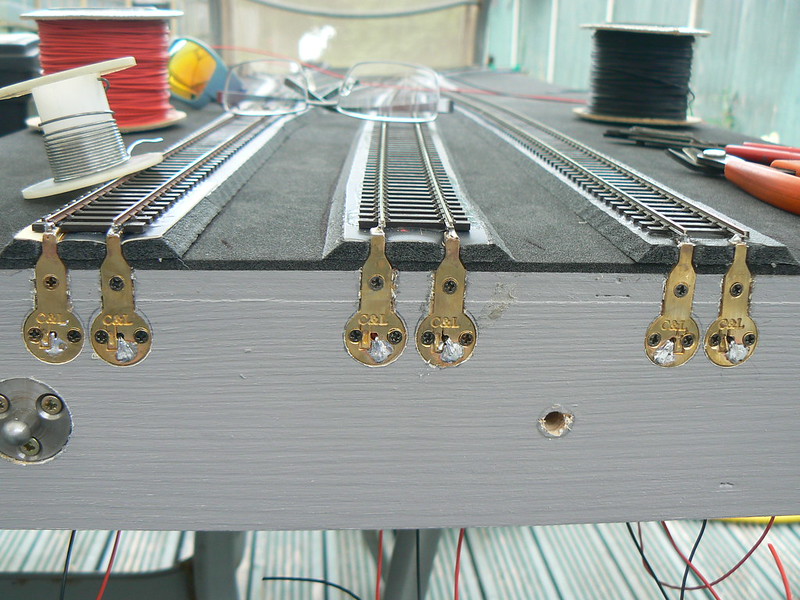

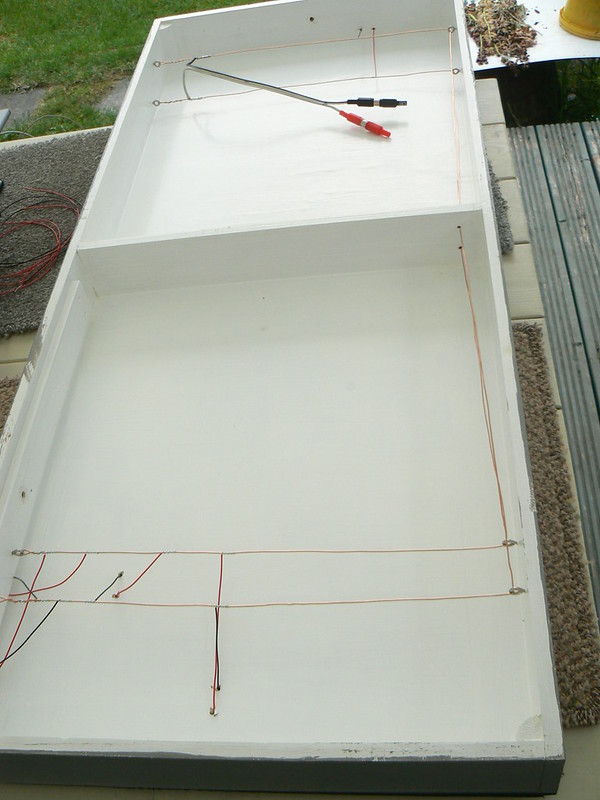
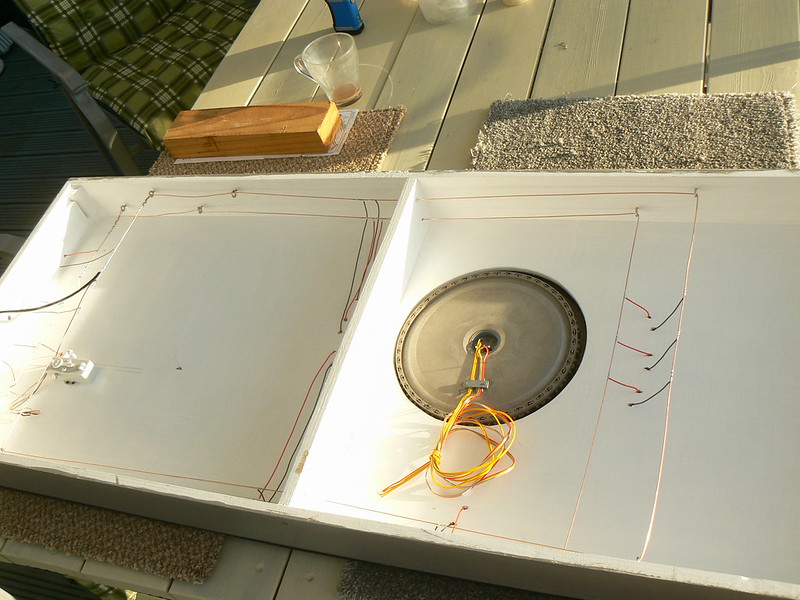
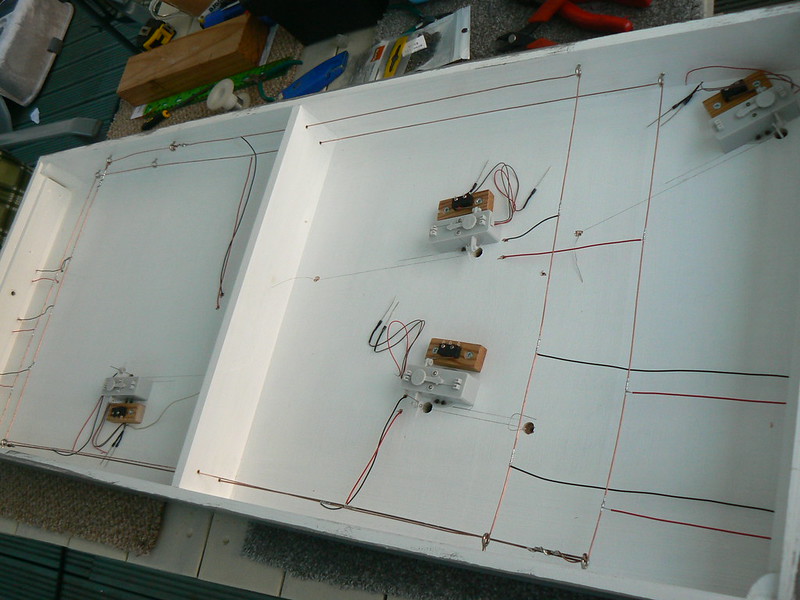
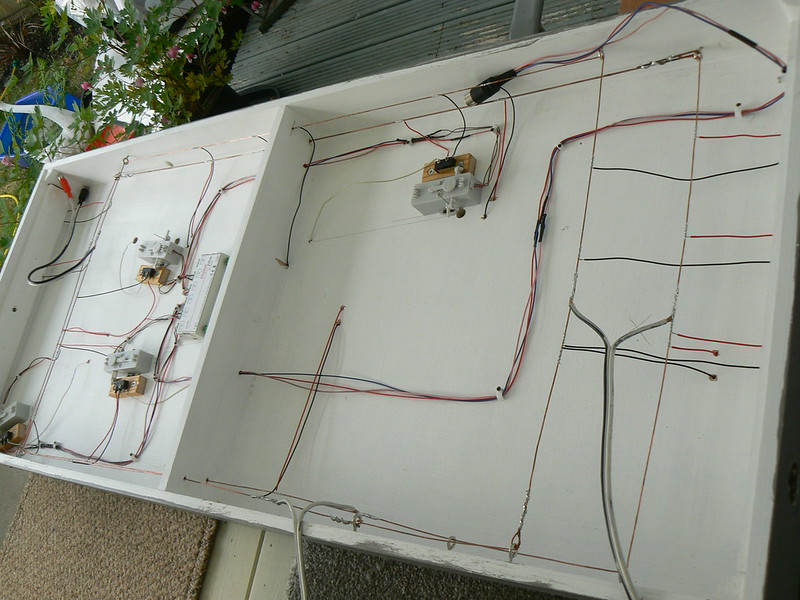

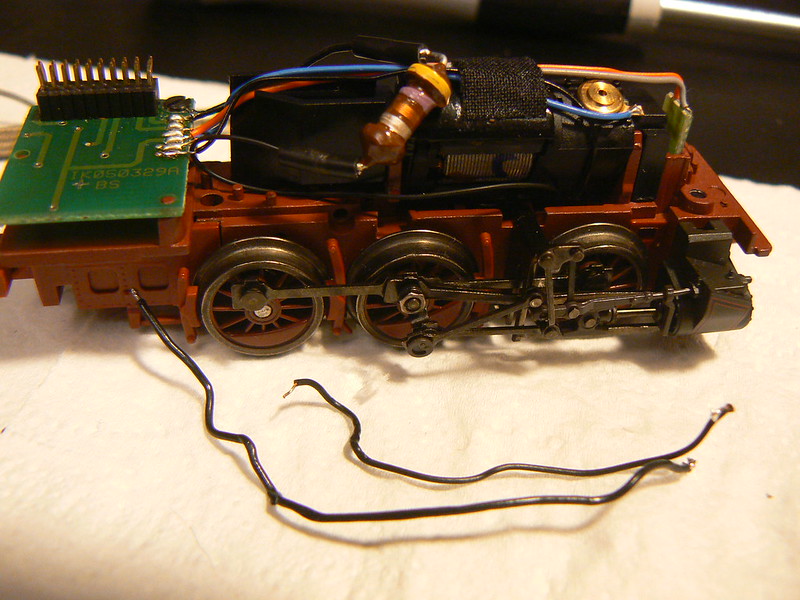
I can't claim any more experience than you - but I found a similar effort was required for my Holywell project so I can appreciate the time taken. Although I got it working for the 2mm Supermeet I still think there's another 4 weeks of serious effort to get it finished properly and the joy of that it's all hidden under the boards!!Using a bus to provide two wires to each piece of track - that I can deal with!
I would say that I worked for an average of over six hours a day for ten days, doing this - I am sure that others, more experienced and who know what they are doing, would be much faster.
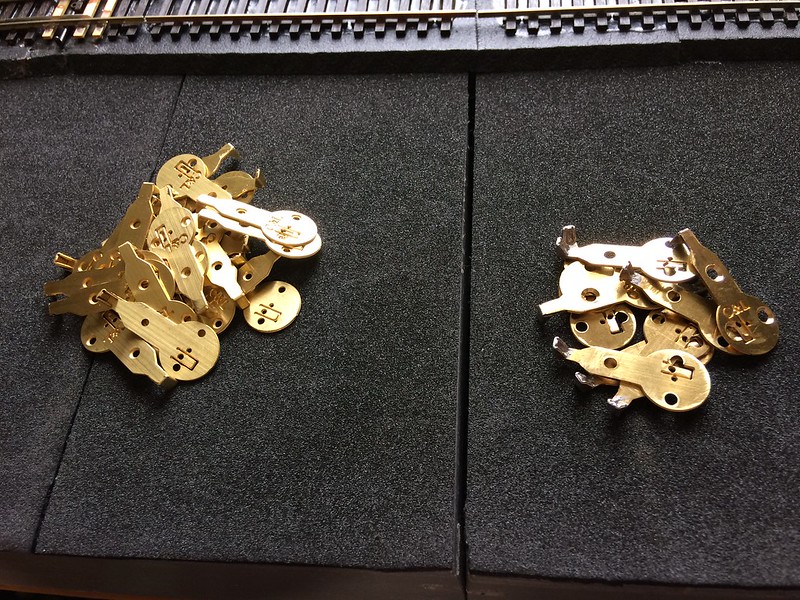
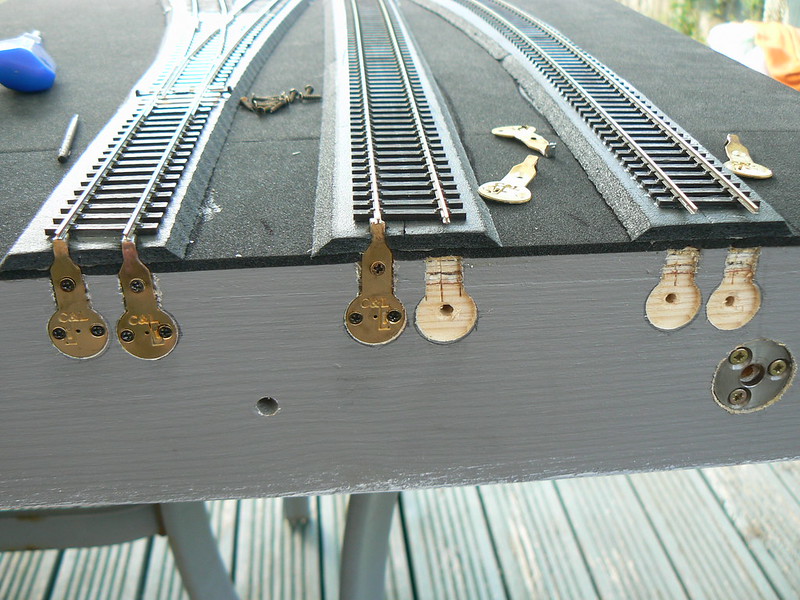
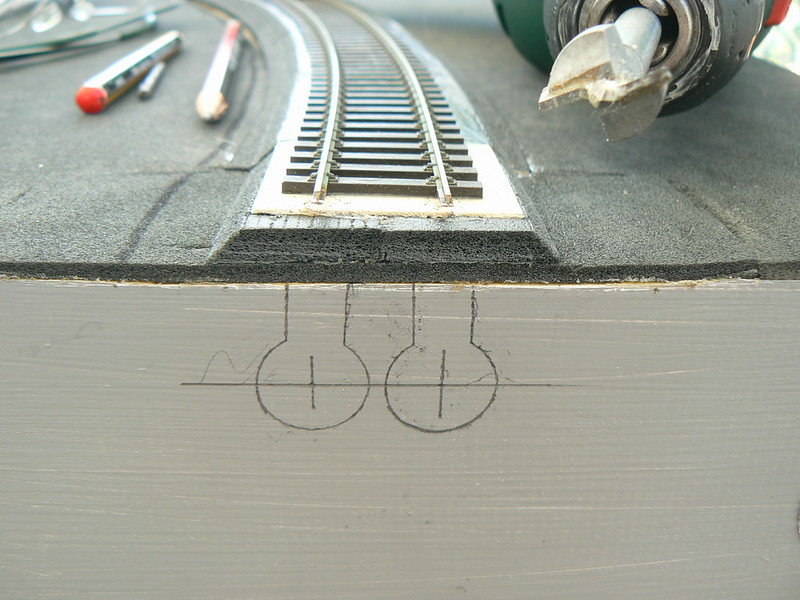
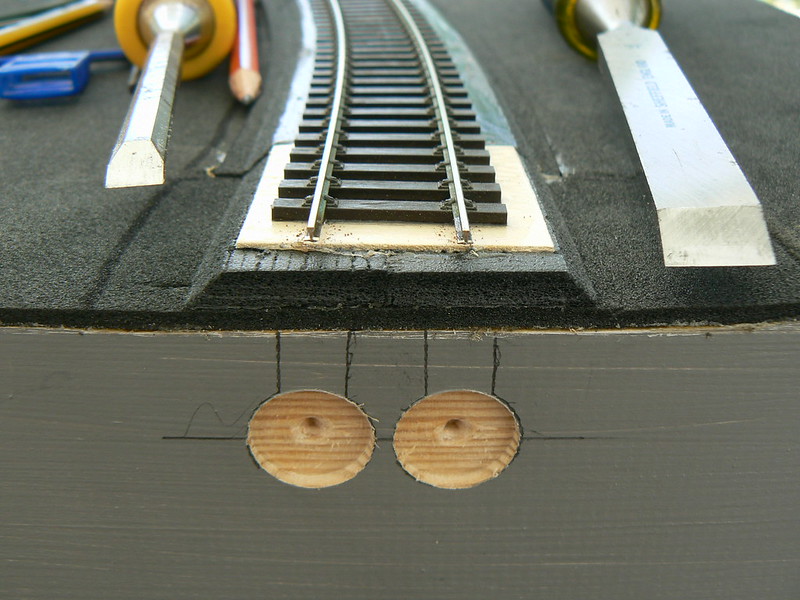
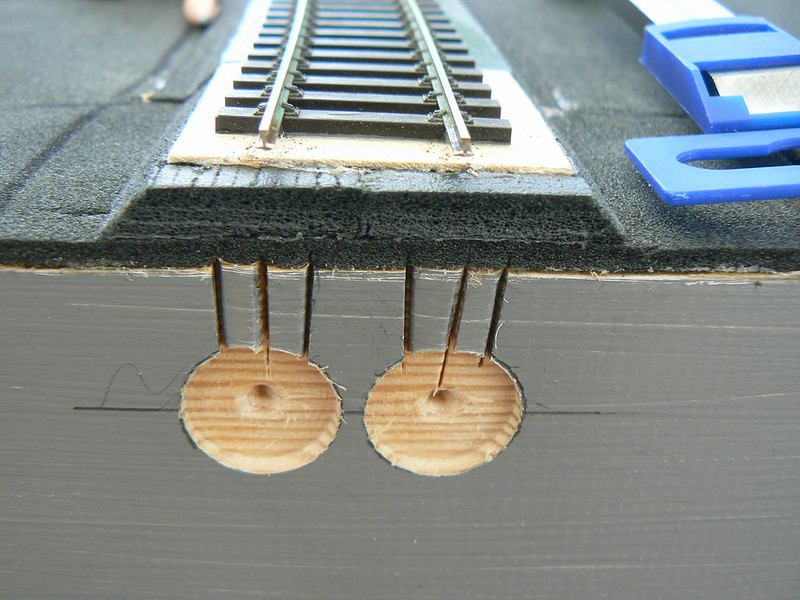
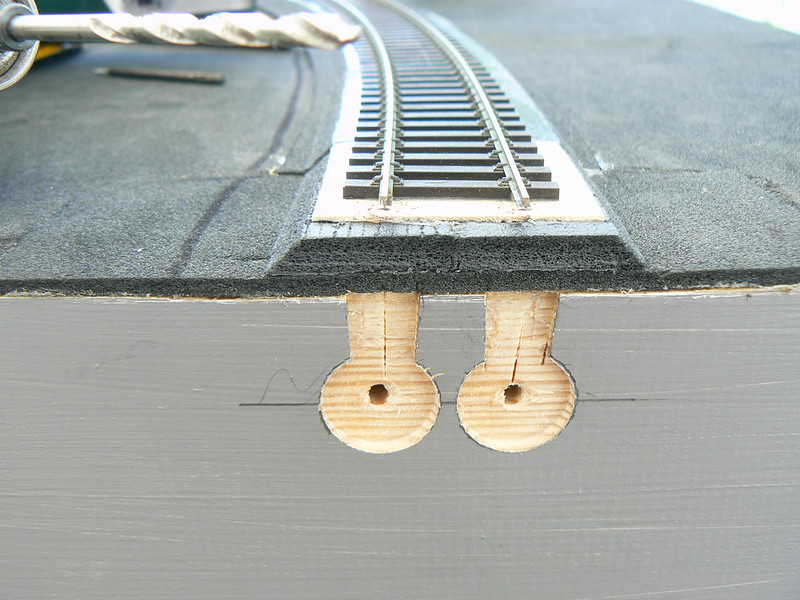
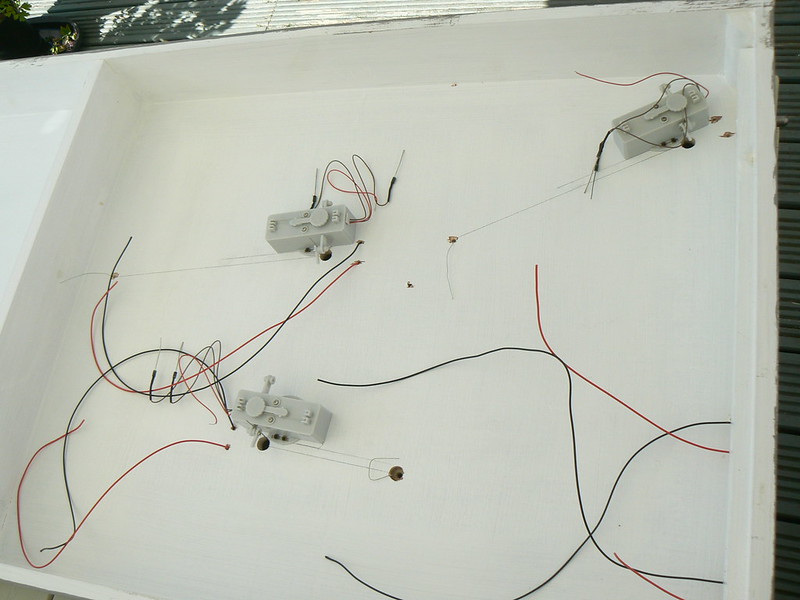
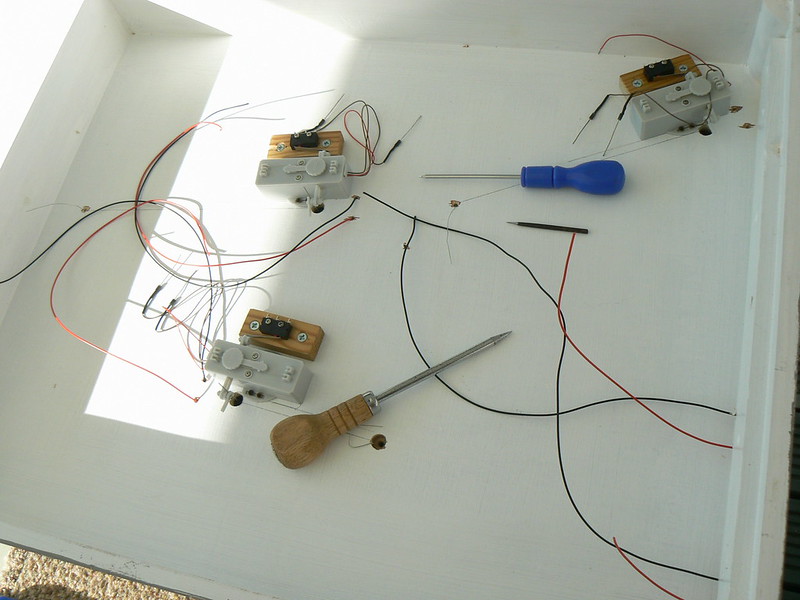
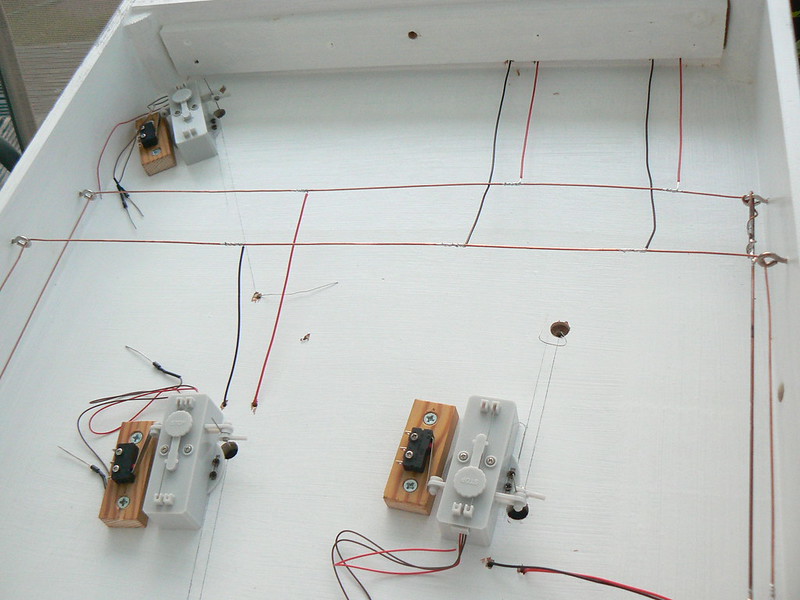
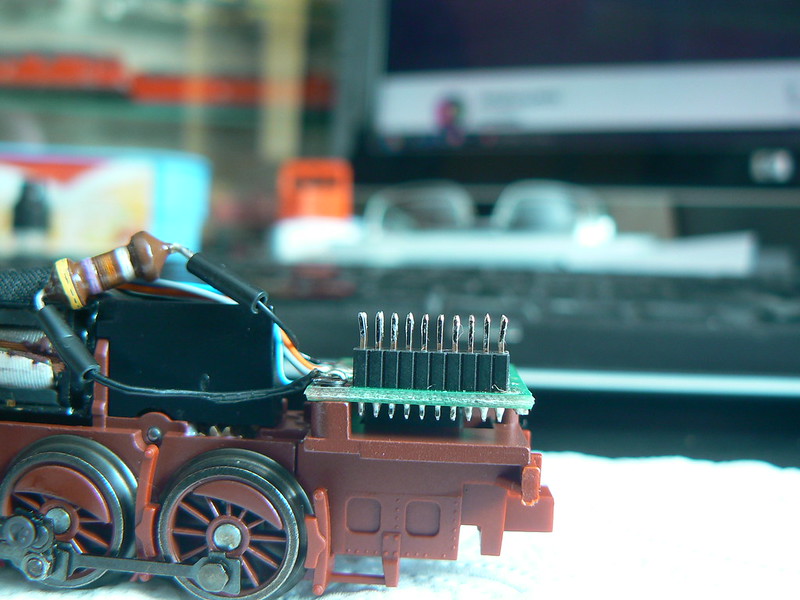
You reckon? What gave that away?I see you're using Conrad point motors.

Indeed so, nice aren't they! I bought a dozen of these a few years ago for a bigger project that failed, as so often the case with me and I really liked them. I think they are a copy of the Tillig point motor and my club used those on a project a few years ago.I see you're using Conrad point motors.
Thanks, Adrian! The joys of railway modelling, eh!?!I can't claim any more experience than you - but I found a similar effort was required for my Holywell project so I can appreciate the time taken. Although I got it working for the 2mm Supermeet I still think there's another 4 weeks of serious effort to get it finished properly and the joy of that it's all hidden under the boards!!


......................... There is also a similar product that comes in blue .
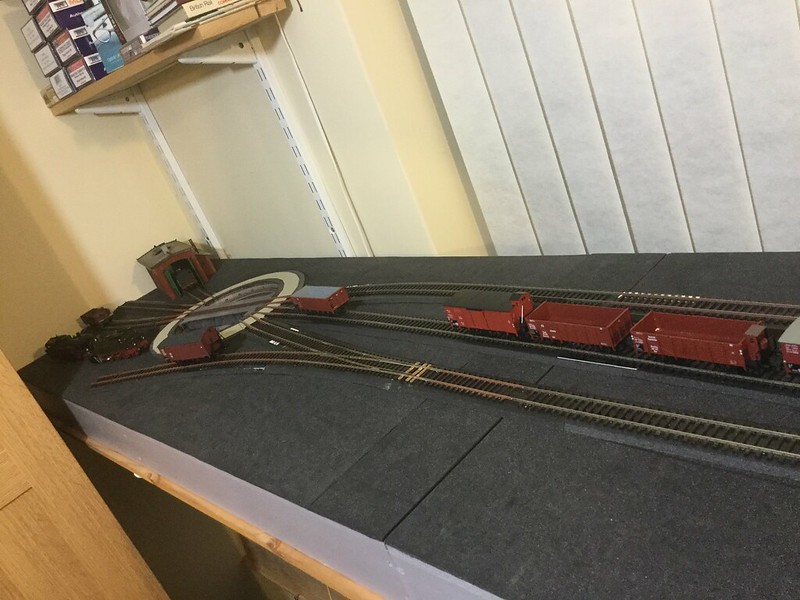
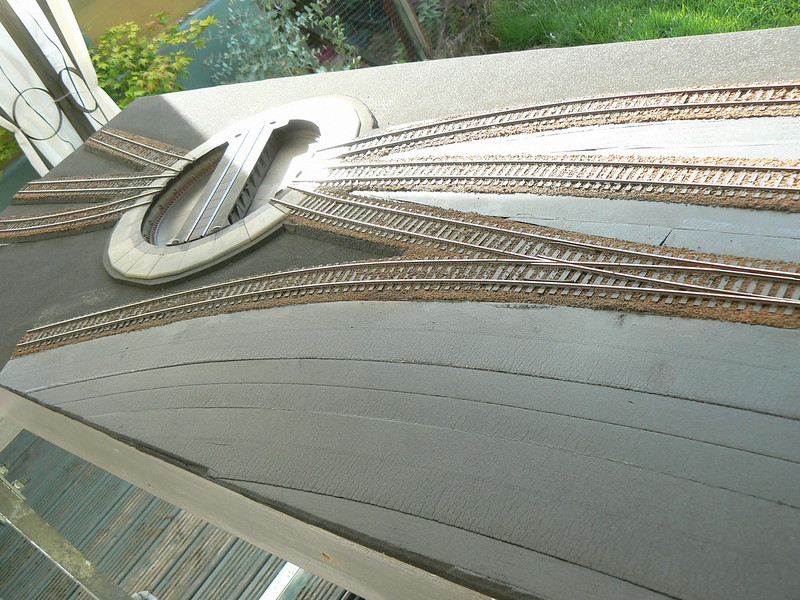
 Untitled by Allegheny1633, on Flickr
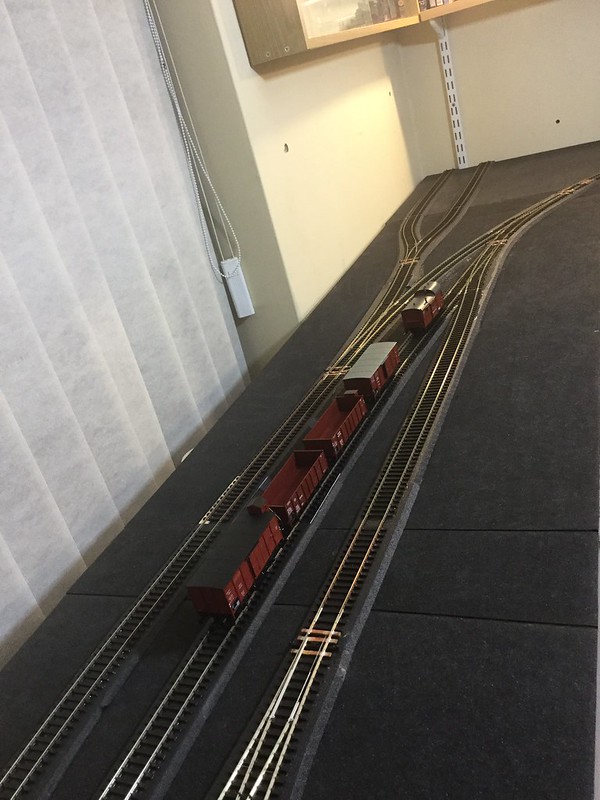
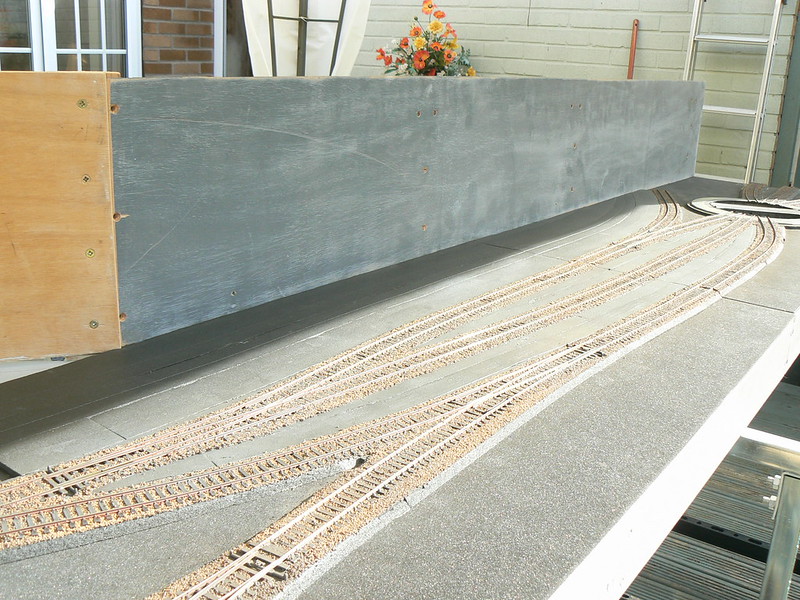
 Untitled by Allegheny1633, on Flickr
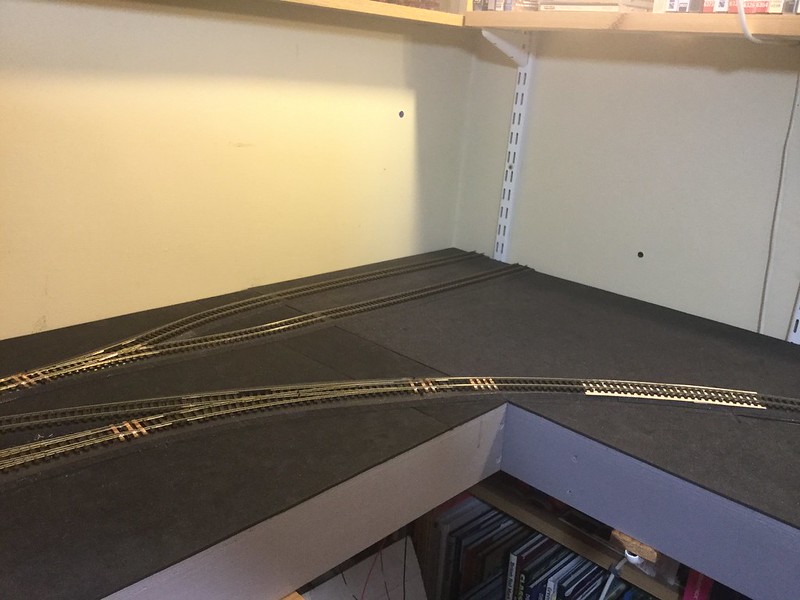
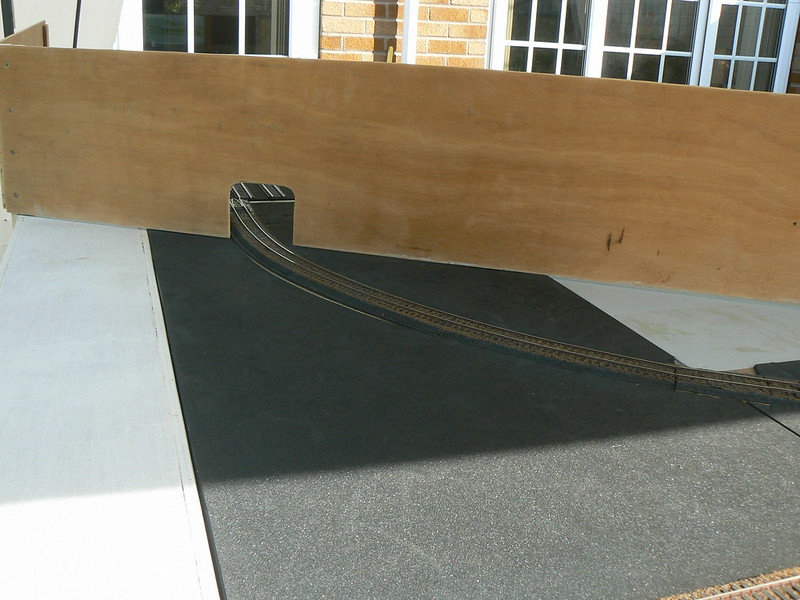
 Untitled by Allegheny1633, on Flickr
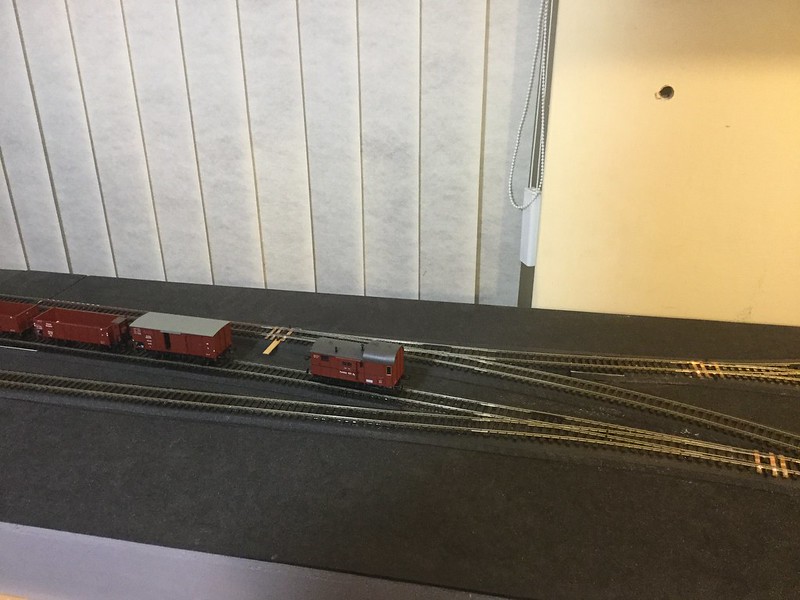
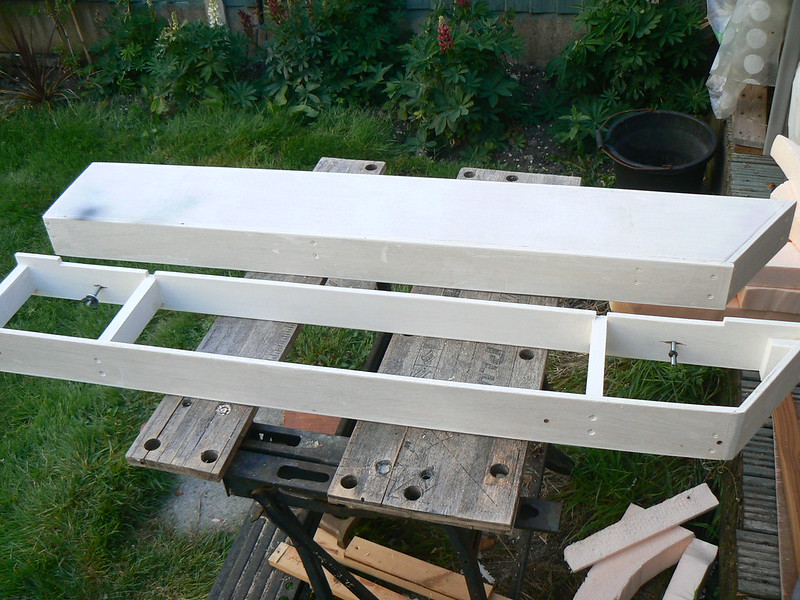
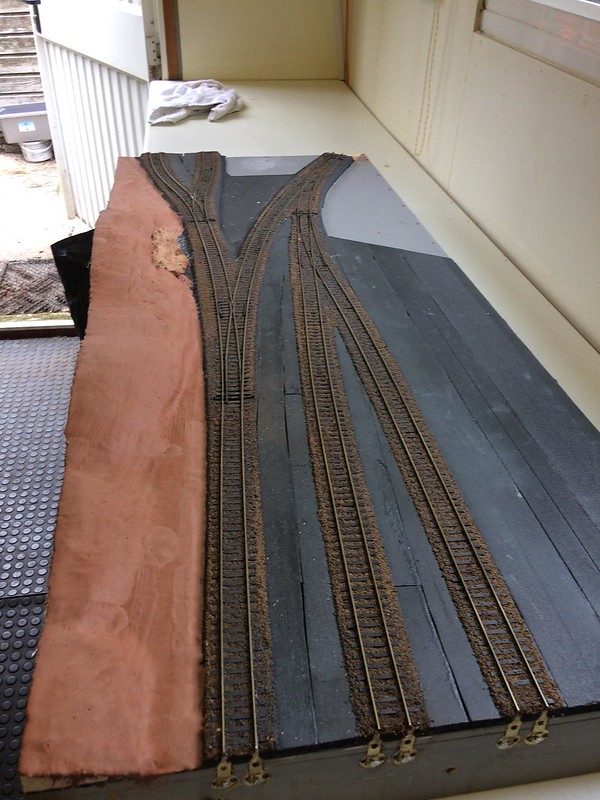 Untitled by Allegheny1633, on Flickr
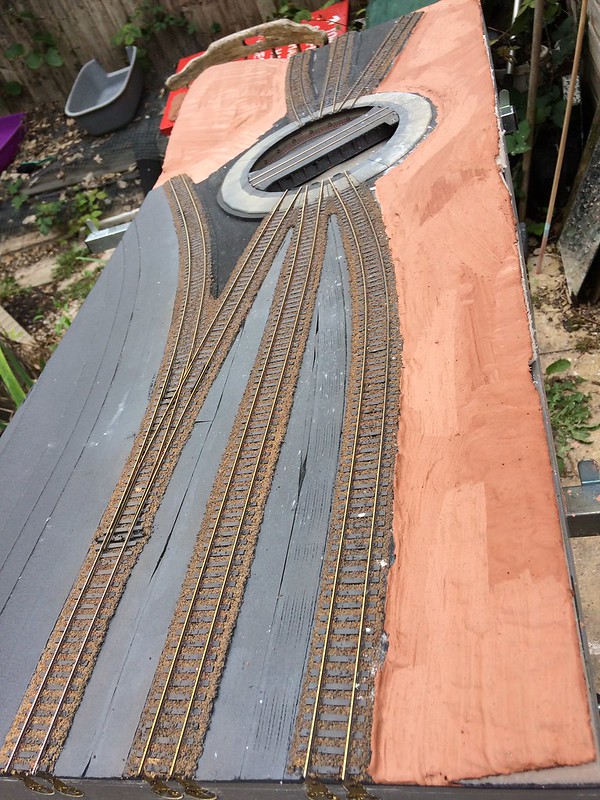 Untitled by Allegheny1633, on Flickr
 Untitled by Allegheny1633, on Flickr
 Untitled by Allegheny1633, on Flickr
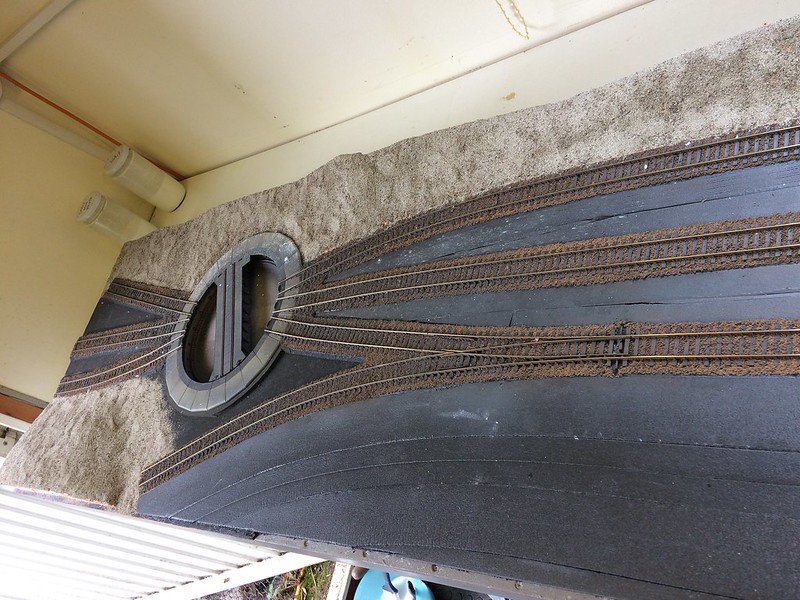 Untitled by Allegheny1633, on Flickr
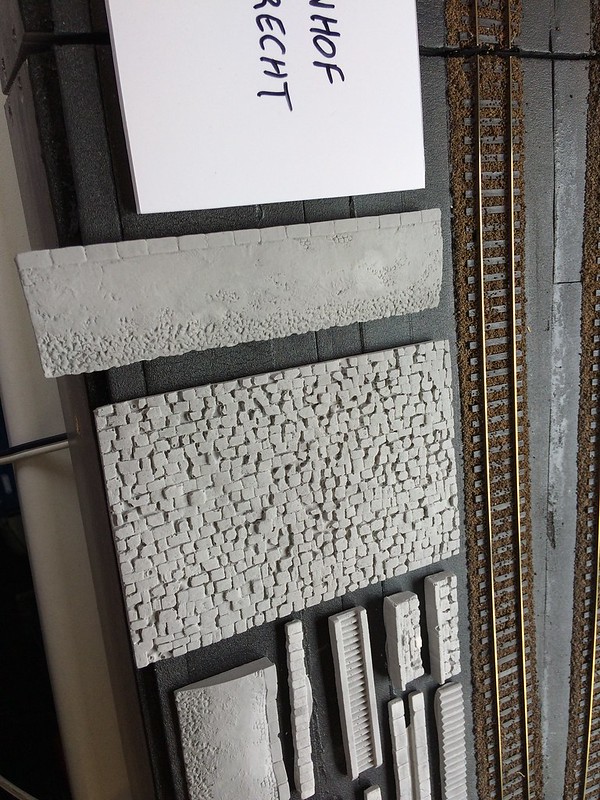 Untitled by Allegheny1633, on Flickr
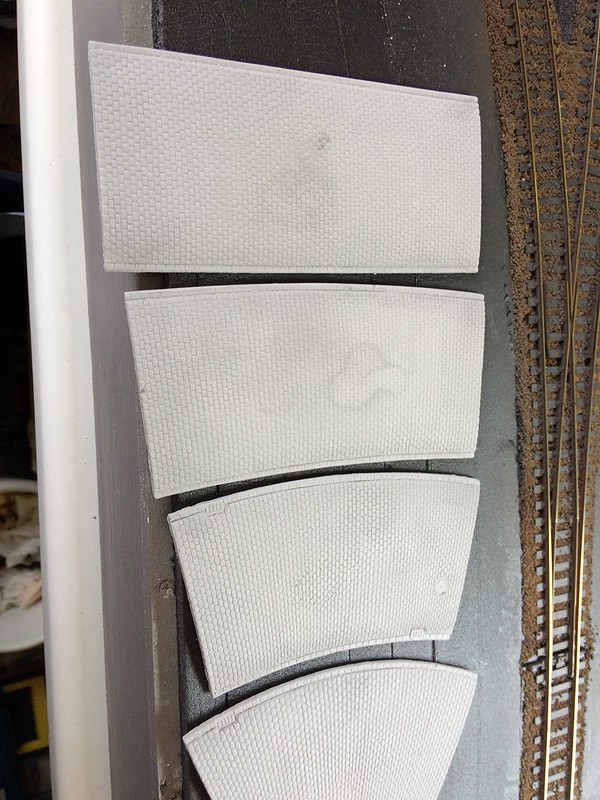 Untitled by Allegheny1633, on Flickr
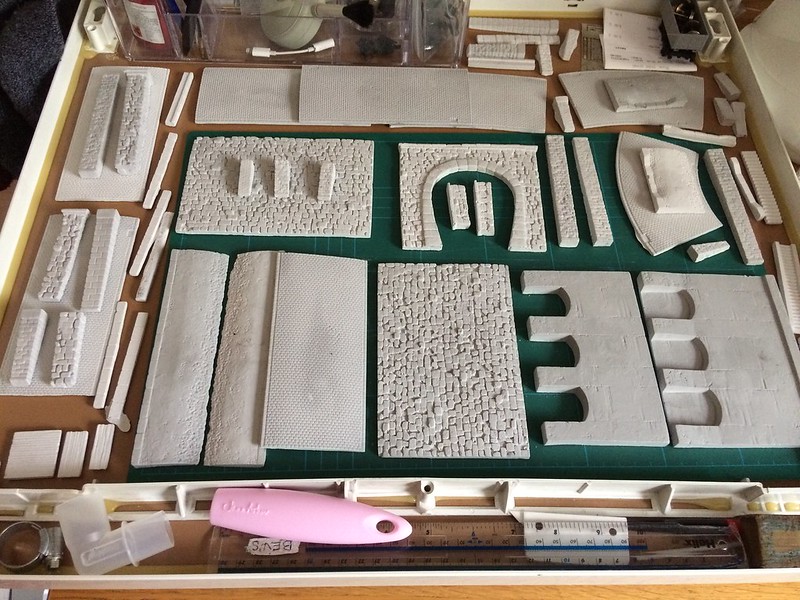 Untitled by Allegheny1633, on Flickr
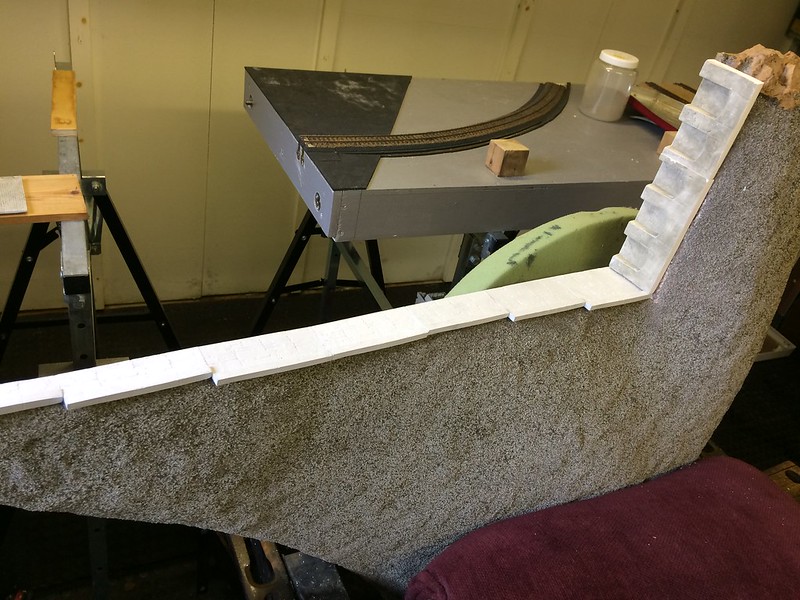 Untitled by Allegheny1633, on Flickr
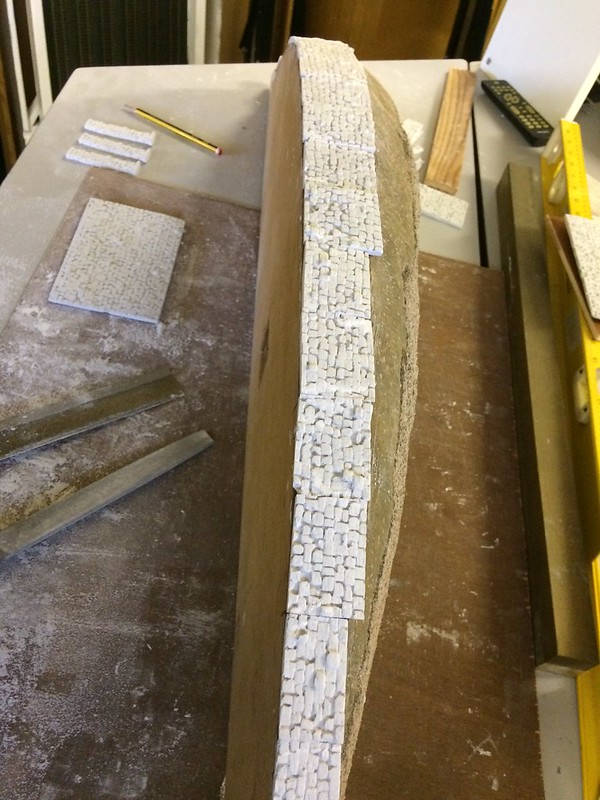 Untitled by Allegheny1633, on Flickr
 Untitled by Allegheny1633, on Flickr
 Untitled by Allegheny1633, on Flickr
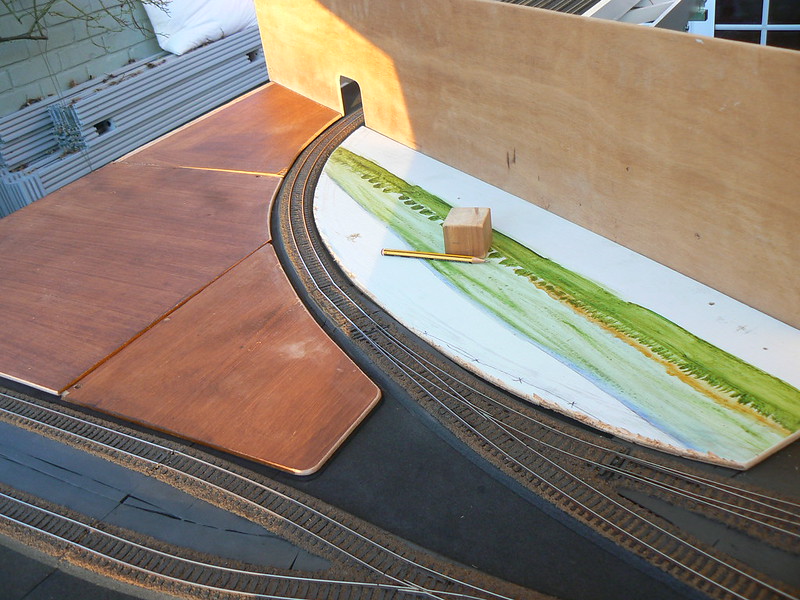
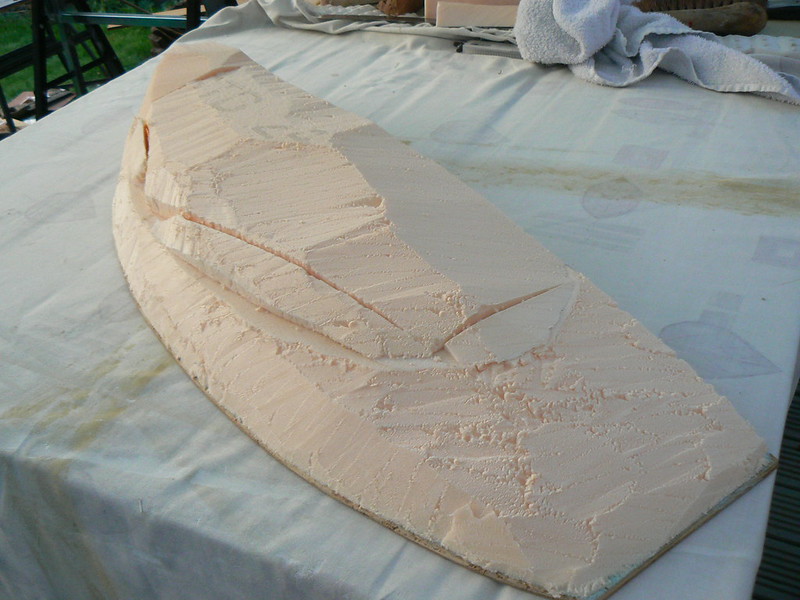
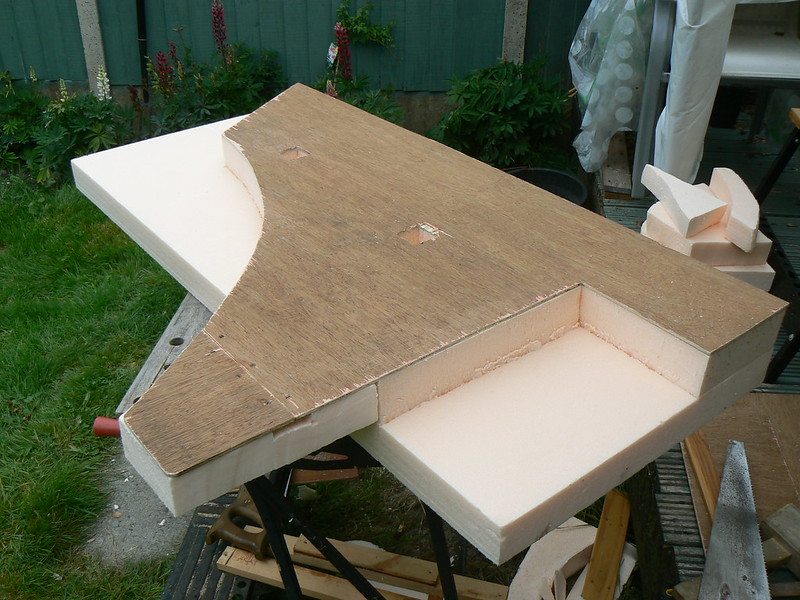
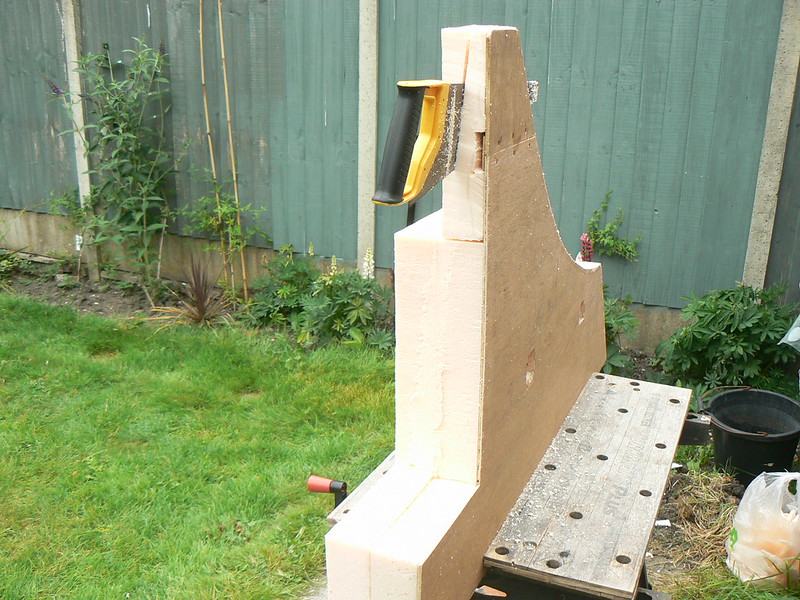
 Scenery on Leberecht by Allegheny1633, on Flickr
 Scenery on Leberecht by Allegheny1633, on Flickr
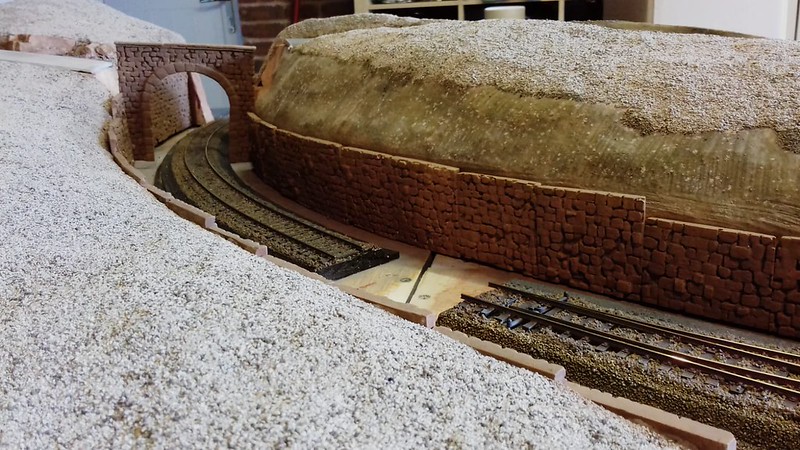 Scenery on Leberecht by Allegheny1633, on Flickr
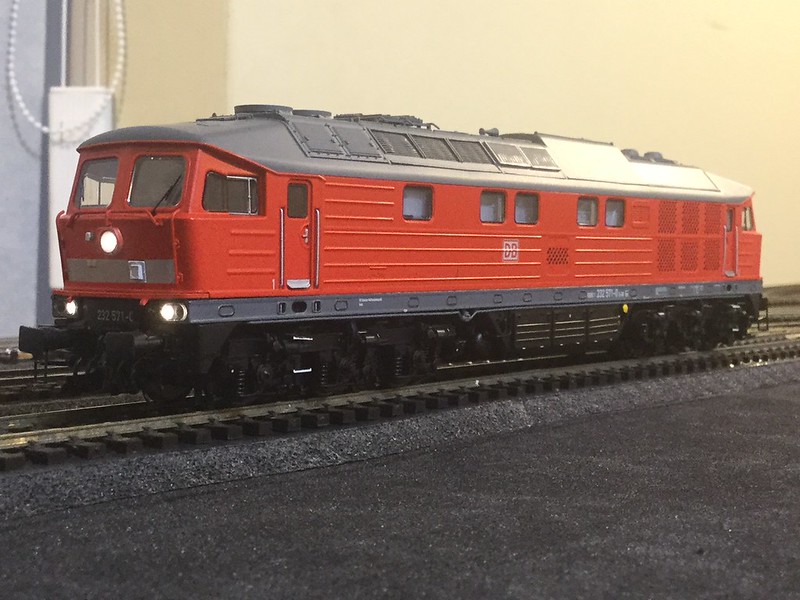
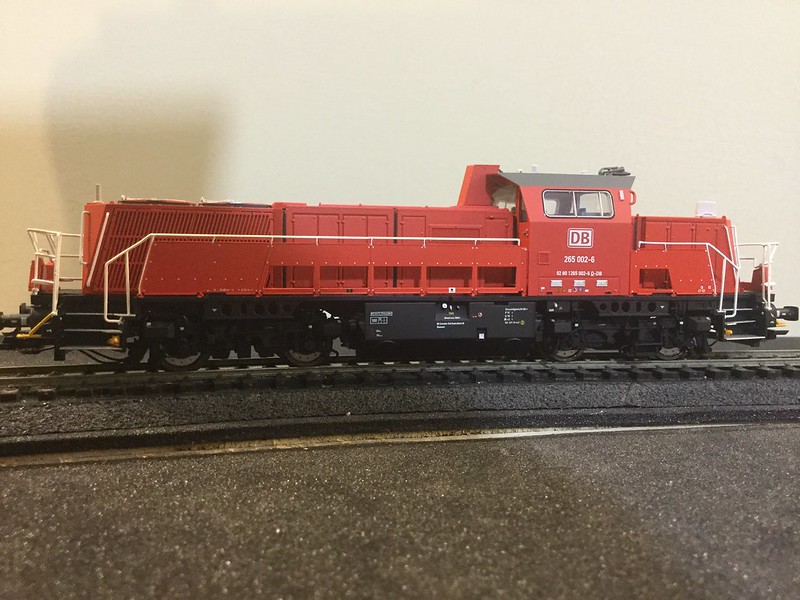
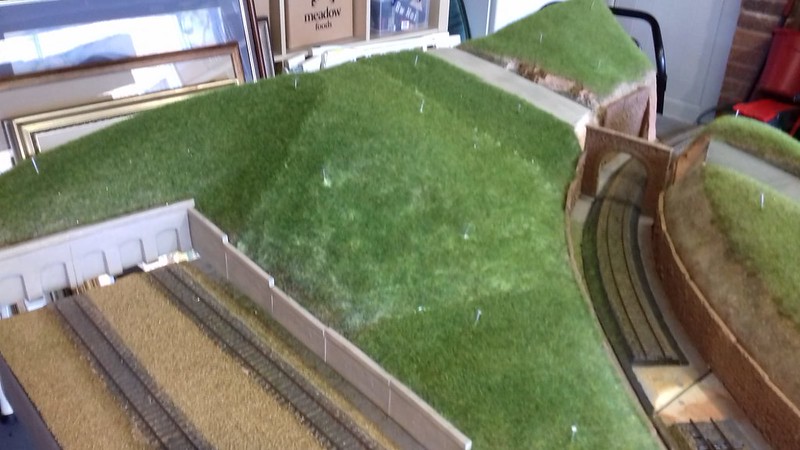 Greece 2018 by Allegheny1633, on Flickr
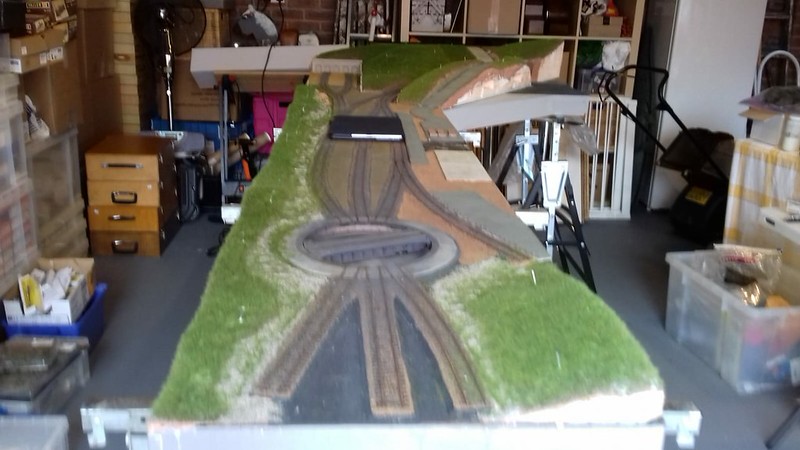 Greece 2018 by Allegheny1633, on Flickr
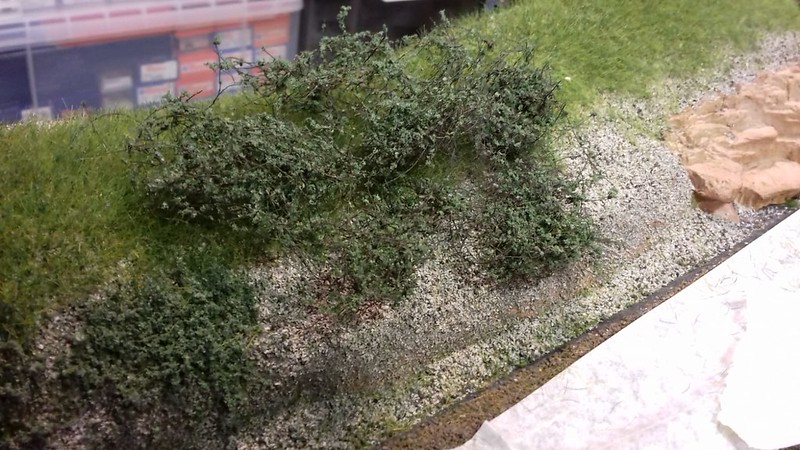 Greece 2018 by Allegheny1633, on Flickr
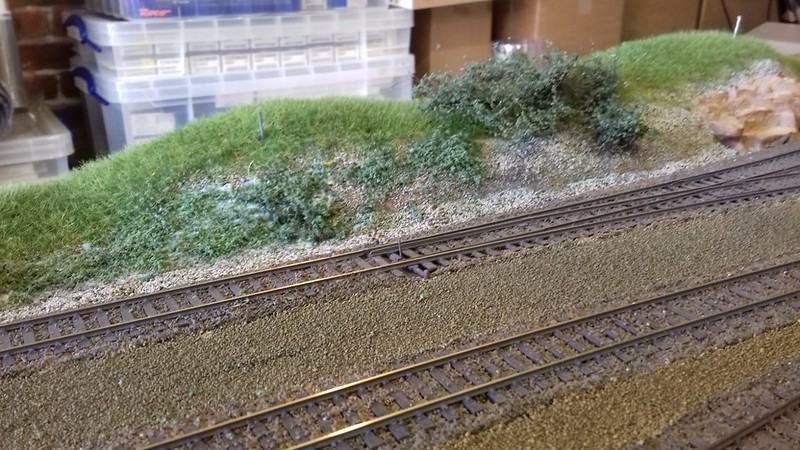 Greece 2018 by Allegheny1633, on Flickr
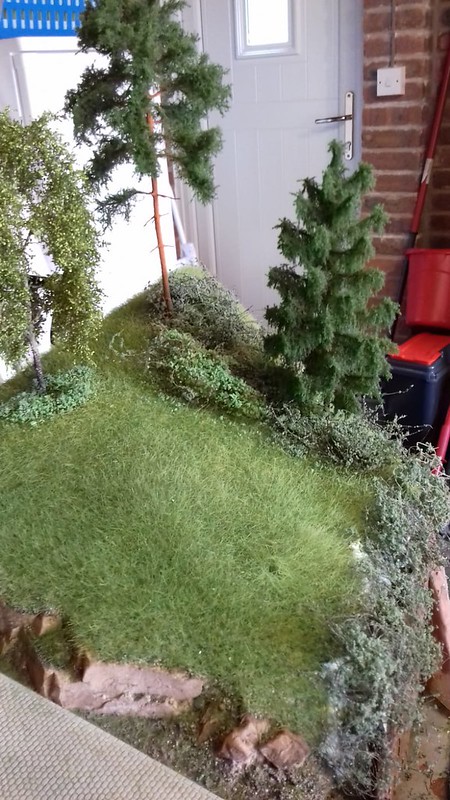 Greece 2018 by Allegheny1633, on Flickr
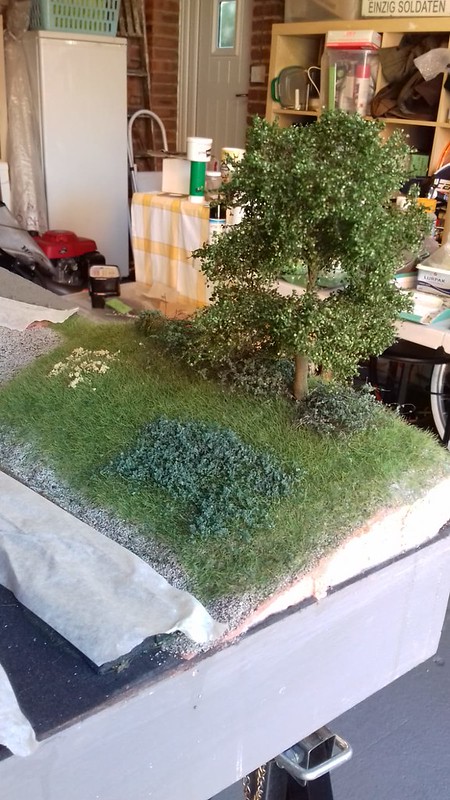 Greece 2018 by Allegheny1633, on Flickr
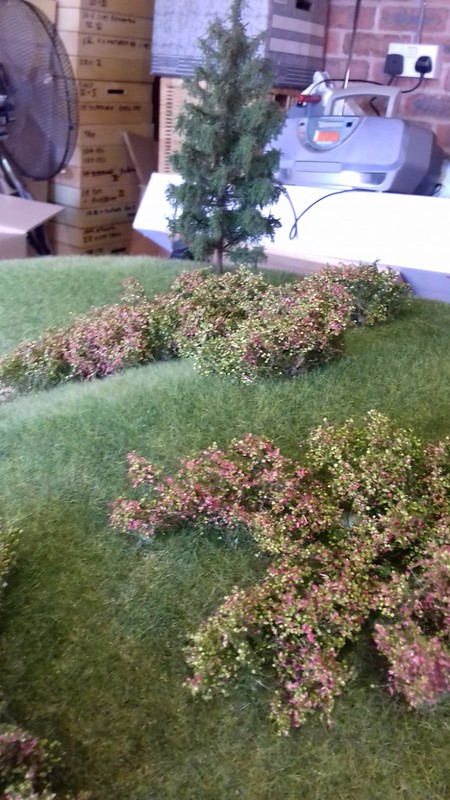 Greece 2018 by Allegheny1633, on Flickr
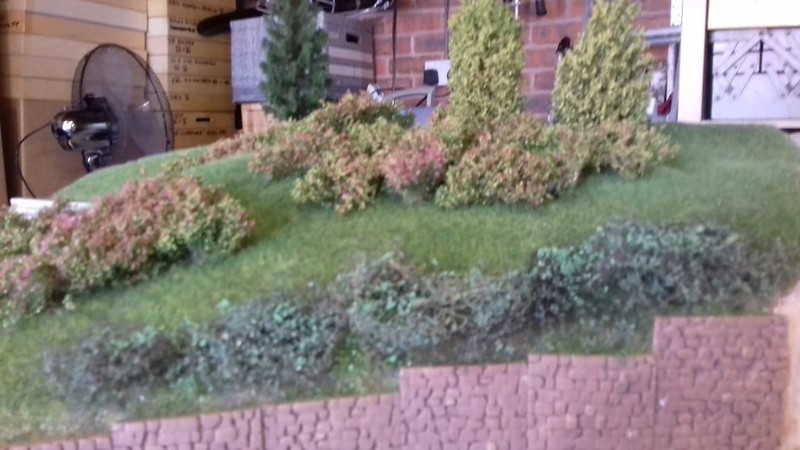 Greece 2018 by Allegheny1633, on Flickr
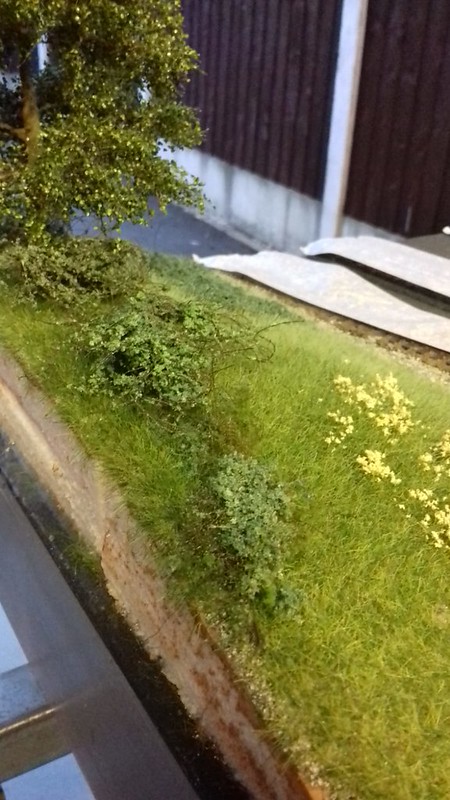 Greece 2018 by Allegheny1633, on Flickr
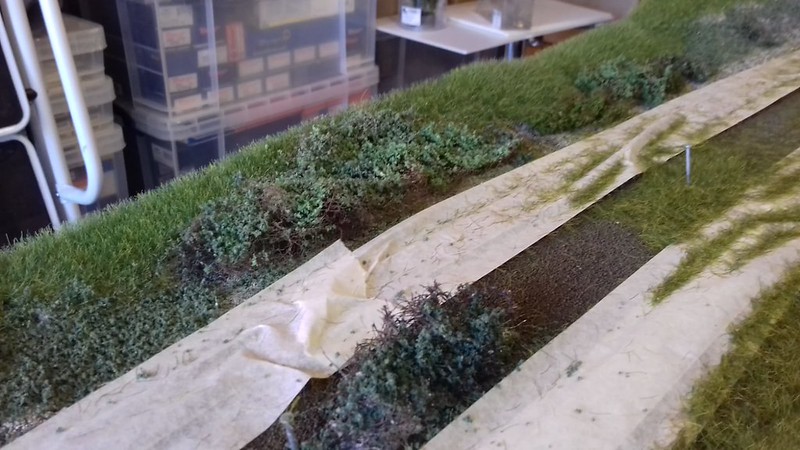 Scenery on Leberecht CC. Doug Coombes by Allegheny1633, on Flickr