4mm Polsarrett: BR(S) N Cornwall Clay, The Final Countdown

Pencarrow

Western Thunderer
Chris,

Good to see some progress, I prefer the right hand platform end, with the variation in colour. Point rodding tends to be the poor relation when it comes to modelling, but I think it lifts a model when added correctly.

Hi Phil, spookily both methods dried the same colour and with the same finish!

I agree about point rodding but it's an area a really don't know what I'm doing. Thankfully I'm have some help in this area.
 

Pencarrow

Western Thunderer
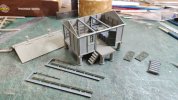
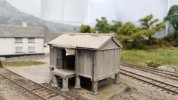
With the workbench cleared of green stuff I'm cracking on finishing the first of 3 part complete buildings - the ratio provender store.

Quote a lot of bits left on the sprues but on inspection most are surplus. Those that were needed have been primed and painted. Whilst they dry I've turned my attention to the roof.

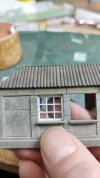
As provided the roof material is battleship armour plating thick, so the edge has been thinned down somewhat.
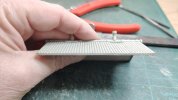
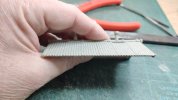
IMG_20220206_114628_1.jpg

IMG_20220206_114641_1.jpg
I wasn't going to bother but the building is front and center and it would bug me for years seeing the armour plating in photos.

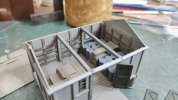
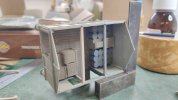
Being made up of lots of sections the sides were quite flimsy so I've inserted some beams from spare sprue. Not quite prototypical as iirc they were a portal frame structure, but they will be very difficult to see.
IMG_20220206_133706.jpg

I dug out some 10 Commandments wagon loads, which were bought over 15 years ago for our NCR exhibition layout Treneglos, took a saw to them and stuck some bits inside the store. Probably needed sacks but I didn't have any.

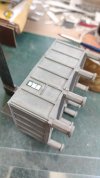
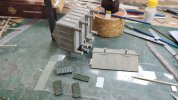
An experiment on the rear window. The frames are quite deep and, if glazed behind look a bit wrong IMO, so I thought I'd try some Glue N Glaze. Much swearing later I gave up. Glued some glazing to the rear and floated in some GNG. I won't do the front until I see how it turns out, although it would be partially hidden by a door.
IMG_20220206_132523.jpg

IMG_20220206_132544_1.jpg

Left to fit now are the doors, guttering, canopy and roof. That will then be another one off the list.
 
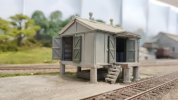
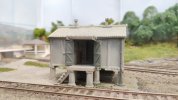
Provender store completed

Pencarrow

Western Thunderer
I forgot something off the to do list. Followers of Southern concrete will know that the provender store should have wooden battens on the inside walls. The kit does provide card bits for them and I had thrown them on the bin. So, I went bin diving, rescued them, painted the card woodish colour and spent ages fixing them to the walls. Obviously I made the job far harder by gluing stuff on the interior first. Doh.

IMG_20220206_155952.jpg

IMG_20220206_155956_1.jpg

Some of it may even be seen...
 

Pencarrow

Western Thunderer
Next building on the hit list...

IMG_20220206_170249_1.jpg

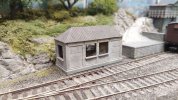
This was started quite a few years ago and was originally intended to go on the Diesels on the Duchy layout. I based it on the weighbridge building at St Blazey in the yard. The layout stopped going to shows so this and another unfinished building were put in a box.

I added the roof last year and slapped some paint on the walls. Just needs windows now, and the roof finishing off. I hate making windows.
 

Pencarrow

Western Thunderer
Not at work today, so I'm turning my thoughts to some key things the layout needs... Some sort of supports and fiddle yards.

This all needs to fit in my car, so compact is the name of the game. I did think about buying some of those collapsible metal trestles but even folded fat they take up a lot of room.

I am erring towards either a pair of standard A frame trestles or a pair of L shaped fold out doors. Not sure yet.

A key question to think about is the height I want the layout to be exhibited at. Definitely at least 4'. I know Rice goes for eye level but that does have disadvantages for some viewers and for operators.

What height are others setting cameo layouts at?


Edit: Mark's Chip Fat Lane is about this height, which seemed about right to me...

IMG_20190511_102103.jpg
 
Last edited:

Mark F

Western Thunderer
Fryers (AKA Chip Fat) Lane is 1200mm to the bottom edge of the baseboard, which works out to be 1320mm floor to rail head.
At home, it is set a little higher (mainly to maximise storage space beneath it) but that height seems a reasonable compromise for exhibiting.
 
Starting to make the layout legs

Pencarrow

Western Thunderer
Thanks Mark, spookily enough I've ended up going with c1200mm to the underside of the layout. Seems to be about the right height for me operating. That means track level will be about 1300mm.

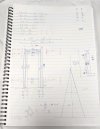
Got the fag packet out...
rps20220213_133622.jpg

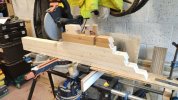
...found some reasonably straight timber in Wickes... and did some chopping.

I now have a kit of parts to assemble...

IMG_20220213_133553.jpg

Sod's Law came into effect when I changed my original design after buying the timber and I was as a result a 6' piece short. A Rummage in the shed later and I found another length which I must have had for 10+ years. Certainly well seasoned!

Came up with a very efficient cutting list and the only scrap bits are the two short lengths standing vertically on the pile. They were only scrap to avoid knots. Onwards...
 

Pencarrow

Western Thunderer
The slight upstand at the back is to stop the layout sliding off the back! The dip in the top is to thread any cables over with no clash with the layout cross members.

Just got to decide now what to use to stop the legs spreading when up. Don't really want the layout on the floor. My first idea to use cabin hooks had a problem - the mounting brackets were too big. I may have a cunning plan though...
 

Pencarrow

Western Thunderer
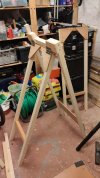
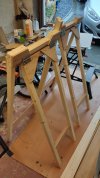
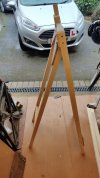
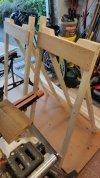
Back out into the garage this morning to finish off the second trestle. Lots of double checking to make sure what I was putting together was actually a mirror image. Far to easy not to end up with what you intend!

IMG_20220219_120903.jpg

What I did realise last weekend is that I'd made a schoolboy error on the angle the legs were cut to. I intended that the angle between the legs at the top should be 30deg. Obviously that means that the bottom of the legs should be cut to half that - 15deg. Guess what angle I originally cut them at - yup 30deg.

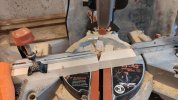
First job this morning was therefore to correct that. A stop block was set up on the mitre saw:
IMG_20220219_102837.jpg

That's better:
IMG_20220219_102846.jpg

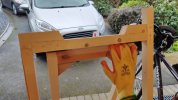
The second alteration to be made followed this happening to my fingers which wasn't joyful:
IMG_20220219_103636.jpg

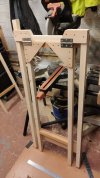
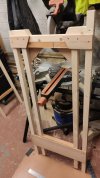
So, an extra bit of ply was added over the joint:
IMG_20220219_120934.jpg

All safe now.

Time to retreat indoors to thaw the fingers and toes.
 

Pencarrow

Western Thunderer
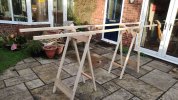
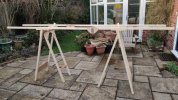
With the trestles done, I turned my attention to the the horizontal beams that will support the layout, both fiddle yards and also provide the fixing for the front drapes.

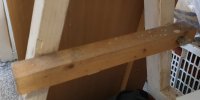
They are each 10' long (the layout will be about 11') and fold not quite in the middle (as that's what timber I had). There's hinges on both sides of the fold but those on one side have a lose pin. The beams have indexing that engages with the tops of the trestles so that they get set up in the correct location.
IMG_20220219_162203.jpg

IMG_20220219_162212.jpg

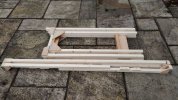
And all folded down...
IMG_20220219_162336.jpg

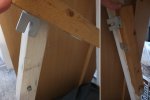
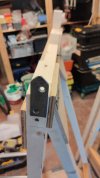
To prevent the front beam coming off I've now fitted a chopped down metal plate.
IMG_20220219_165057.jpg

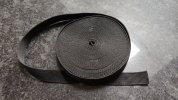
Just need to fit the webbing to the base of the legs to stop them spreading and that's the support system finished.

Next... Fiddle yards!
 

Pencarrow

Western Thunderer
Interestingly, with the layout itself being lighter than expected, I think I'll have to move the legs further apart for it to resist any dodgy folk leaning on the fiddle yard. Thankfully I didn't glue the locating blocks to the beams.
 
Top