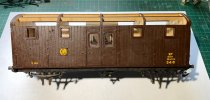
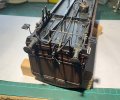
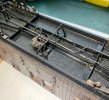
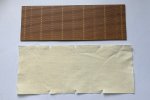
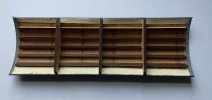
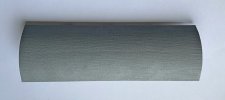
I realised I could only get so far in producing detailing items with my Silhouette Cameo 4. Adding them to the body works fine but as for the Brake gear then HIPS is just not ridged enough, even laminating several layers together didn't work. I didn't fancy scratch building all the parts that make up the brake gear so I bought myself a 3D Printer in January.
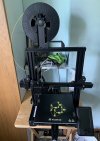
This is an Voxelab Aquiler X2 which is a clone of the Creality Ender 3. So a long learning curve started in how to produce small individual brake parts. My Son was using the software program Tinkercad and found it OK so I started to learn as well. This software is aimed at schools and colleges. The Slicer s/w I started was Cura which comes with the printer as does Voxelab, I din't get on with either of them and am now using Prusar which works very well.
I also wish to thank John Lewis (HMRS GWR Wagon & Coaches Steward) for his help in providing Photos, Drawings and Sketches of parts.
So first up is a photo of the printer having just printed 4 Brake Trusses.
I am lucky in have a set of photos of the underneath brake parts of the P19 Python at Didcot. In Tinkercad you manipulate shapes to create the ones you require, there is no drawing facility at all. I did download a check out Fusion 360 but that is even a longer learning curve.
There are several GWR vehicles like the Pythons that have Clasp Brakes ie shoes on both side of the wheels. Mink A,C,D Beetles, all Toads, several Fruit vans most of the DD's & the EE2.
So the photos I'm adding are purely of the clasp brakes. I still have to the produce the DCIII brake parts except for the ends off set brake leaver hangers.
To make it easier to identify the individual parts I've printed them in Yellow at one end and Black at the other end (final colour).
As can be seen here there are 14 items to each wheelset with the long pull rod.
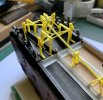
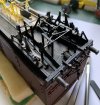
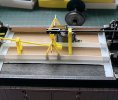
This is just to show the Long Rods Support Brackets. Final ones will be black.
Dave


