P A D
Western Thunderer
Many thanks Tony,
Glad you like it.
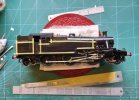
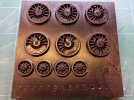
I thought I'd make a start on painting the 3P and get it and the BR 4MT ready for lining. First up was the wheels. So I could spin the wheels around on the turntable while spraying, I cut a smaller board to mount them. For the screws I drilled all the way through and counter sank the holes to avoid over spray on the chamfer, as occurred on the 4MT screws. I drilled a couple of extra holes in preparation for the Stanier 4P. This was before I masked up the crank pins with silicone tube.
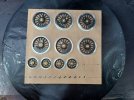
And after spraying. I missed masking one of the crank pins so had to clean it up with cellulose thinners.
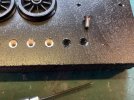
The screws were easily pushed out from the rear using the hex driver and were perfectly clear of overspray.
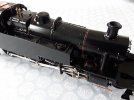
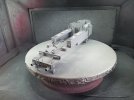
Here's the body on the turntable after priming.
Here are all the painted components (excluding the cylinders and the brake cylinder/bracket) ready for reassembly.
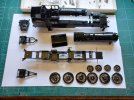
I should have screwed the brake cylinder and bracket into the frame before spraying that, but it was no big to do it separately.
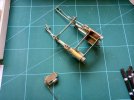
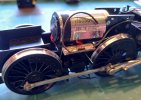
The pony trucks with the wheels refitted.
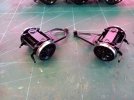
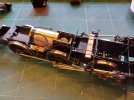
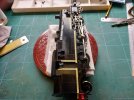
And in place after reassembling the chassis. The pick ups are still to be fitted.
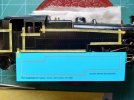
Here's the backhead ready for detail painting.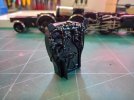
And with the dials (punched from 30 thou plasticard).
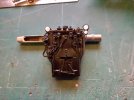
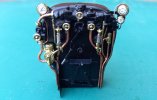
And after painting along side the 4MT backhead.
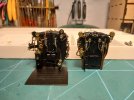
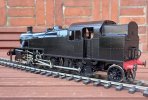
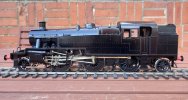
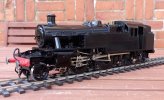
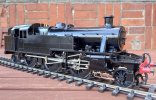
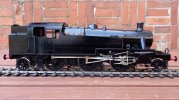
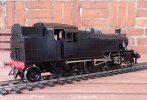
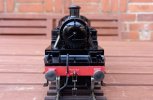
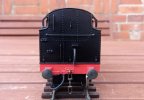
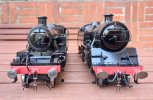
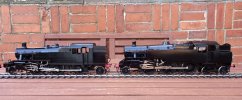
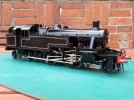
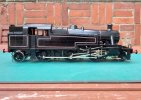
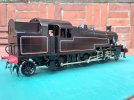
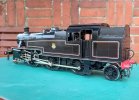
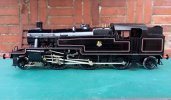
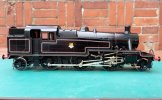
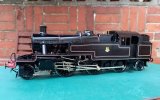
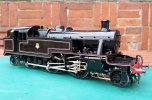
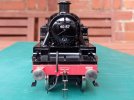
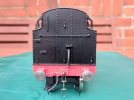
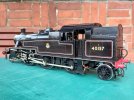
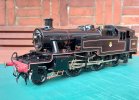
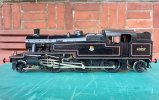
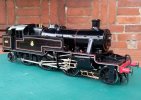
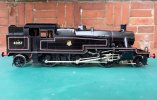
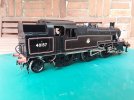
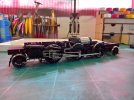
I couldn't resist a quick look with the body on the chassis.
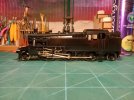
There's some pitting on the dome casting at this side which I never noticed until it was in primer. "I must fill that before I top coat", I said to myself. . Trouble is, I'm a dozy git and didn't listen!

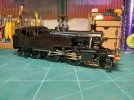
 Apart from pitting, which will now be more difficult to correct, I'm pleased with the result.
Cheers,
Peter
Glad you like it.
I thought I'd make a start on painting the 3P and get it and the BR 4MT ready for lining. First up was the wheels. So I could spin the wheels around on the turntable while spraying, I cut a smaller board to mount them. For the screws I drilled all the way through and counter sank the holes to avoid over spray on the chamfer, as occurred on the 4MT screws. I drilled a couple of extra holes in preparation for the Stanier 4P. This was before I masked up the crank pins with silicone tube.

And after spraying. I missed masking one of the crank pins so had to clean it up with cellulose thinners.

The screws were easily pushed out from the rear using the hex driver and were perfectly clear of overspray.

Here's the body on the turntable after priming.

Here are all the painted components (excluding the cylinders and the brake cylinder/bracket) ready for reassembly.

I should have screwed the brake cylinder and bracket into the frame before spraying that, but it was no big to do it separately.

The pony trucks with the wheels refitted.

And in place after reassembling the chassis. The pick ups are still to be fitted.

Here's the backhead ready for detail painting.

And with the dials (punched from 30 thou plasticard).

And after painting along side the 4MT backhead.

I couldn't resist a quick look with the body on the chassis.

There's some pitting on the dome casting at this side which I never noticed until it was in primer. "I must fill that before I top coat", I said to myself. . Trouble is, I'm a dozy git and didn't listen!


 Apart from pitting, which will now be more difficult to correct, I'm pleased with the result.
Cheers,
Peter

