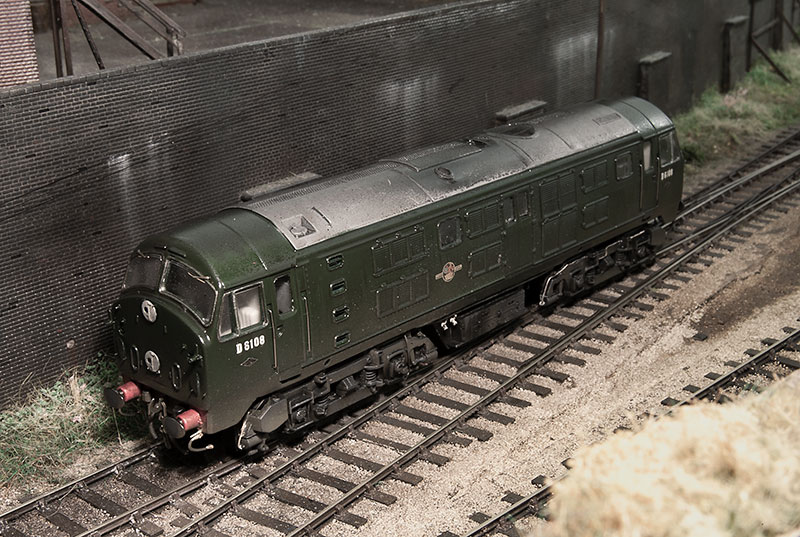
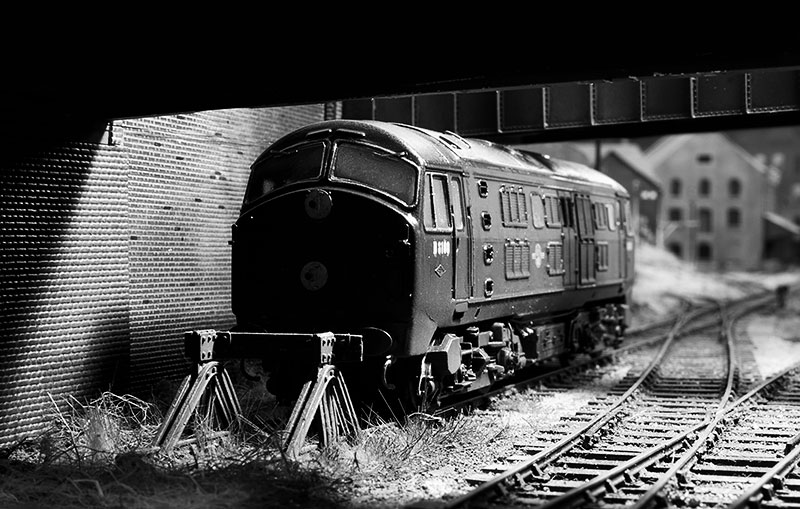
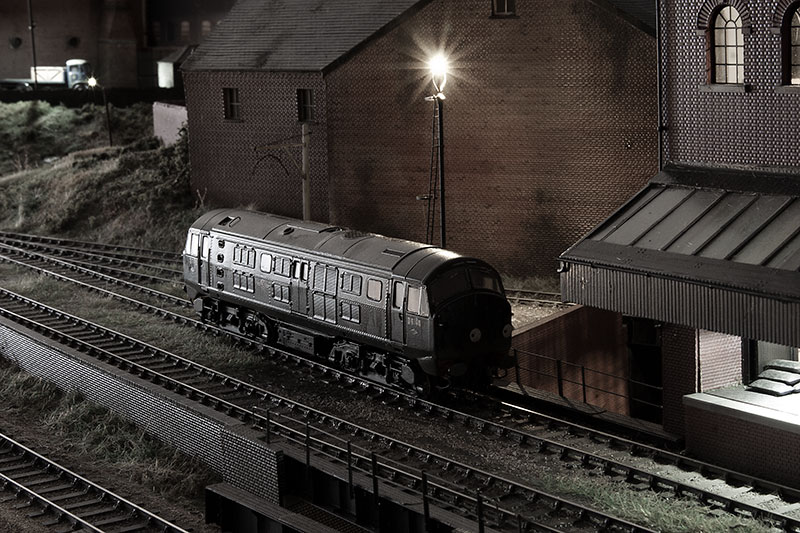
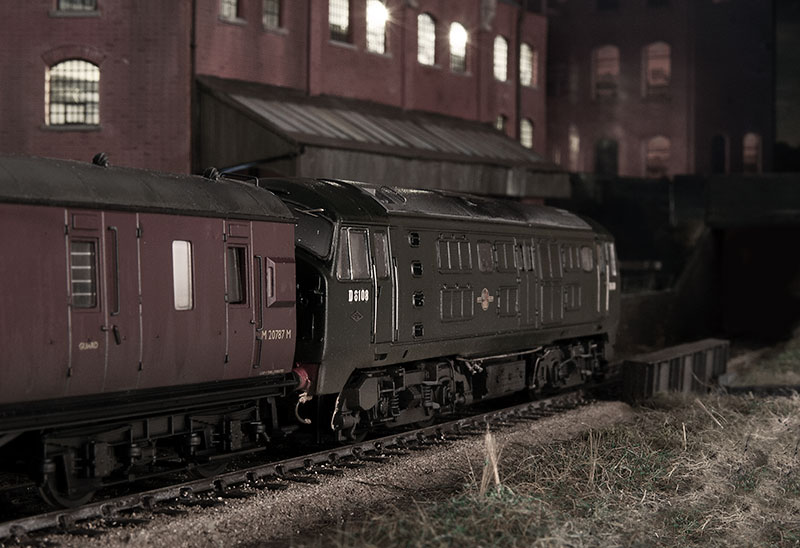
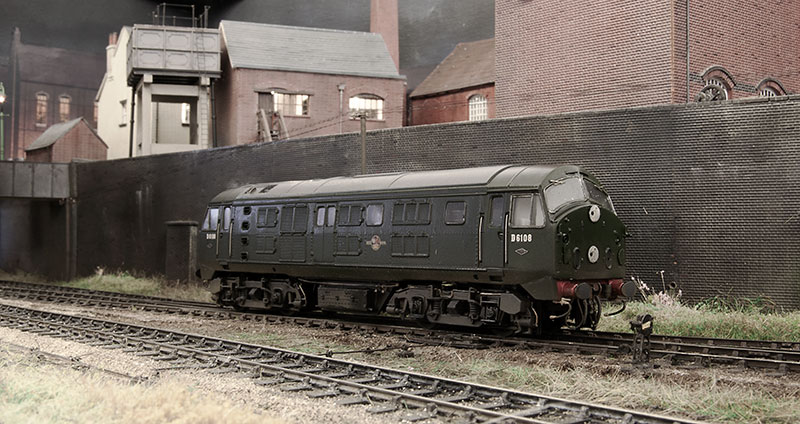
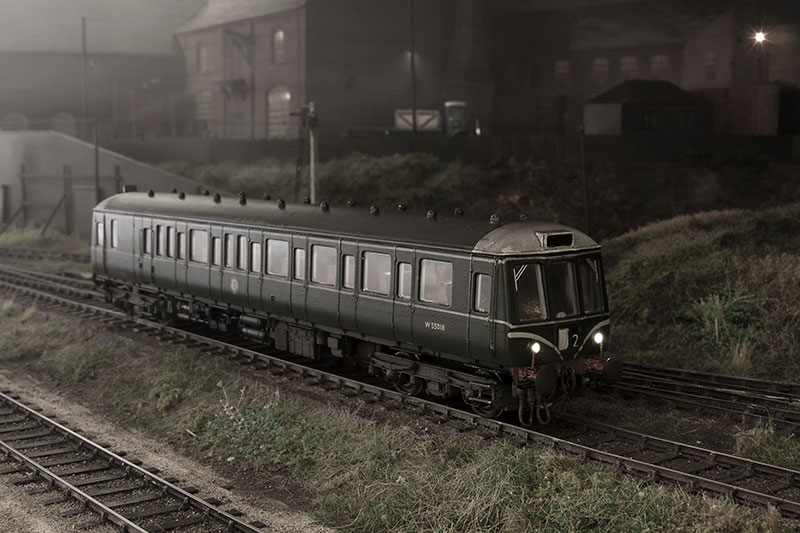
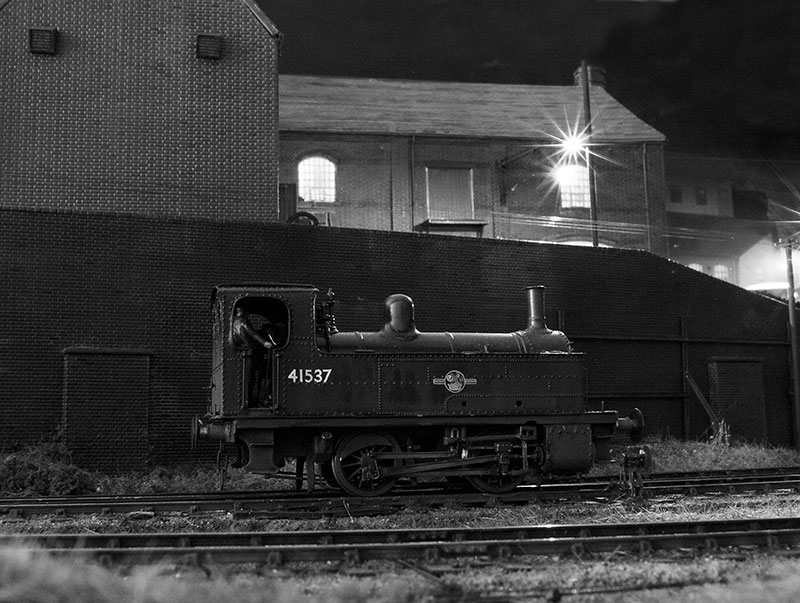
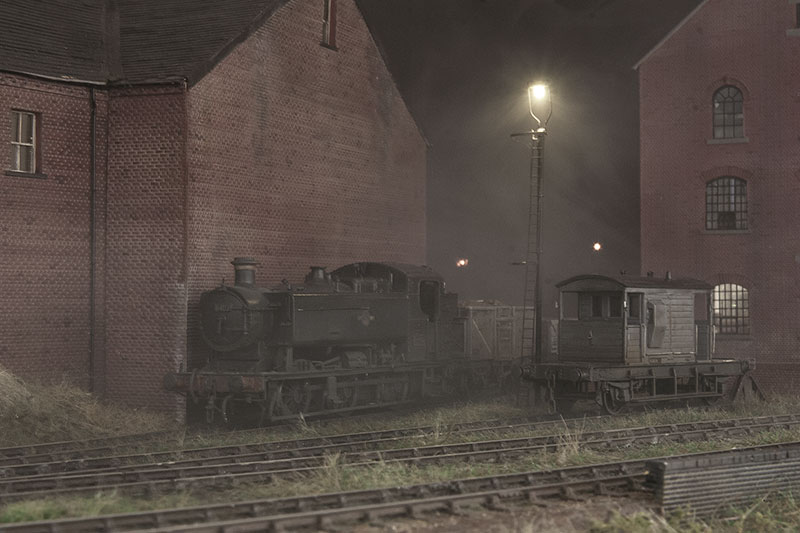
I've mentioned before that Brettell road is a 'what if' layout and that extends to the stock as well. So what if the NBL class 21s were trialed in the Midlands? It's not a huge leap to make from reality really and its reported that they did appear on the Condor's occasionally (anyone got any pictures of this?). I've always had a passing interest in the Hornby class 29 as its melancholy look seemed to stand out from the other diesels in their catalogue as a kid. I never had one though so why not get one now? I prefer the original look of the class 21 to the re-engined class 29 so that's the plan. The Hornby model has bits of both. (I know about the upcoming Dapol model but I figured going this way would be more fun!)
The Prototype
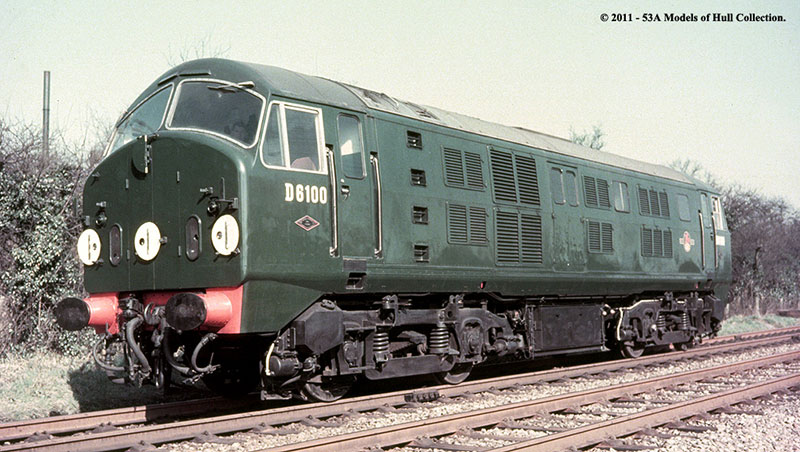
©53A models of Hull Collection, used with kind permission.
Although the class 21 and class 22 became something of an irrelevance in the history of British locomotives their story does hold a bit of interest. NBL could have been said to be at least as experienced in British loco production as anyone else at the time with their LMS commissioned prototype 10800 and the class 16s which shared a strong resemblance. Both were powered by Paxman engines and both were somewhat problematic.
When it came to type 2 units (or type B at the time) they abandoned the Paxman power unit turning to their own built MAN units, built under licence from Germany.It's not clear if NBL actually had any real experience in building these engines at the time and to say they were somewhat disastrous wouldn't be far from the truth. NBL would return to Paxman to repower some of the class 21s and they would be class 29. Truth is they were little better. Poor cooling and badly laid out equipment only made matters worse for the class.
Where they do hold an interest is in that the class 21's were diesel electric while the class 22's were diesel hydraulic. If they hadn't have been so problematic then a reasonable comparison of the 2 propulsion types would have resulted. This was the only opportunity for main line locos in the UK to be so directly compared. The 2 classes look very similar with the class 21s being just a smidge under 5 feet longer and at least to my eye, looking more 'designed'
D6109 the odd one out.
D6109 became the odd one out of the true class 21s having received most of the body modifications for conversion to a class 29 but not the Paxman engine (reportedly down to problems discovered in the frames). So D6109 became the only class 21 to get a headcode box. Interestingly there was one class 29 that didn't but got all the other modifications.
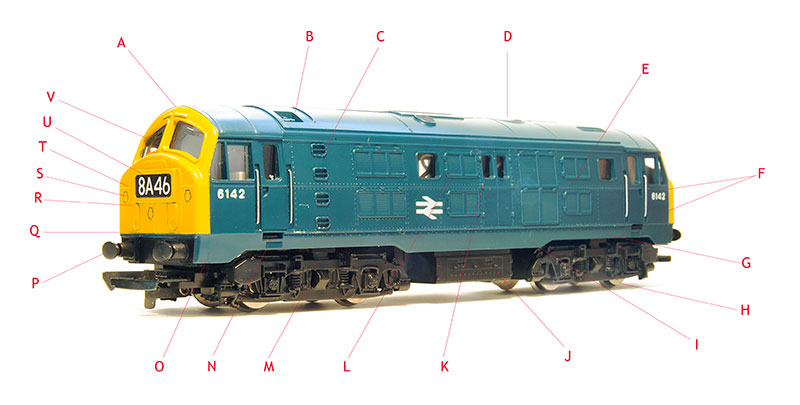
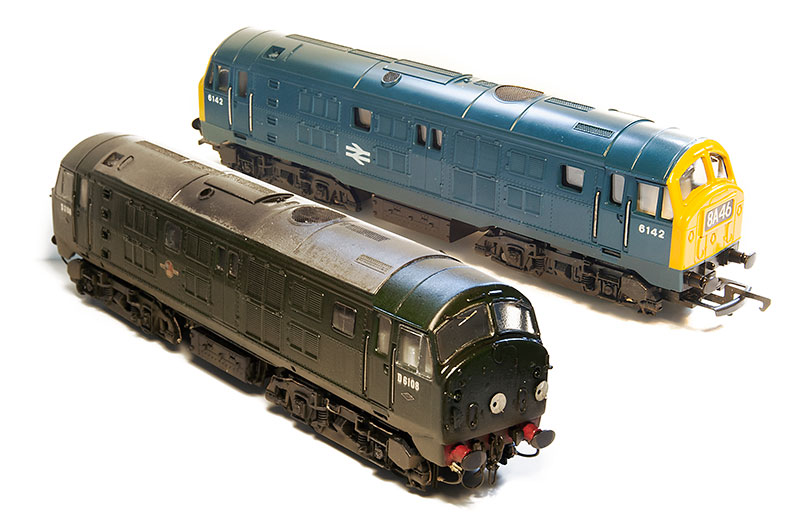
The Model as it comes.
Being reasonably unfamiliar with the real thing some time has been spent comparing the model to pictures of the real loco and I've drawn up a (quite long) list of things I think are off.
A - I think the peak of the roof is wrong - it looks flatter on the real locos. Also the rib behind it doesn't seem as prominent as it is on the model.
B - The water fillers seem the wrong shape and are missing from one side completely/ the handrail next to it is too long.
C - The bodyside steps seem a bit too round and are too shallow.
D - Ignoring the moulded fan/etch thing for a moment. the whole panel with the radiator fan on is in the wrong place. It should like up with the bodyside grills.
E - There's a lot of rivet detail on the model. It's too heavy and I am not convinced it's all really there on the prototype.
F - As with all Hornby diesels from this era there are moulded on paint guidelines.
G - I think the lower faring tucks under the loco more than it does on the model.
H - Wheels are too small and should be spoked not solid.
I - Central part of the lower bodyside faring looks a lot deeper than the prototype. It looks more like a class 31! I wonder if this was deliberate to compensate for the body being mounted too high as was the norm for Hornby models of the time?
J - Battery box detail is kind of suggested at best.
K - Bodyside door windows aren't deep enough - they should line up with the bottom of the other bodyside windows. The lower bodyside rib goes across the door on the model - it doesn't on the real loco.
L - Bodyside grills arent deep enough, they too should line up with the bottom of the bodyside windows.
M - Bogies look a bit filled in to me. Brake shoes don't line up with the wheels (again common with Hornby diesels from the era.)
N - Steps under the doors are a bit freelance.
O - Bufferbeams blend into the lower bodyside - there's a distinctive shape to these visible on the prototype.
P - Buffers and bufferbeam are too high.
Q - lower cab front isn't deep enough
R - Horn covers are a bit basic
S - Cab end lights are very basic too! the upper ones are too near the cab edges.
T - More moulded on paint lines. the lines for the doors stand out. they should be grooves.
U - Headcode box - not on a class 21 (except D6109 as mentioned above.
V - Its well-known that the cab windows are not wide enough. I don't think they are right vertically either. The prototype seems a pretty even height all the way along. Hornby's are taller in the middle.
In addition the exhaust port is the wrong shape and somewhat freelance.
So, to work
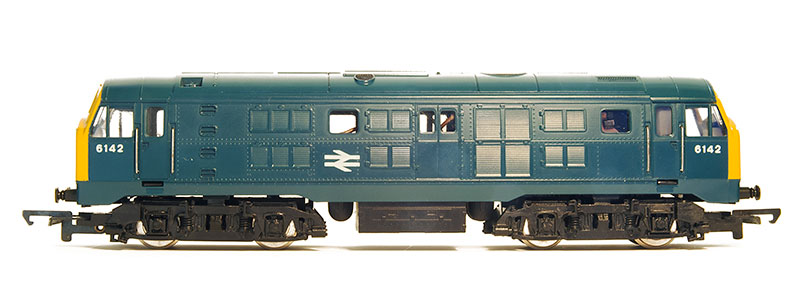
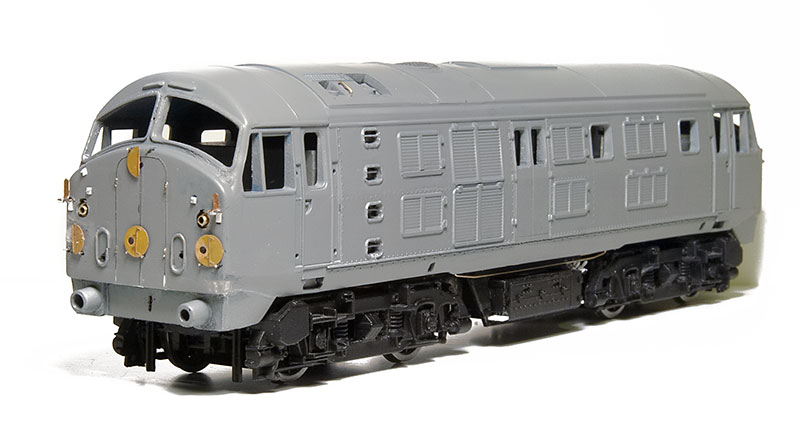
Side views compared. Woking down from the roof I've replaced the exhaust and flattened the cabs a bit. The radiator grill was cut out as an offset before turning it around and sticking it back in so that it now lines up.
The bodyside steps have been drilled out and the handhold replaced (not really worth the effort with hindsight) and the bottom of the grill frames carved off to be replaced with microstrip. The bottom faring has been reduced (the white strip is where I took a bit too much off).
Power wise the model uses a Bachmann class 25 chassis with the bogie centers spaced out by about a mm each end. I kept the original Bachmann brakes and overlaid the Hornby sideframes after opening them up a bit. The original battery box was shortened and mounted in a new plasticard frame.
The cab fronts have been detailed with Extreme Etches window frames and headcode disks. The bottom of the can being extended and the original detail filed off. I scored the inside of the tumblehome and bent it in further to match the prototype pictures. The bufferbeams being cut off first and rebuilt.Hopefully a bit warmer weather and i can get it painted.

