Well, the hot week just gone certainly didn't encourage even the lightest of physical work so I spent most of the time on CAD, CAM and the laser cutter with a large fan up my jacksi.
")
I don't know how many bricks I etched, but well into five figures.
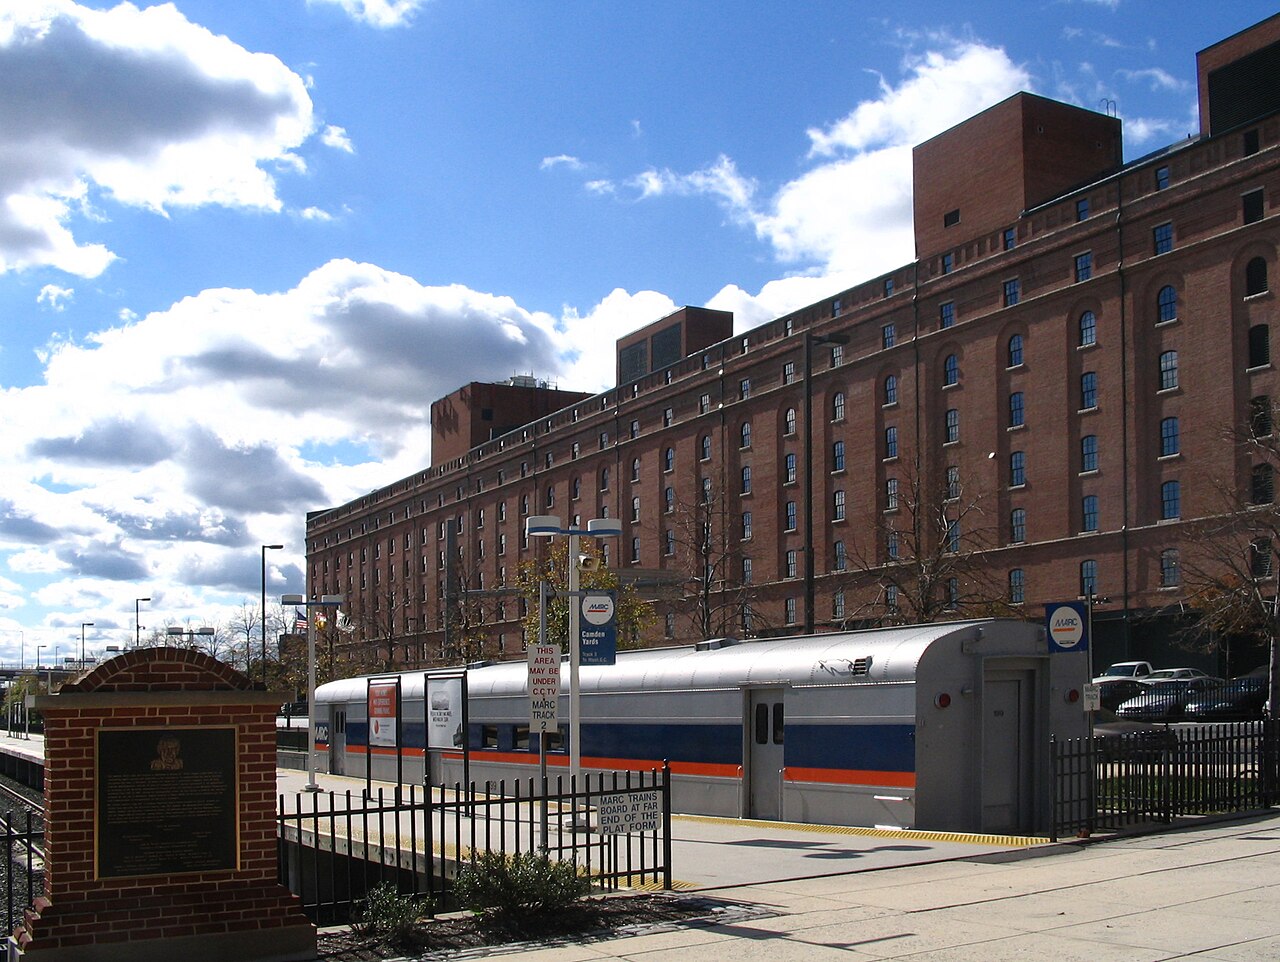
I had thought of making the building about 400mm long but I worried that it might appear a bit "boxy" so opted to lengthen it to 500mm which will just fit on the track plan on the layout.
Here are the side and end propped in position, but not glued together yet. I've still a lot of work to do in internal framing to support the plywood which is even still quite flexible with two parts glued together as most of the wall parts are.
View attachment 146356
I think adding the extra 100mm in length has improved the look of the building - it added two "arches" to the length.
View attachment 146357
I then tried an wide angle, low angle, "up your nostril" shot for a bit of effect...
View attachment 146358
...and then a more "architectural" shot" which might be impossible to take when it's plumbed in to the layout.
I was also experimenting with painting the model - I've got a few bits of spare brick etched wood around.
I tried spraying everything a fairly light mortar colour then dry brushing brick colour on the brick faces - which "sort of" worked but it was quite difficult to get a fairly even spread of the dry brushing which I thought would be required on the building. I then tried painting everything brick colour, then filling the mortar etching with light coloured MIG powders by brushing them on. But that didn't work too well. The powder in the mortar etch was hardly noticeable probably because a fair bit of the powder stayed adhered to the matt surface of the painted bricks. So I'm going to try wicking some light coloured acrylic ink into the mortar courses to see if that might work.
Jim.


 Funnily enough, last weekend