adrian
Flying Squad
A very effective solution - it does look a lot better done this way. One definitely worth remembering for future projects.The only real option was to include the lintels in the 3d drawing of the frames.
A very effective solution - it does look a lot better done this way. One definitely worth remembering for future projects.The only real option was to include the lintels in the 3d drawing of the frames.
Fantastic work! Wonderful to see that little yellow beastie. I've still got a half built one in 16mm I start doing using 3D printing. Sadly I no longer work at a place with access so it got sat on the back burner! One of these days I'll get time and space to finish it. Planning to model one in 7mm?I am back into test piece mode. This time for the windows in the main wall at the side of the test track.
The original mock up that I made that some of you would have seen at exhibitions, had the lintels left on the walls with the openings for the windows openings only.
View attachment 227210
Putting some extra thickness on these would be difficult and it would be easy to get them out of position and look a mess.
The only real option was to include the lintels in the 3d drawing of the frames.
View attachment 227211
I have printed four frames and used two on a small test wall section with the new openings using MDF.
View attachment 227212
This was painted with red oxide and detailed up using army painters acrylic.
View attachment 227213
The frames went straight into the apertures without any filing or trimming.
View attachment 227214
I cut some black acrylic on the laser to fit in the recess I created in the back of the frames.
View attachment 227215
View attachment 227216
The window frames were painted in Army Painter Green primer. Then masked so the lintels could be painted black.
I then used a dark wash on the brick work as I had before and then fixed the frames. I added another coat of wash on the wholes assembly
View attachment 227217
This has come out ok when you compare with a real photo.
View attachment 227218
It will need some detailed weathering when it is all built up and some minor selected mortar. most of it had gone black in reality.
I will now look at finalising the designs for all the structure , right sown the yard.
Andy


SimonThanks Andy,
I guess with diode, there’s no need to have a water cooling system?
do you extract outside, or does the filter module do the job?
does it work with Lightburn?
Due to these constraints, my CO2 is in the garage, which is ok in the summer but not much fun today, particularly as it clearly needs some fettling / service to return to its usual performance. I’m not going to spend an hour or two fiddling today! It seems the diode lasers are generally simpler. And of course, they are much more recent, my CO2 was second hand in about 2012.
the larger sheet size is attractive too.
cheers
Simon
Very nice Andy, where do you get your 0.4mm ply?
Martin
Thanks Andy.Martin
The 0.4 ply comes form a company called Laserply - Laserply - Plywood, MDF, Veneered MDF, Acrylics, Rubber.
They are very good and supply within a few days of ordering.
Andy


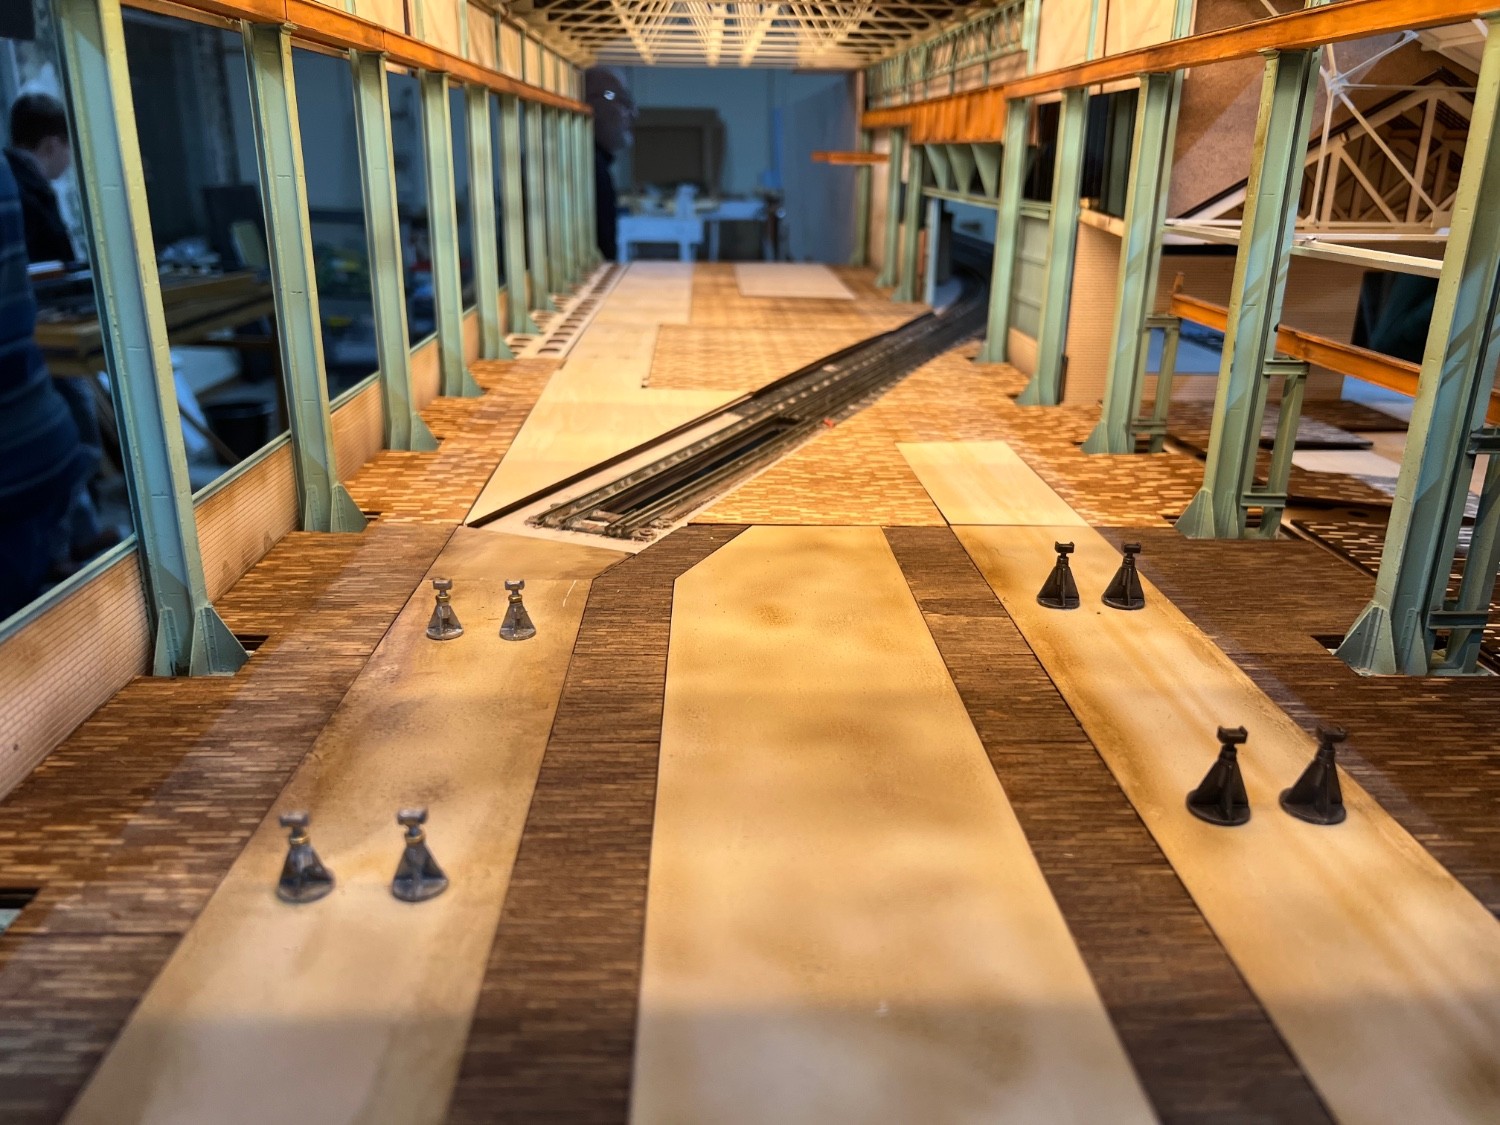
There I was thinking you were going to paint them orange and put down a groovy 70's dance floorAll the packing pieces

HiJust slightly curious as to the mix of profiles of the cutouts in the floor packing sheets - or am I overthinking it?


