Rob P's Silhouette Cameo Cutter Workbench

Rob Pulham

Western Thunderer
Back on page 6 of this thread Rob P's Silhouette Cameo Cutter Workbench I posted an NER Implement Wagon that I had been working on.

Now that my workshop is finally finished I managed to get it finished too.

50341013631_7b3e2fc6b0_b.jpg


50340324368_9d16ca7824_b.jpg


50341167992_10bc6a04a7_b.jpg


50341166772_e366580265_b.jpg


I should note that applying the transfers was an absolute pain until I discovered what I was doing wrong.

I like to use methfix transfers where ever possible because I find the ability to fine tune the placement (as long as you keep them moist) a great help. In this instance I was using the HMRS sheet for LNER wagons. Now I normally use Johnsons Klear as my gloss coat to apply the transfers to but I had some Vallejo gloss varnish to hand so I used that instead. It turned out to be a big mistake. As soon as I applied the transfers they stuck firmly to the gloss varnish in what ever position they landed in and couldn't be adjusted without destroying them. After a couple of attempts and some head scratching I decided to coat the other side in Klear to see if that made any difference (before considering buying in new transfers). Lo and behold they worked perfectly as they always had.
 

Dave Bowden

Western Thunderer
Hi Rob
I am about to start using Inkscape again after 4 yrs, which is when we last spoke about Inkscape. I wish to produce wagon brake parts in 1:32 scale.

I'm have installed the latest version 1.0.1 What I would like to be able to do is draw in the actual scale of 1:32, do you know if this is possible?
My previous version was 0.92
Dave
 

Rob Pulham

Western Thunderer
Hi Rob
I am about to start using Inkscape again after 4 yrs, which is when we last spoke about Inkscape. I wish to produce wagon brake parts in 1:32 scale.

I'm have installed the latest version 1.0.1 What I would like to be able to do is draw in the actual scale of 1:32, do you know if this is possible?
My previous version was 0.92
Dave

Hi Dave,

Yes, you can either import a drawing and scale it to your finished size before drawing over it on new layer. Alternatively scale all your measurements to scale and draw them in your final size.
 

Dave Bowden

Western Thunderer
Hi Rob, thanks for your swift reply, have you covered this in any of your posts?
If not could I contact you via zoom or FaceTime rather than posting back and forth on WT.
If you wouldn’t mind helping me that is.
Regards
Dave
 

Rob Pulham

Western Thunderer
Hi Rob, thanks for your swift reply, have you covered this in any of your posts?
If not could I contact you via zoom or FaceTime rather than posting back and forth on WT.
If you wouldn’t mind helping me that is.
Regards
Dave
Hi Dave,

No problem, I am happy to help. I haven't used Zoom or face time (PC user) but I do use Skype so I am sure that we can sort something.
 

Dave Bowden

Western Thunderer
Some time ago I drew up some inserts for Mansell wheels but I never got around to cutting them out. Seeing Peter Beare's (@Spike) recent additions to the backs of Slaters wheels, brought them to mind again.

While at Telford, the tight Yorkshireman instinct made me take advantage of Haywood Railway's offer of two axles of coach wheels inc bearings for £5. 00 - I bought quite a few...

Finding myself in need of some Mansell wheels for some scratch build projects (more of that later) I revisited the drawings to amend them to suit the Haywood wheel dimensions and cut them out from 10thou sheet. Initially I wondered if they would be deep enough and whether I might need a blank spacer but as it turns out they were perfect.

View attachment 74406

View attachment 74407
Hi rob
How many layers did you use for the inserts and what did you put on each of the layers?
ATB
Dave
 

Dave Bowden

Western Thunderer
Hi Rob
Thanks for the information, I’ve produced a coach wheel insert in a similar way to yours, I have split mine over 3 layers.
John Hobden is going to have a go tomorrow cutting out window, door surrounds, drawhook plates, louvers and wheel inserts for me in 10thou as a test check before cutting out the final items.

Can and does your cutter cut through 20thou sheets ok, John says his won’t cut all the way through!
ATB
Dave
 
Last edited:

Rob Pulham

Western Thunderer
Hi Dave,

Sadly not, with 20 thou you need to score and snap. It will go through 10 thou and I have heard that it will go through 15 thou but I havne't found anyone who supplies 15 thou in 600 x 300 sheets which are what I generally work with.
 

Rob Pulham

Western Thunderer
I have always fancied building a horse drawn vehicle or two mainly as wagon loads for several Open Carriage trucks that I have on the go. I was put onto the idea by a gent I spoe to at a show a few years ago who subsequently brought me a horse drawn carriage from a company named Brumm. Some of the Brumm carriages fetch crazy amounts of money but I found one that was being sold as scrap for not much more than postage and bought it to salvage the wheels from.

Although my photo is of a Great Northern Railway parcels van, the only drawing I have is for an LNWR example but they are broadly similar. I scaled the drawing on the basis of the wheel size that I planned to use (the Brumm Wheels are slightly bigger diameter than the LNWR drawing).

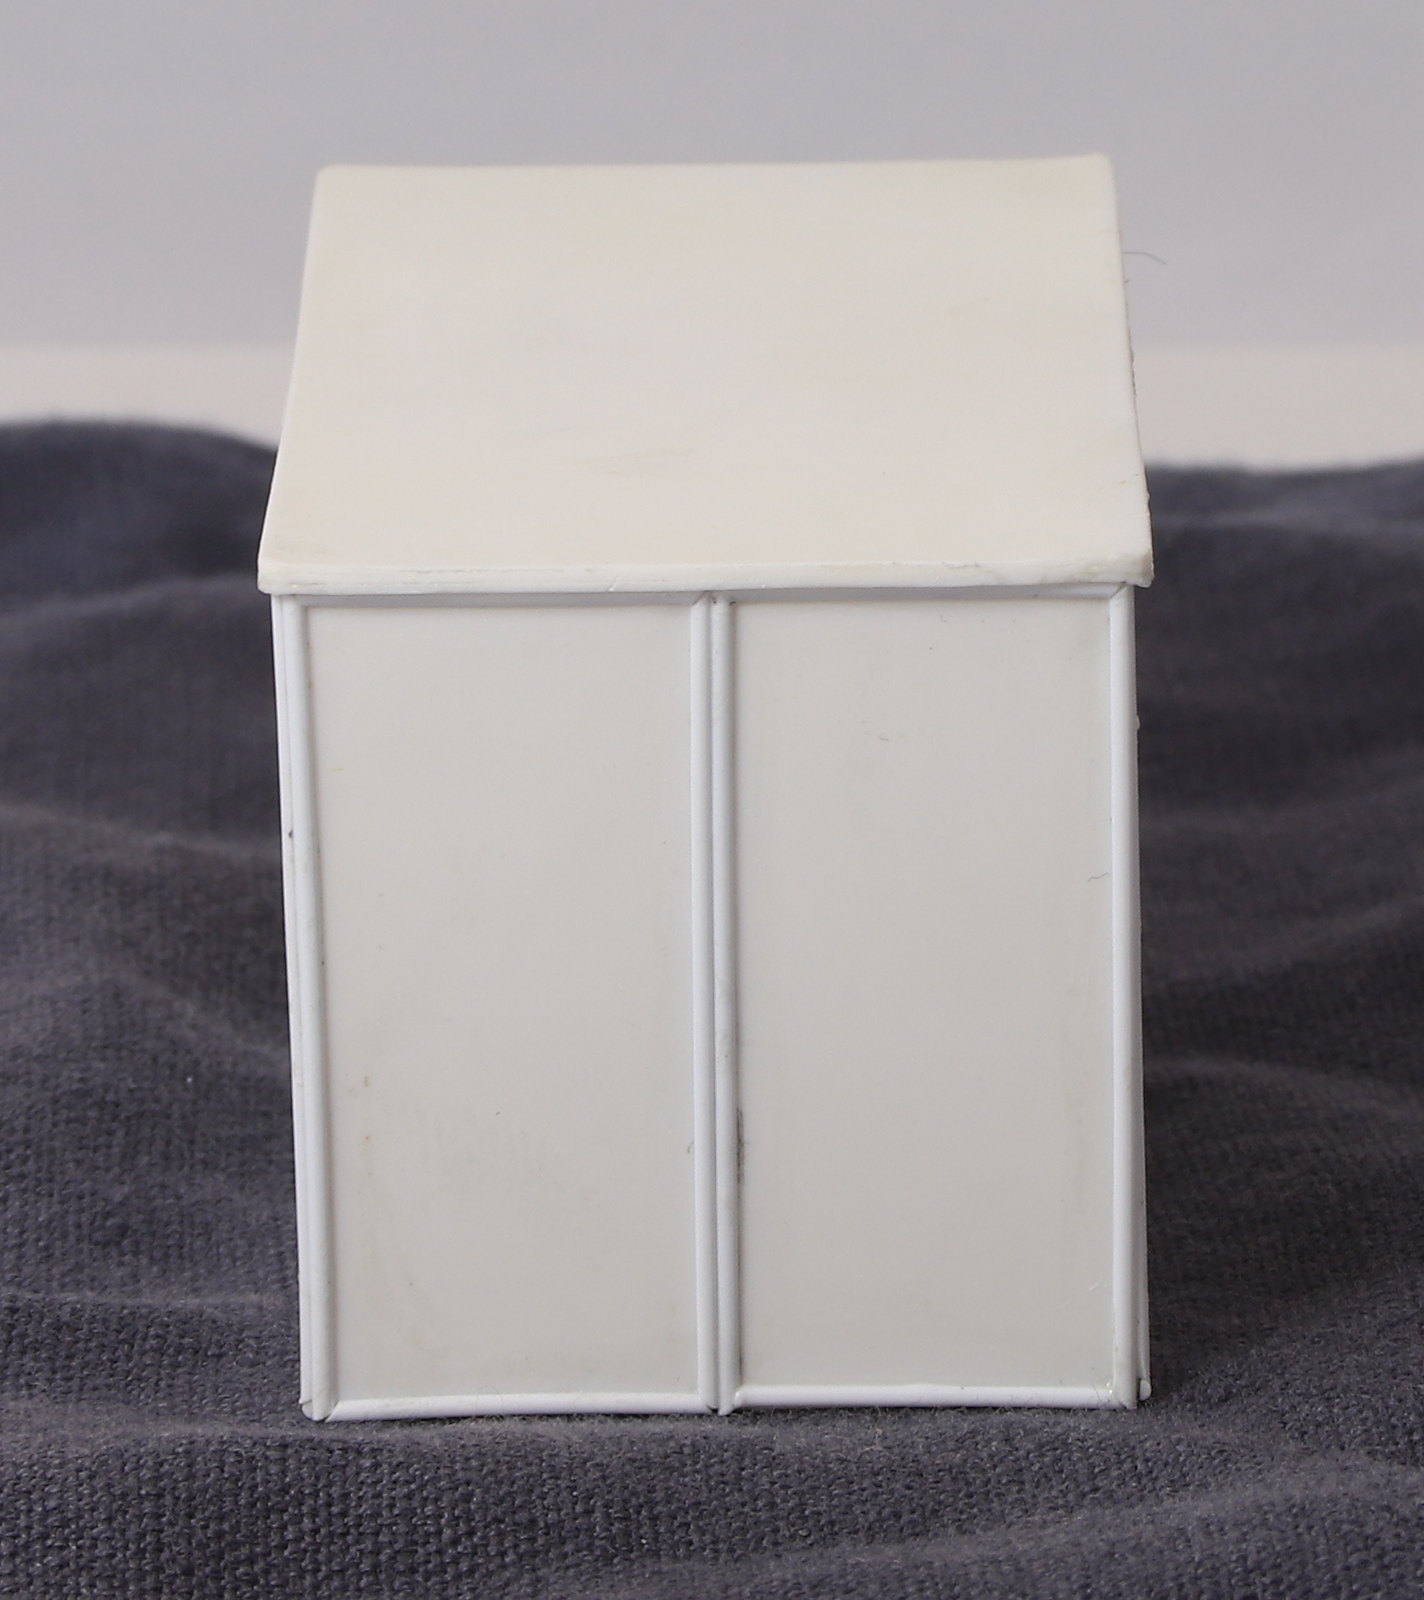
I drew out the body pieces in Inkscape and cut them out with the silhouette and got this basic body.

Please excuse the colouring of the photos as I had to adjust them to show the white against the white background...


51564679078_acc4698df6_h.jpg


51563642022_0b7f4eee2a_h.jpg


51565367700_304f824a50_h.jpg


51565119859_d1d63d8037_h.jpg
 

Dog Star

Western Thunderer
Rob,

There was an article about building a similar vehicle and an Midland OCT in an early MRJ. I think that the article was in two parts, in the same issue, and the authors were Bob Essery and Nelson Twells.

regards, Grham
 

Rob Pulham

Western Thunderer
Thanks Graham, for this particular vehicle I am almost there but I do plan some others since I have 4 or four OCT's on the go.
 

Rob Pulham

Western Thunderer
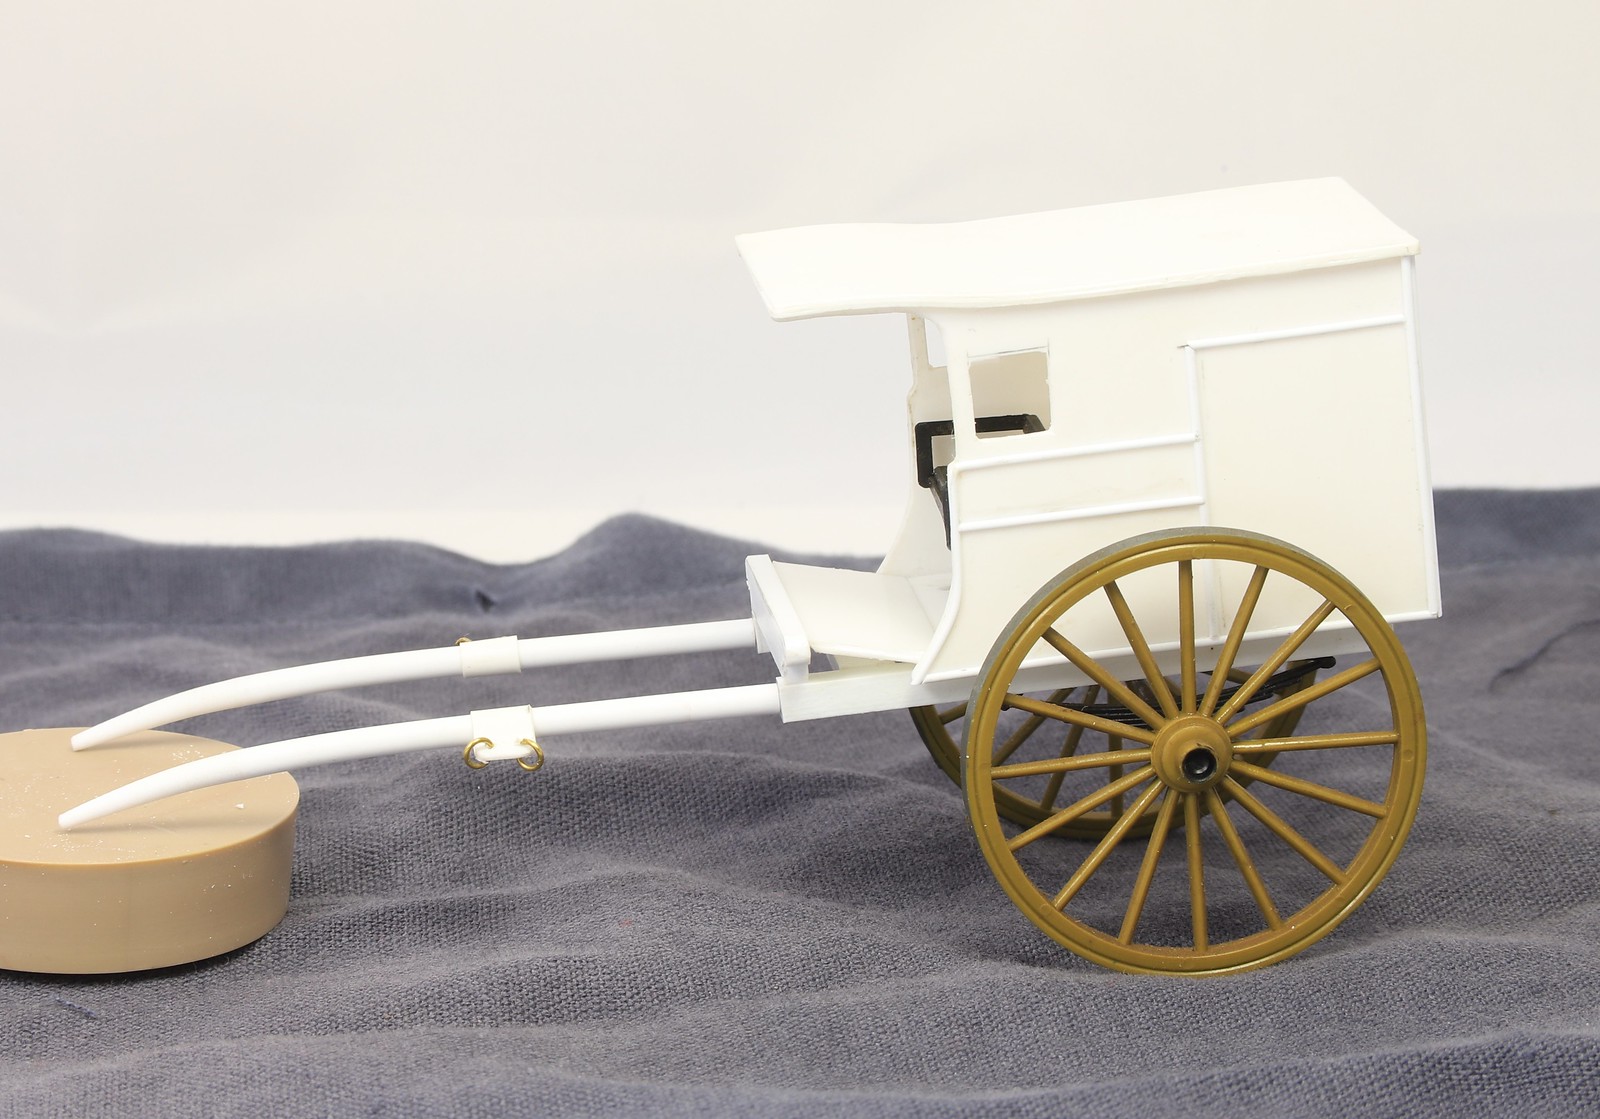
Next I made up the underframe and shafts from Plastruct. The shafts I put in a collet in the lathe and then used a file to taper the end. Then once I had them both tapered the same I held them together and kept holding them in boiling water while applying pressure to get them to curve at the ends. Once happy I stuck them into holes in the ends of the under frame.


What will become housings for the harness rings were made by wrapping a 5mm wide strip of 10 thou around an off cut of the same plastruct rod that I made the shafts from and gluing the ends together leaving the piece removable. I held it in a small hand vice until dry. Once dry it was removed from the rod, trimmed to size and tested out on the shafts. At this point it still need to be drilled.


Then I moved back to the body and added beading from 0.8mm half round Plastruct strip following the photo rather than the drawing fr the placement of the strips.


Last but not least the seat, the wheels and the springs were the items that I mentioned that were salvaged from the Brumm model.

 
Top