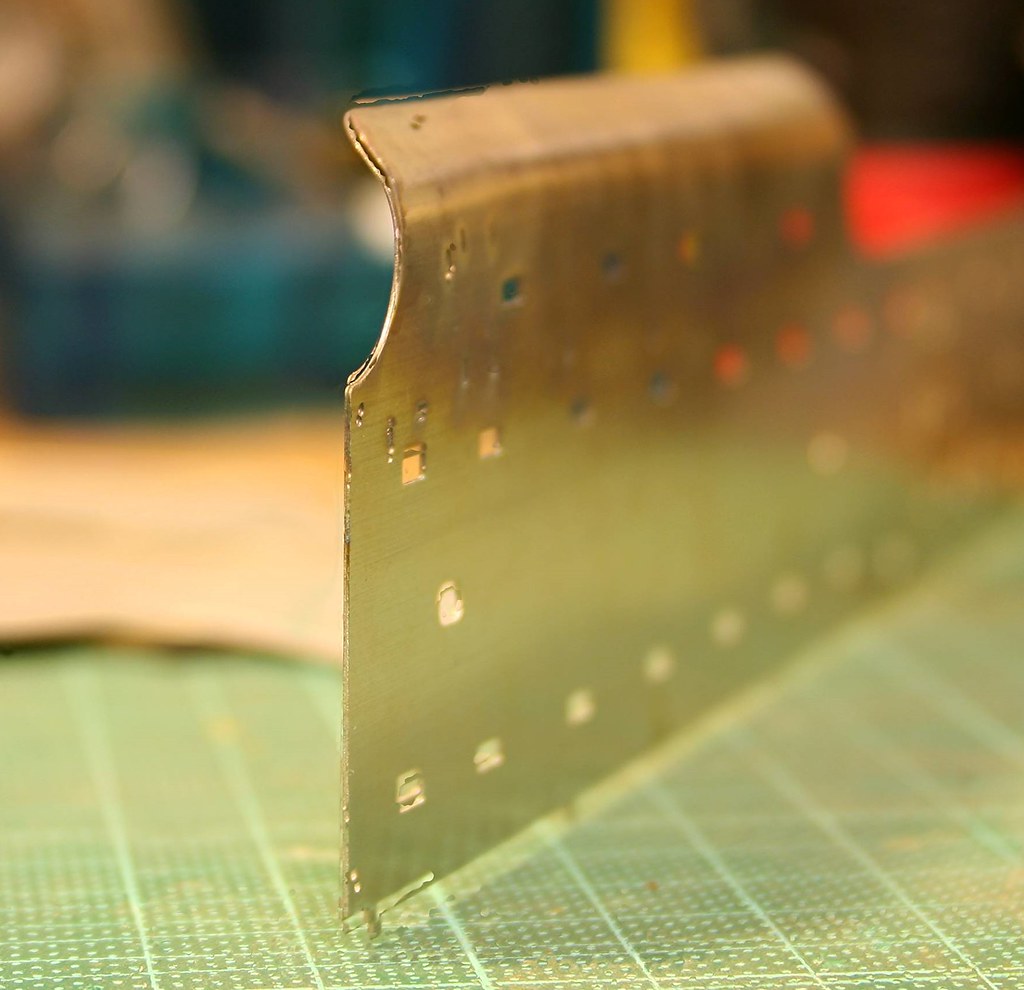
Although there are glaring gaps in the instructions, one part is explicit, that of forming the smokebox and boiler.
The boiler comes pre rolled and according to the instructions so does the smokebox inner but mine wasn't. That wasn't an issue and I soon had it rolled.
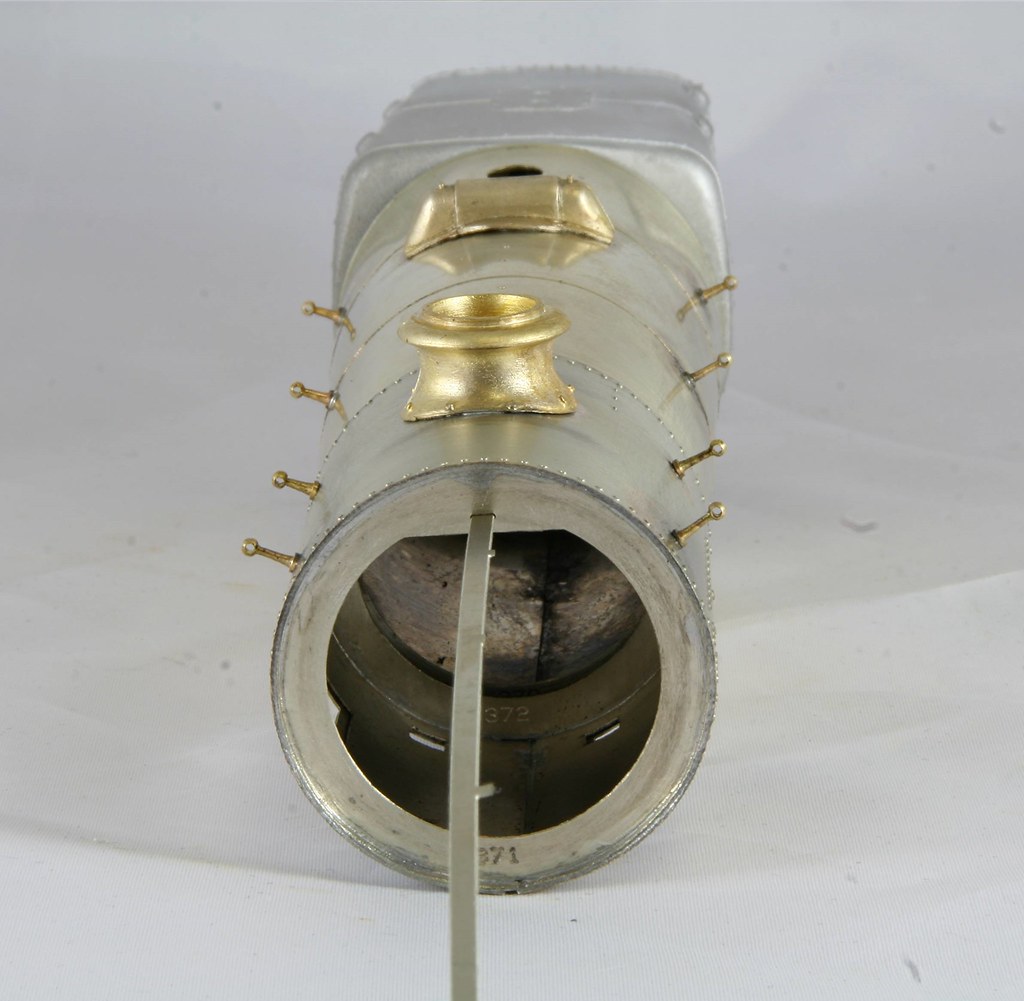
Now for the 'I'm a dummy' bit, the instructions are quite explicit about using two of the formers for the x71 and x72 (sorry I can't remember if the preceding number is 1 or 3). Leaving x70 to go in the smaller end of the boiler. Because they all look identical (but aren't Grrr) I managed to pick up the wrong one and only discovered my error when I had it all nicely soldered together.
My only saving grace was that I discovered the error (part x70 is slightly bigger than x71/x72) before I soldered the other wrong bit (x70) into the smokebox). At 11:15 on Tuesday night I didn't have the headspace to sort it out so I went to bed.
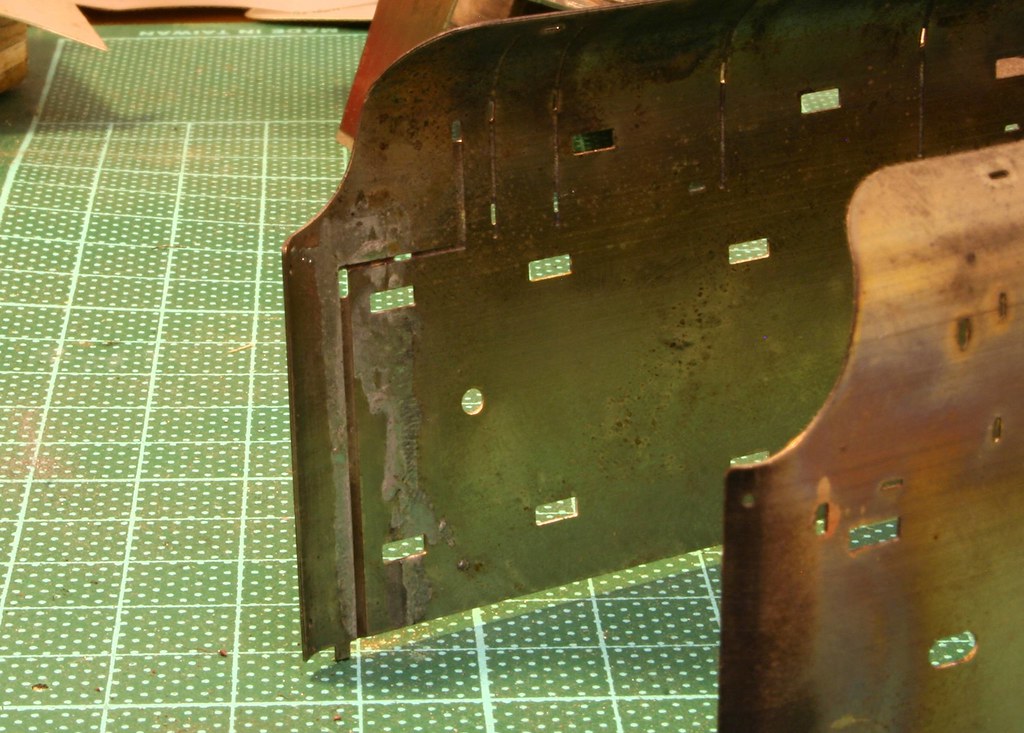
This morning I set to and using a pointed scalpel and gentle heat from the micro flame I slowly worked my way around easing the boiler away from the former with regular quenching to take it out and replace it with part x70.
Thankfully I got away with it, in part I think due to the fact that I had soldered it in initially using the microflame to chase around a tiny amount of solder which meant that although it was held very securely it was easy to break the bond from the thin layer of solder.
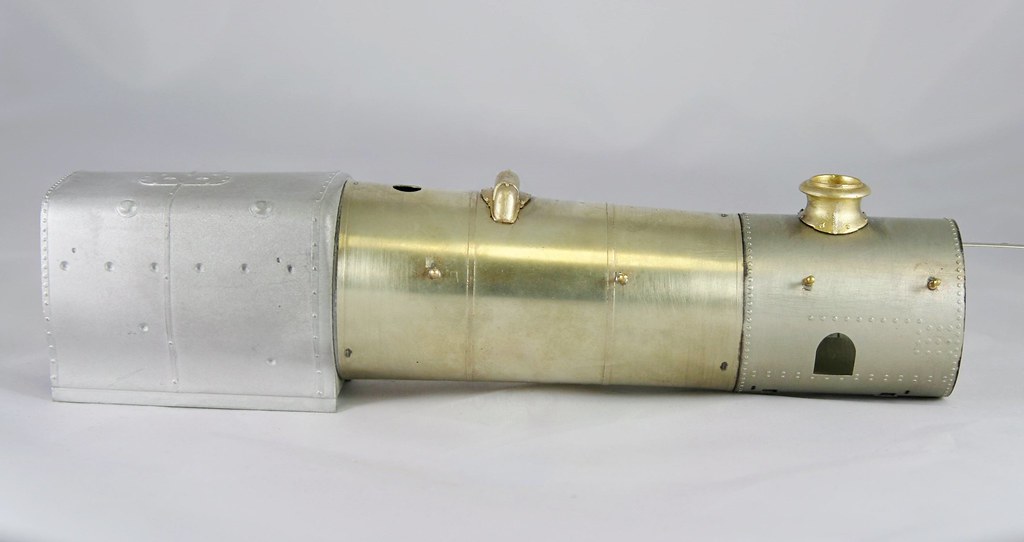
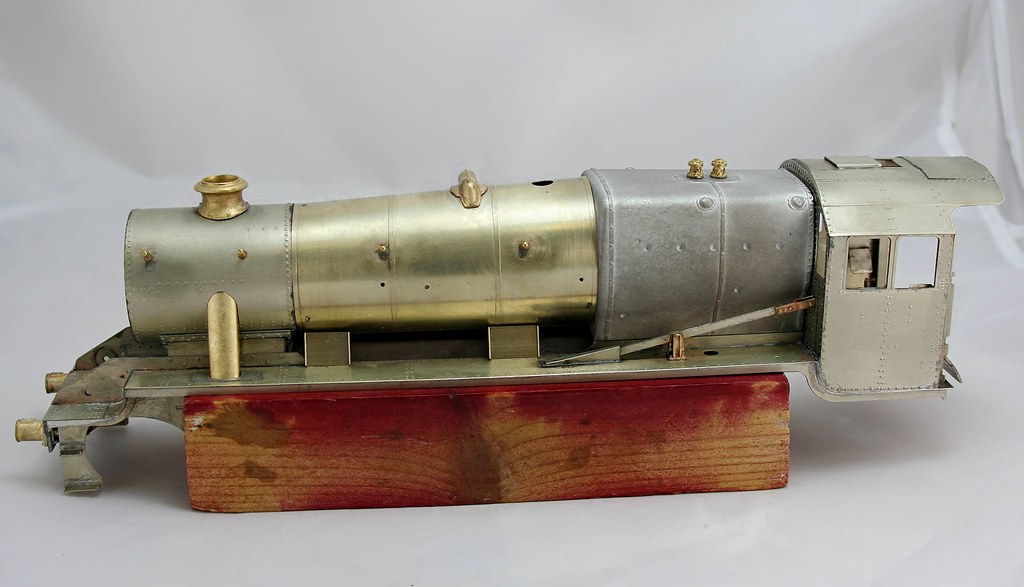
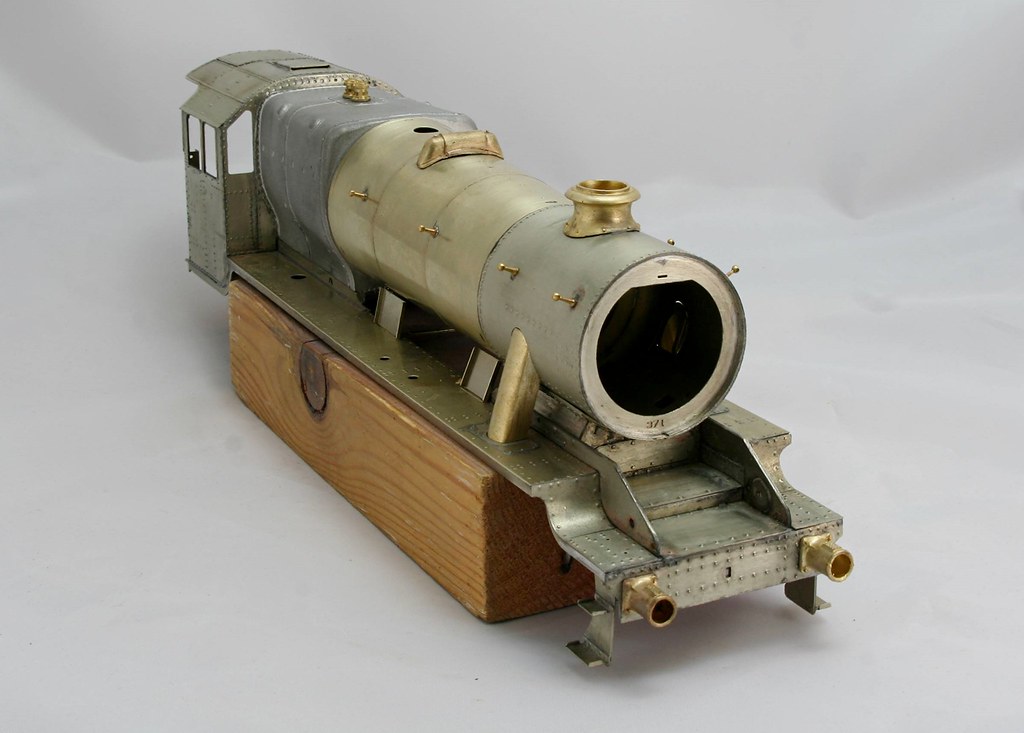
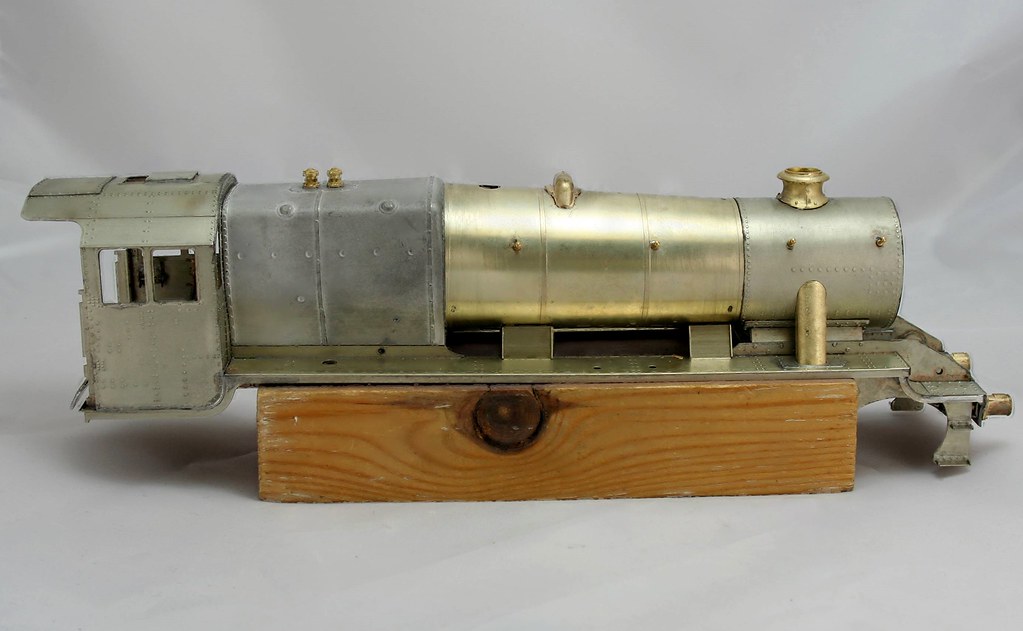
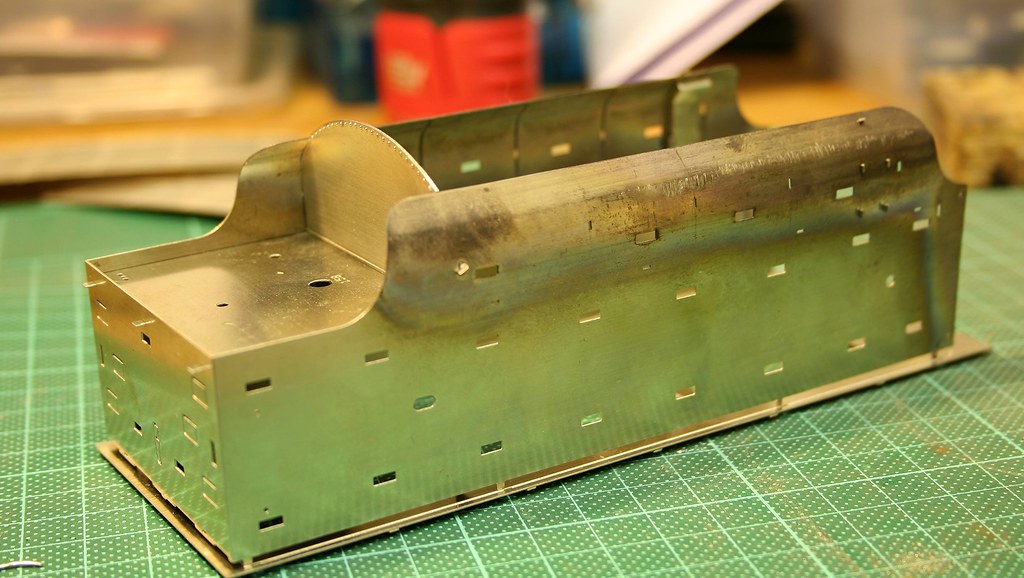
This is the boiler and smokebox assembly after my recovery.
Those with sharp eyes will not the piece of scrap protruding from the front of the smokebox.
There is a clever bit of the etch designed to ensure that you get everything lined up by inserting a piece of scrap into a slot etched into each of the three forward formers
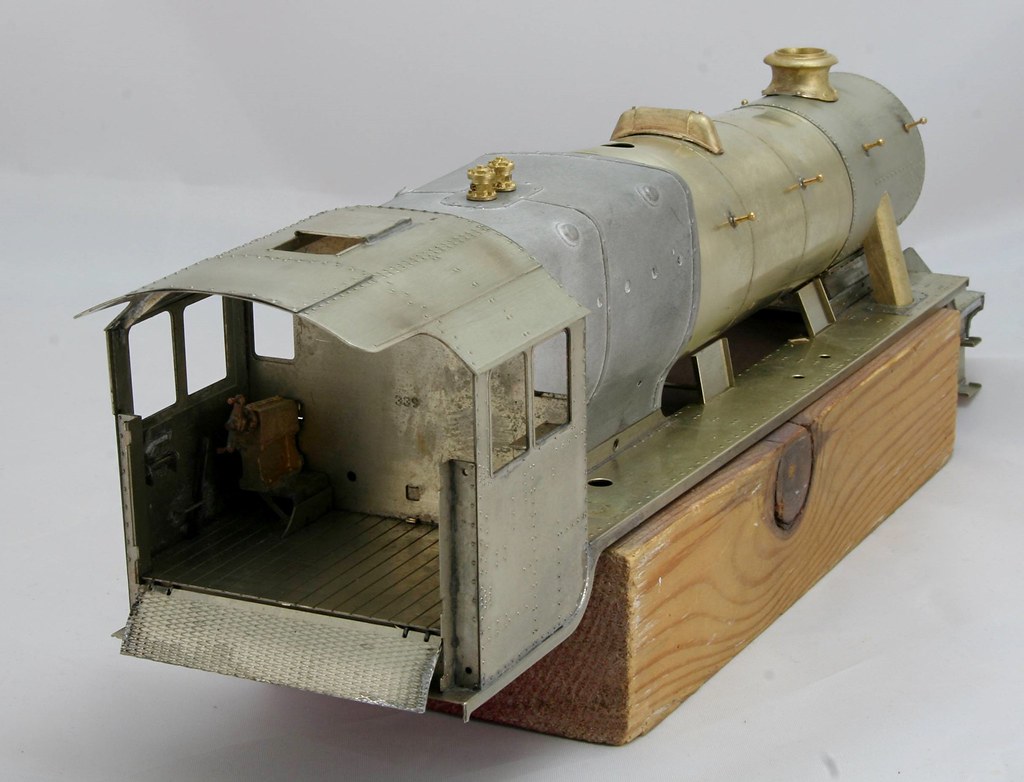
I left it longer than suggested and used it to view down through all the apertures in the boiler top. In fact I left it in place as I soldered on the castings on top of the boiler. To solder these cleanly I flattened a couple of small bit's of 145 solder in some pliers, placed them either side of the chimney opening after using a taper broach to open the hole up to take the spigot from the casting as tightish fit. a squirt of flux and then I place the chimney on top ensuring that it was square I heated the casting with the microflame until the solder melted allowing the casting to sink into place. - Repeated for the next casting (which I have to be honest and say I have no idea of the name or purpose of it).
At this point the Firebox, boiler and smoke box are all a nice tight push fit I won't make it more permanent until I am happy with everything.
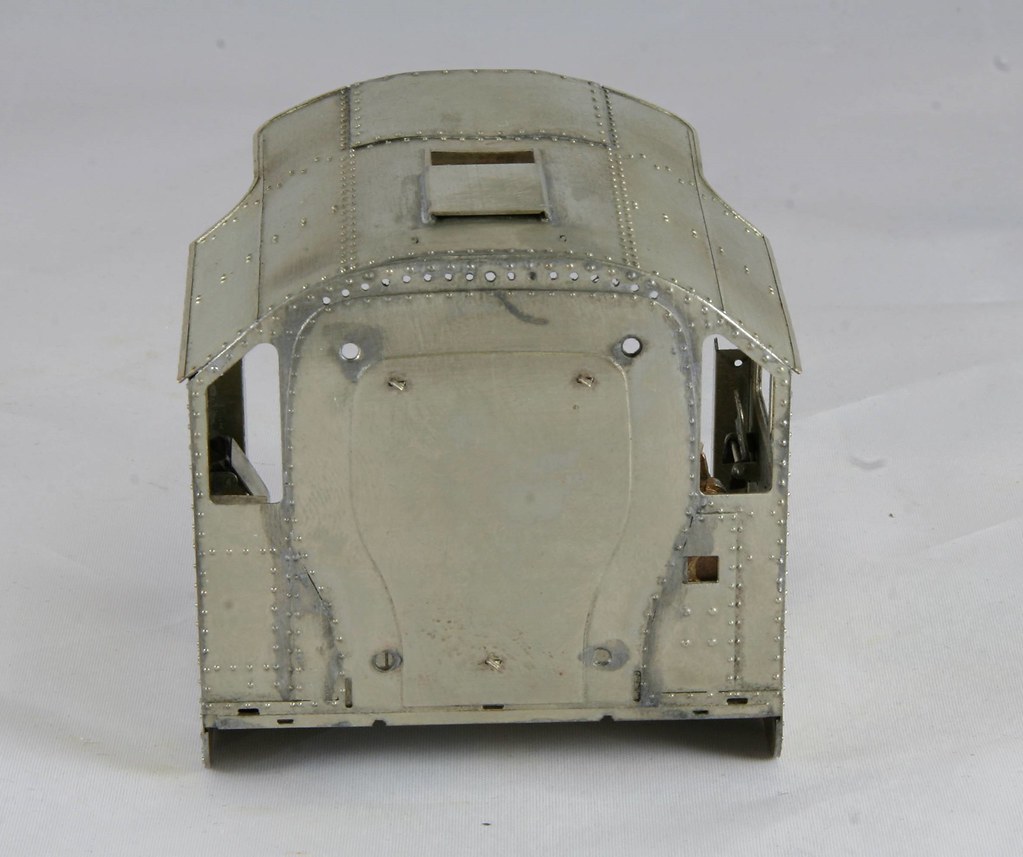
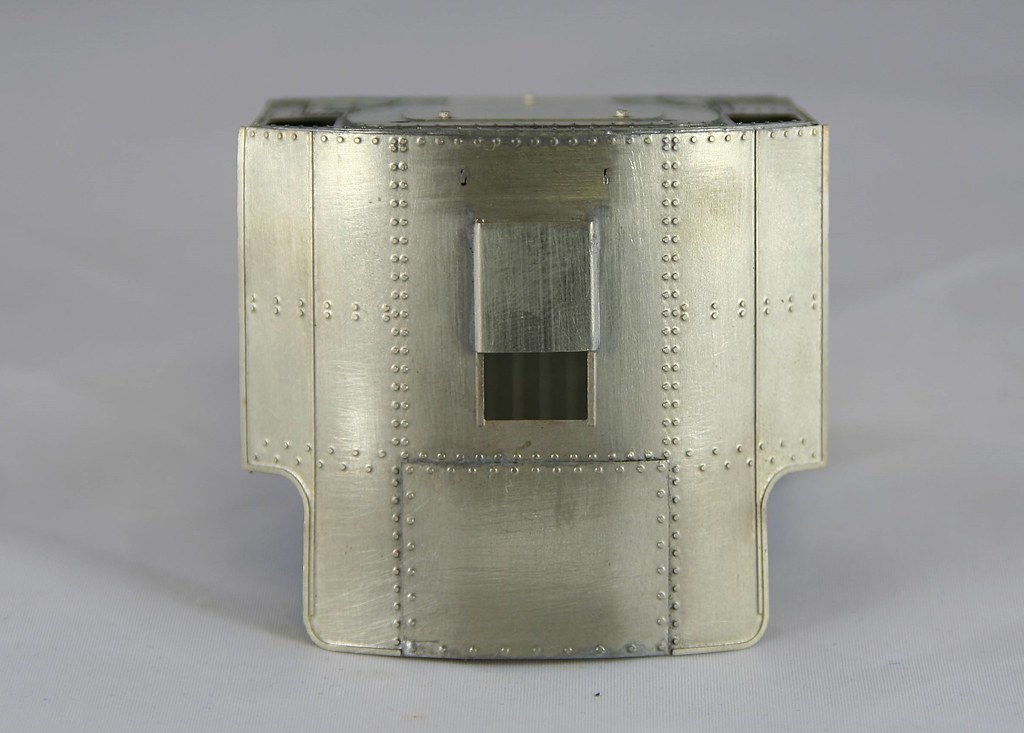
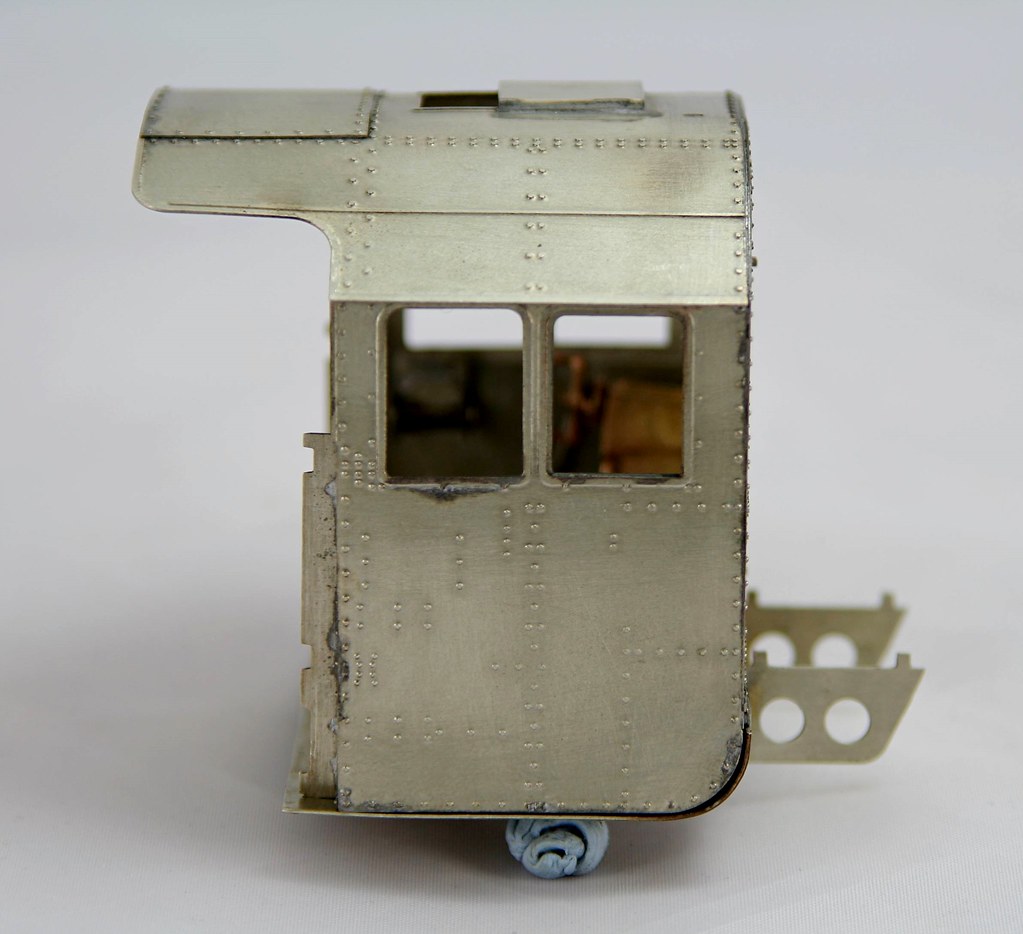
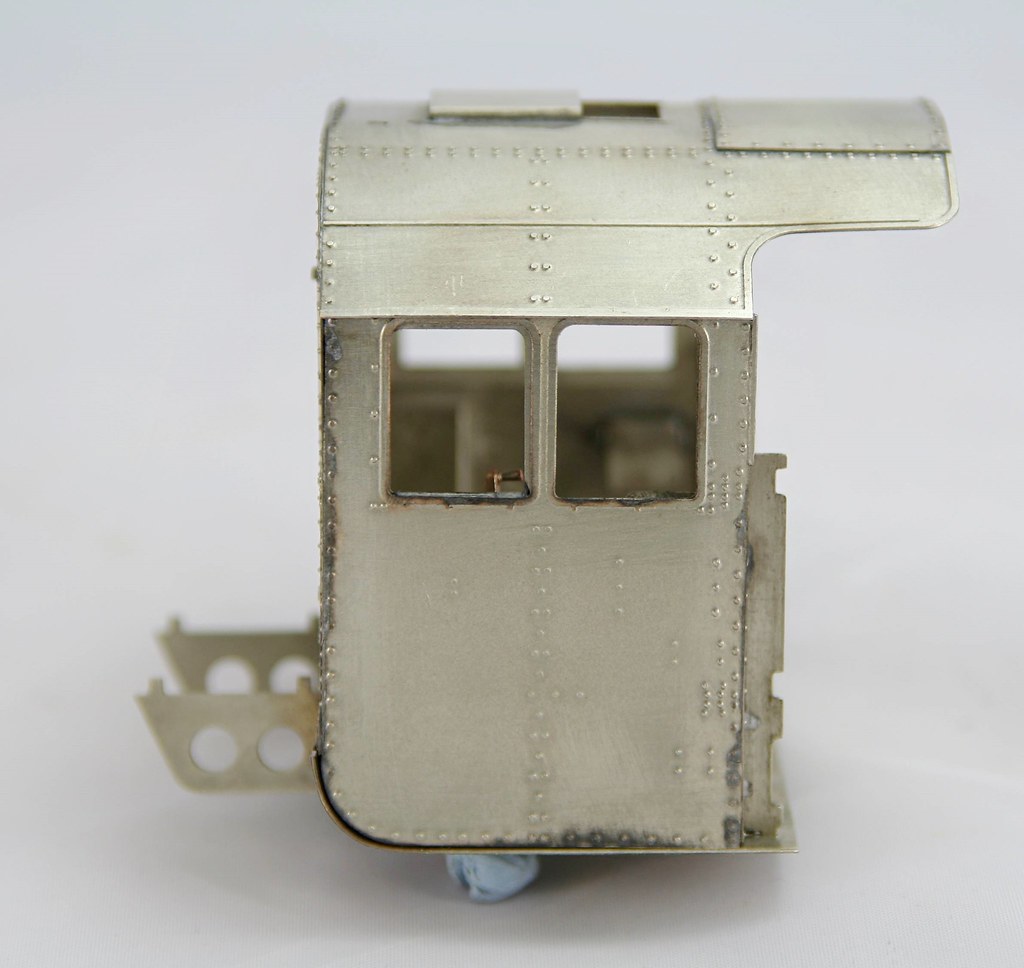
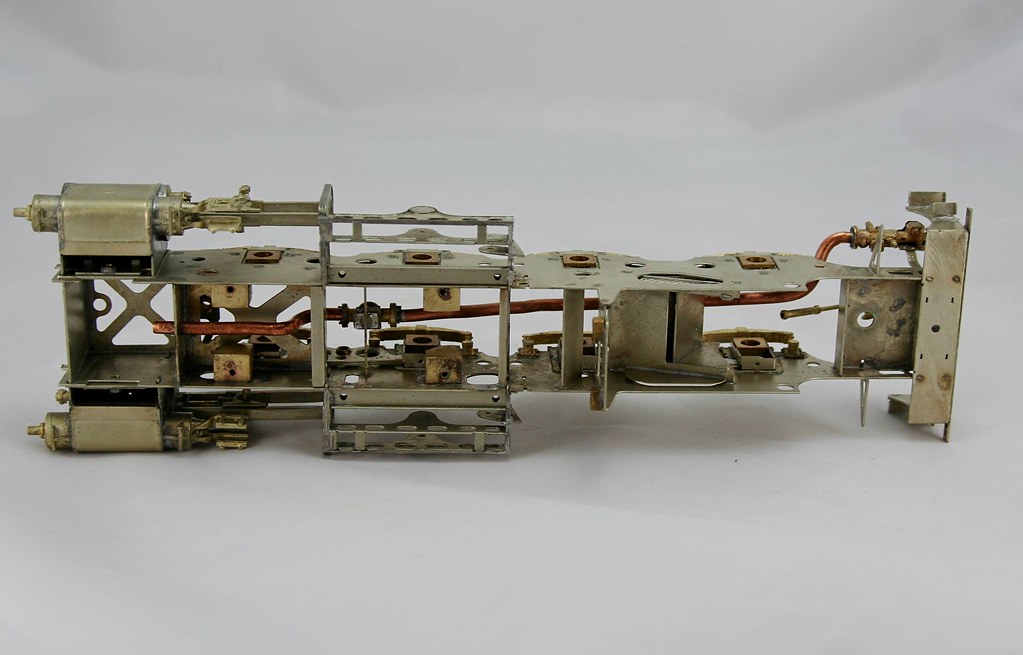
Finally, I had fitted the cab roof on Tuesday but I still need to sort out the subframe under the floor.


 .
.