7mm Rob's Rolling Stock Workbench

Rob Pulham

Western Thunderer
Another session last night saw the GC open is almost finished, it just needs retaining chains for the side doors on the other side and the buffers fitting properly - just posed here for the photos.

46065333264_e695d1c1e7_b.jpg


The inside is nicely detailed albeit the bottom doors are for the version without the trestle bar so mine will be tarped when finished so they won't be visible.

31848643967_45ebc849b0_b.jpg


46065334804_ab1bd29455_b.jpg


I will definitely be adding more of these to a shopping list in the future.
 

Rob Pulham

Western Thunderer
The mojo has been struggling recently but I have managed to get a coat of grey paint on the ex GC open. Warren Haywood kindly put some primer on it when I popped over a couple of weeks ago which made life a little easier. Next will be a coat of varnish before masking for the black underframe fittings.

47008892041_37ac00fd81_b.jpg


46284817054_e08784f822_b.jpg


47008892891_5117aba4a0_b.jpg


46284817714_65ccec5aee_b.jpg


While I was painting I also gave the bogies for the Kirk Twins a squirt of black which is another job less down the line.
 

Rob Pulham

Western Thunderer
Wow, it's been a while since I updated this particular thread.

I now have a temporary workbench in place until we can get the rest of our stuff out of storage. sometime today was spent sorting out what tools I brought with me and which ones have gone rusty in the meantime - a combination of using them last in a flux filled environment and then them being stored in a new (=wet timber when delivered) shed. The shed has since dried out and things are not as rusty as they could be (most of them are coming clean with just a rub from sone cheap coarse kitchen paper and then being oiled.

I am also limited kit wise with most being in store so I will start of with a Slaters LNER Brake van that I picked up from the bring and Buy at Normanton Show in January. It had sat there all weekend without interest so I made the guy and offer late on Sunday and a bit of haggling later it was mine. I also have a couple of Jim McGeown's GNR/LNER Bogie Brick wagons (no wheels for them though) and a J63 so at least I have something to be getting on with.

Frustratingly I have both of my battery mini drills but no charger.... He ho I do have several Pin vices to hand.

More as it happens.
 

Rob Pulham

Western Thunderer
This build has slowed down a little because when reviewing the two GA's that I have and some photos that I took of an LNER brake van at Grosmont on the NYMR a few years ago, all of them have fully timber panelled doors whereas the Slaters kit depicts a 4 paned window in the door. At first I was going to just cut out the framing and fit a panel in the upper part of the door (and I will do that at one end) but being me I decided that I would have a door at one end open so I am just about to start carving the door out of one of the ends.
 

Rob Pulham

Western Thunderer
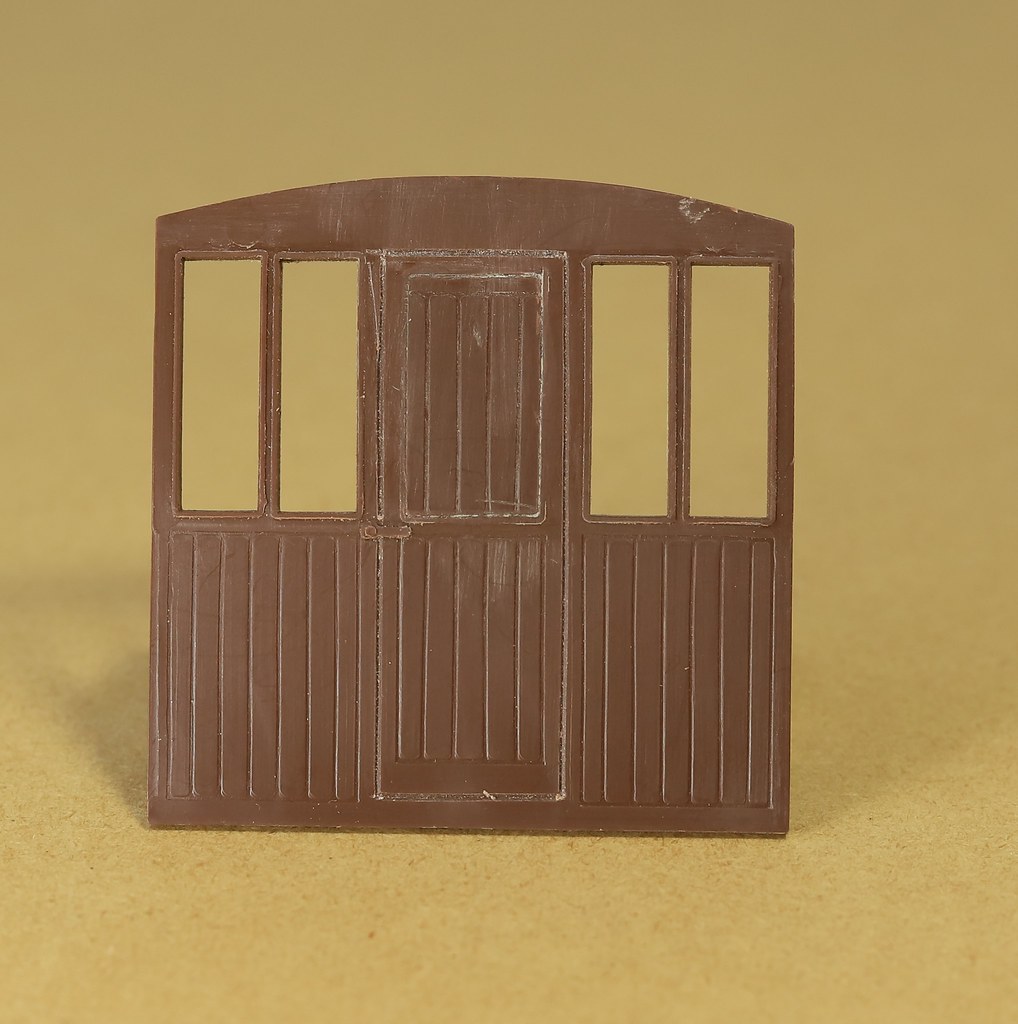
So where was I, ahh yes the door carving.

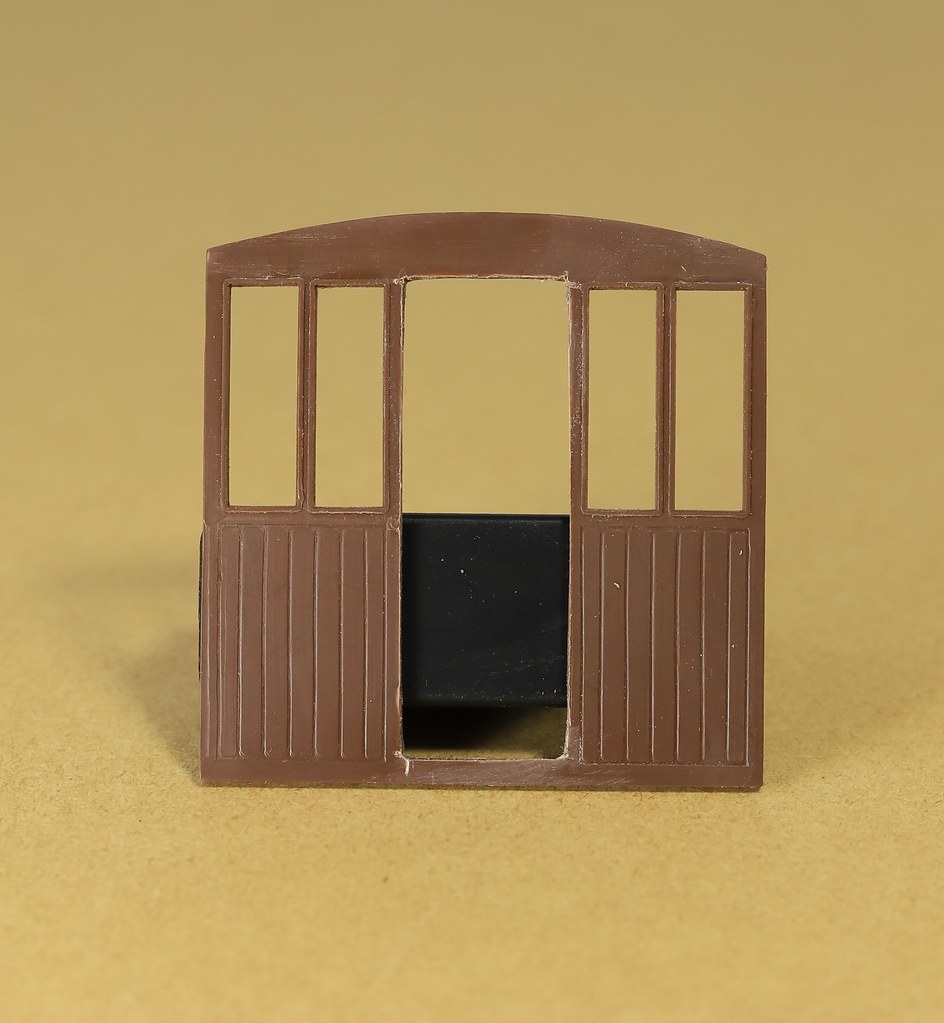
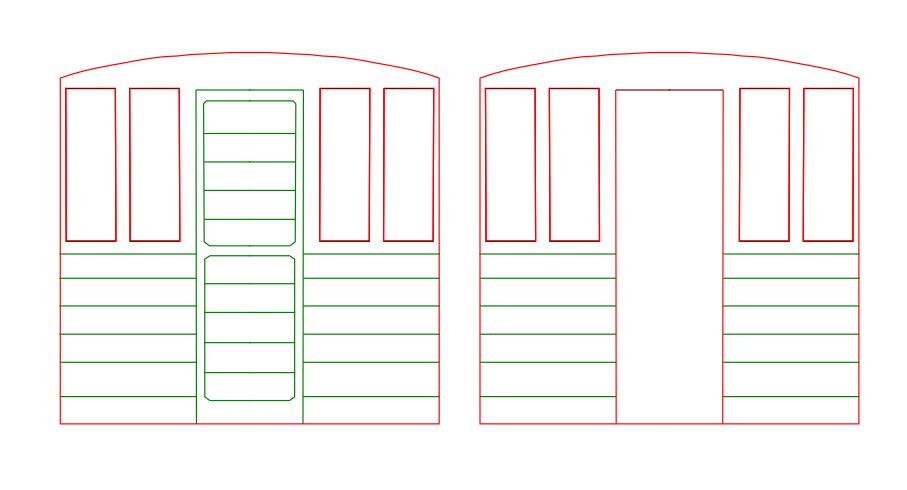
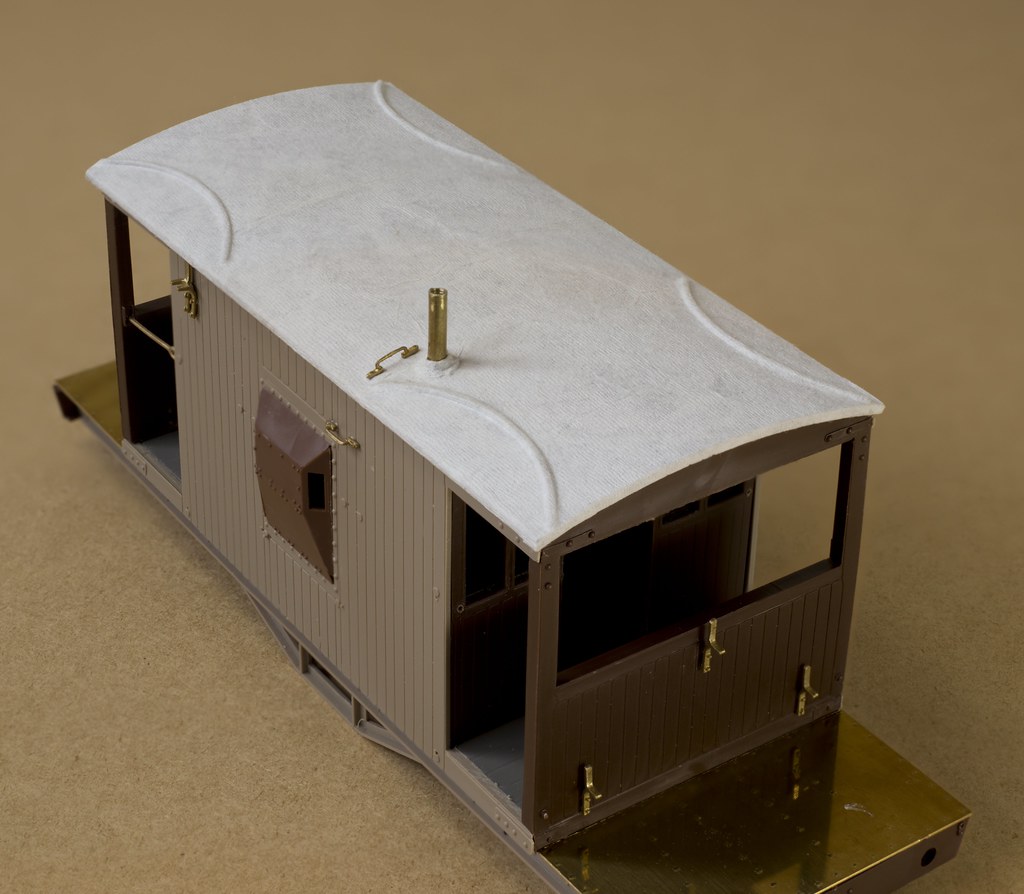
First I removed the door on one cabin end.

49845995308_9736fc1a24_b.jpg


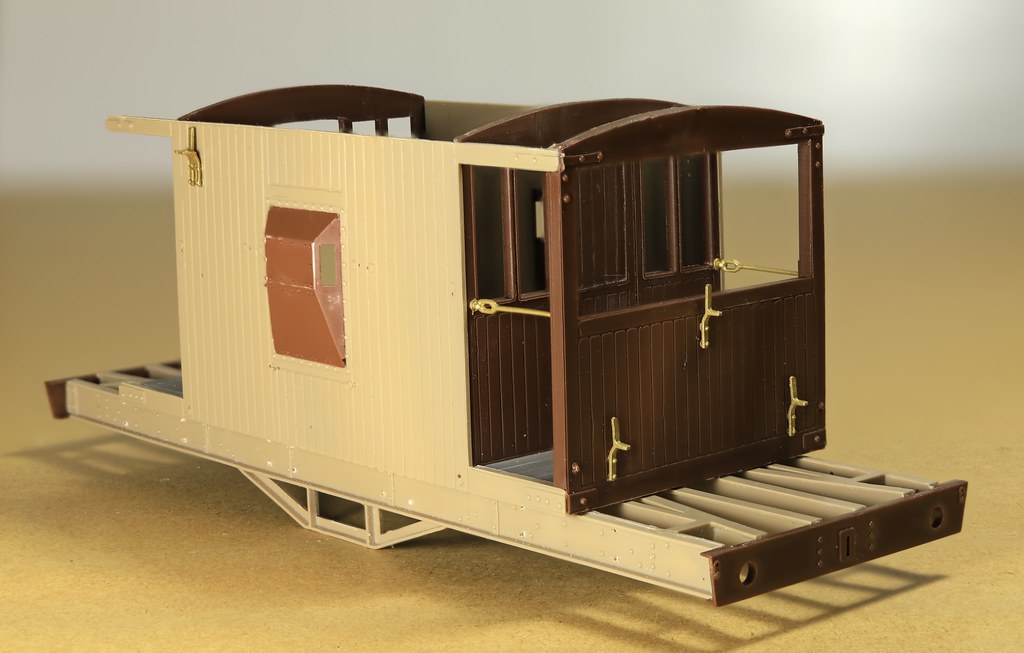
Then I cut the lower panel that I removed to fit in the space where the window had been on the other end.

49846532586_b07c1c3315_b.jpg


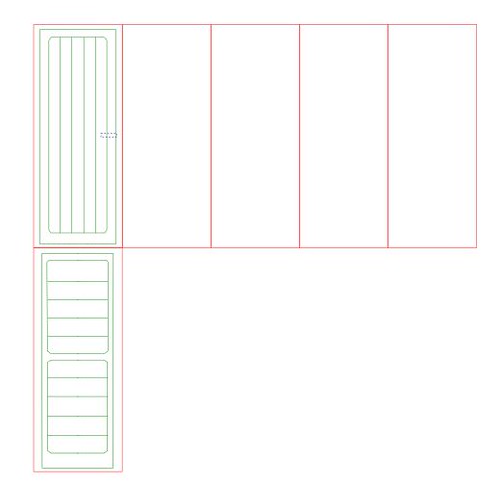
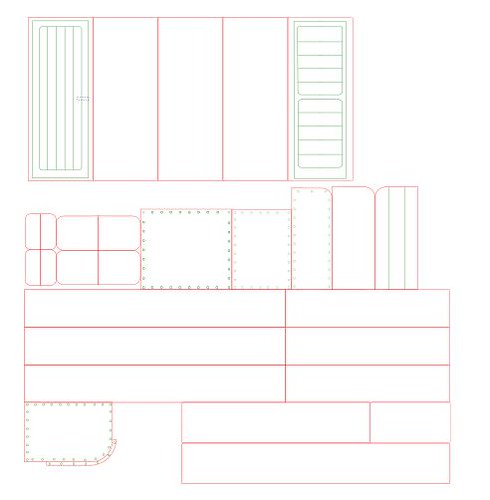
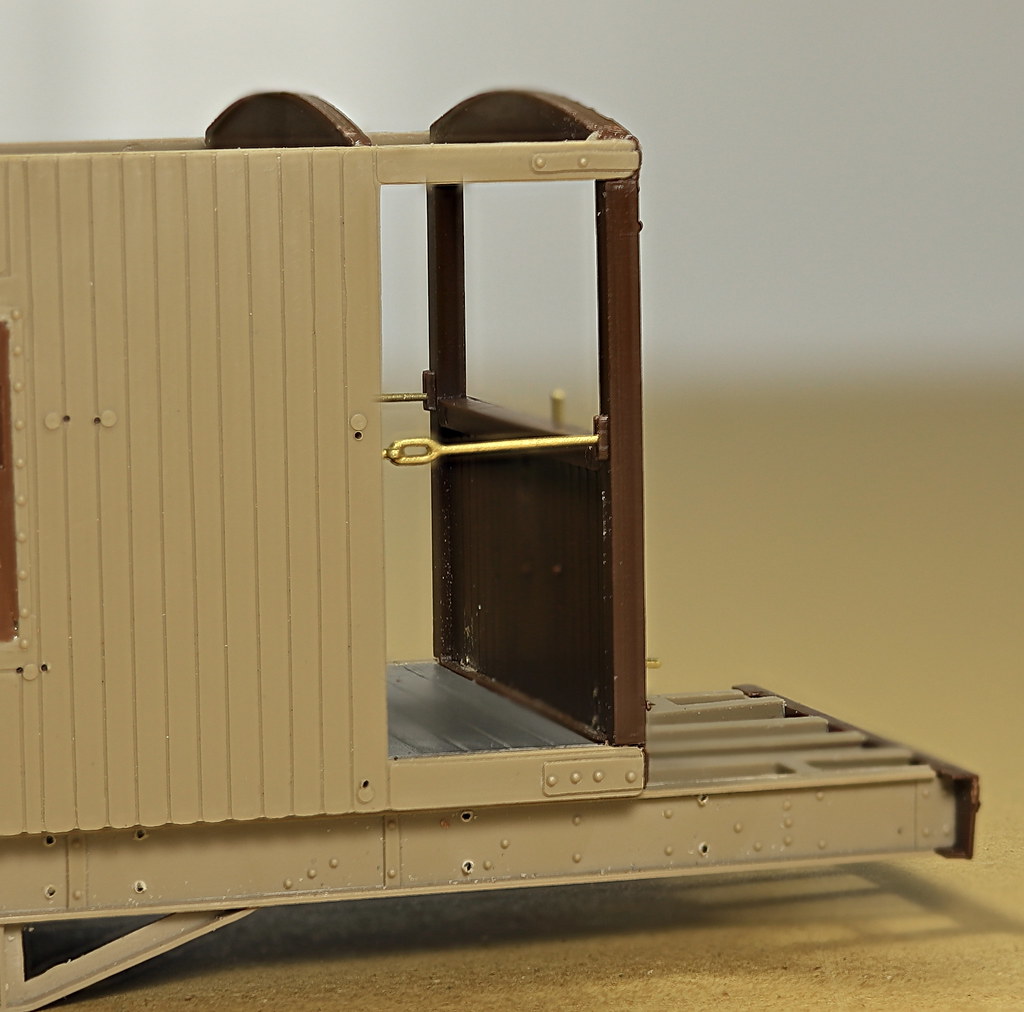
Then I drew up the parts for the replacement opening door to cut on the Silhouette.

49846628182_4f1f009998.jpg


I also completed the drawing of the insides of the ends.

49846858402_b9a06460e6_o.jpg


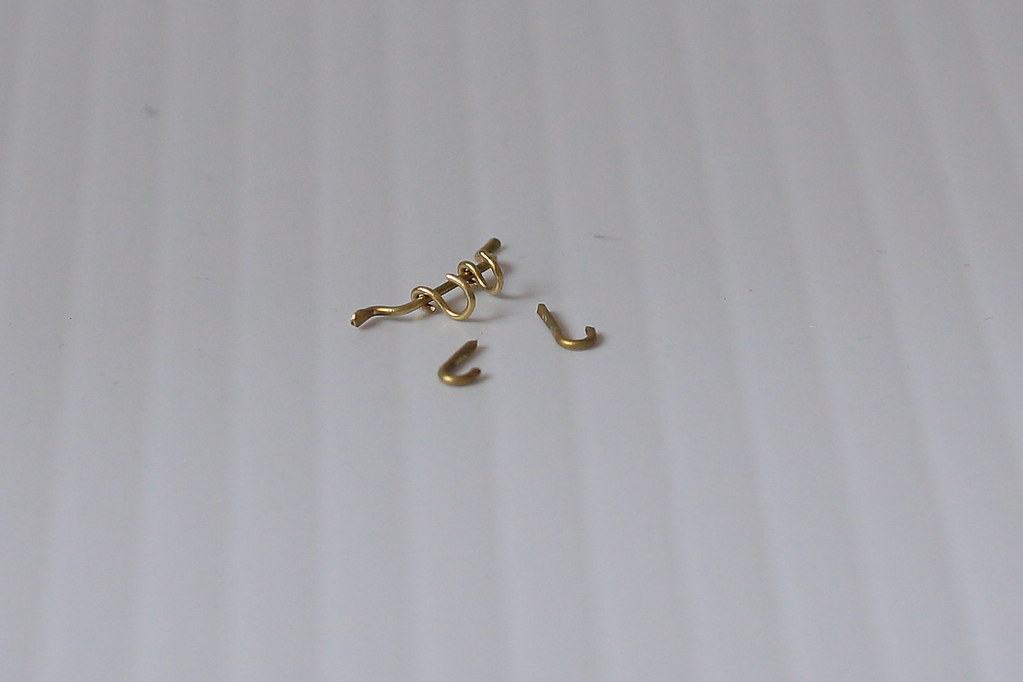
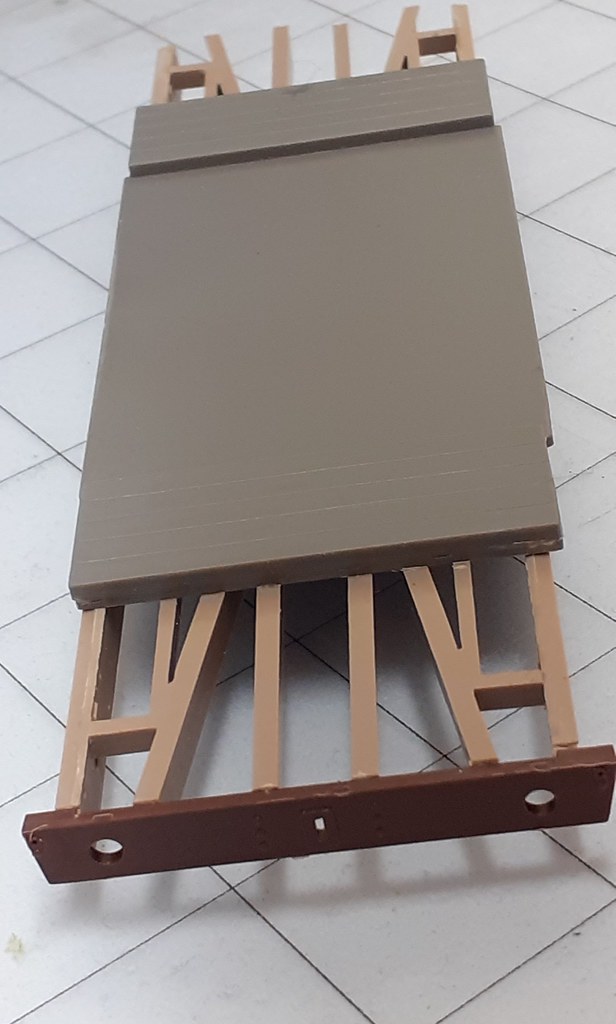
Lastly I made a start on adding the lamp irons to the out ends.

49845994408_6ae1381d76_o.jpg
 

Rob Pulham

Western Thunderer
I had most of the day at the bench today and to be honest there doesn't look much to show for it at present. I have progressed the drawings for the internals quite a bit though.

49852060547_ca1803b4ca_z.jpg


I spent some time measuring and scribing the planking on the floor and also on the underside of the roof - yes I know that you can see it unless you turn it upside down but I know it's there....

I did manage to get the inner ends and one side on the cabin after dressing the sides with duckets, lamp and grab rails.

49851633321_89a15e6b6c_b.jpg


49851636056_c545f973bf_b.jpg
 

Rob Pulham

Western Thunderer
Another day spent mostly drawing up the internals. I have now finished them apart from drawing up a stove and oven - more on that later.

I have moved all the drawings from their original files/layers to fit on to two drawings each with a single layer for cutting. The first will be cut from 10 thou styrene and the second 20 thou.

49861749718_be57f9f590_b.jpg


49862283131_78426ed897.jpg


The plan was to cut them this morning but that's gone by the wayside after discovering that the pack of styrene sheet that I have with me only contains the stuff that is too thick to go through the cutter... I have lots of it in storage so I am not going to buy any more, I will just crack on with other things until I can go out again.

I did get the veranda end fitted last night though so the next job is to add the canvas to the roof.

49862591142_10c55afddf_b.jpg


49862277201_5711e00e66_b.jpg


49862590037_c4640fbeeb_b.jpg


49862592352_26ba2d4bf2_b.jpg


You may be getting overloaded with photos showing minute levels of progress. This is because I am also taking the opportunity to play about with my new camera and it's ability to be remote controlled via wifi.

Finally for this post, a return the stove and oven discussion.

Slaters do a really nice cast pot bellied type stove which I have used in a few of my builds but it's to an LMS design (I think). The LNER stoves are completely different being flat planes - see the snip below.

49861749693_813a9e8a60_n.jpg


While having an online discussion with a friend he mentioned that he had GA's for the LNER stove and oven should I have a desire to make one. He duly sent them over and now has come the time to at least draw one up. I will probably do it in Inkscape but it might even be the push needed to get me to learn to draw in 3D so that I could print a master for subsequent casting.
 

Rob Pulham

Western Thunderer
Although progress is steady because I keep getting distracted with photography the BV is moving forward.

The roof now has canvas and the etched end plates have the rivets pressed out and ready to fit as is the other veranda but that won't be done until I make the door.

49874988447_b4ec22e075_b.jpg


49874151648_c0cd702eb1_b.jpg


I did wonder if I would need to remove the rainstrips in order to get the canvas to sit down bt a bit of patient smoothing with a bit of spare plastic sprue saw it cover very nicely indeed.
 

Rob Pulham

Western Thunderer
While waiting for the glue to dry on the first pair of W Irons I was studying the GA's and noted that in the cain fastened to the roof is what is described as a "Running Rail with Hooks" So I thought what better to get me back into making the little details than this. I also noted that there are a couple of coat hooks too.

49887289312_3e7ce1fa29_z.jpg


49886975386_f15ce16a35_b.jpg


And finally one with the obligatory coin to give an idea of scale.

49886975576_129630d724_b.jpg
 
Top