Many thanks
@Gismorail for your expression of interest and kind words; of course, I’d be delighted to share a couple more shots with you.
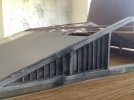
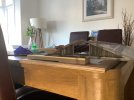
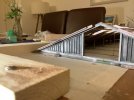
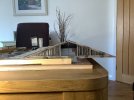
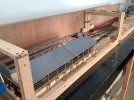
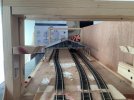
These are a couple of shots of the inside as things stand: first looking aft, second for’ard:
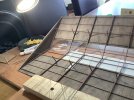
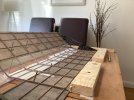
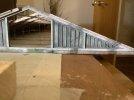
Here, I’ve just finished installing the longitudinal wires, a process made more difficult as the brass wire lengths weren’t long enough to straddle the full length, so had to be inserted in sections, butting up to each other inside the thin bearers in an attempt to hide the joins. They, and the transverse wires, have been acid etched and will be painted an earthy black colour.
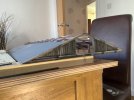
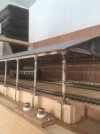
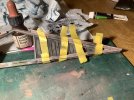
Joining the thin, wirey construct of the representative wooden beams to the roof sections was a task I wasn’t particularly looking forward to, and I was right (a casualty of bean tin weight collapsing onto it in the process of the glue drying - I’ve still to reattach the transverse wire to its anchor points, but at least it wasn’t bent under the weight of the tin as first thought!):
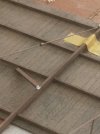
Not wishing to expose the spindly structure to the same calamity once again, I decided to construct a jig of sorts, which is made up of some ‘lash’ two by ones which can be seen in the above photo, and which I knew I should have employed in the first place.
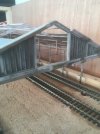
I also had a bash at representing smoke stains on the front portal, inside and out. Here’s the front during the process:
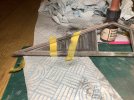
There doesn’t appear to be a definitive for these stains, so my influence were those that once graced Ashburton (I think) and the shed at Didcot (this also influenced the soiled windows).
Yes, the worn wood below the architraving should by rights be of light stone in colour, however, as this is Liverpool based, I decided to replicate a worn white effect that adorned several city signal boxes and buffer stops, and which rather appealed. That said, I’m not sure whether my home concocted GWR shades are anywhere near authentic, and which I doubt would still have been sported in the period I’m modelling. I just liked it.
The rear:
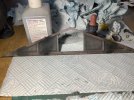
Note that I didn’t replicate the window bars this side: wasn’t worth risking my sanity for a train set….
I’ve tried to show the exposed part of the beams and outside architraving in a lighter shade to the internal parts, to suggest the results of weathering by the harsh estuarine elements at this location. This was achieved by airbrushing on a coat of Tamiya plain white mixed with thinners, and consisting of mainly thinners. I hope it convinces.
Btw: apologies for the rather contrived looking roof line, but the Perspex material (all the model shop had left) had a tendency to fracture around the cut line, requiring further material removal to cover up the damage. Wish I’d not bothered and bought some sheets of styrene as epoxy was the only glue that would stick, and which itself is difficult to disguise with so many separate parts. The boards are just scribed.
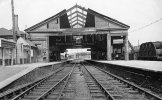
I’ve still to attach one or two missing beams and there’s a beam that runs the full length atop the structure, which is currently in preparation, and which can be seen in a photo of the real thing several posts back.
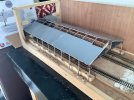
Now it’s almost time to cut out and fix umpteen graph paper slates to the roof:
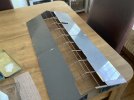
I would have preferred to use the York modelling slates, but for a structure of this length, the budget simply wouldn’t allow it.
So that’s where I’m up to.
Thanks for looking.
Jonte
!
!

 If the creators have somehow migrated to the beams located thereon, then perhaps that part of the distressing process may already have been solved!


