This build is getting difficult. I want to think I am making the transition from “beginner” to “mildly experienced”, but the underframe is taking me two steps backwards for every step I manage to make forwards. Part of my trouble is not reading the instructions properly (“because I have read the same thing before”) and part is a lack of ability. I wouldn’t want anyone to think the kit is inadequate or defective.
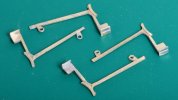
View attachment 192216
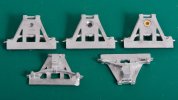
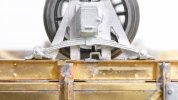
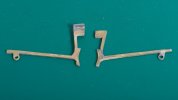
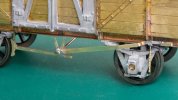
The castings for the axleboxes with their W irons photographed in their supplied state (bottom right), cleaned up, drilled and counter-bored, and with a Slater’s bearing. Two castings received a chamfer to let them fit snugly behind the backs of the horse hooks.
View attachment 192217
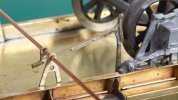
The instructions suggest tacking the brake gear into place and using this to align the wheels. My brake gear didn’t line up very well, probably because my floor is in the way, so I ignored this advice and went my own sweet way. This is proving even more difficult . . .
View attachment 192219
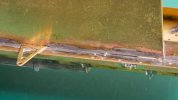
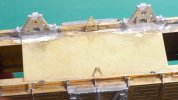
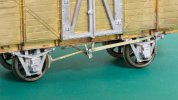
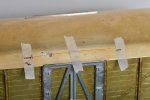
I attached two castings to line up with the bump stops. So far so good. Using solder to do this is a step forwards from my tender truck where I used epoxy glue, but the choice of technique is all to do with ability.
View attachment 192218
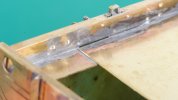
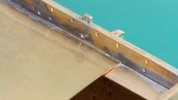
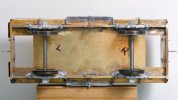
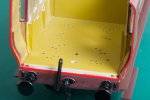
On the other side of the model, the springs would not line up with the bump stops. I removed the stops, which did not survive the process, and tried adding a fresh one. The kit gives you four spares. But the new one did not line up either, so I am now building a van with bump stops on only one side. I know the sides are square, but the etched rebates to hold the bump stops are not opposite each other, so my error must be in how I have fitted the solebars. It is a bit late to be taking them out so I have added the two remaining castings to set the axles parallel and at right angles to the solebars.
View attachment 192220
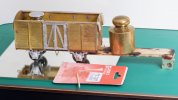
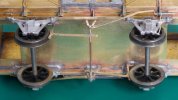
I drilled right through one axlebox oversize and secured its bearing with epoxy glue. The mirror tile is flat, the weight inside the van is holding the first pair of wheels flat on the mirror and the weight on the strip of ply is doing likewise for the second pair while the glue sets.
View attachment 192221
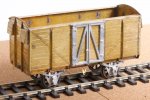
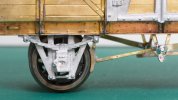
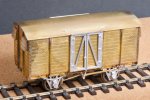
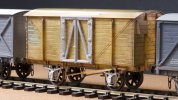
I now have a free-running model which sits flat on the track, and a task and a half ahead to install the brake gear.
At the end of the day, the wheels are functional while the brakes are cosmetic, so this is probably the right priorities for me . . . but the brakes are going to be tricky. Fortunately there is only one to go onto each side, I made up twice as many as I needed.

