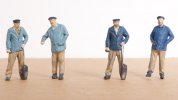
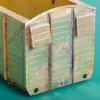
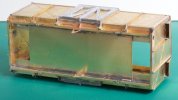
I want to return to the model making here while I build another wagon. I have at least three completely disparate sets of ideas for future projects – the headgear on the crew, the swans in the basin, and the private coach, but none of them have quite ‘gelled’ to make me want to start on them. And this isn’t counting the list of locos I want to build, and indeed the whole “Heybridge Basin” diorama. I can mull them over in my mind while I build the 10-ton GER van from Jim McGeown.

The contents of the kit. You get a second identical etch for the second side and end and so on, and I am sure I had all six coupling links too.

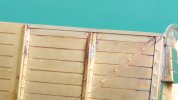
Rivet impressions formed using my automatic centre punch. The tip of this fits into the half-etched recesses perfectly, so they come out in straight lines and all the same depth. I find this hugely easier, neater and quicker than using my rivet press. I thought this was brilliant idea of mine until I did a quick search online and realised other people discovered this years ago. The working surface is the usual green cutting mat.
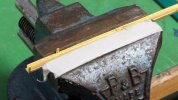
It is easy enough to form the first fold in the solebars. For the second fold, I take the metal about a third of the way round before the jaws get in the way, and then tease the solebar into shape between the jaws. I think the trick here is to weaken the fold lines before starting, I run a scriber along the lines several times. The masking tape protects the rivets from the jaws of the vice, this idea is from Jim’s instructions for the kit.
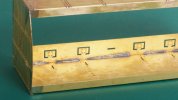
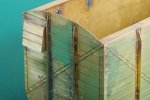
On the inside of the sides, it is worth reinforcing the folds with sections of solder not a continuous fillet. This stops the solder running out through the holes and onto the outside of the model. This is my second side.
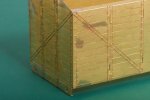
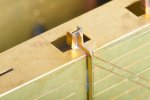
I soldered up the corners from the inside. The capillary action draws the solder into the joint (fair enough) so the trick is to control things so almost nothing appears on the outside. Needless to say this is my fourth corner.


