Ian Rathbone's Workshop

Ian Rathbone

Western Thunderer
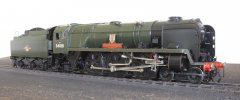
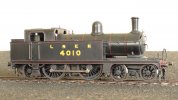
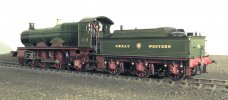
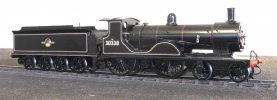
A few more. The Stanier Mogul was in LMS livery so it was a body only strip and repaint into BR.

A6879590-BCEF-486F-982F-DC10EA5F3D66.jpeg

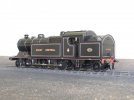
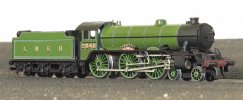
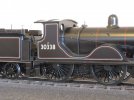
This brute of an engine was known to the railway men as a Crab, well before the LMS variety. Built from the Gladiator kit by Mike Edge.

7DA4D416-380B-414F-A6DC-4BE0647F09E1.jpeg3A81D06C-8470-4761-8A7F-45522D3F6323.jpeg

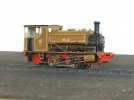
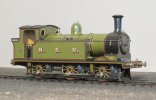
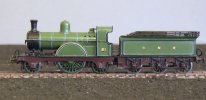
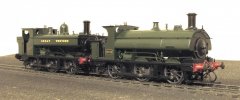
An industrial saddle tank (Agenoria kit) built by Andy Beaton. This is similar to a loco that ran on the Leeds Sewage Works
railway, I wonder where they got the idea for the colour.

0279AD1F-7C35-4290-BD8E-99DEBBCDEE6C.jpeg

More later.

Ian R
 

Ian Rathbone

Western Thunderer
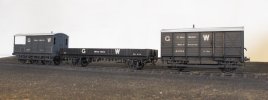
In contrast to the above I painted a few trucks -

IMG_7220.jpeg

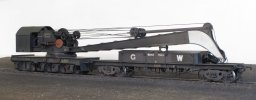
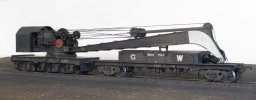
To go with this crane, built by Ralph Seymour -

IMG_7318.jpeg

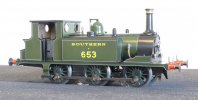
And a curiosity, a scratch built Terrier in Gauge 2, 3 rail no less. It had been poorly painted by the builder so it was a strip and repaint job. The ‘Southern’ is a bit small (7mm transfer) but a correct size one was beyond the owner’s budget.

IMG_7307.jpeg

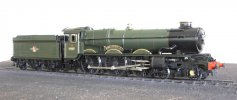
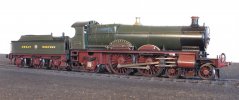
Finally a proper job. 7mm King built by James Bryan from the David Andrews kit.

IMG_7263.jpeg

I will be demonstrating Painting & Lining at Guildex, Stafford this weekend.

Ian R
 

Attachments

  • IMG_7318.jpeg
    IMG_7318.jpeg
    153.8 KB · Views: 17

Ian Rathbone

Western Thunderer
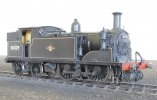
It was a very busy weekend at Guildex, so much so that I hardly saw the rest of it. I’ll start this time on a Southern note, first with an M7 built on commission by Roger Scanlon and painted by person unknown, who used Gauge 1 lining rather than Gauge 0. Roger bought it back and gave it to me to partially strip, re-line and gently weather.

IMG_7249.jpeg

Next a rebuilt West Country ‘Axminster’ built by Nigel Smith but only recently finally assembled.

IMG_7380.jpeg

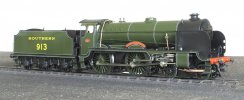
The final SR loco is this Schools, finished this week. Unfortunately I had a lot of rebuilding work to do to it before it was fit to paint.

IMG_7391.jpeg

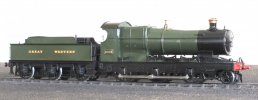
Then a couple of plain green GW locos. An Aberdare by Kevin Wilson, and a Bird by Roger Moore, very gently weathered.

image0.jpeg

IMG_7364.jpeg

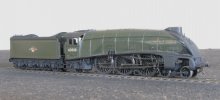
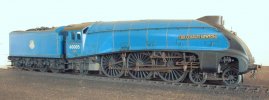
Finally a 4mm scale A4 for Tony Wright.

IMG_7372.jpeg

Ian R
 

Ian Rathbone

Western Thunderer
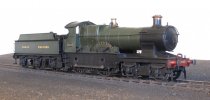
Another view of the GW Scott. This was one of the last locos to receive the Indian Red frames in 1905 and was something of a transition livery as the springs are now black instead of the previous lined red. I have since found that the regulator handle should be polished steel, not Red Oxide as it became in later days.

IMG_7454.jpeg

Next is Kevin Wilson’s T9 (see his thread). The wide body variant has some interesting curves in the lining!

IMG_7439.jpeg


IMG_7442.jpeg

Kevin still has many parts to add.

A pair of GW 0-6-0 tanks built by Pete Silvester from the Eric Underhill kits. These are mainly resin castings with etched detail -
nice and easy to paint.

IMG_7462.jpeg

That’s it before Xmas, now trying to get some progress on the Black 5 I am building for myself.

Merry Christmas to you all.

Ian R
 

Ian Rathbone

Western Thunderer
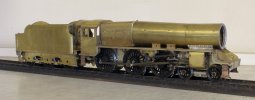
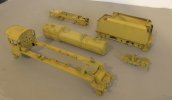
I’ve taken a break from painting over Xmas to try and make some progress on a Black 5, started some time ago. This was the state of play when I reopened the box.

IMG_7468.jpeg

Basically all the plate work is complete - this is a Javelin Ivatt Black 5 (luckily when I acquired the kit 12? years ago I had the foresight to chose a version Ellis Clarke aren’t doing). The three sections of the boiler unit are bolted together and removable for painting. There was a lot of work filing edges to get the right slopes on boiler and fire box.

IMG_7470.jpeg

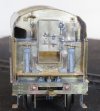
I’ve added a few extra details to the tender front - coal door handles and handles for the injector feed cocks.

IMG_7471.jpeg

The chassis works but is a bit of a mock up at the moment. The brakes are made up but still in the box.

Ian R
 

Ian Rathbone

Western Thunderer
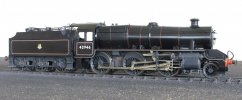
Over a three week period I’ve been steadily adding details to the basic shell. A lot of that time was spent peering at photos, generally in the Wild Swan book of the Black 5s and its pictorial supplement. I found the Pipe and Rod, and Boiler Clothing drawings particularly useful to cover large gaps in the instructions.

IMG_7485.jpeg

There were no large diameter rods included in the kit but luckily I had some in stock for the ejector pipe and this side’s injector pipe - the other side is copper wire. The Clothing drawing gave me the precise location of the whistle and washout blisters. I had to make the covers for the injector pipes as the etchings in the kit bore no resemblance to the prototype. The hand rail is not yet fixed as I have to add the cap at the cab end last of all.

IMG_7483.jpeg

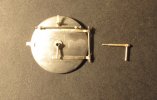
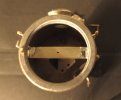
The smoke box door hinge was poorly cast so I filed off all detail and added scratch made bits - hinges, the bit that supports the door in the opposite side, I don’t know what it is called, and a working door handle. The handle is a tube in tube, ie the dart handle is fixed to a 1.1 mm id tube while within that is another tube with a 14 ba stud in its inner end and the tightening handle on the outer end. The whole screws into cross piece behind the door. I still need to add the steam heating pipe to the front buffer beam - another omission from the kit.

IMG_7484.jpeg

On this side I had to add the rocking grate control rod and cut down one of the lubricators to 2/3 of its original size, because that is how they were. I have added cladding bands to the firebox but not the boiler - lining transfers are sufficiently thick for them.

The loco superstructure is nearly there.

IMG_7480.jpeg

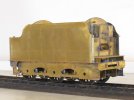
The tender is there, I think. Again the steam heat pipe needs adding at the back. I don’t fit the axle boxes and spring castings until after painting as it’s difficult to spray paint into the tiny gap above the spring. I will tin around the holes, mask off and then solder them on later.

You can see from the tender front that I haven’t found a source of invisible solder.

Ian R
 
Last edited:

paulc

Western Thunderer
Over a three week period I’ve been steadily adding details to the basic shell. A lot of that time was spent peering at photos, generally in the Wild Swan book of the Black 5s and its pictorial supplement. I found the Pipe and Rod, and Boiler Clothing drawings particularly useful to cover large gaps in the instructions.

View attachment 206132

There were no large diameter rods included in the kit but luckily I had some in stock for the ejector pipe and this side’s injector pipe - the other side is copper wire. The Clothing drawing gave me the precise location of the whistle and washout blisters. I had to make the covers for the injector pipes as the etchings in the kit bore no resemblance to the prototype. The hand rail is not yet fixed as I have to add the cap at the cab end last of all.

View attachment 206134

The smoke box door hinge was poorly cast so I filed off all detail and added scratch made bits - hinges, the bit that supports the door in the opposite side, I don’t know what it is called, and a working door handle. The handle is a tube in tube, ie the dart handle is fixed to a 0.7 id tube while within that is another tube with a 14 ba stud in its inner end and the tightening handle on the outer end. The whole screws into cross piece behind the door. I still need to add the steam heating pipe to the front buffer beam - another omission from the kit.

View attachment 206135

On this side I had to add the rocking ash pan control rod and cut down one of the lubricators to 2/3 of its original size, because that is how they were. I have added cladding bands to the firebox but not the boiler - lining transfers are sufficiently thick for them.

The loco superstructure is nearly there.

View attachment 206128

The tender is there, I think. Again the steam heat pipe needs adding at the back. I don’t fit the axle boxes and spring castings until after painting as it’s difficult to spray paint into the tiny gap above the spring. I will tin around the holes, mask off and then solder them on later.

You can see from the tender front that I haven’t found a source of invisible solder.

Ian R
Hi Ian , would it be rude if i asked for a sketch of your smokebox handle as i can't really work it out from your description.
 

Ian Rathbone

Western Thunderer
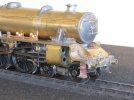
Here’s a photo that will explain the smoke box door handle. The door is not hinged. There’s a 1.8 mm od tube through the white metal door with the dart handle fixed to it. The tightening handle is fixed to a smaller dia. tube (1.1 mm od) that has a short length of 14 ba studding soldered into its other end. The studding screws into a threaded hole in the cross piece, thereby closing up the door. There is also a short length of the larger dia. tube at the handle position as a stopper and for additional strength.

IMG_7486.jpeg

IMG_7487.jpeg

I hope that explains it.

Ian R
 

paulc

Western Thunderer
Here’s a photo that will explain the smoke box door handle. The door is not hinged. There’s a 1.8 mm od tube through the white metal door with the dart handle fixed to it. The tightening handle is fixed to a smaller dia. tube (1.1 mm od) that has a short length of 14 ba studding soldered into its other end. The studding screws into a threaded hole in the cross piece, thereby closing up the door. There is also a short length of the larger dia. tube at the handle position as a stopper and for additional strength.

View attachment 206234

View attachment 206235

I hope that explains it.

Ian R
Many tbanks Ian , a pictures worth a thousand words and it all makes sense now . I will try this on the next kit .
 

Ian Rathbone

Western Thunderer
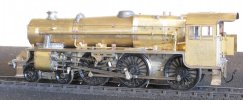
The superstructure is now etch primed, a little premature as the loco chassis still needs a lot of work on it, but at least the primer can fully cure. I have removed the rocking grate lever as none of the photos of AWS fitted locos showed it. It must have been removed or moved elsewhere. I also forgot to mask the tender axle box tinning.

IMG_7489.jpeg

Ian R
 

LarryG

Western Thunderer
I was suspicious of anything with resin parts after being flummoxed with one of Eric Underhill's first kits. I recall a Duchess with a resin boiler that shrank and expanded according to the temperature while the unaccommodating brass footplate bowed and and unpainted handrails poked out from behind knobs. The full & games of the painter.
 

Ian Rathbone

Western Thunderer
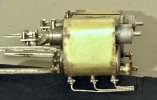
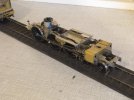
The cylinders are now detailed, not totally straight forward as the cylinder drains provided were not correct for the engine I am building. In the kit you get this (sorry about the photo quality) -

IMG_7490.jpeg

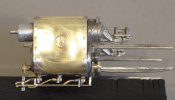
Whereas this is the later type that is needed -

IMG_7494.jpeg

I cut the pipes off, reduced the cocks and then added tube, wire and scrap bits of 4mm etches. I keep lots of useful bits of scrap etch in 4 & 7 mm, usually long straight bits and L & T shapes. The L shapes are useful for making GWR lamp irons that are stronger than the ones with half etched fold lines.

I’ve got to tackle the injectors next but the instructions are totally silent on this one. Does anyone know of a source of photos or drawings that show the pipework layout? The pipe and rod drawing in the book is no help.

Ian R
 

mickoo

Western Thunderer
Which book are you referring to Ian, all three of the Wild Swan volumes 5, 6 and 7 have detailed pipe and rod drawings for Black 5's, there may be detail variations but I've not checked, they do take some head scratching to work out where the pipes run but it's all there.

Only photos I've got that might help are these, but, it's common in preservation to change injectors for what can be found and not was used in their working lives, so take some of the pipe runs with a pinch of salt.

IMG_5882.jpg

IMG_5890.jpg

IMG_5918.jpg
 
Last edited:

Dave Holt

Western Thunderer
Top photo looks about right, with an exhaust injector, but the bottom photo shows an incorrect live steam injector on the RHS.
I agree with Mickoo that the Wild Swan books show all the necessary information on the Pipe & Rod and end view drawings, but can be hard to interpret.
Dave.
 

45609

Active Member
I was going to say ask Dave Holt but he’s beat me to it. The rotary isolator switch on the last photo looks rather non original too

The Black 5 is looking very nice Ian

Cheers…Morgan
 

Phil O

Western Thunderer
One thing to be careful of on preserved locos, is fire hose connectors fitted to the end of the drains. These are used to fill boilers when the engine is cold.
 

Ian Rathbone

Western Thunderer
Thanks for the photos Mick. I knew to be wary of preserved locos, a number of them also have Swindon pattern LSIs as they are more efficient (or plentiful).

I went back to the pipe & rod drawings and eventually worked out what was going on - the ESI is fitted at 30° in plan while the LSI provided in the kit bore no resemblance to the real thing, but luckily I had a spare which is less unlike the prototype.
The ESI is now fitted and the LSI is this weekend’s project. Then, hopefully, it’s just sandpipes and odd chassis details.

Ian R
 
Top