TFW’s workshop

Tim Watson

Western Thunderer
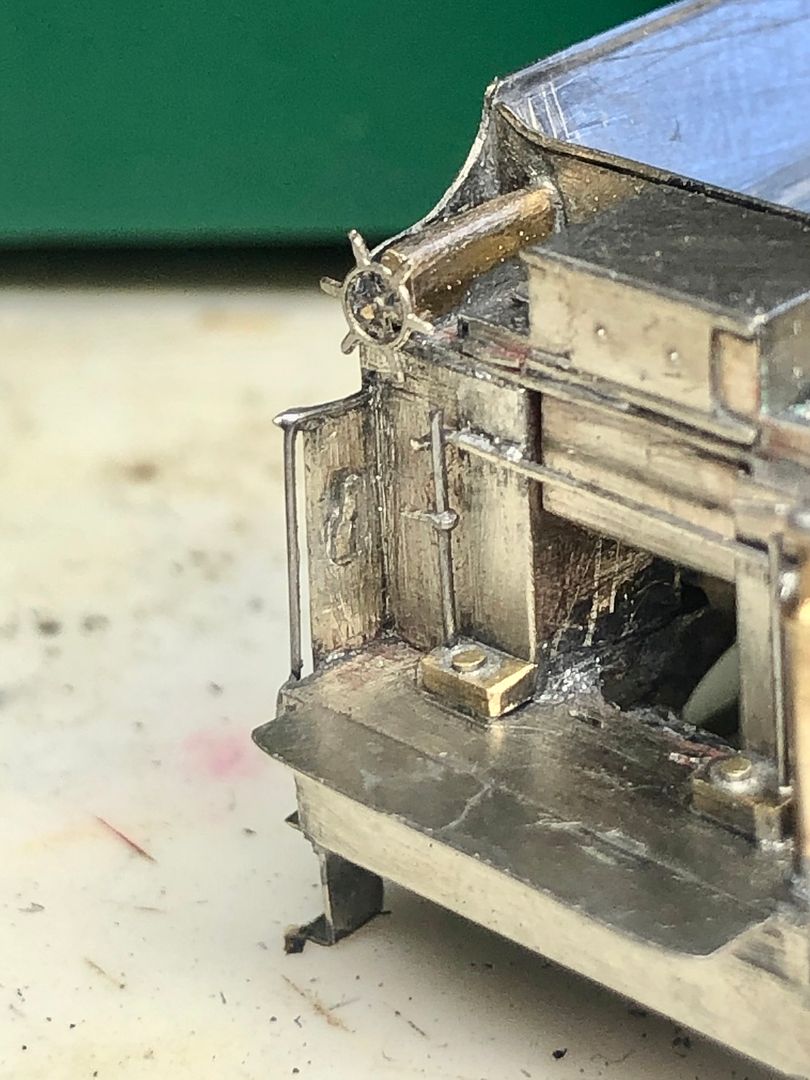
Needless to say, the Robinson engines had a very stylish hand brake column on the tender.
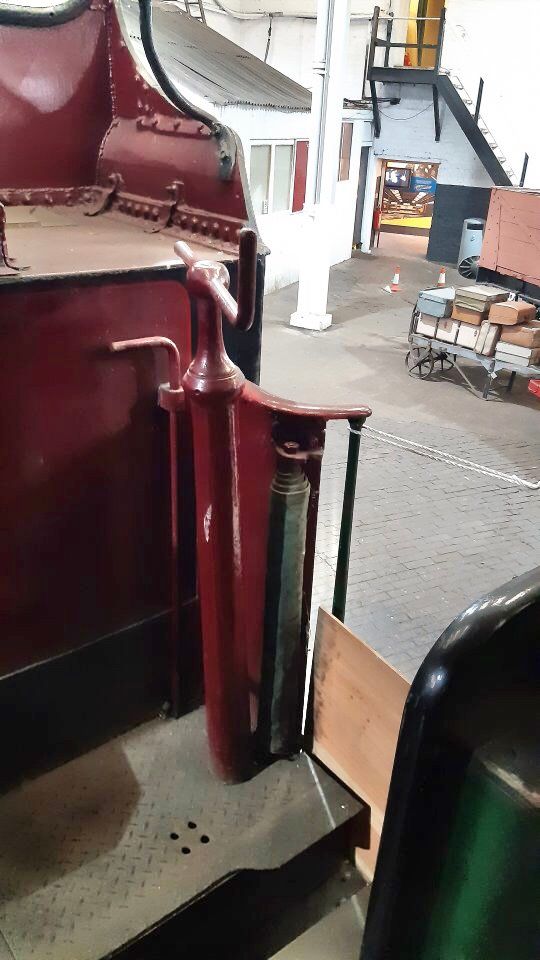
(Photo courtesy PAD Peter)

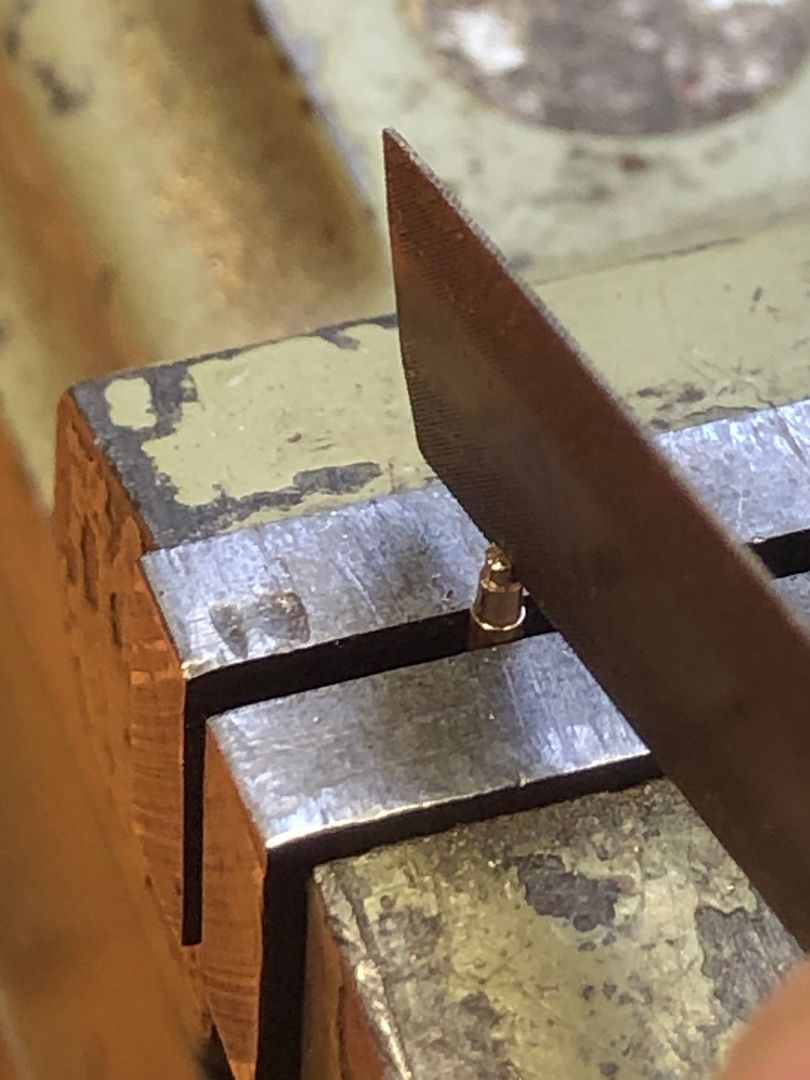
I originally played with a brass casting, but this didn’t look right: Valour has become quite a special engine, so I thought something better was needed. I therefore turned up some 1mm diameter brass rod, initially to the diameter of the head. This was grooved across the top with a slotting file.

It was then put in the lathe and just the top shank of the brake rod hand turned with a graver.
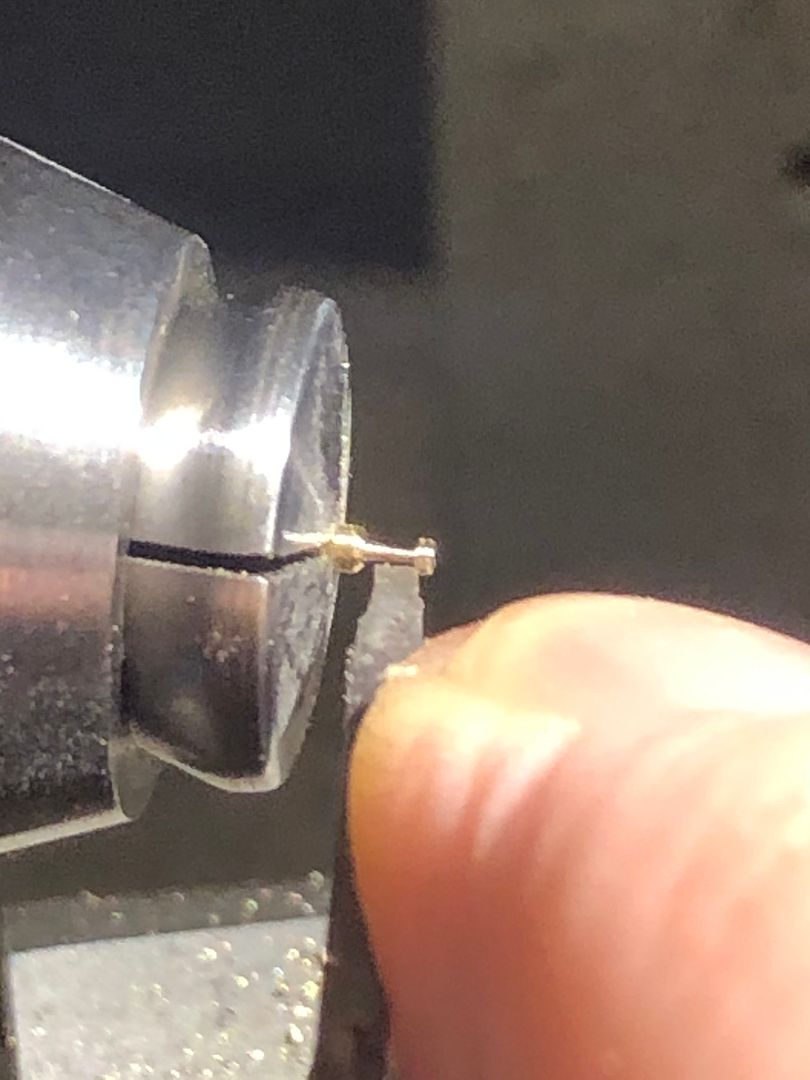

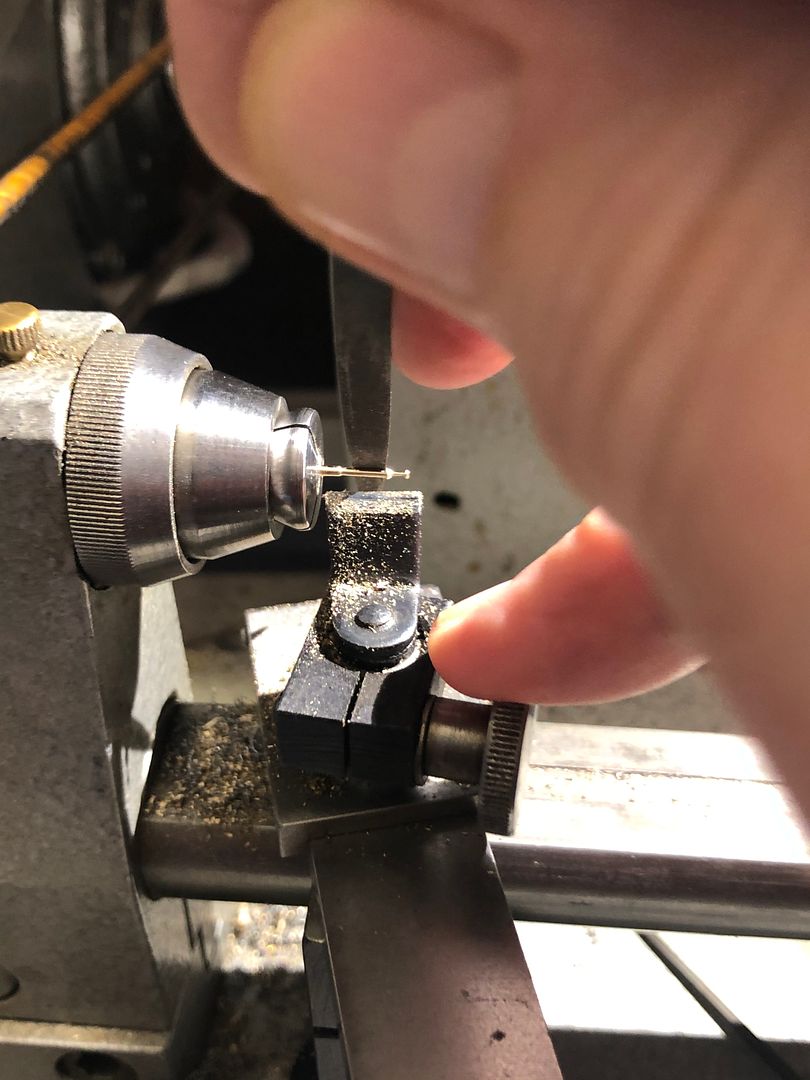
The rear of the column was then moved out of the collet and taper turned to length, finishing off with a fine file - note the finger rest when turning and the file held lightly between first finger and thumb

The handle was bent up from steel wire and fitted into the slot on the head.
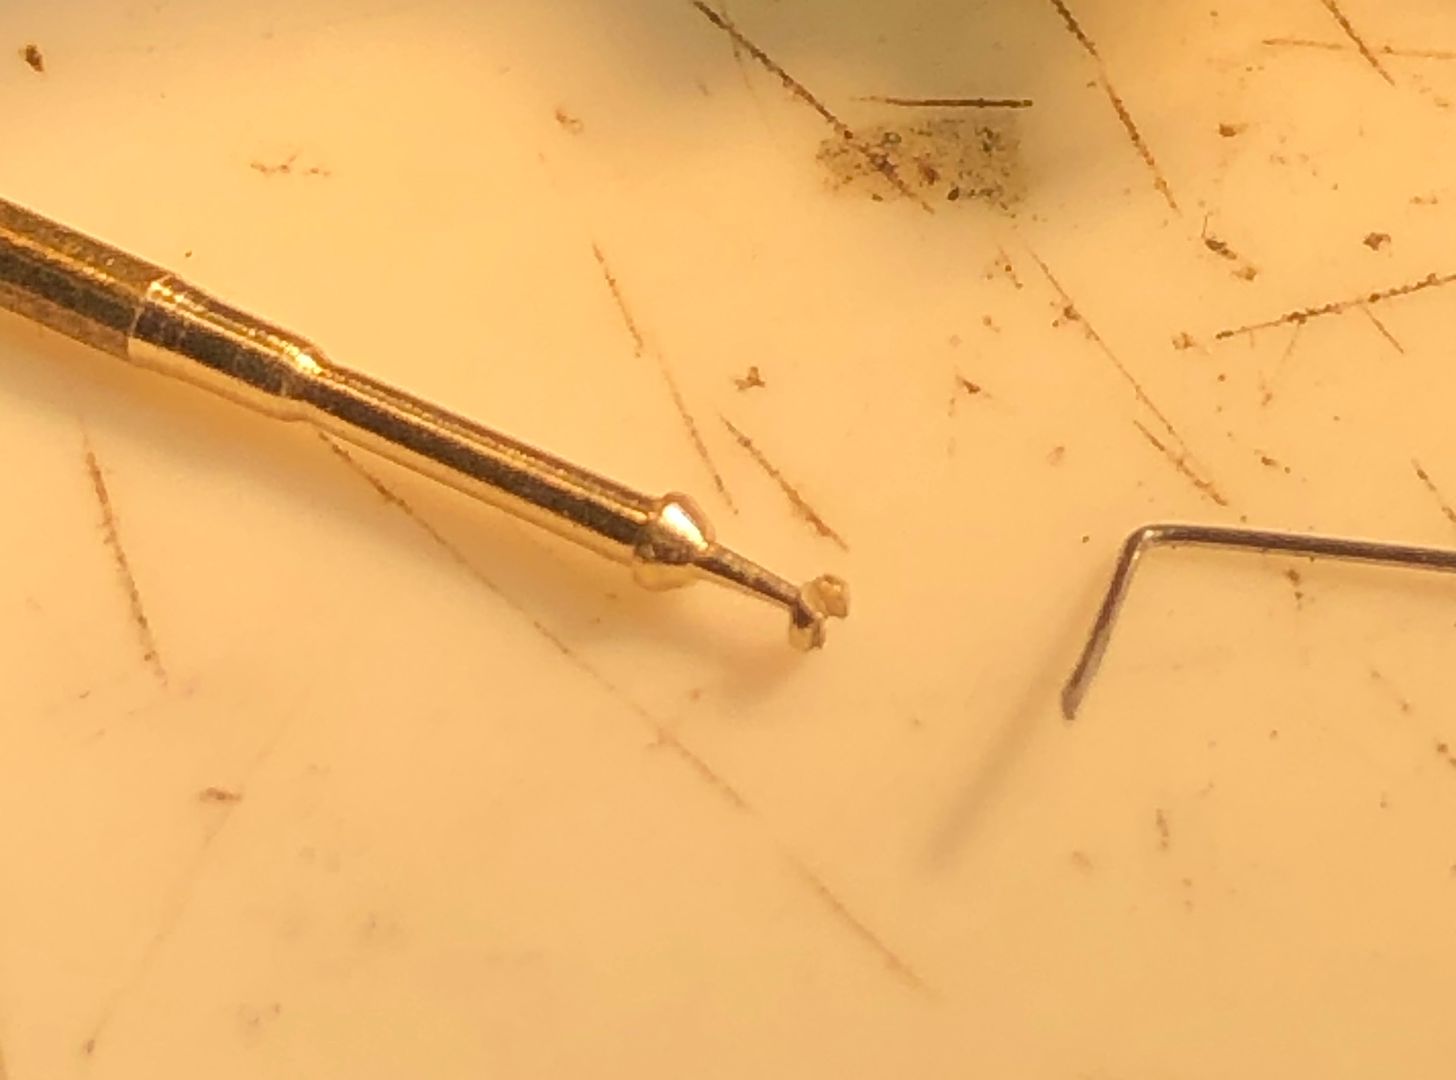

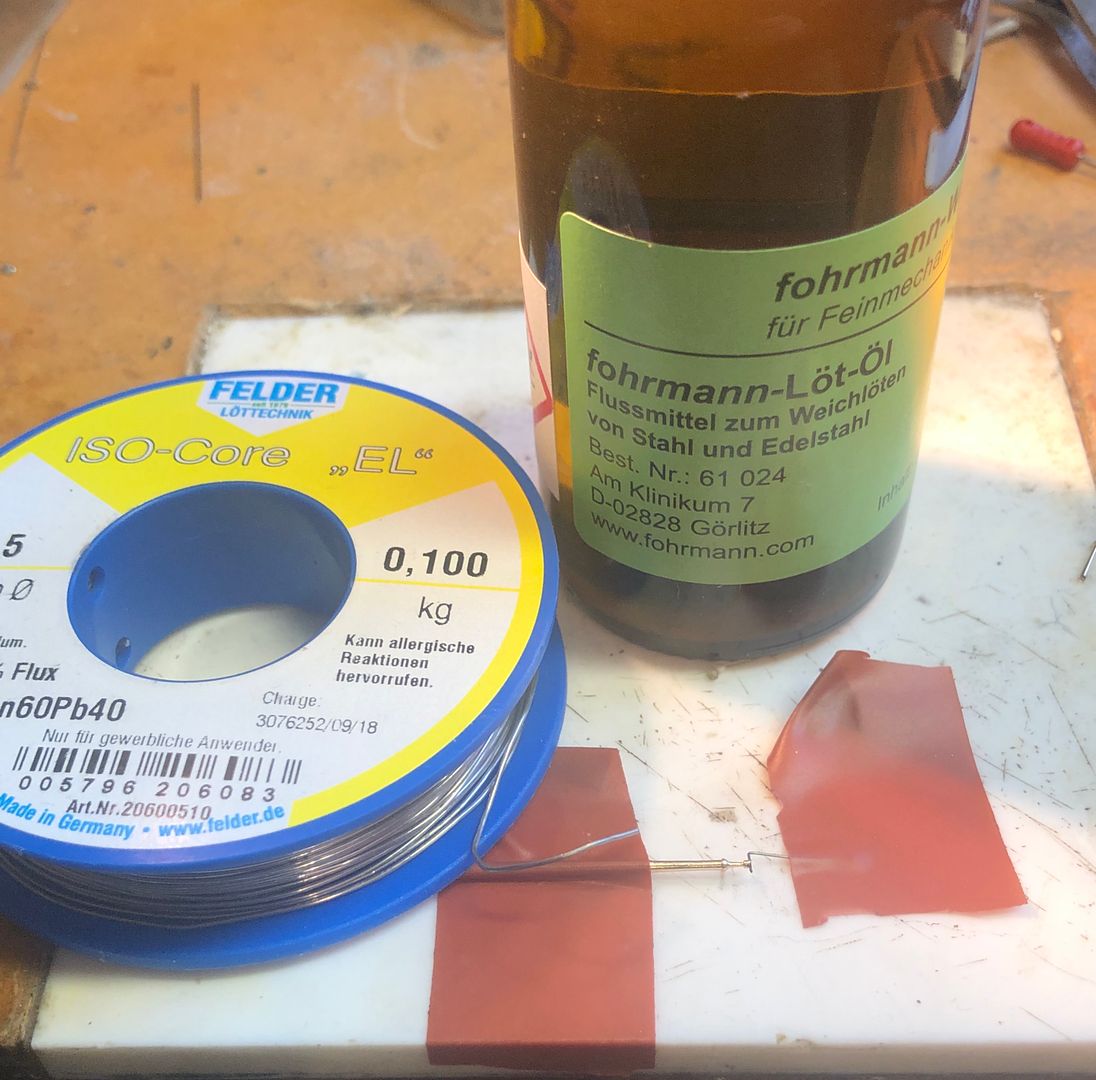
The two components were held relative to each other using insulating tape and soldered with some very good solder & flux from Germany that works well with steel fohrmann-WERKZEUGE


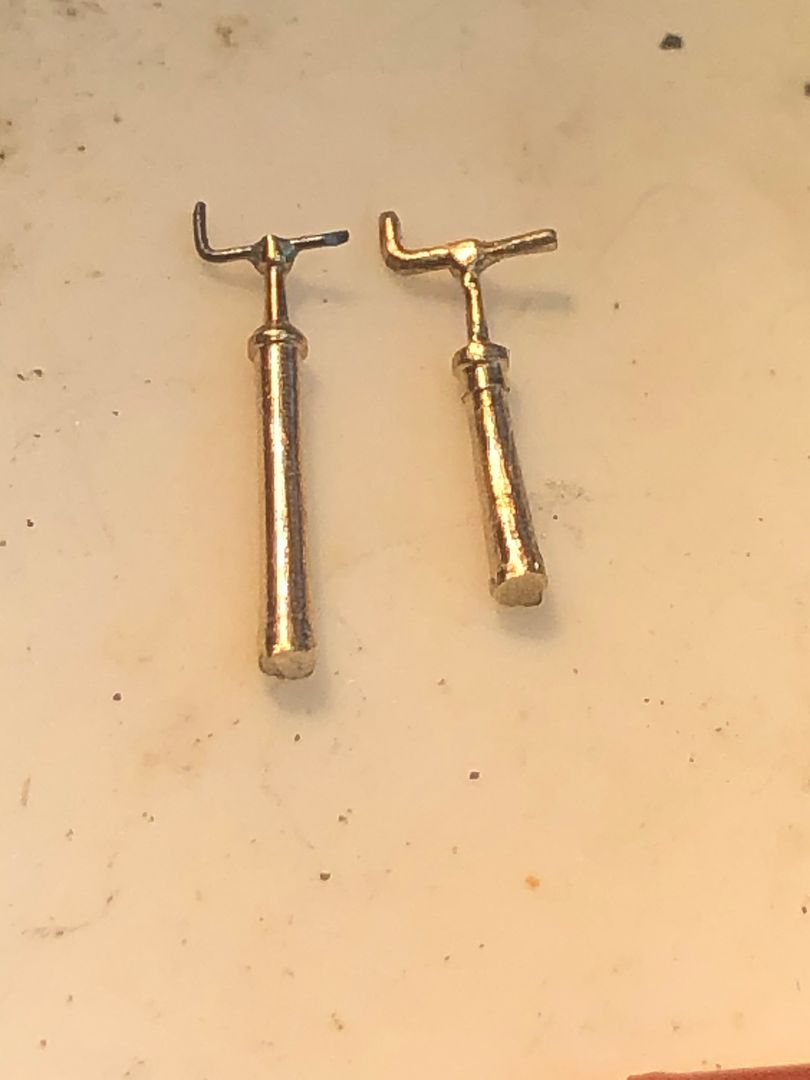
The end result (two were made) can be compared with the casting, which had been modified as much as I could. It would probably have been OK on a ‘layout’ loco. Any excess steel was cut off with a fine diamond slitting disc on the hand made column.

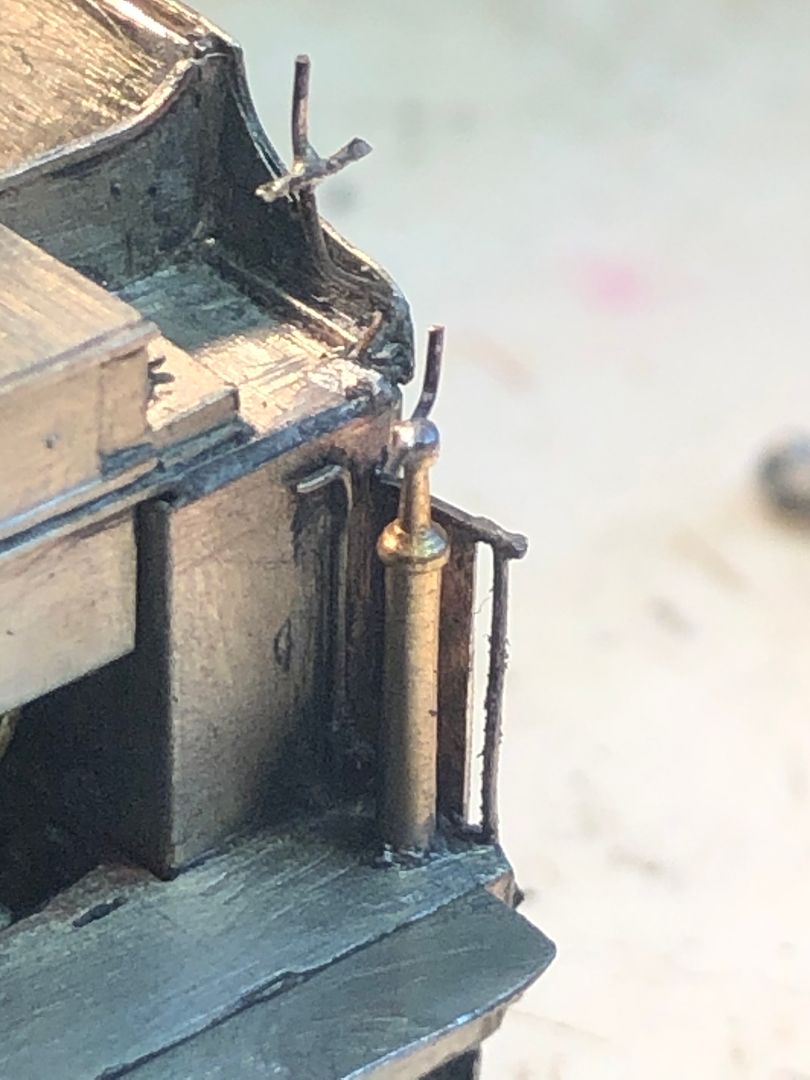
It was soon mounted on the tender footplate.

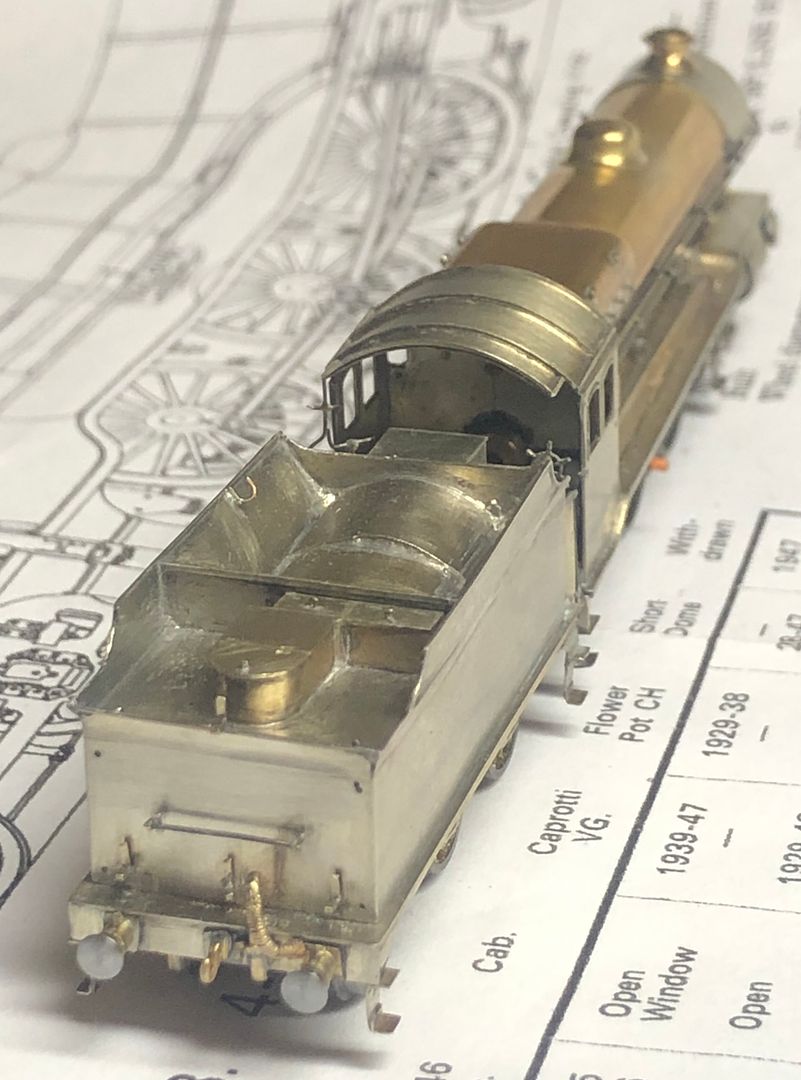
I think that almost finishes off the tender front end detailing. The cab fittings will probably have the plastic pattern made at the MEE at Ally Pally in a few weeks time.


Tim
 
Last edited:

Tim Watson

Western Thunderer
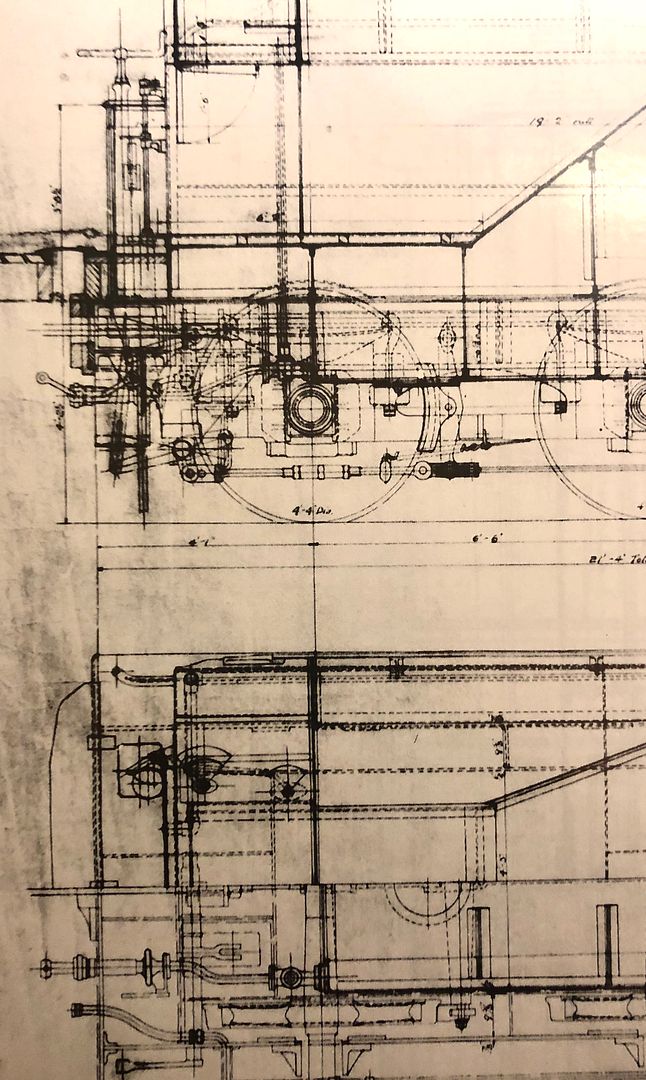
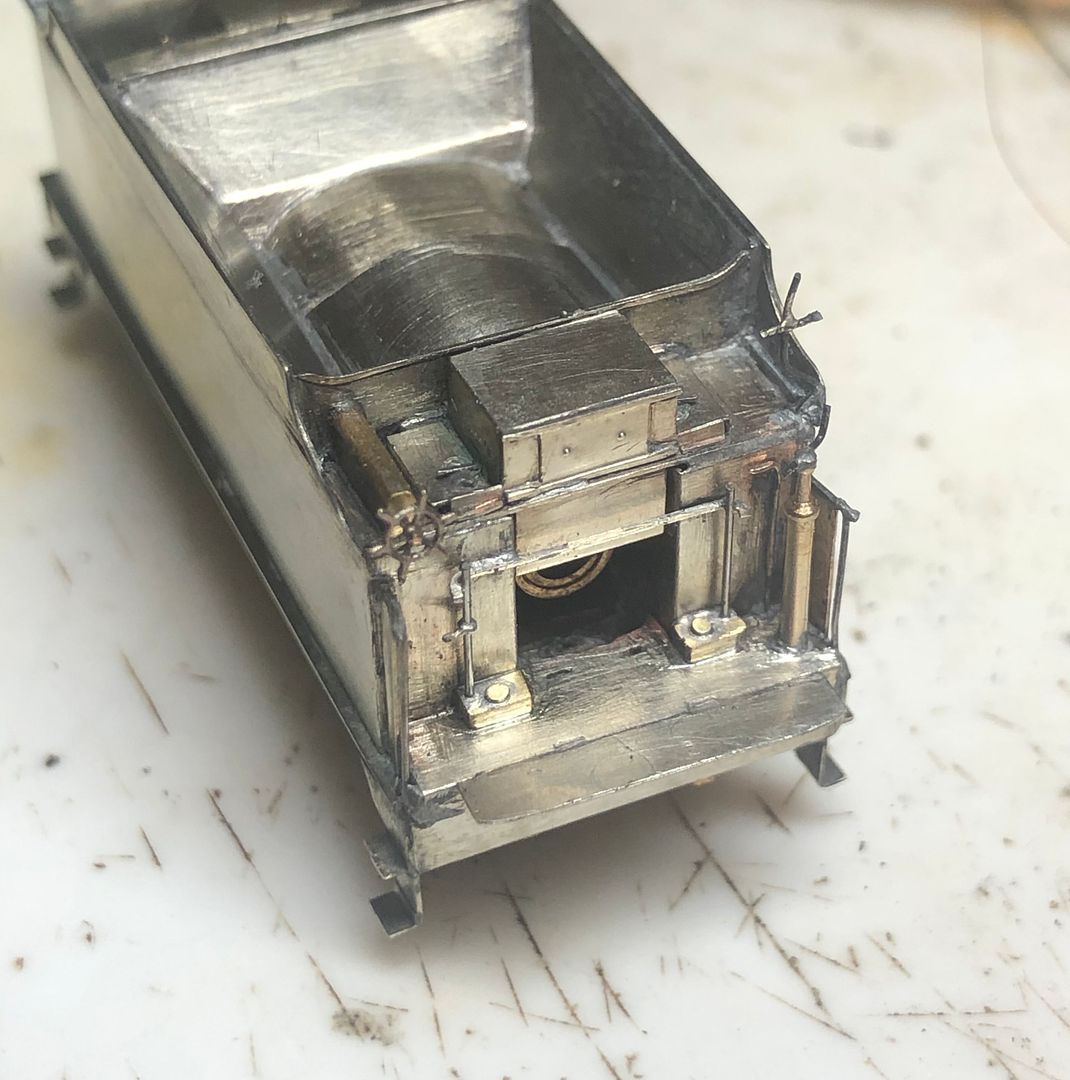
The GA in the Johnson book shows the sandbox and its linkage for the self trimming tender. Both boxes were operated by a common linkage with an operating handle on one side half way up the rotating part, on the driver’s side of the tender.

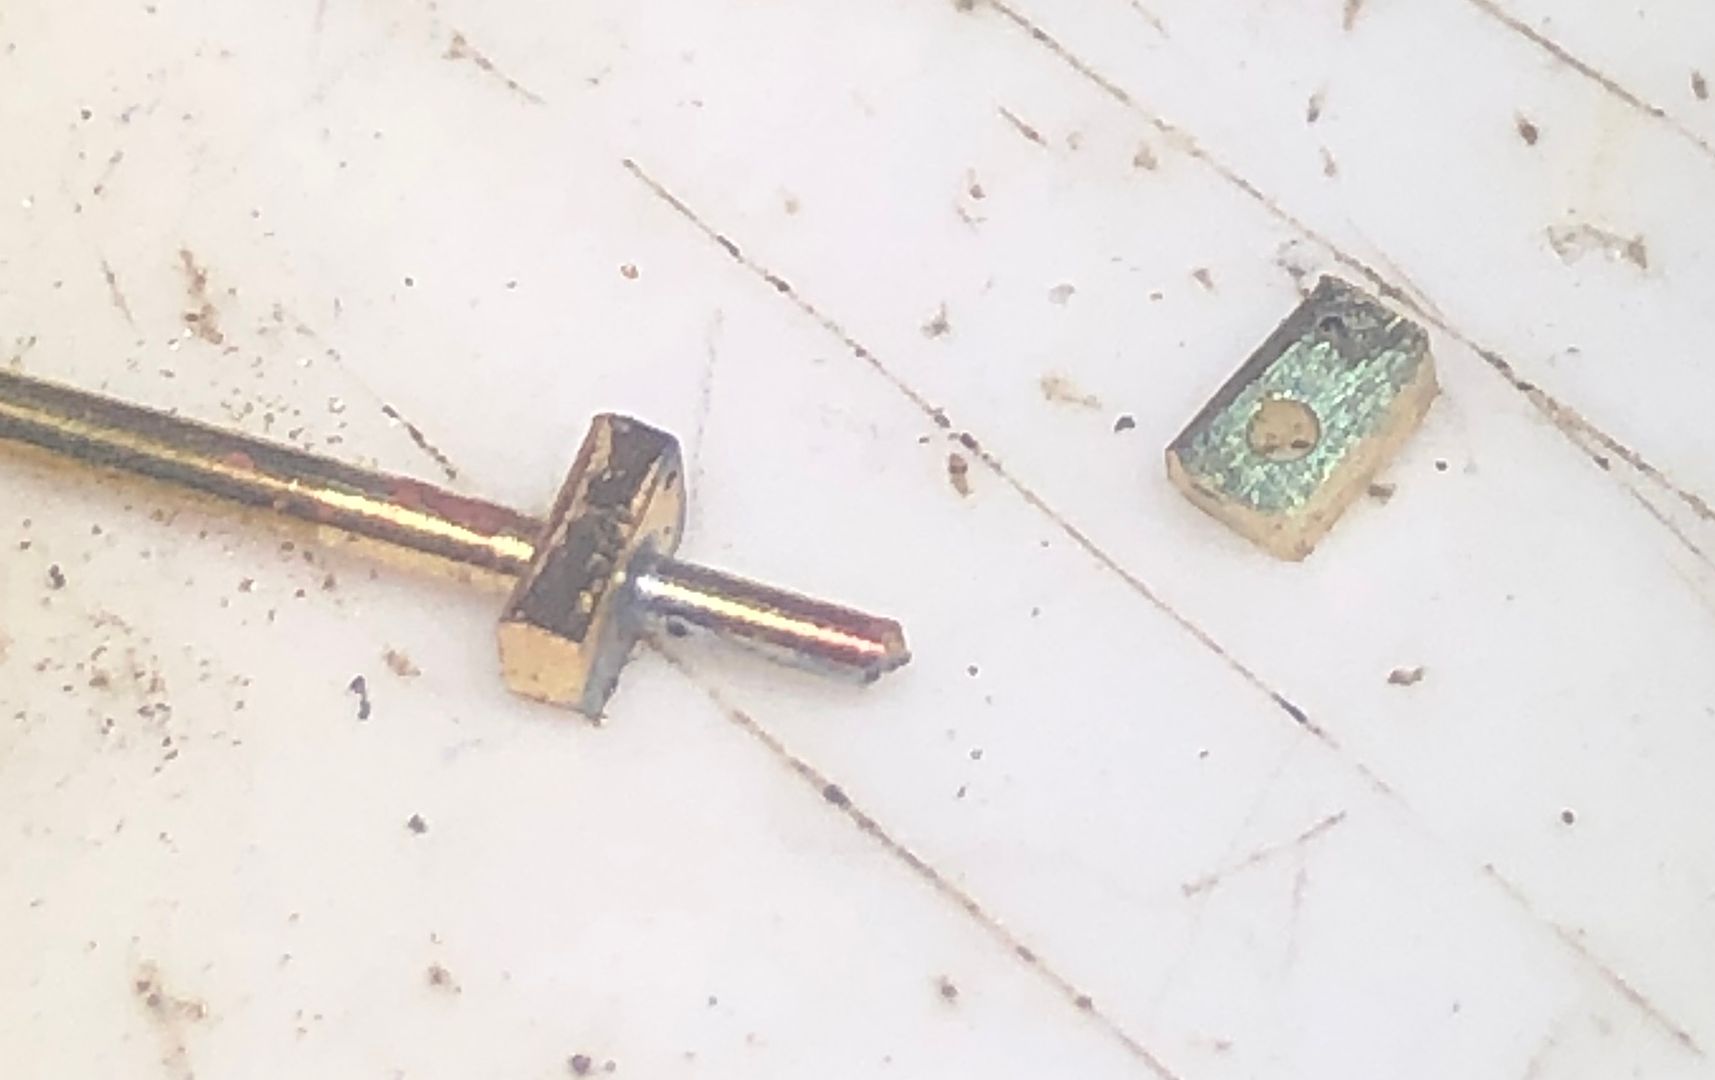
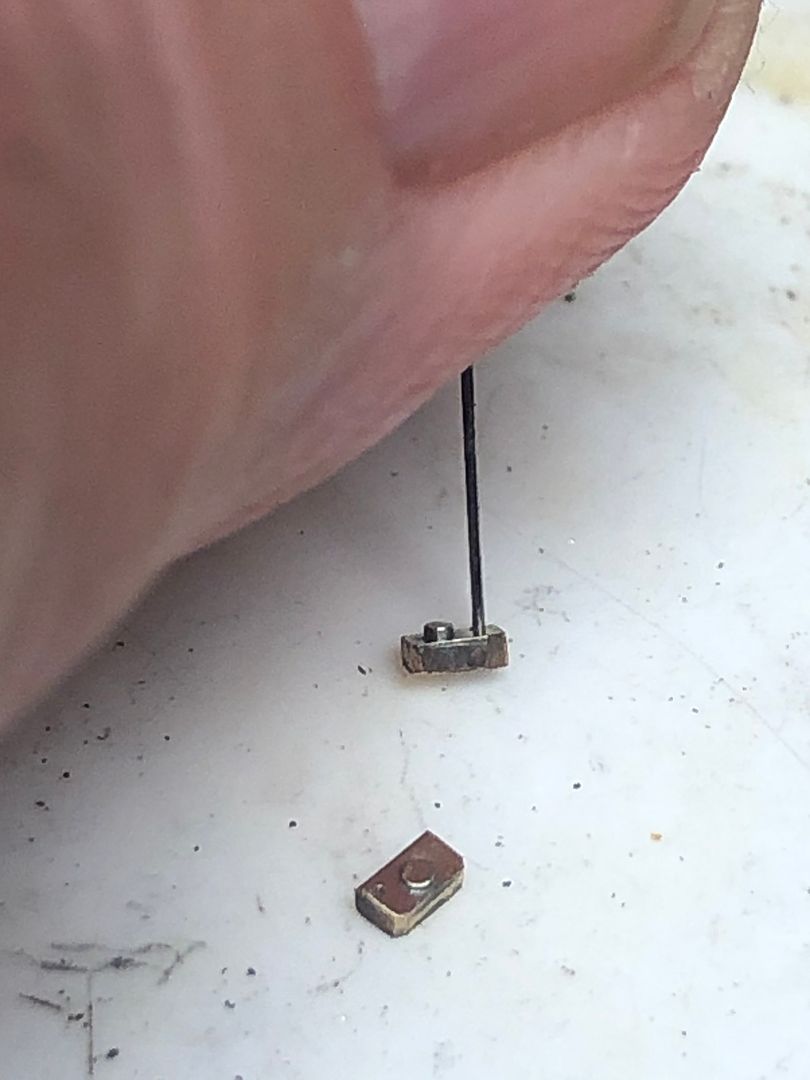
I don’t think the sandbox would have been very prominent on this tender. They were made from bits of brass with a 0.7mm hole for the lid cover and a 0.3 mm hole for the operating rod. A piece of rod was pushed through and soldered to make the lid and then cur off and filed to shape.

The operating rod was then soldered into the back of the sand box.

The operating handle was represented by a handrail knob etching, cut down. The linkage across the top was represented by a piece of 5 thou NS strip.


I think that’ll do for now.
Tim
 

P A D

Western Thunderer
Hi Tim,

Stop it you're showing me up. :)) I'd like to say I wasn't sure if the lamp irons were original or later additions and left them off, but I completely missed them.:confused: Its amazing what you don't see even when you look . There are two on Butler Butler Henderson so I'm wondering why you've gone with one?
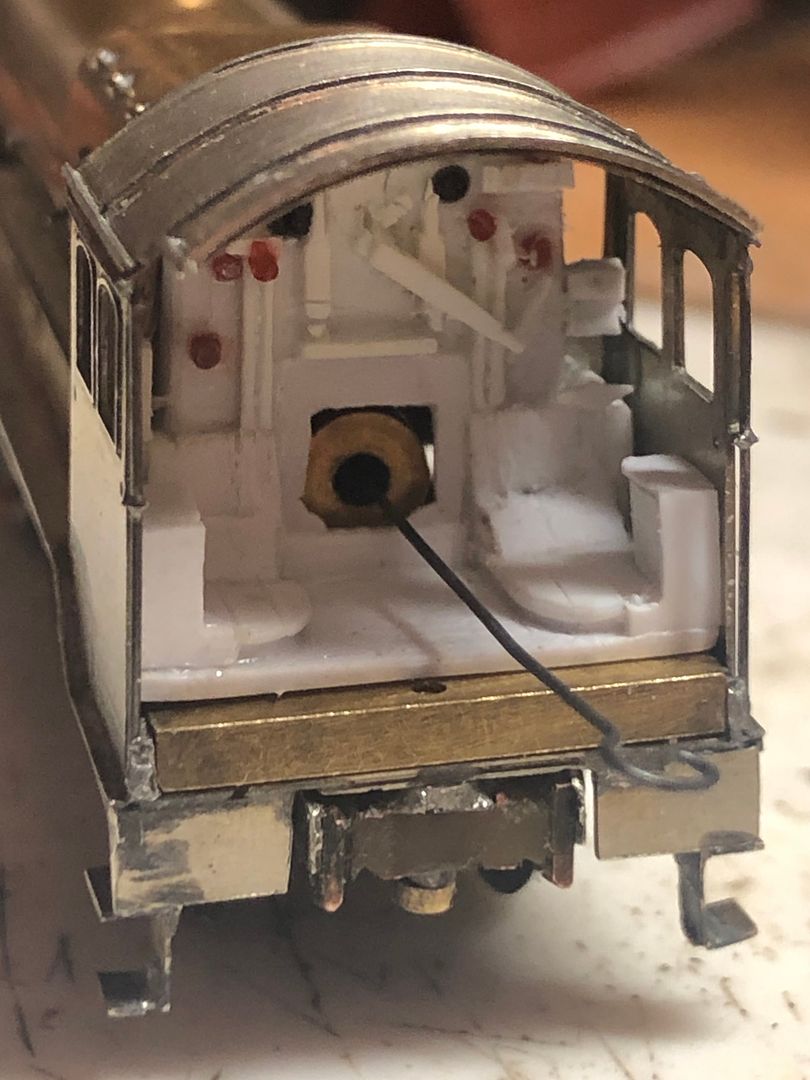
Cheers,
Peter
20191102_104959.jpg
 

P A D

Western Thunderer
Incredible work Tim!

By the way, I note on Ian Rathbone's thread he has painted a 4mm model of this loco and that he will be doing a 2mm version later. Is that your model by any chance, or will you be doing it yourself?

Cheers,
Peter
 

Tim Watson

Western Thunderer
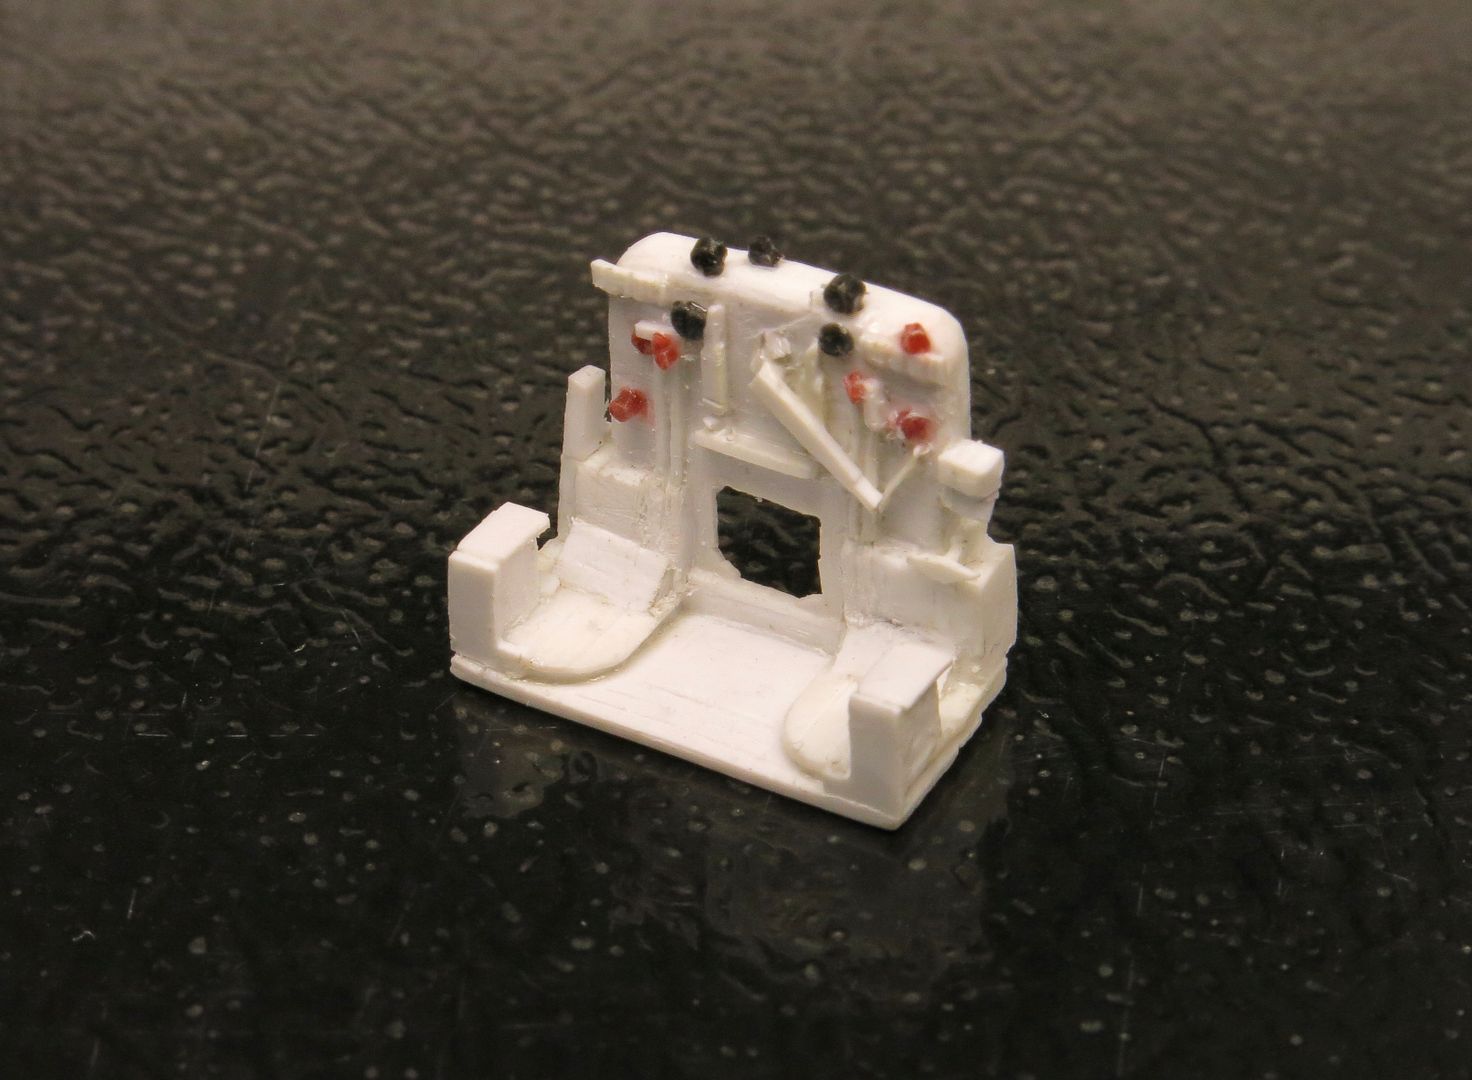
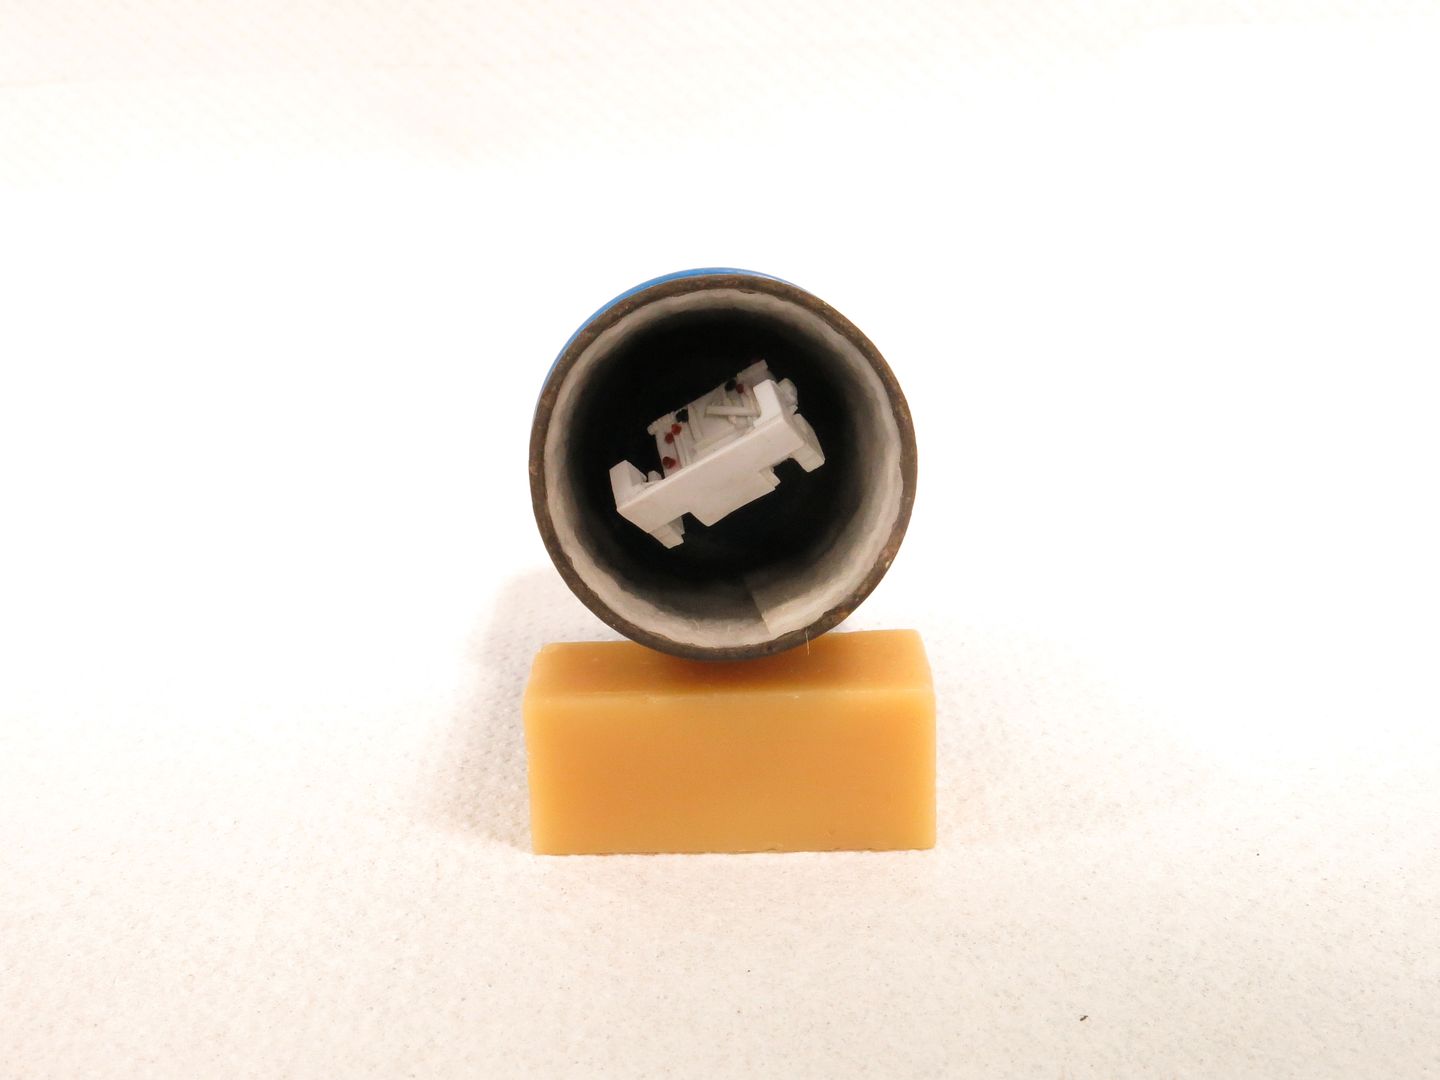
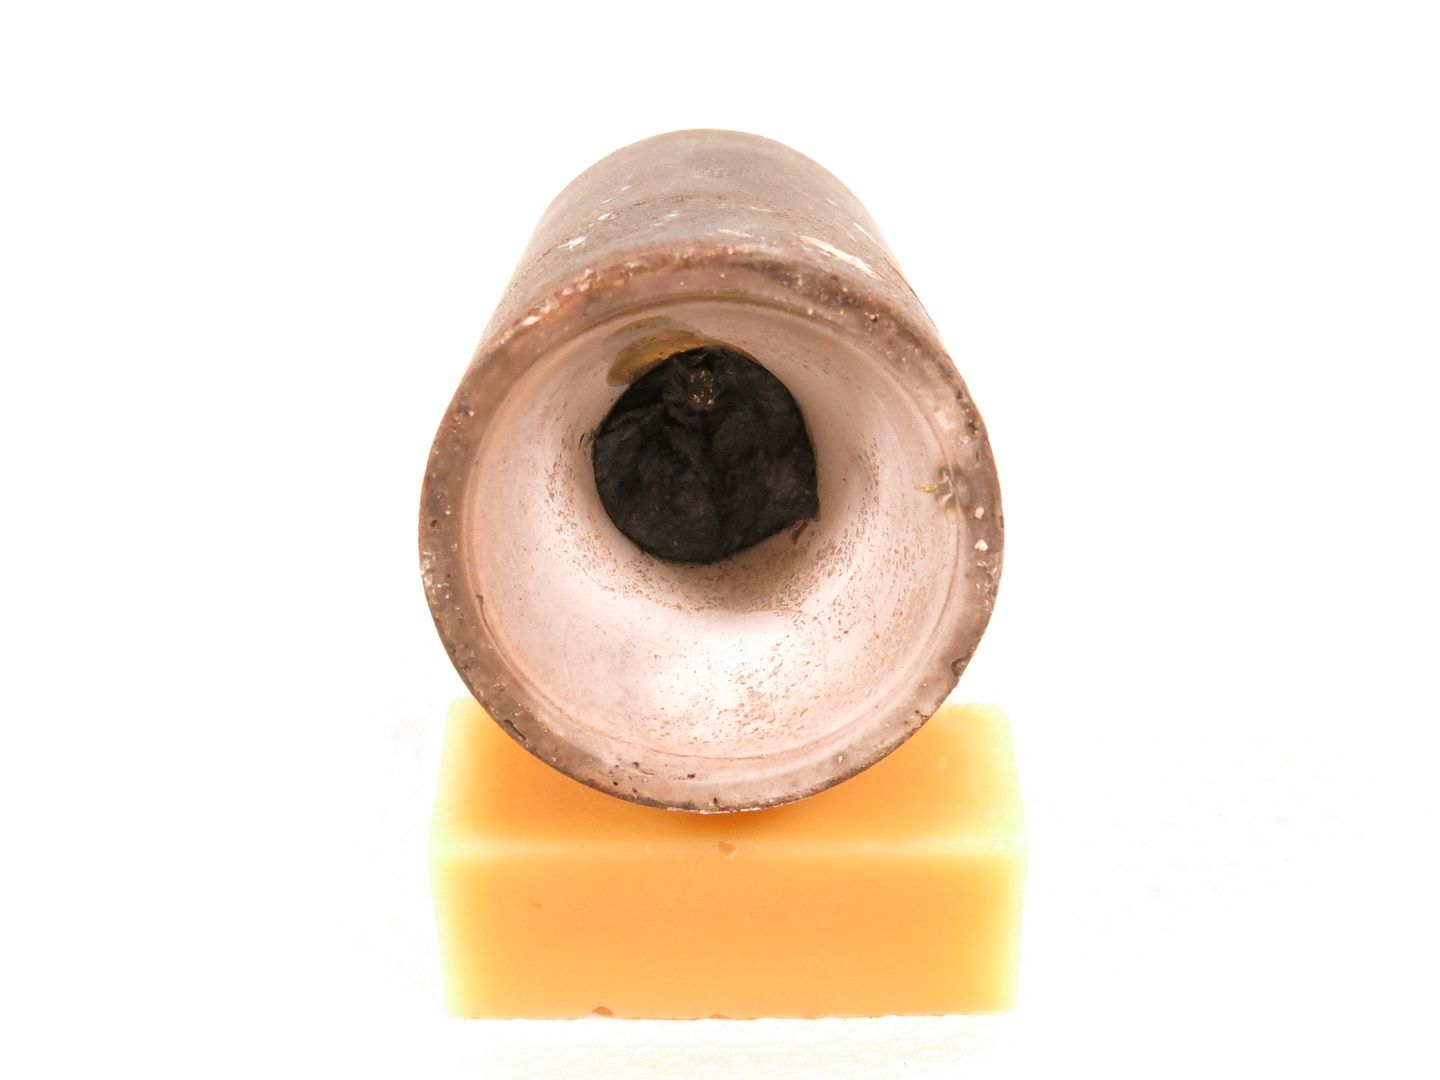
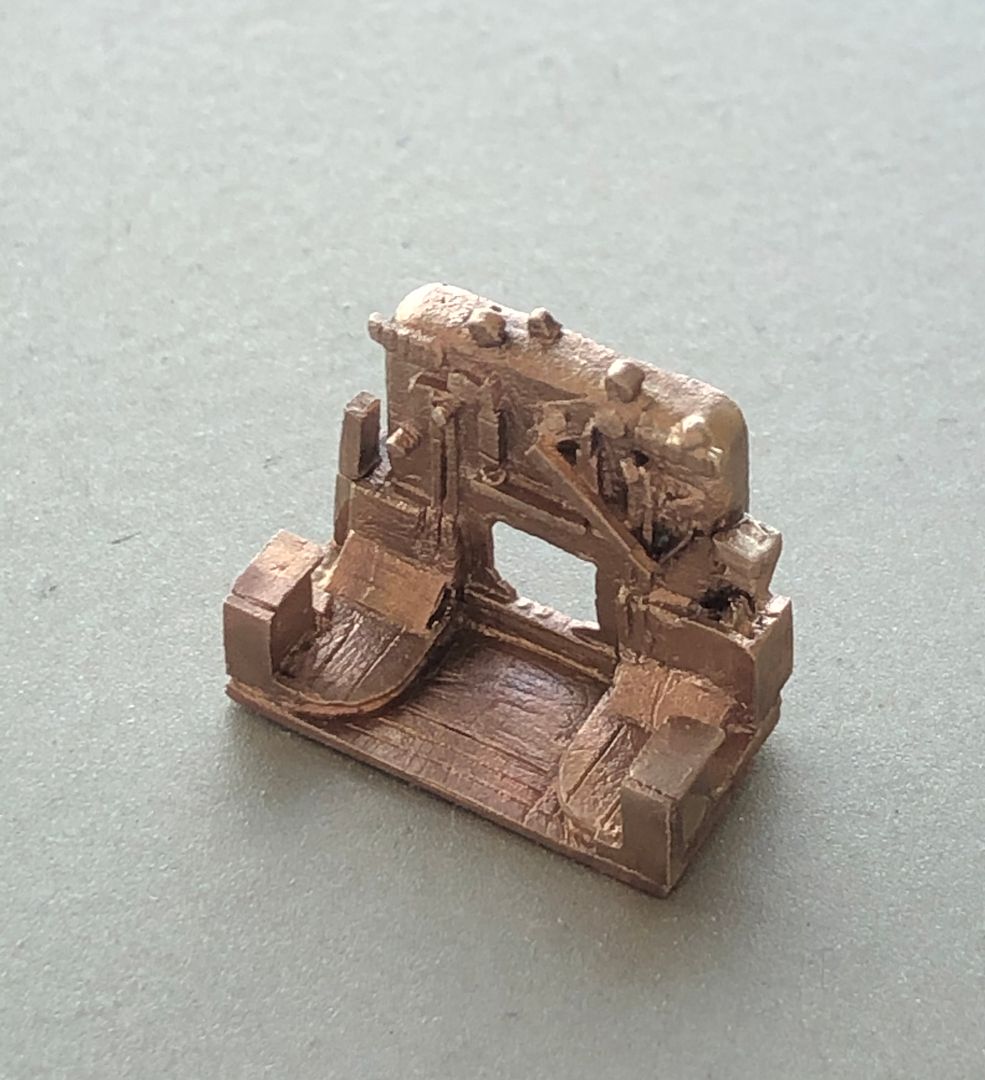
As promised some time ago, the styrene back head pattern was sacrificed to make a metal substitute, using investment casting.

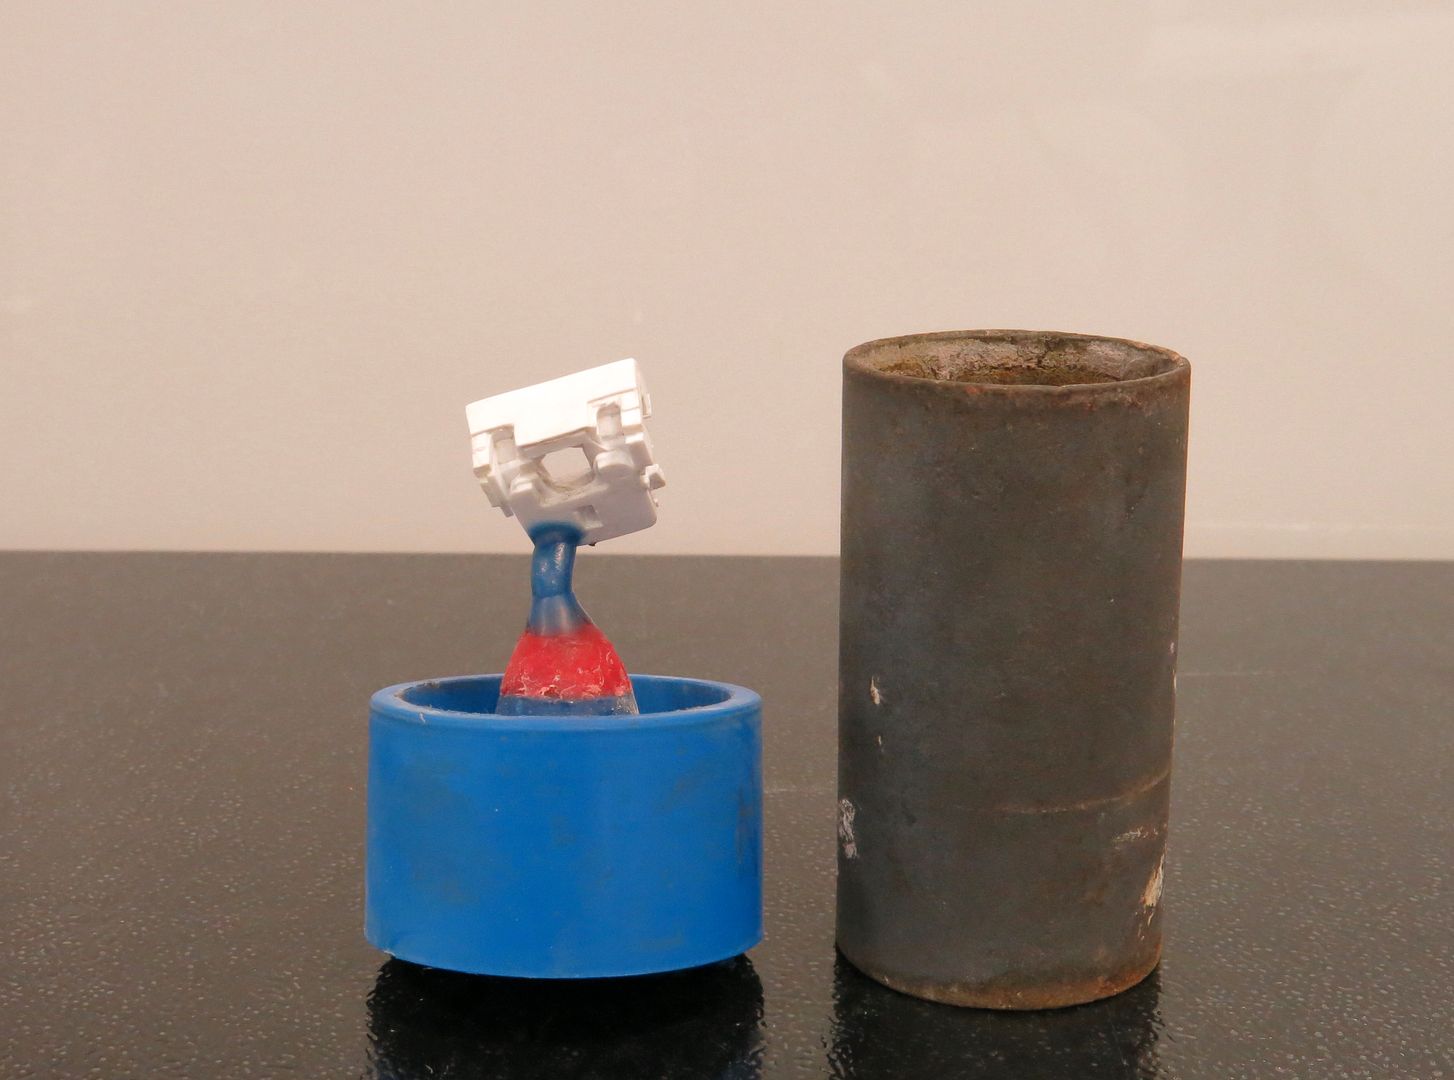
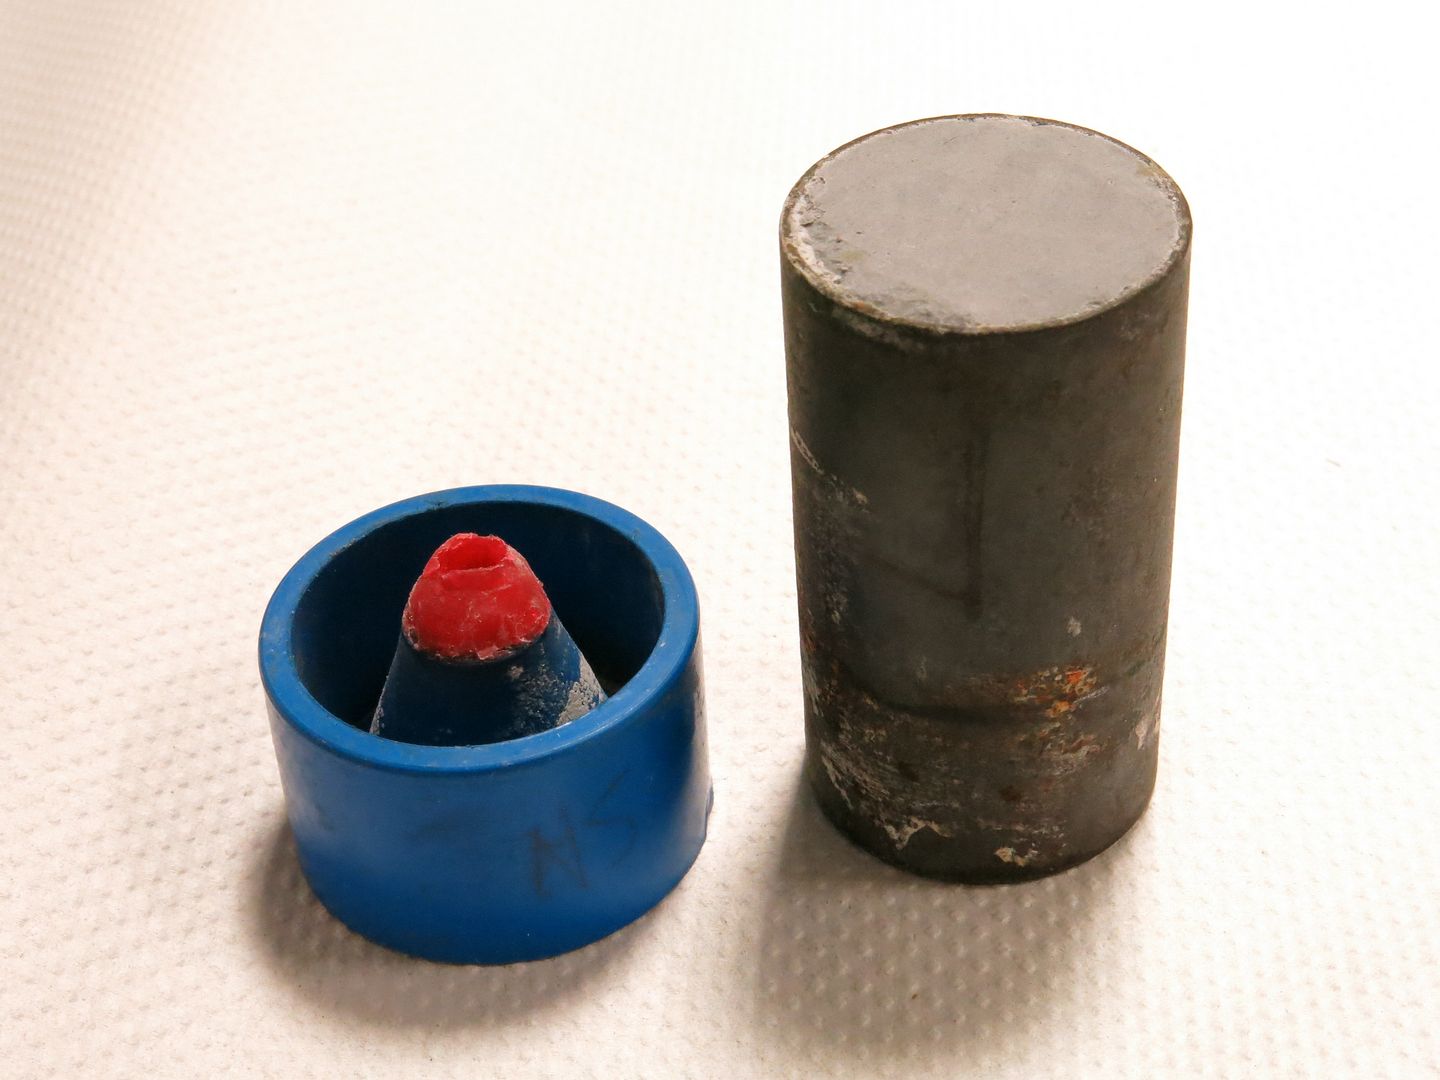
The pattern was mounted on a casting cone with wax, sprued into the back of the pattern in a non critical area and angled to give optimal metal flow.

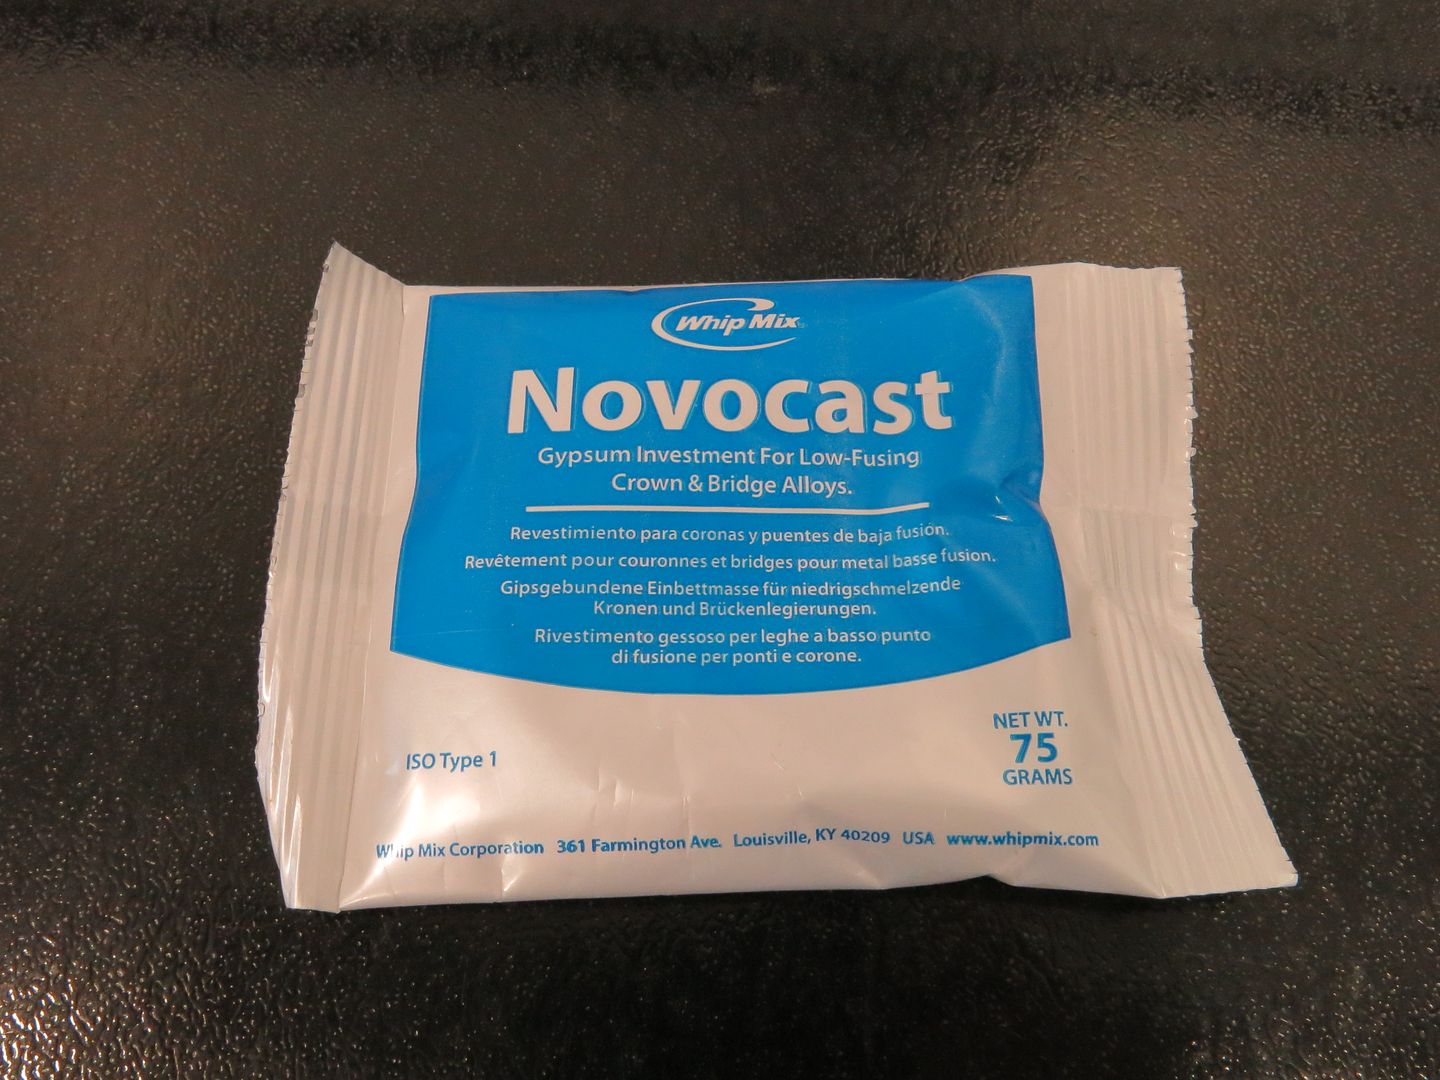
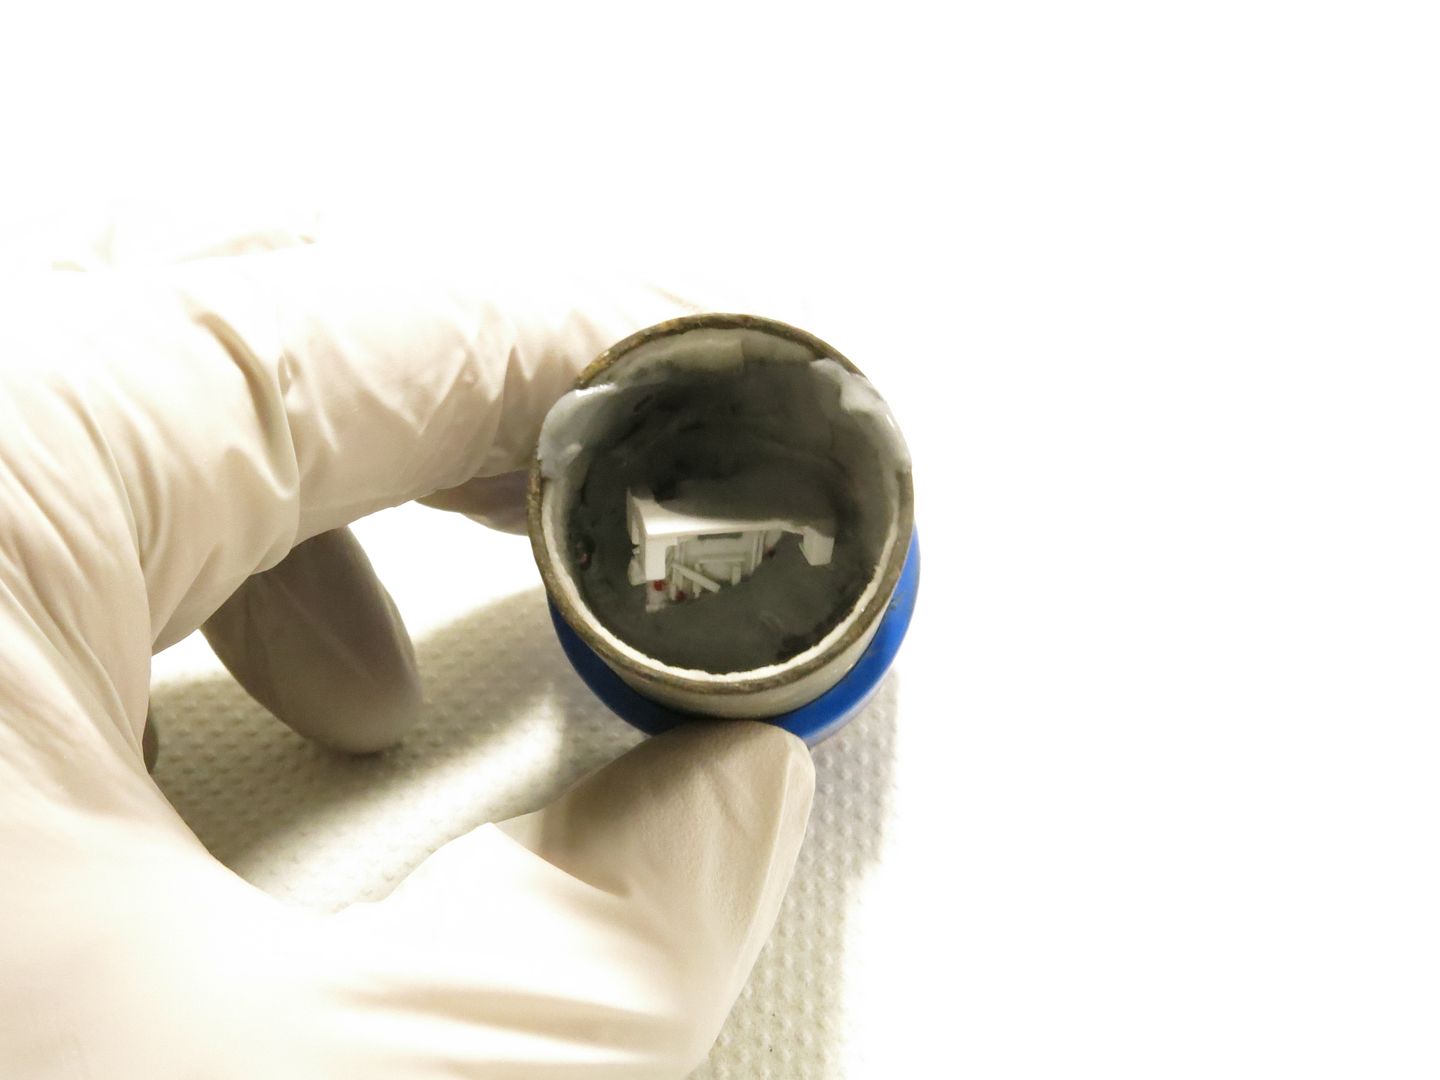
A cristobalite investment was used.

The casting ring is lined with an aluminio-silicate tape to allow expansion of the investment on heating.


The vacuum mixed investment slurry is poured into the ring taking care to avoid air bubbles on the pattern.

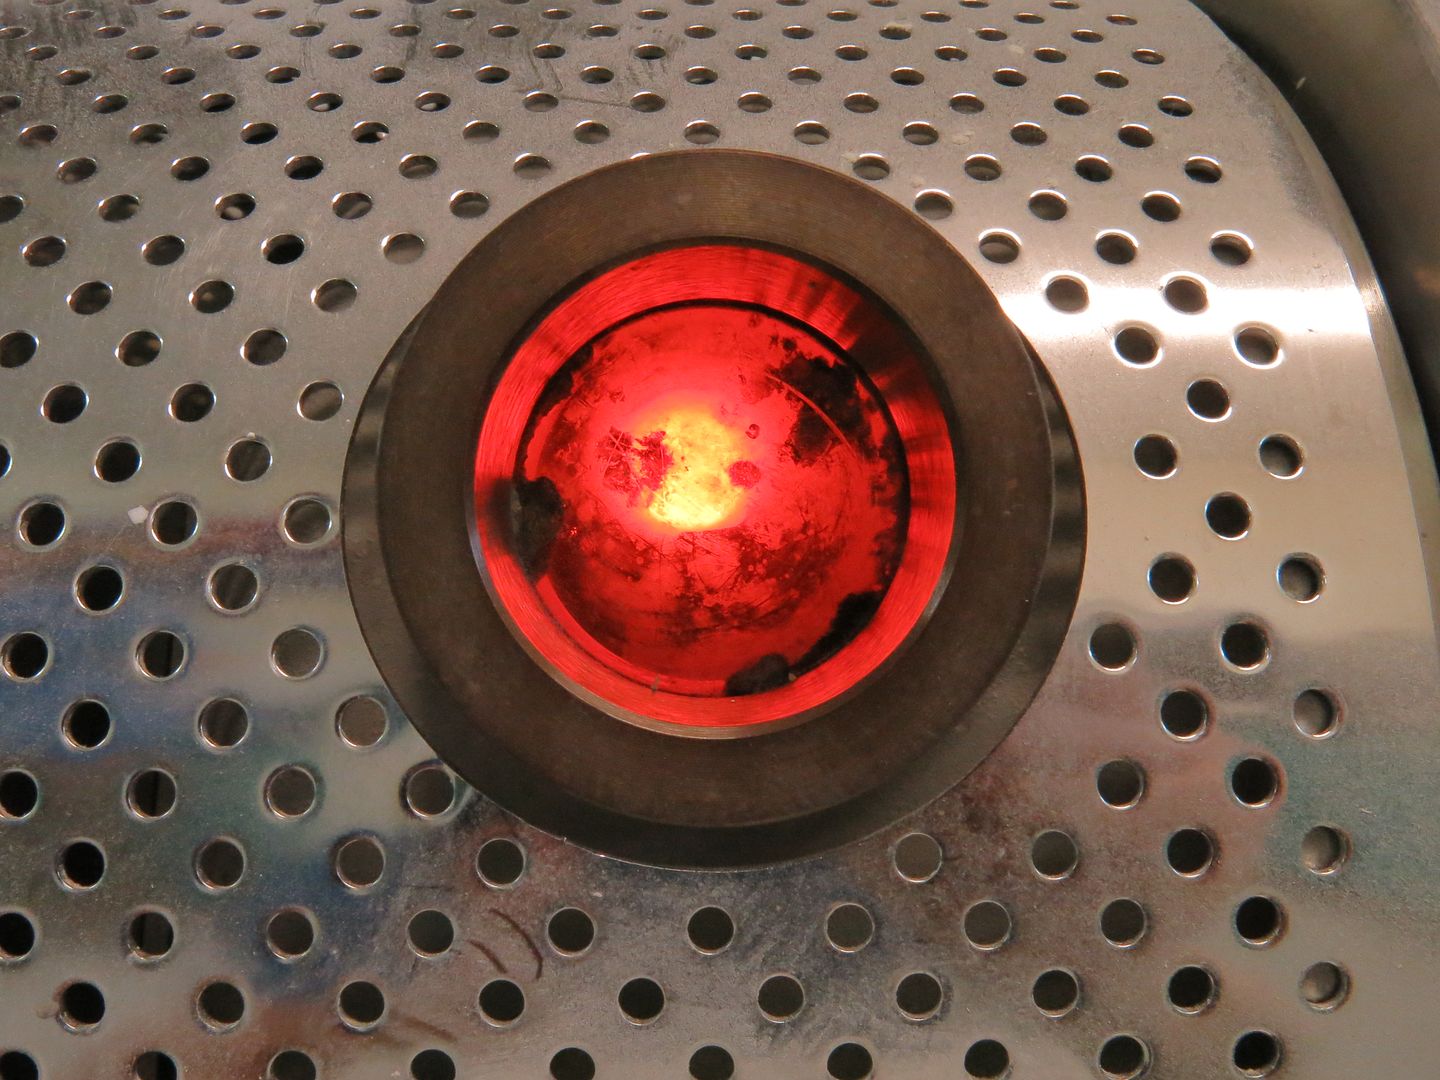
The cone former is removed and the ring then placed in a furnace at 600 deg C to burn out the styrene and wax pattern. This also expands the investment to compensate for the shrinkage of the cooling alloy.

The metal used is a high copper (80%) brass alloy - “students alloy”. It has a liquidus at 1015 deg C and is heated in an induction furnace.

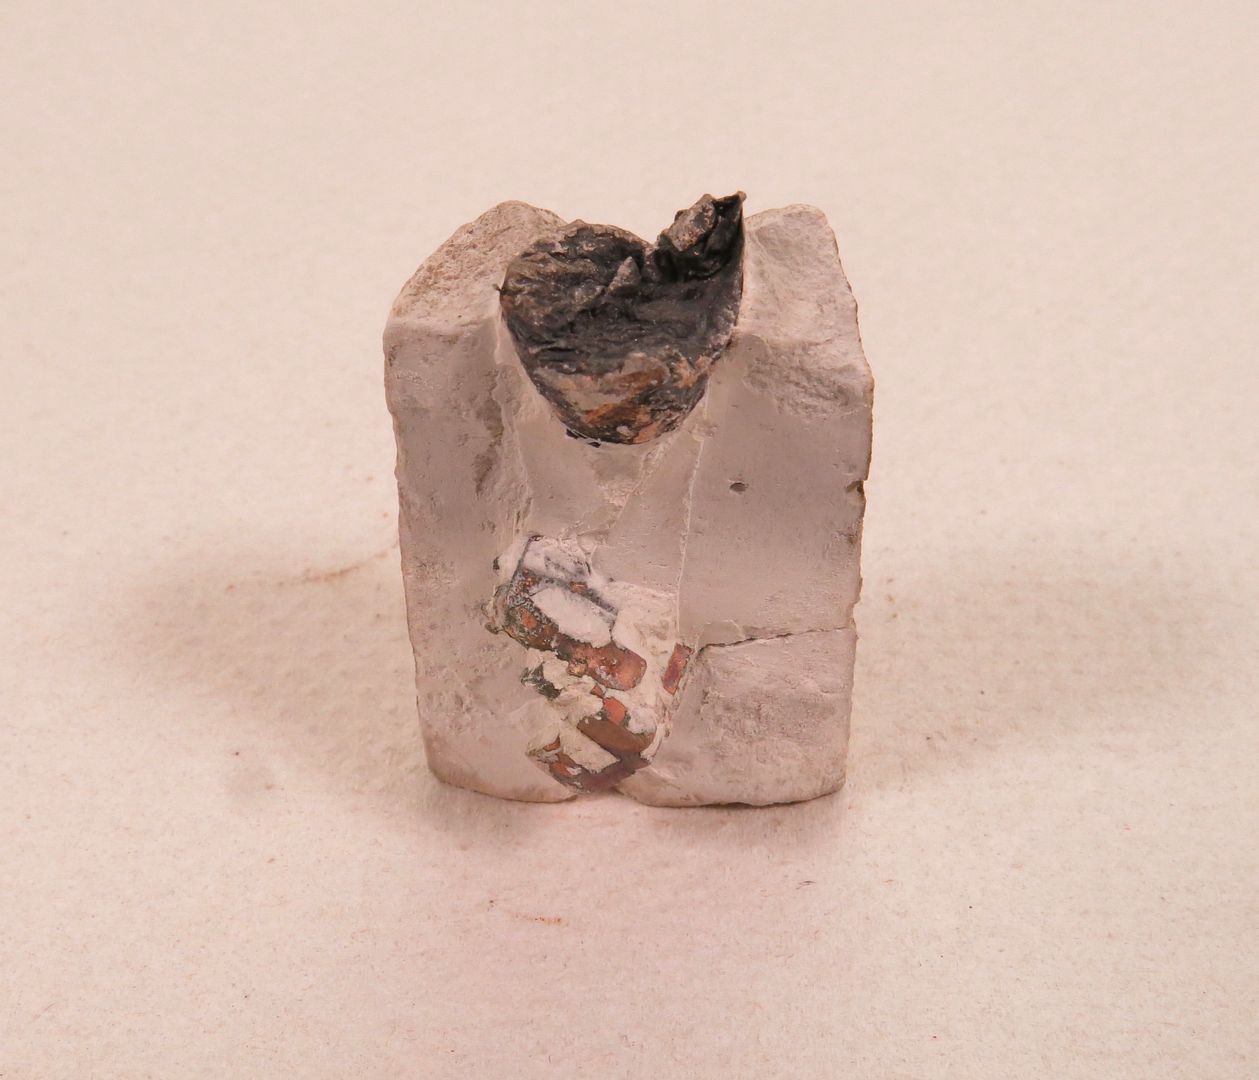
The cast button can be seen and, once cool it is broken out of the ring.


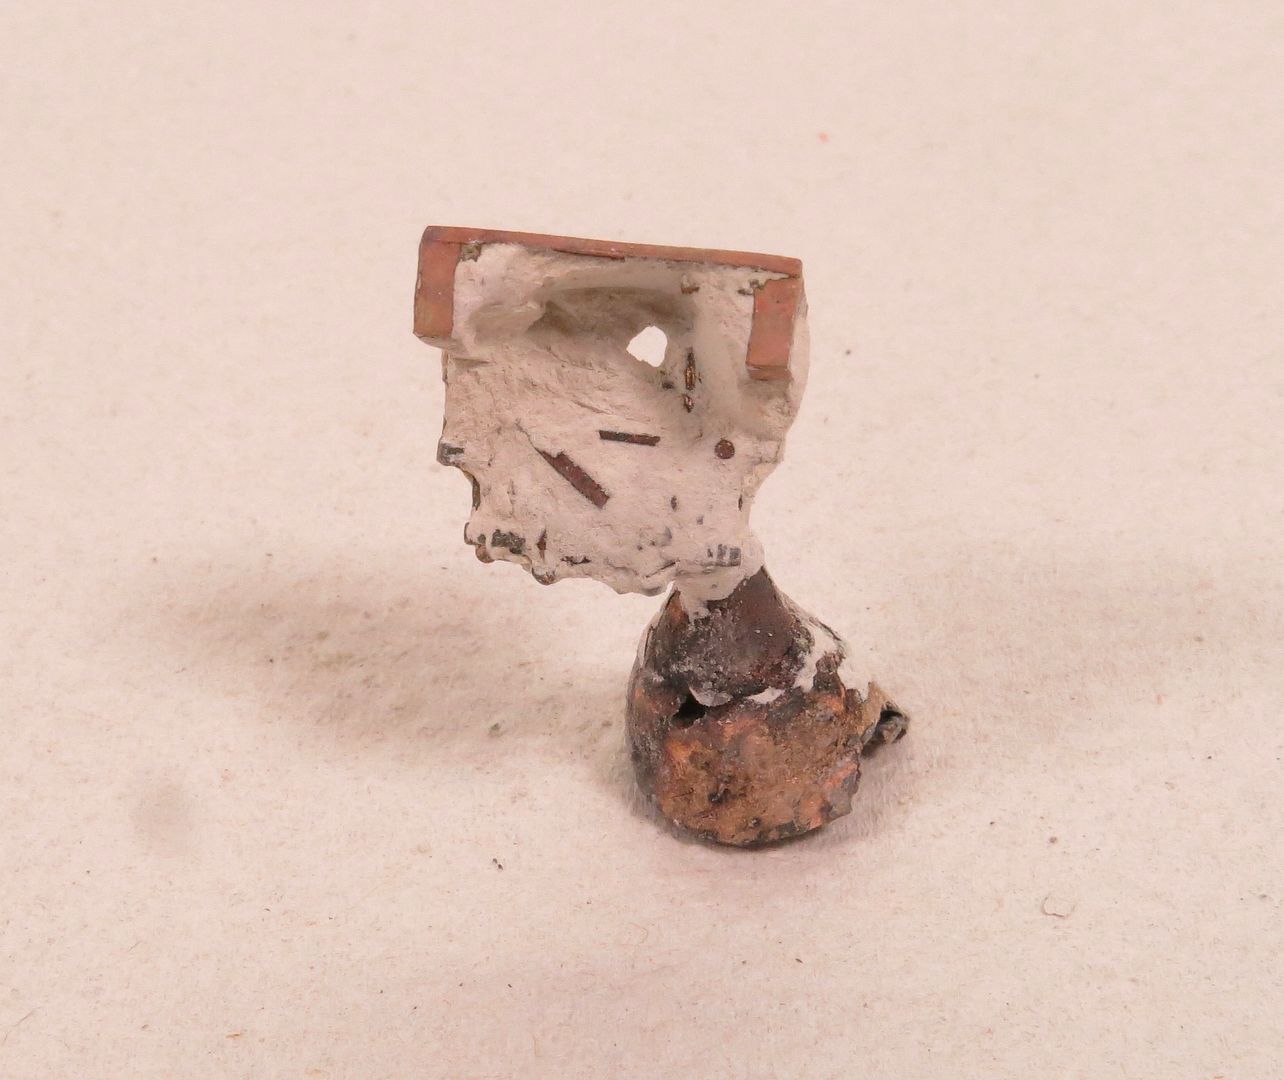
The moment of truth is when the casting is divested using grit blasting.


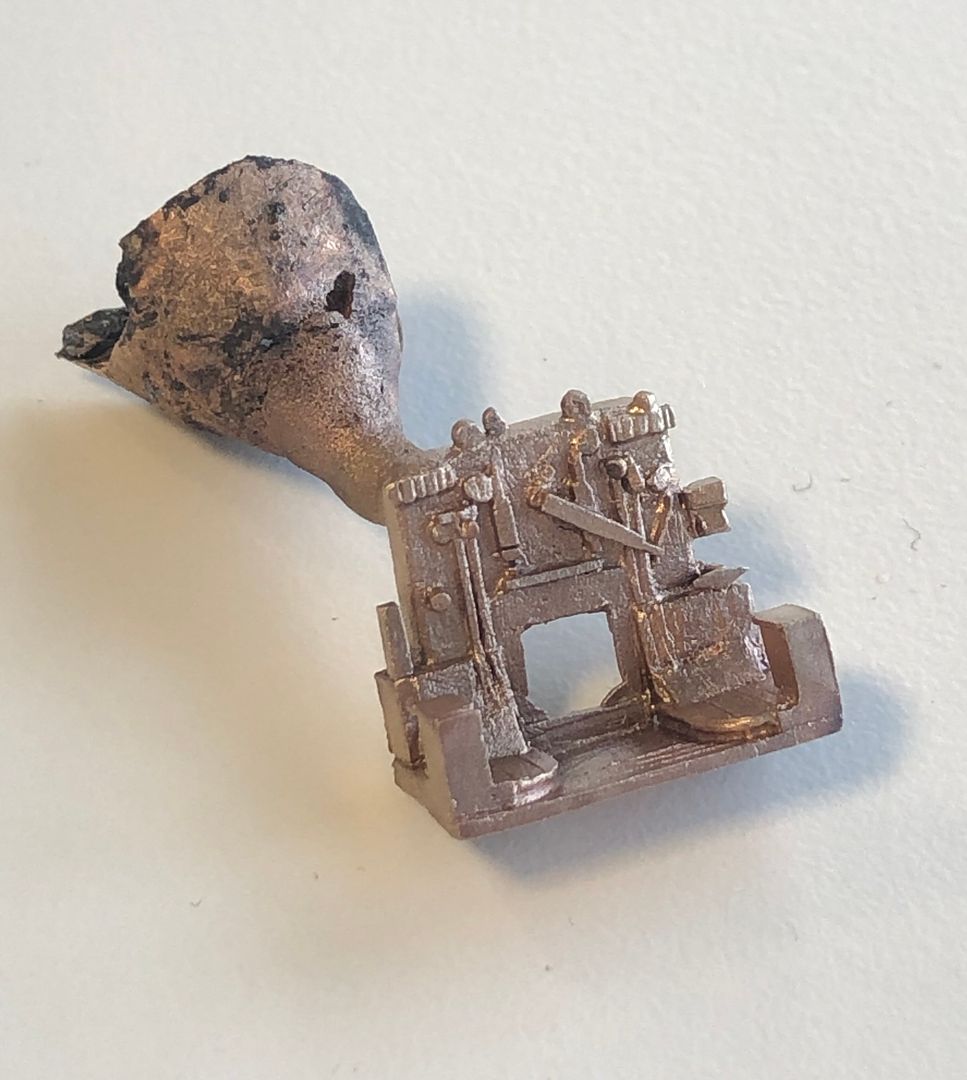
The casting sprue was cut off and then polished with glass bead blasting. It is a amazing how the casting picks up all the faults in the original pattern!

There will be some extra details added to the back head casting such as the firebox door and seat backs. Apologies for the rather long post, but I thought it might be of interest to see some of the technical aspects of ‘lost wax’ casting.

Tim
 

adrian

Flying Squad
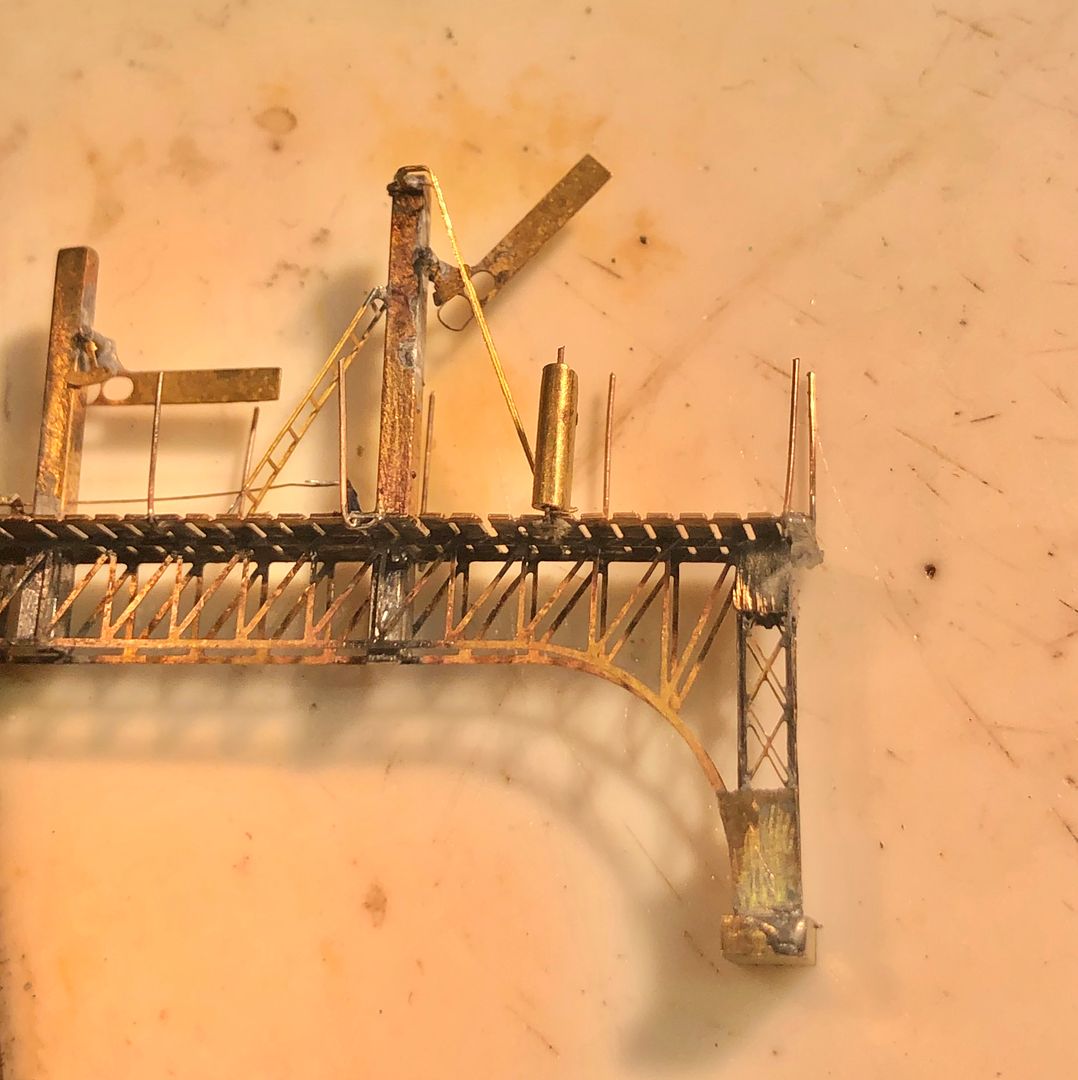
I wasn’t originally going to make the signal work, but it seemed a shame not to.
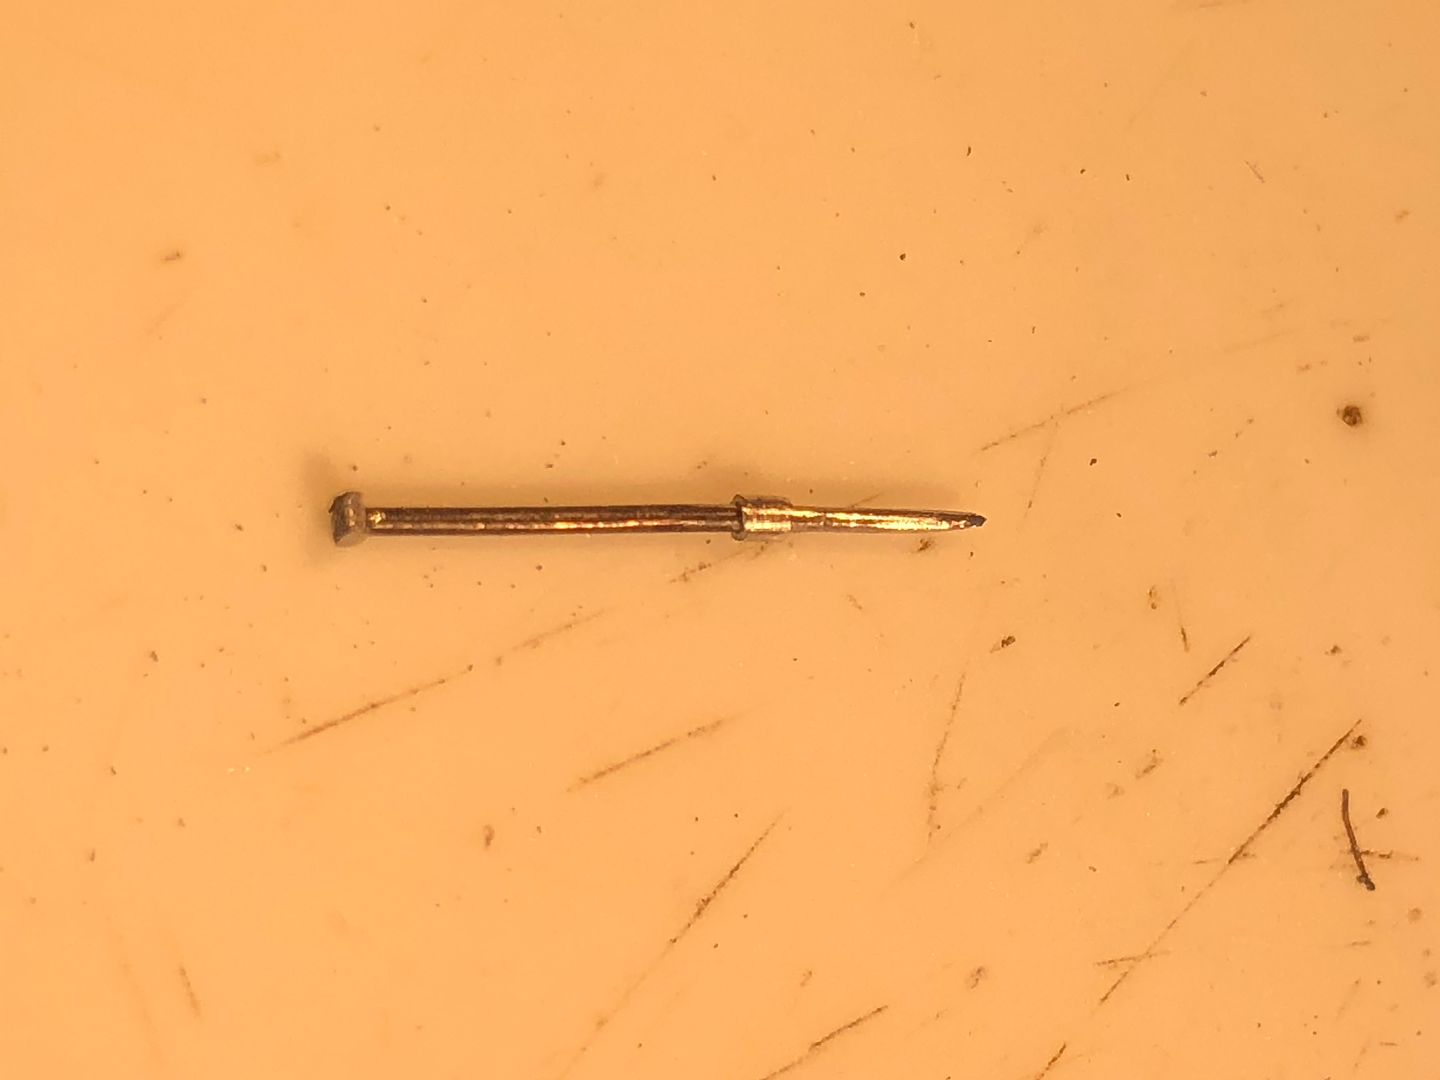
Yeah right. Sorry but the only person you were fooling was yourself. Given your previous postings we were expecting nothing less. :p Nice work by the way. :thumbs: and the obligatory "1p" for scale comparison to judge the lunacy?
 

Tim Watson

Western Thunderer
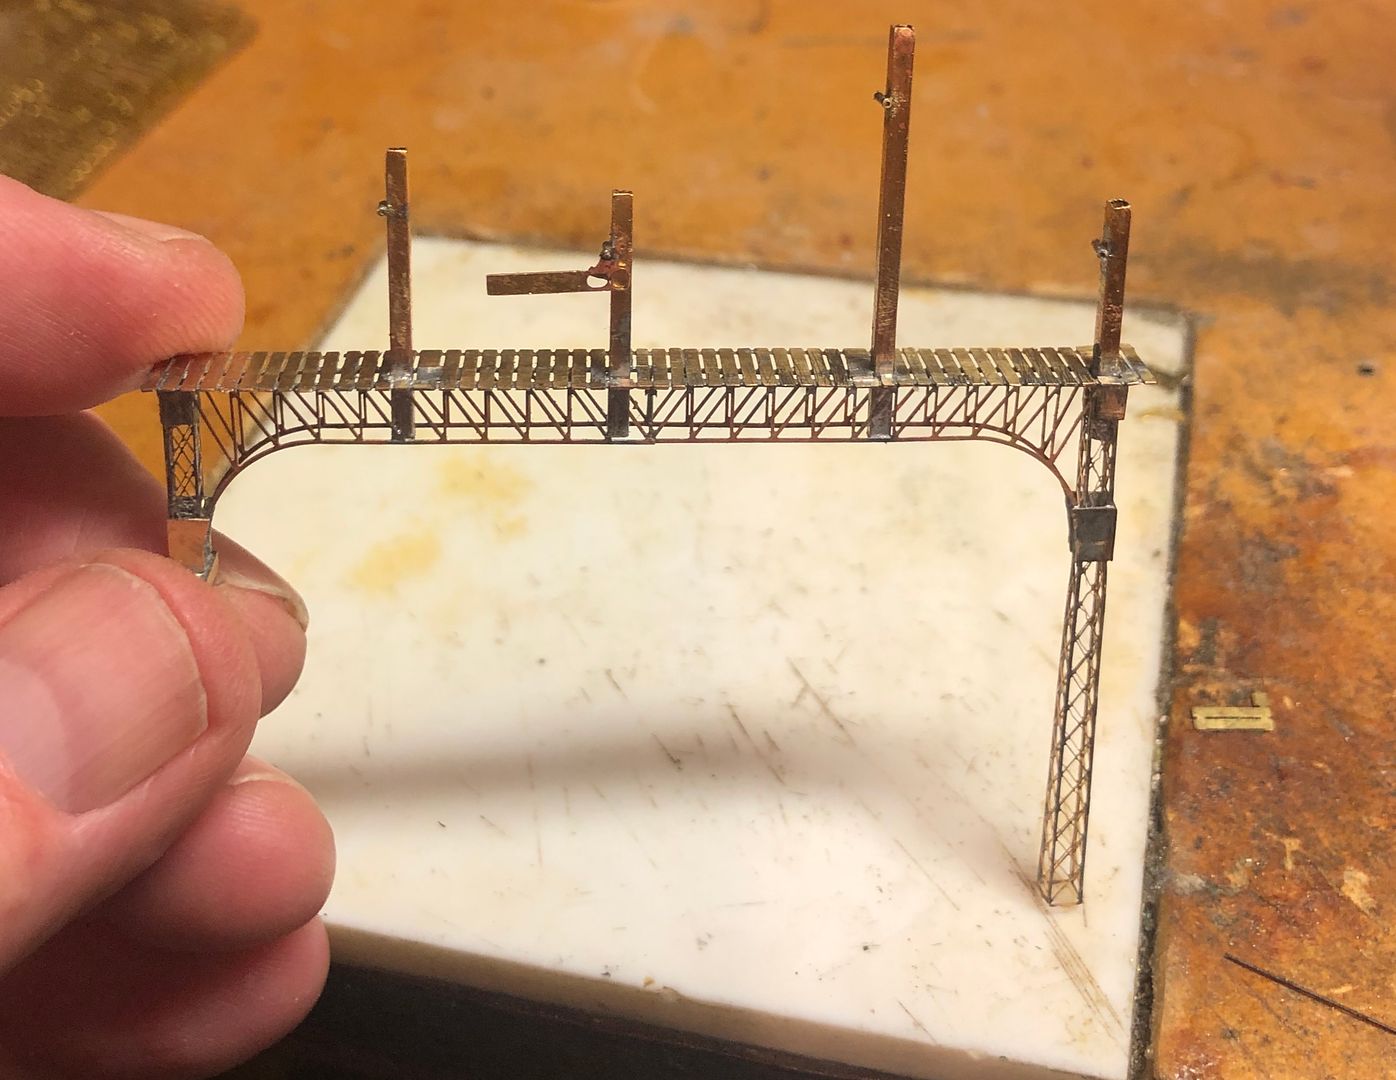
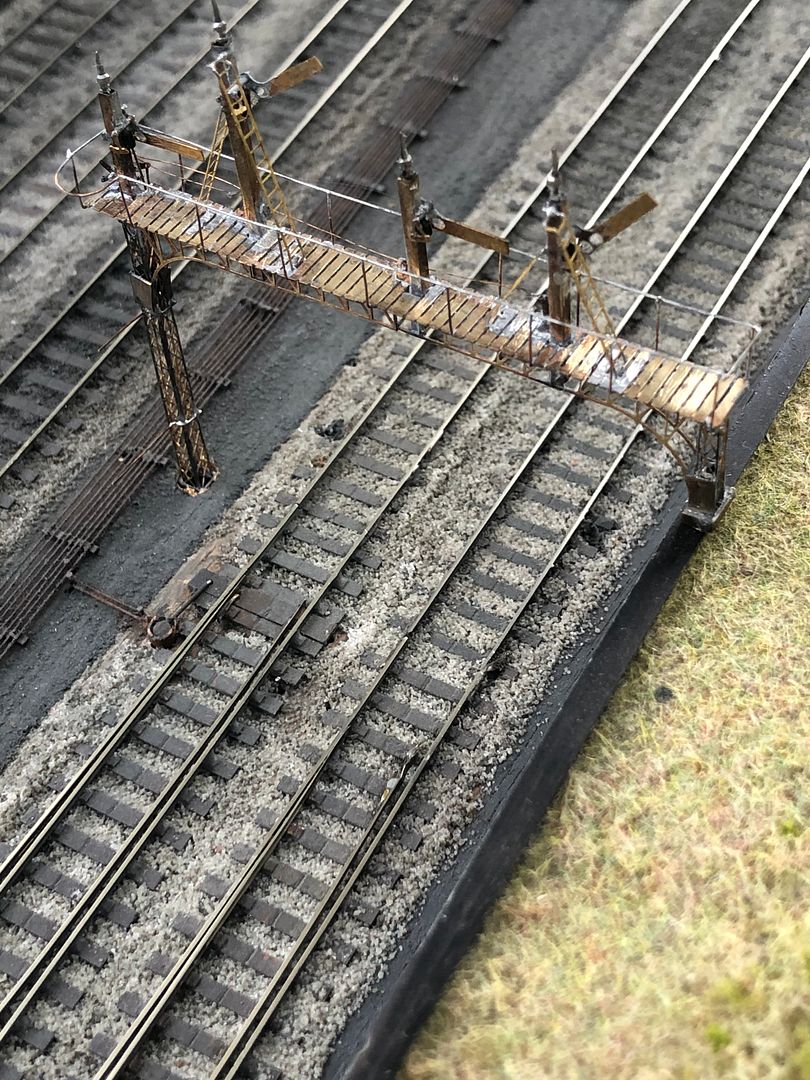
The BI Up Home gantry is now pretty well complete, apart from bedding in and connecting up the mechanisms. The secret of making the linkages work was to chemically black the cranks so that they could not be soldered up. Another useful dodge was to make the dolls out of square brass tube: that way they didn’t act as a massive heat sink when soldering nearby. The railing stanchions were trimmed to length in situ using a bit of brass tube as a cutting guide for the Xuron cutters. All the rails and wires were made from phosphor bronze wire, as it has more resilience than brass or nickel silver.


The finials were filed up from a Peco track pin and buried down the hollow post, with a separate piece of syringe needle fettled into shape for the round bit. All of these bits were epoxied into place.


The final bedding in will have some fixings modelled on the retaining wall and a plastic ladder glued into place: these are more robust than etched versions.
The video shows the signals working by hand on the baseboard. It may be a little while before we connect up actuator servos. These will be operated by the passing trains

Tim
 
Last edited:

Tim Watson

Western Thunderer
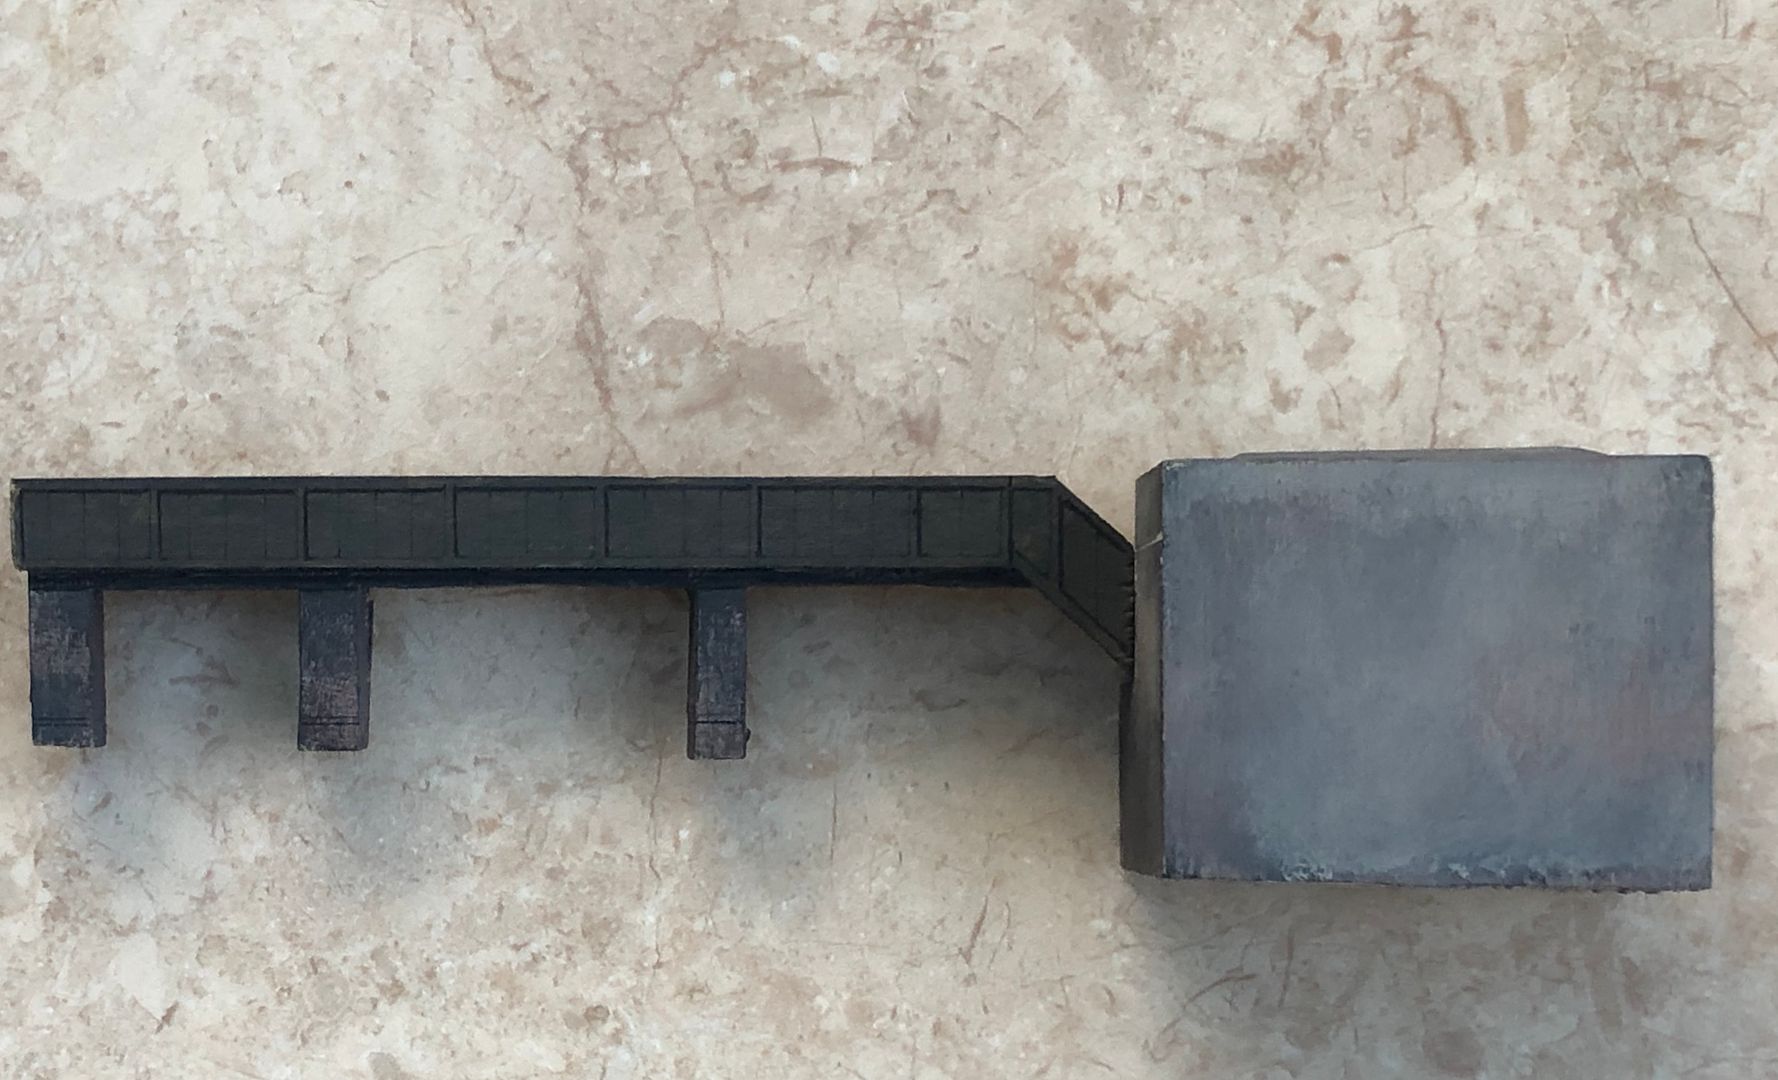
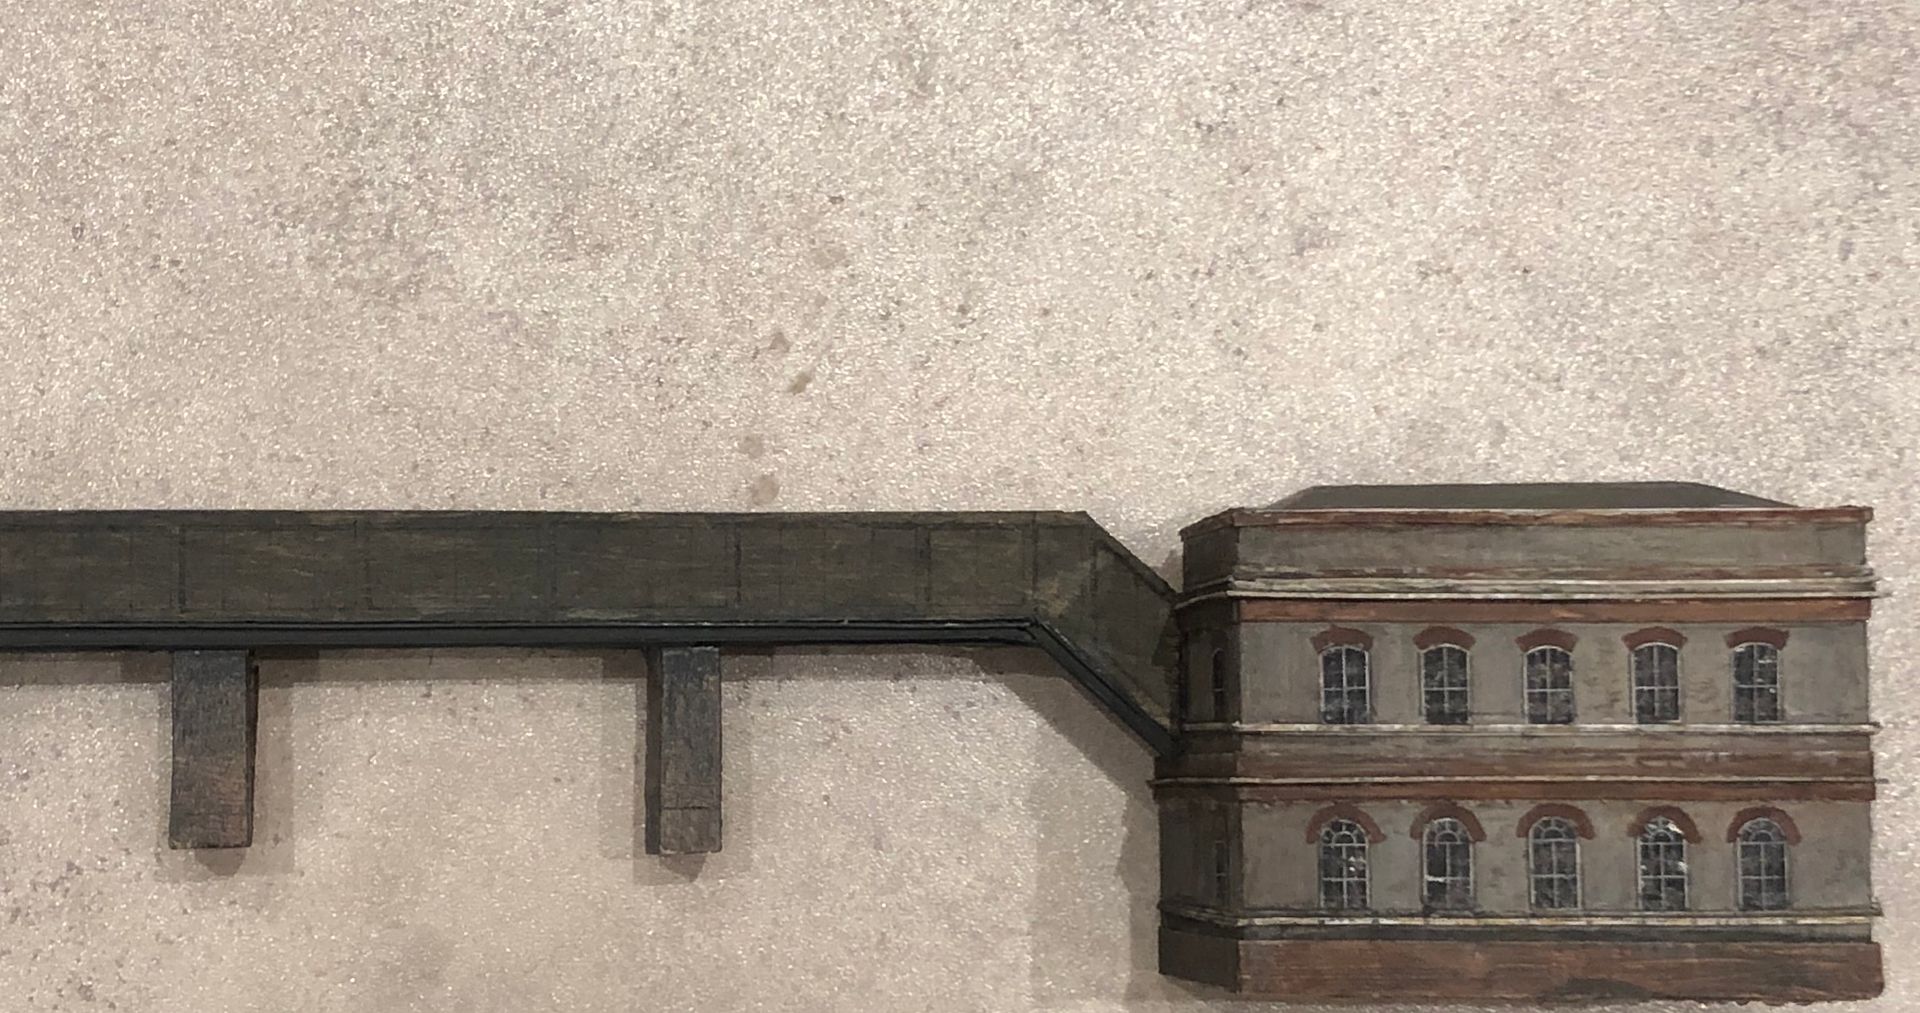
A bit of low resolution modelling today. The NLR trains have to leave the layout somewhere at the back and so they scurry under an implausible footbridge at Maiden Lane station, right on the back scene. This is a good 6’ from the viewing public. A placeholder structure was made to represent the bridge and the outline of the station.


I felt this needed a bit more substance and so a bit of light relief adding some strip styrene, paper windows and daubs of paint. It isn’t very accurate, but it captures some of the solidity of a NLR station building.

it sits on quite a tall plinth, so it will be interesting to see how it looks when it goes on the layout this Thursday. The theory is that the relatively interesting building will draw the eye from the understated footbridge... I think that buildings this far back on the layout do not want to be perfectly painted, there needs to be a bit of Impressionism in style - a bit woolly.
Tim
 
Last edited:

Tim Watson

Western Thunderer
Goodbye old friend.


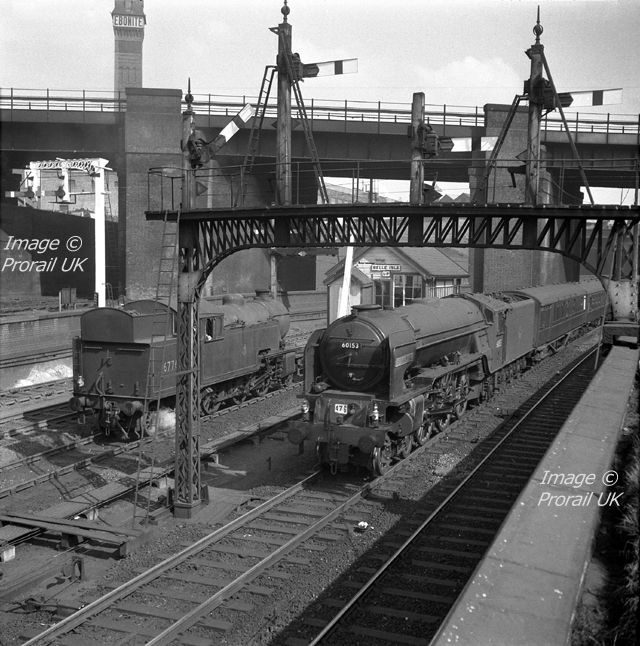
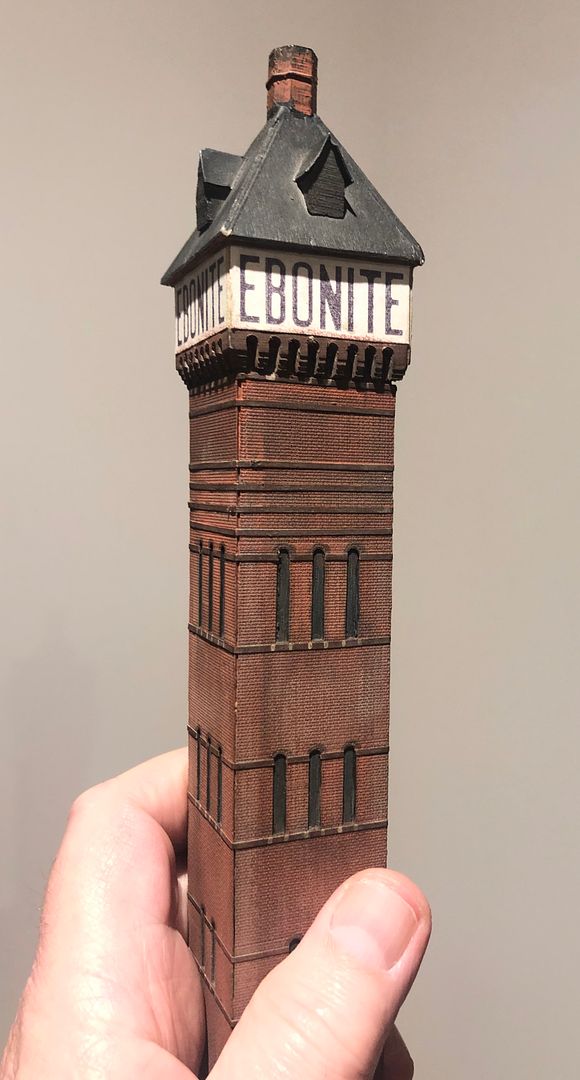
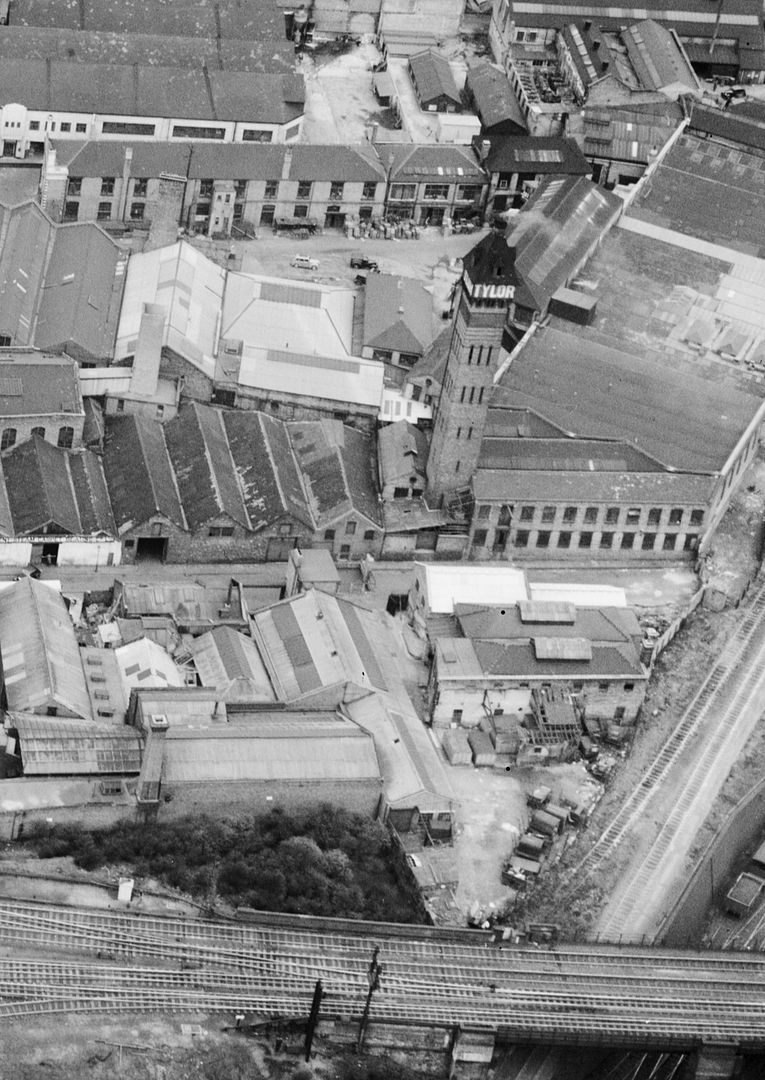
When we started surveying Belle Isle to make CF in 1983, the Ebonite Tower still existed: it was demolished soon after. Ebonite was a hard vulcanised rubber material. The tower was a feature in the background of many of the classic railway photos of the 1950s & 60s.
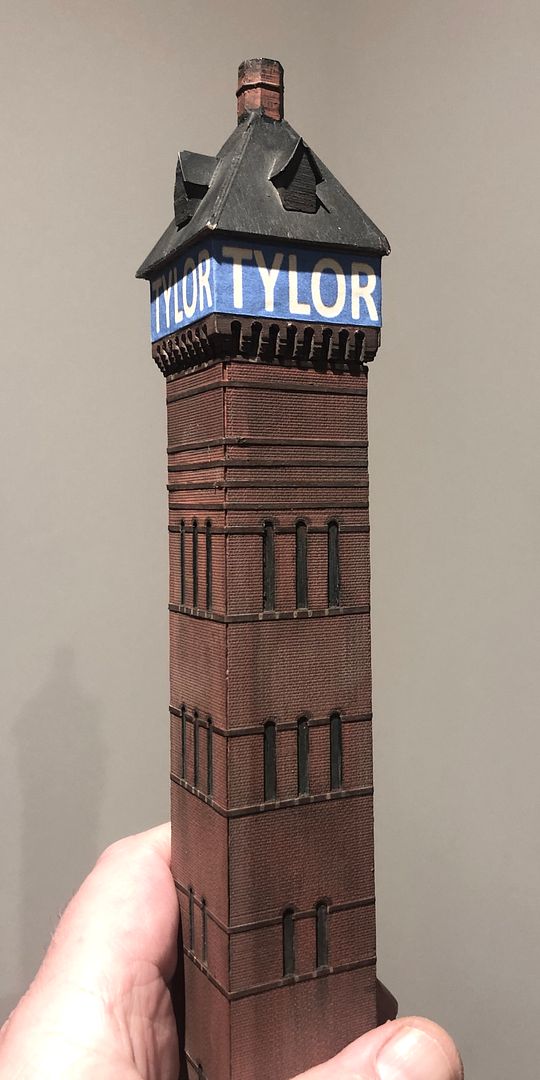
However, not long ago, we discovered that up until 1955 (a very good year) it had been the works of Tylors, who made hydraulic and sanitary ware products. The tower acted as a chimney and also supported a water tank for pressure testing their products.


The company moved away from KX to south of the river. Interestingly, we have ‘Tyler’s Sanitary Ware’ products advertised on some of the lower buildings (clearly mis-spelt Tyler- soon to be corrected).
Some artwork was made up using PowerPoint, saved as a photo, re-imported to PowerPoint and stretched vertically to make the font fit the required dimensions. The colour is conjecture, but blue seemed appropriate for hydraulic equipment.


The tower itself was mocked up many years ago by Mike Randall from a lump of mahogany. He has subsequently made some laser-cut & etched sides for it which were fitted a couple of years ago.

Loosing the Ebonite Tower is the end of an era - wonder how long it will take for the new name to catch on.

Tim
 
Last edited:
Top