TFW’s workshop

Tim Watson

Western Thunderer
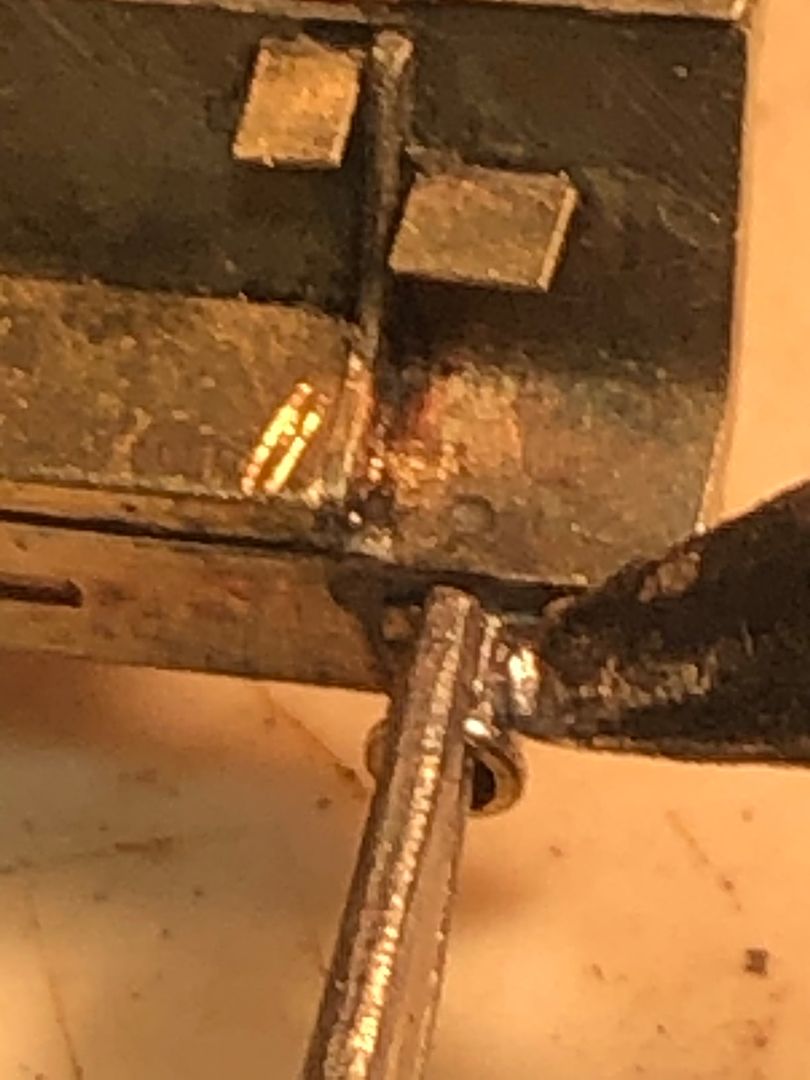
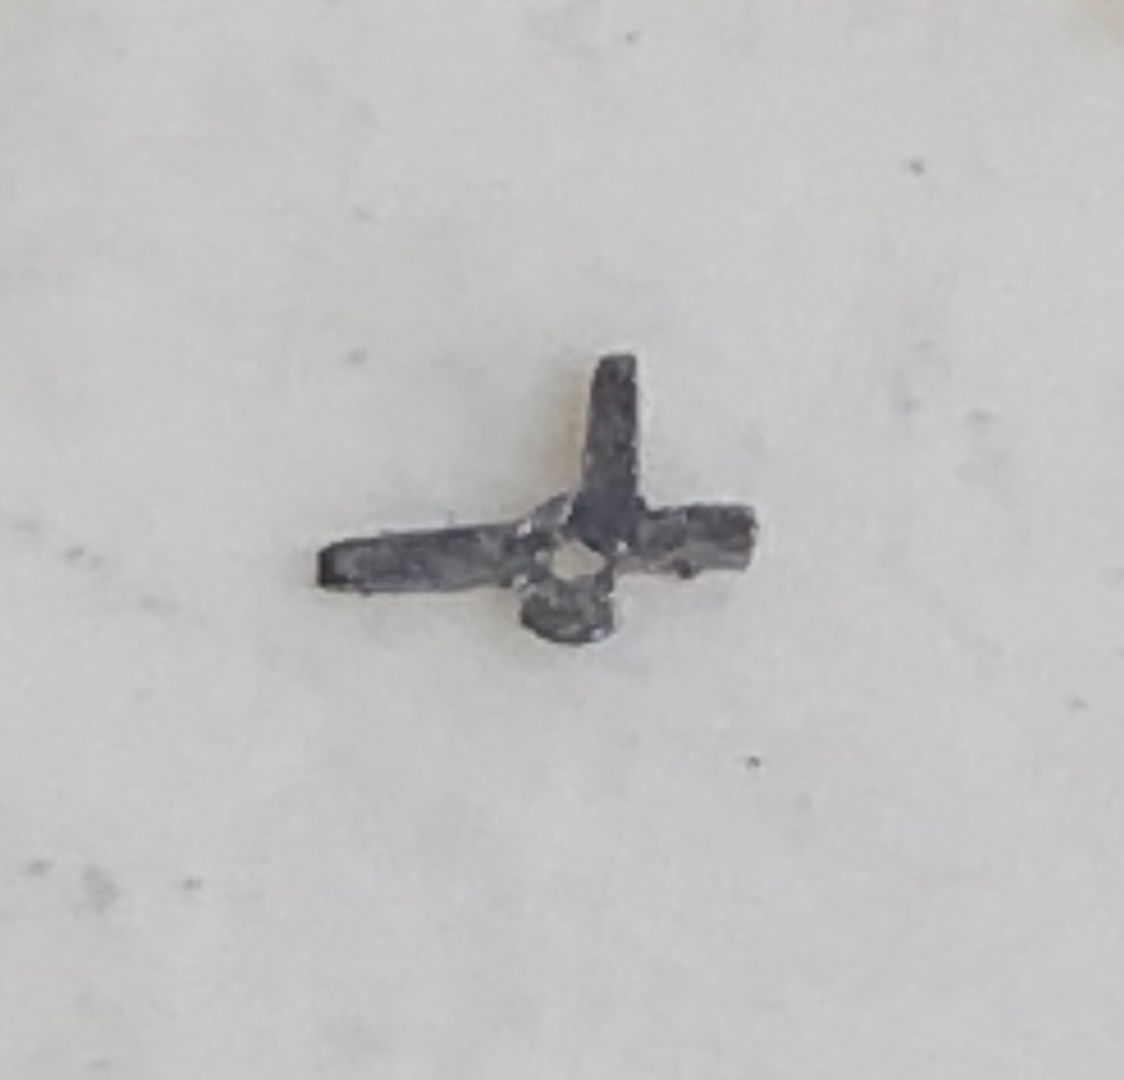
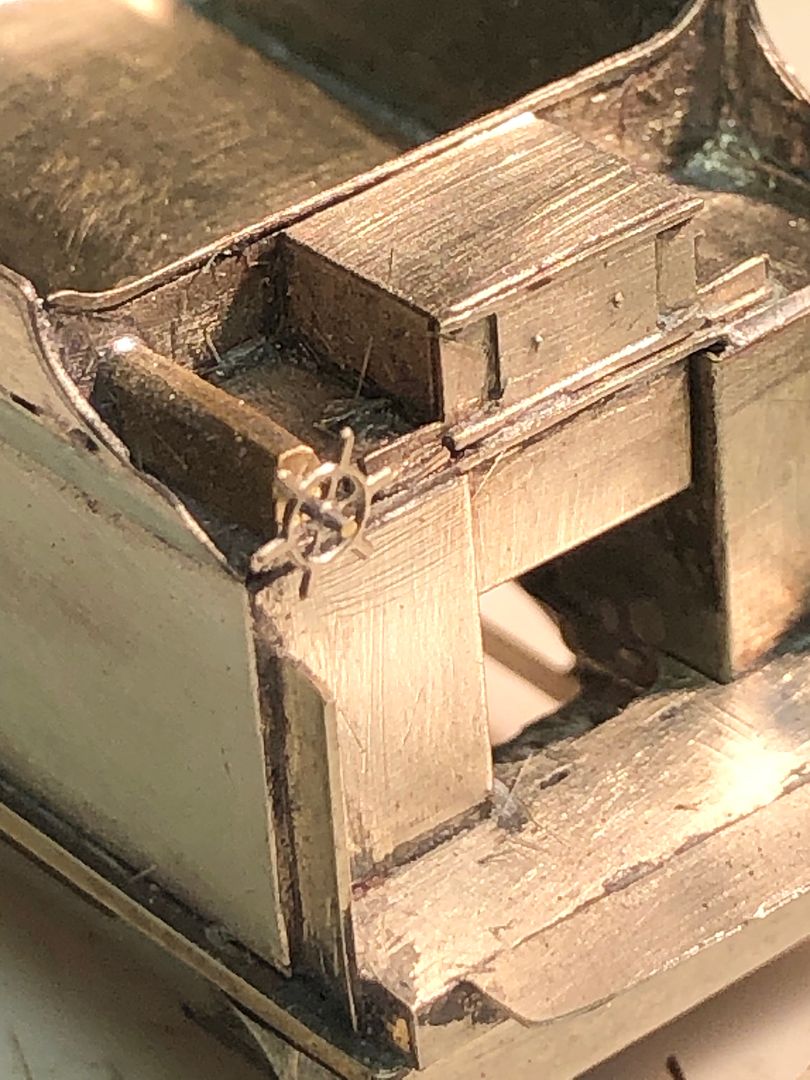
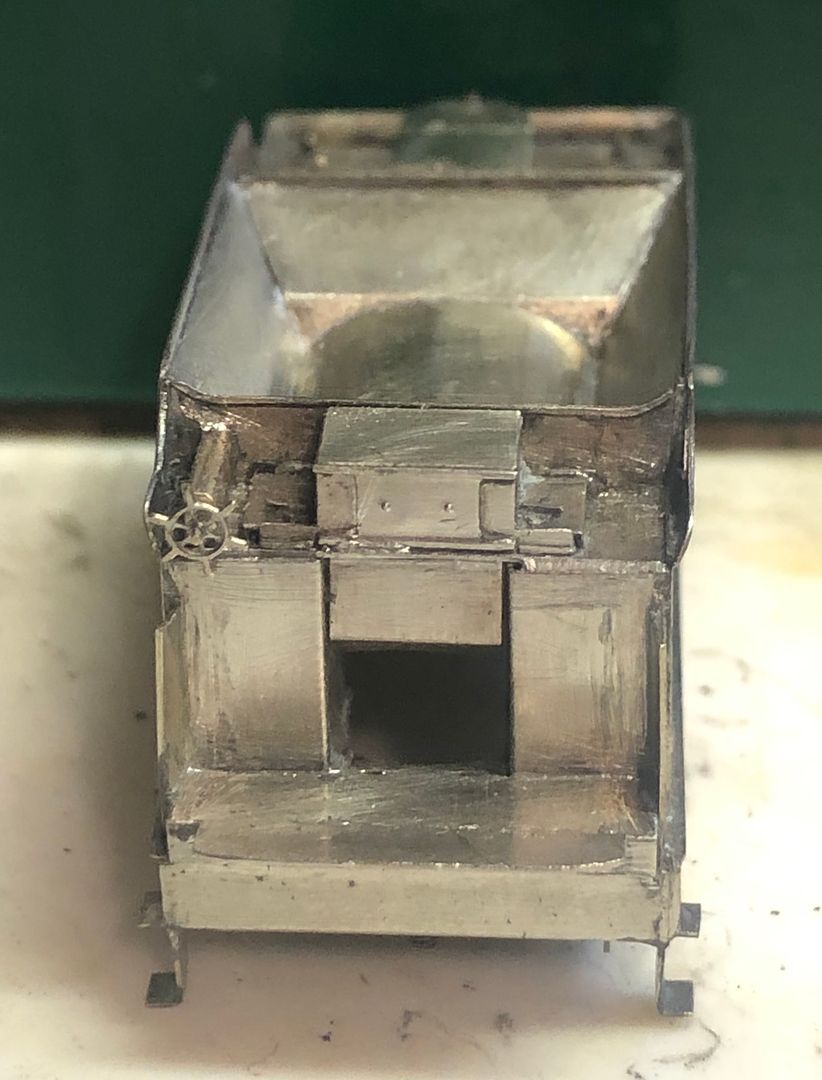
The GC water scoop tenders had a cute little ships wheel to help raise & lower the scoop. This tender etch doesn’t have any included, but I was fortunately given one from a Michael Edge etch for a standard tender.
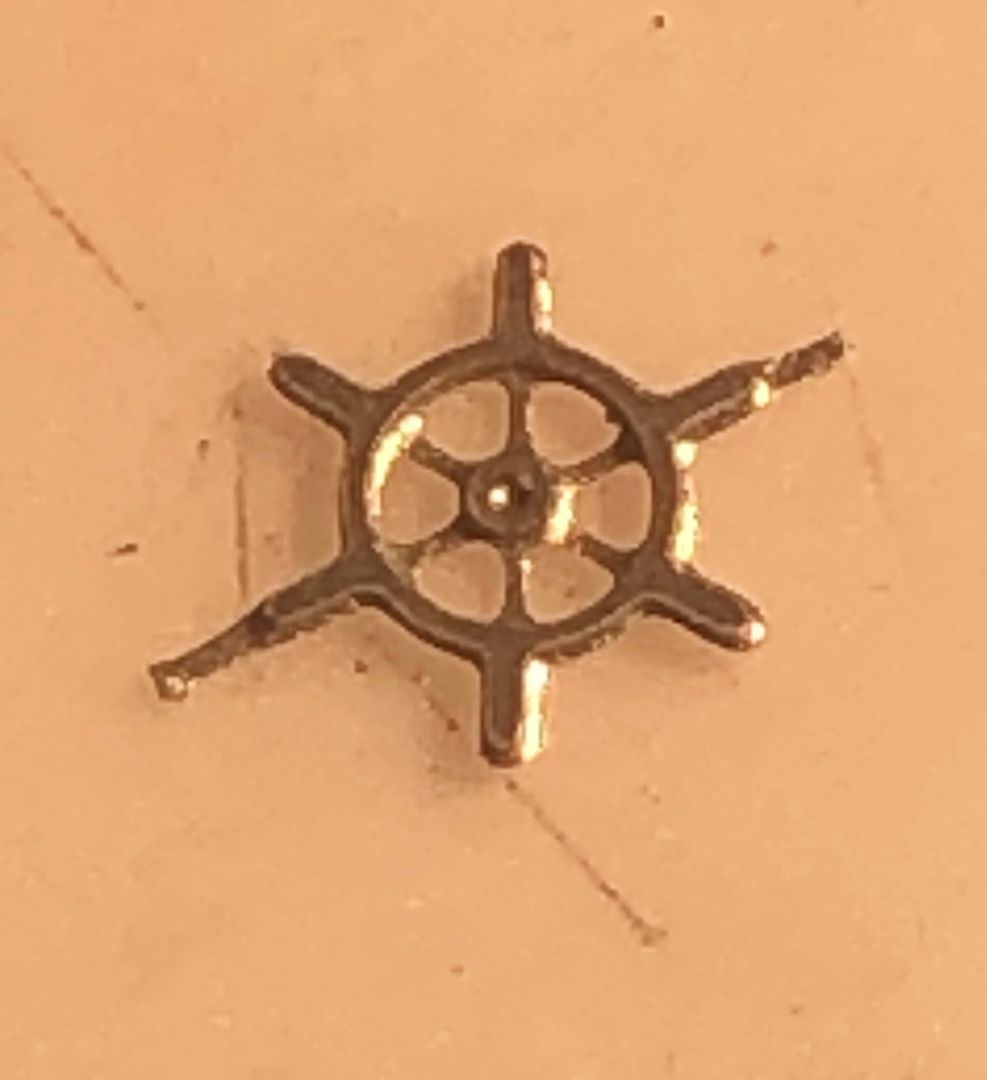

It’s a beautiful little etch, but there is no hole in the middle. Drilling this out free hand would have ended up with S shaped spokes or the carpet monster claiming another object, so I soldered it to a piece of brass to support it whilst drilling the 0.3 mm diameter hole.
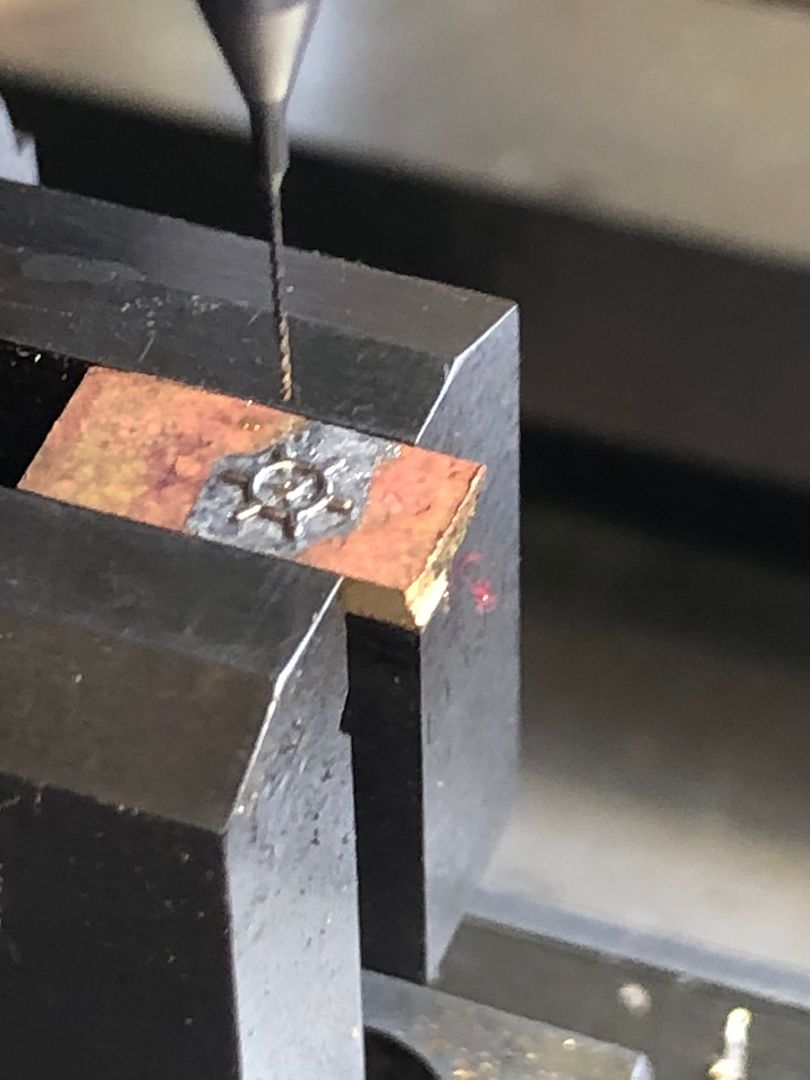

In order to give it sufficient strength I think it needs the rod to go through the housing which was made from a piece of brass, again drilled 0.3mm and soldered on to the tender top.
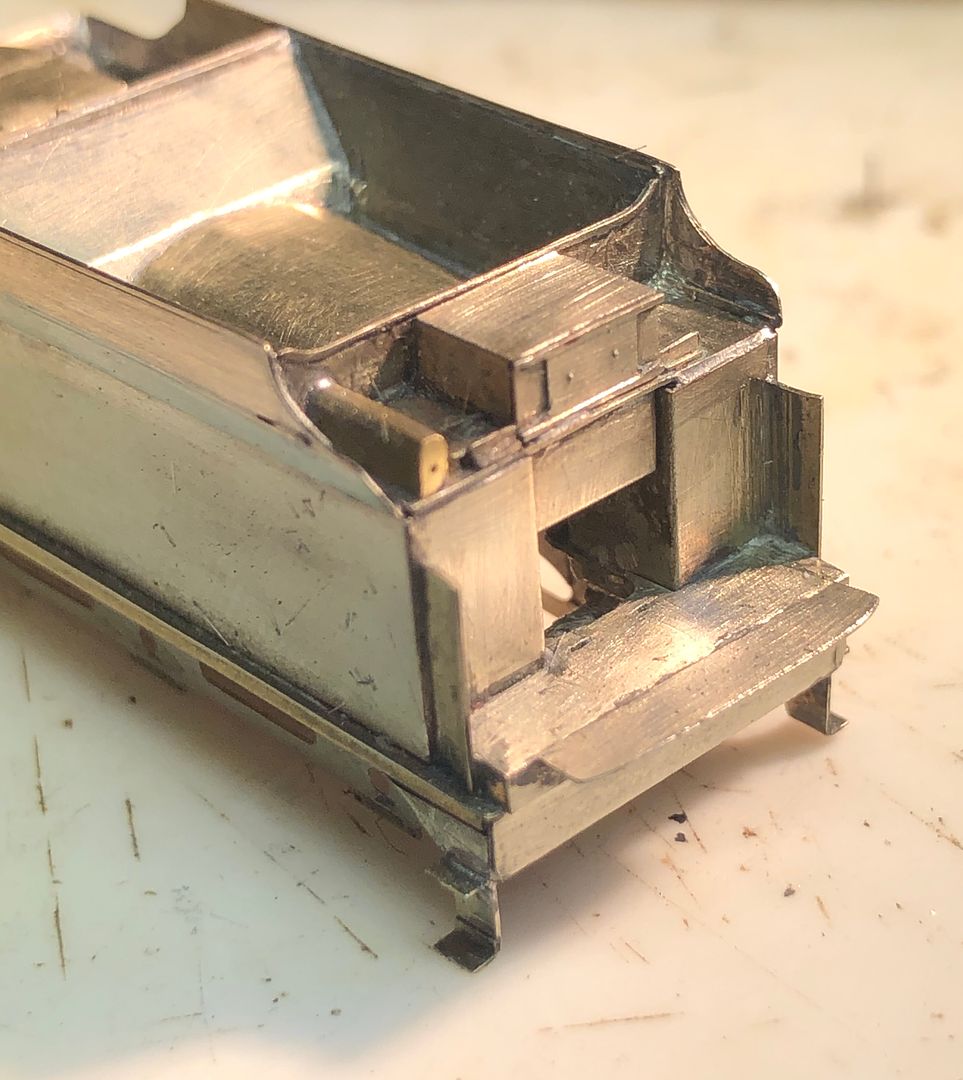

The wheel will be removable for the time being, whilst the engine and tender are being handled extensively during construction.


Tim
 
Last edited:

simond

Western Thunderer
Tim

Thanks for showing how to make a difficult job easy. Completely obvious after your explanation..

Another case of no excuse in 7mm....

Cheers
Simon
 

Tim Watson

Western Thunderer
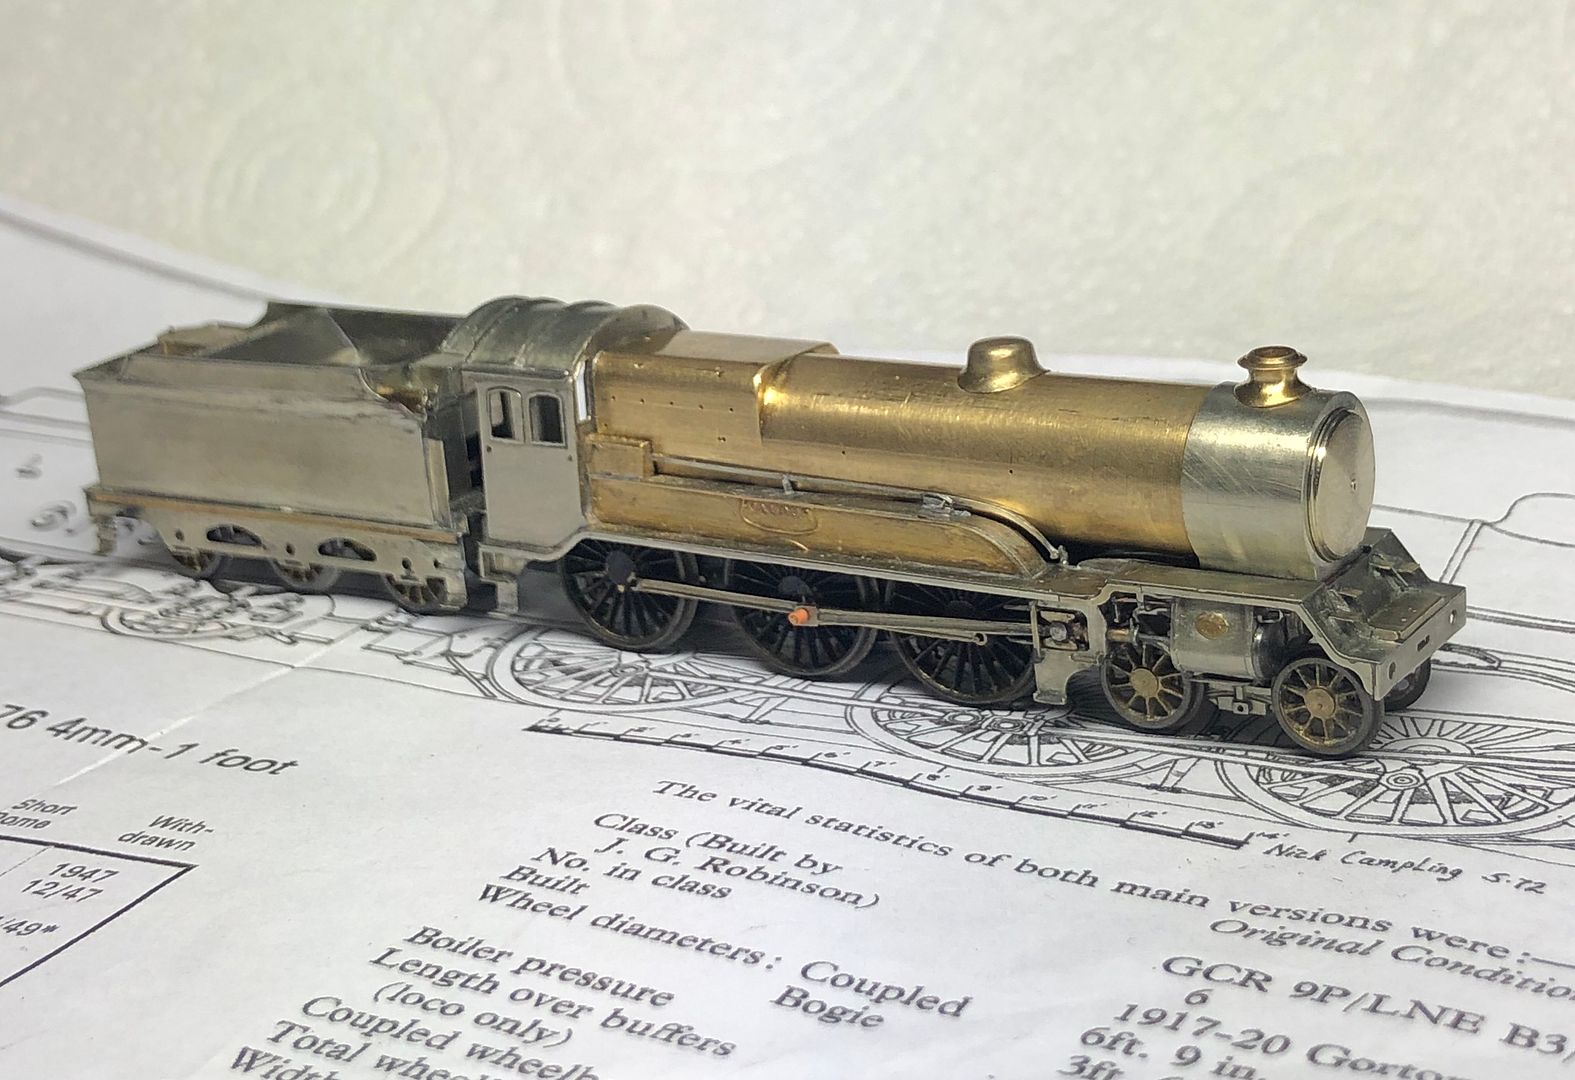
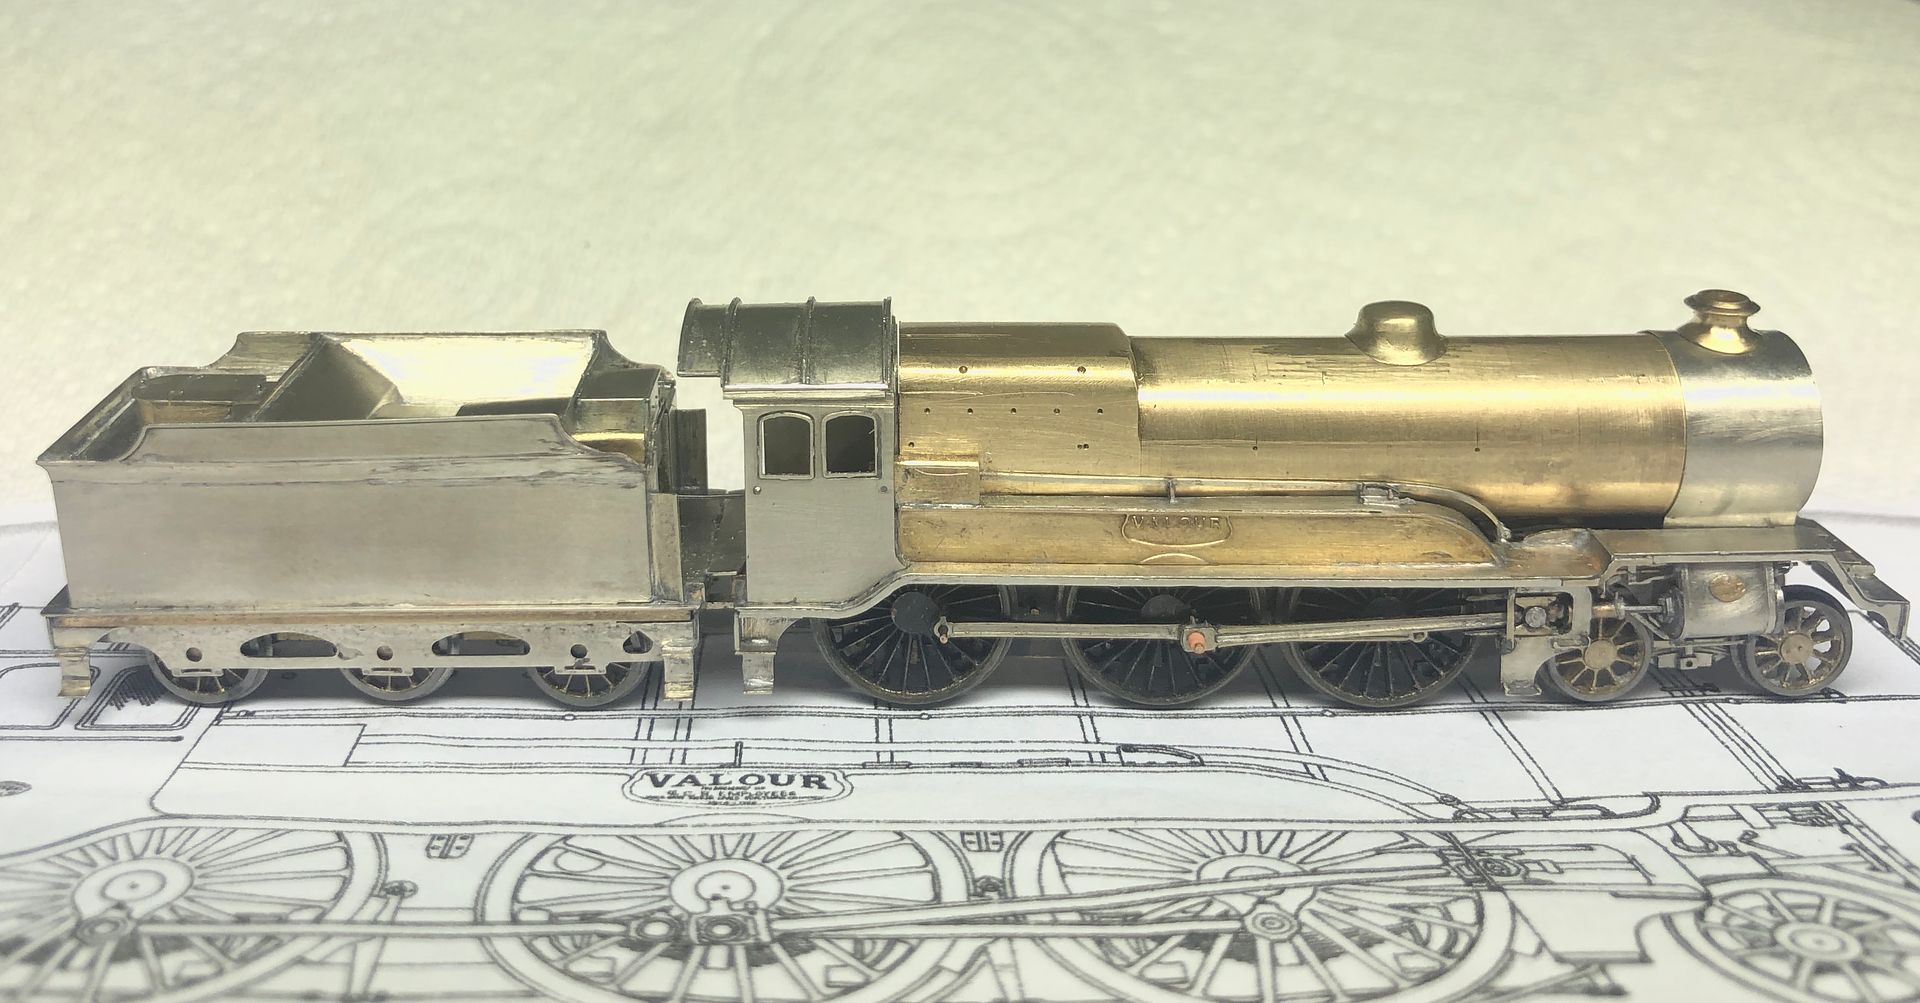
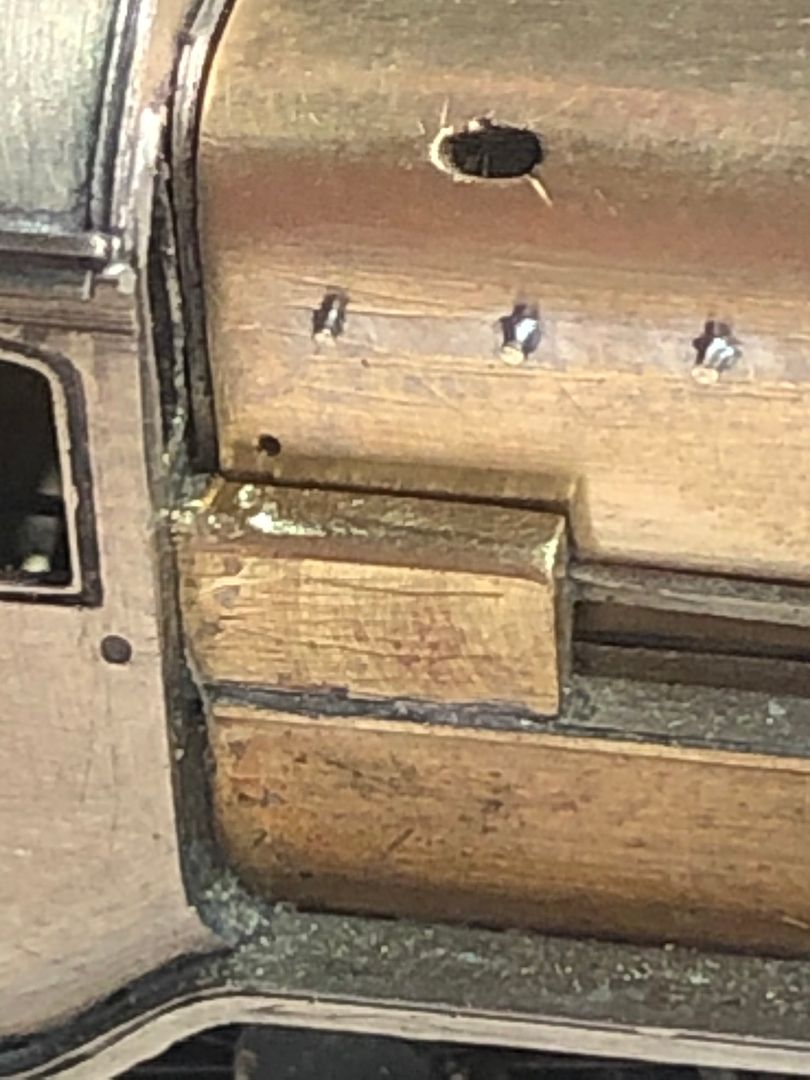
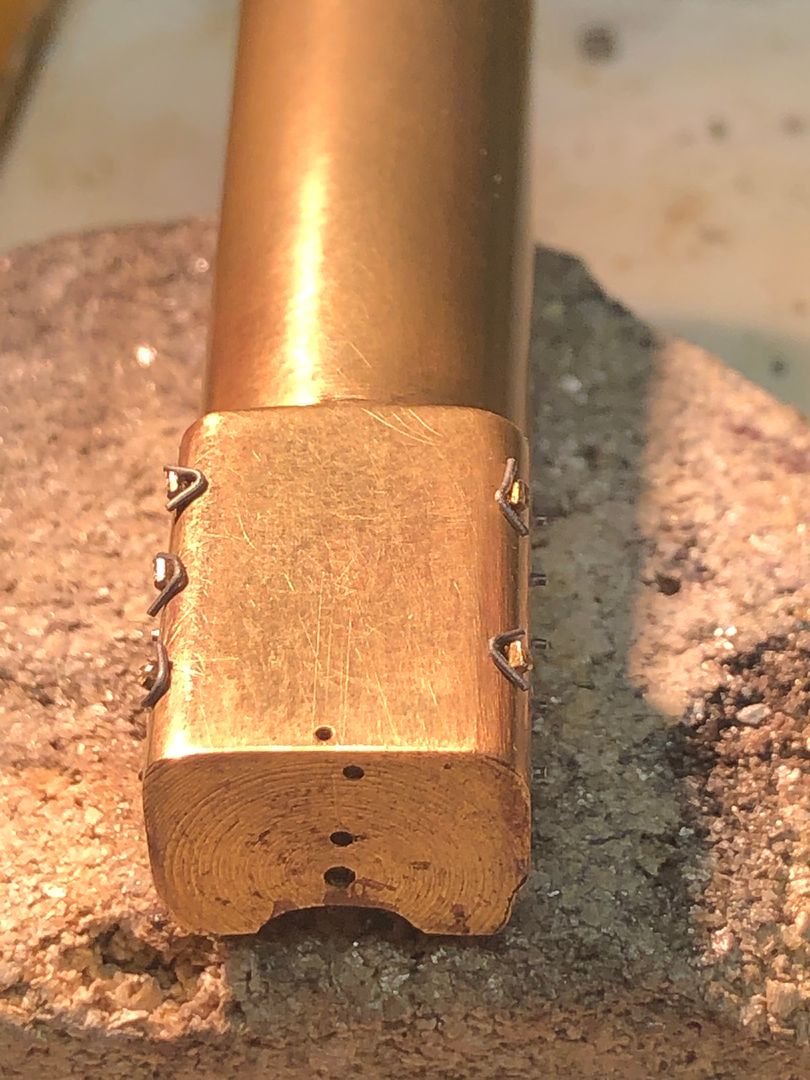
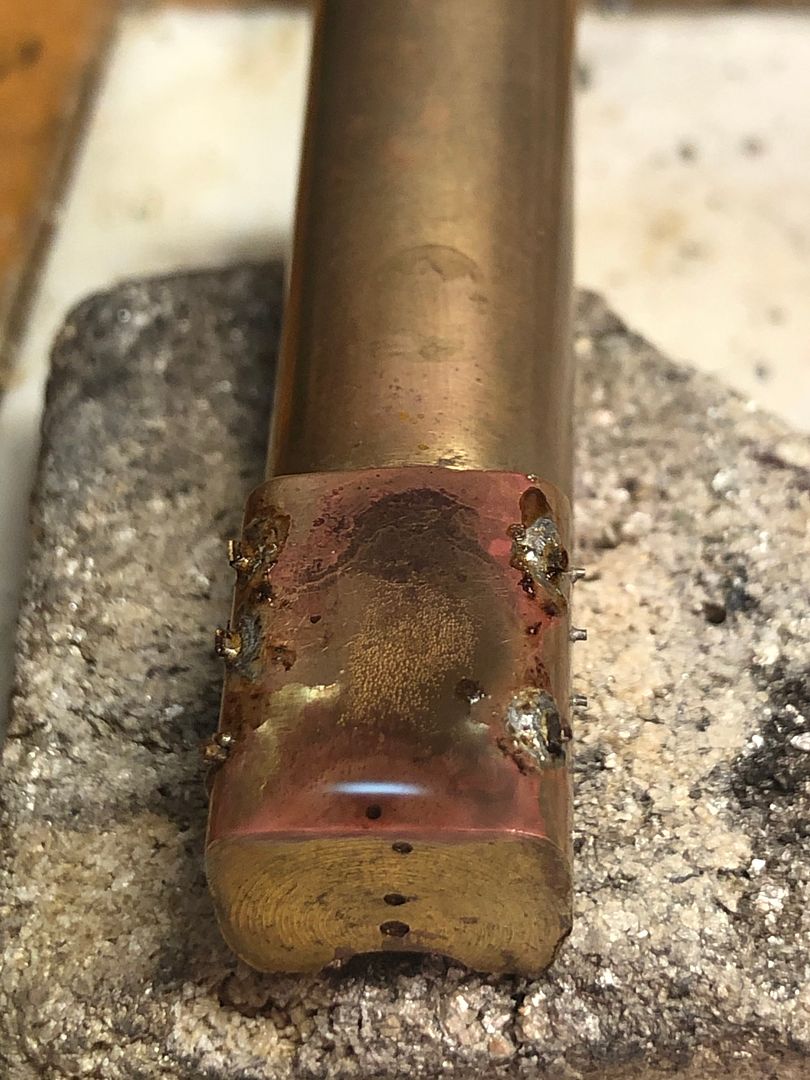
More progress on Valour, although maybe not immediately obvious from the previous overall shots. Steps on the engine & tender, water filler details on the tender and 22 x 0.3/0.5mm diameter holes in the boiler for washout plugs, handrail stanchions & mud hole doors.


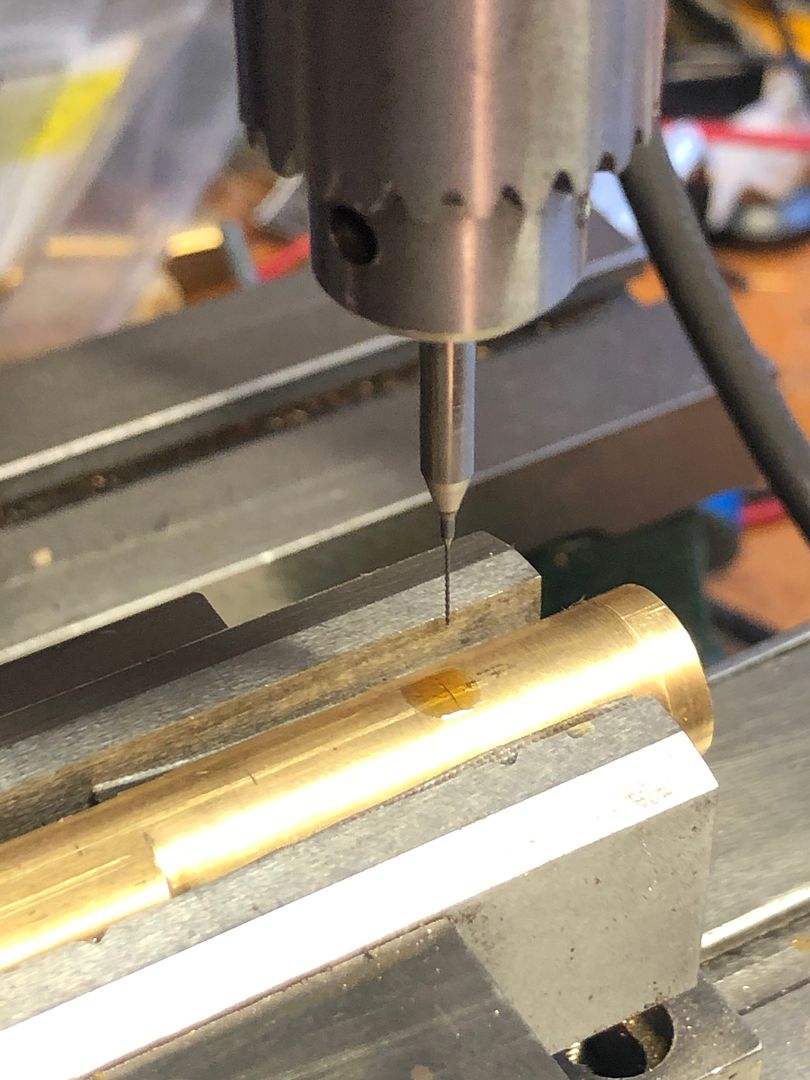
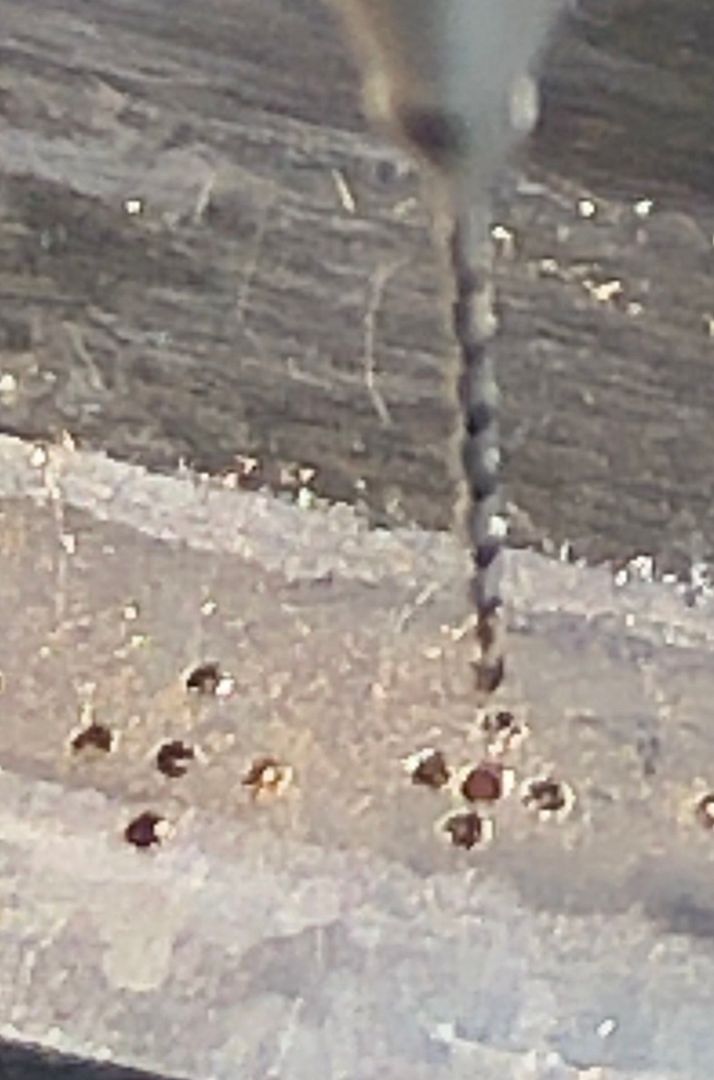
I had one drill ‘separate’ (as endodontists call it) - maybe you can spot where?


The boiler barrel was wrapped in some micro mesh abrasive cloth to hold it in the vice for drilling and avoid any marks from the jaws. The TC drills are very sharp but need coolant (Rocol RTD - visible over the cross mark).


The tender top is now soldered on, but with it tightly in place, I needed to make a bit more room for the brass stay alive, with some modification to the coal cover. Maybe buffers next.


Tim
 
Last edited:

Mike W

Western Thunderer
Fabulous Tim, just fabulous. Whenever I see your work I recall one of the early issues of Model Railways (the MRN replacement) and part one of an article on building a GWR 2800. It was superb but I couldn't work out whether it was 4mm or 7mm. The following month all was revealed and it was 2mm. I still remember that after about 40 years! Your work is an inspiration. Thank you.

Mike
 

Yorkshire Dave

Western Thunderer
It’s a beautiful little etch, but there is no hole in the middle. Drilling this out free hand would have ended up with S shaped spokes or the carpet monster claiming another object, so I soldered it to a piece of brass to support it whilst drilling the 0.3 mm diameter hole.

Thanks for this Tim, another useful tip to add to the armoury.
 

Tim Watson

Western Thunderer
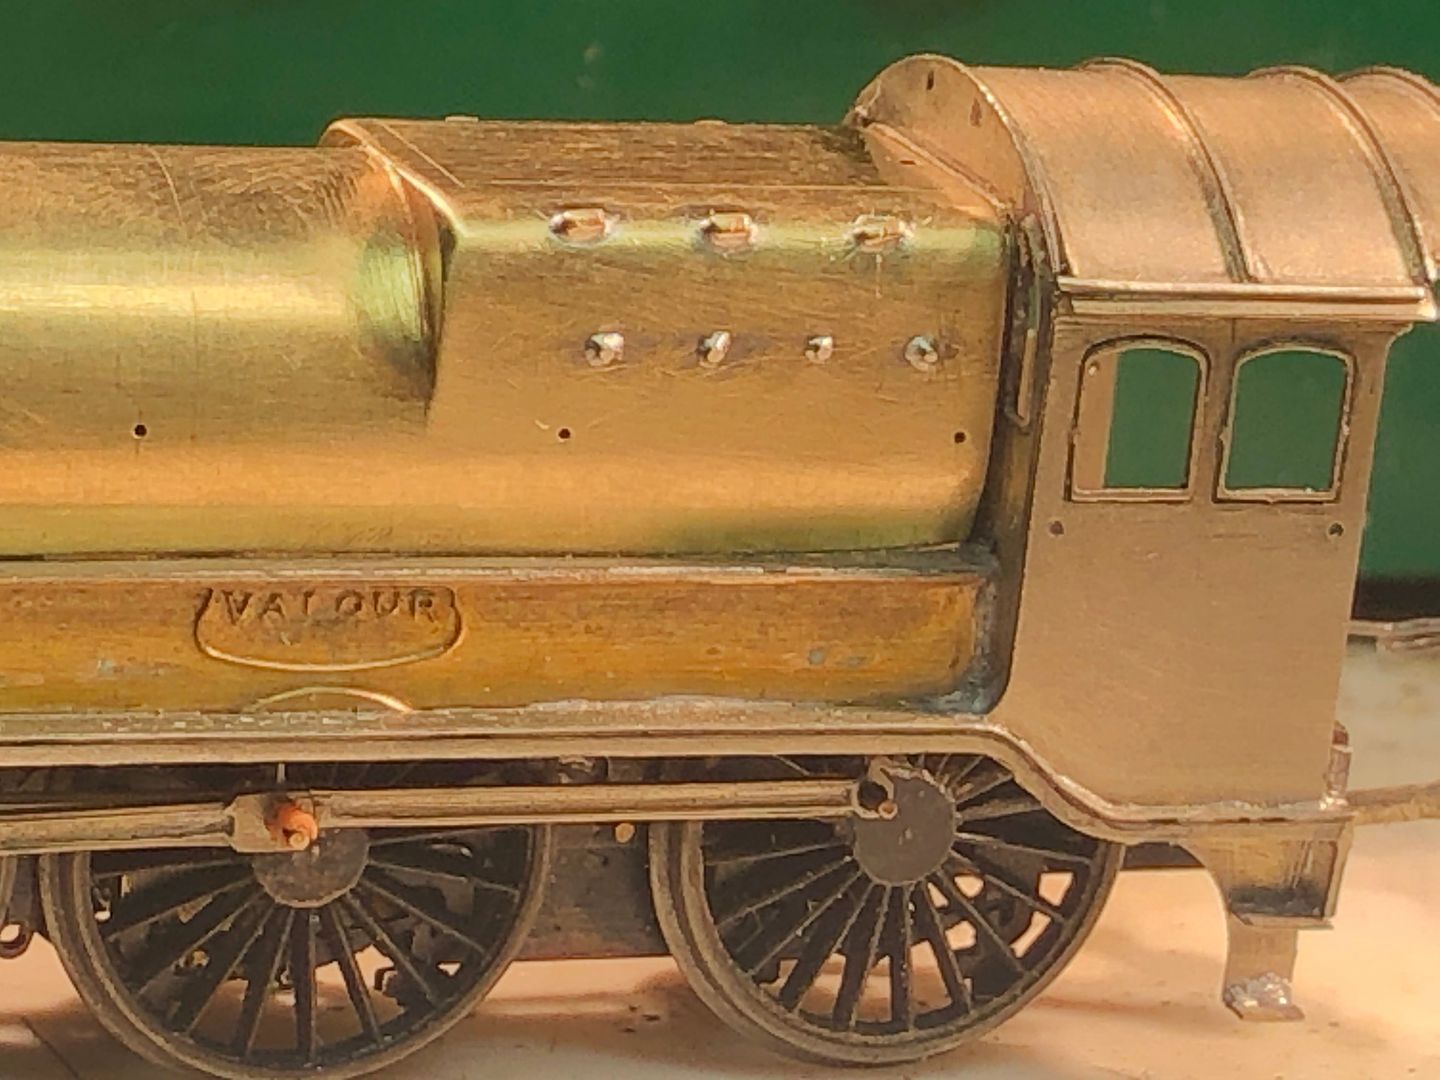
Valour now has the washout the plugs on one side of the firebox and some oval holes for the mud hole doors. I have also represented an inspection hatch on the reversing gear with a bit of filing.


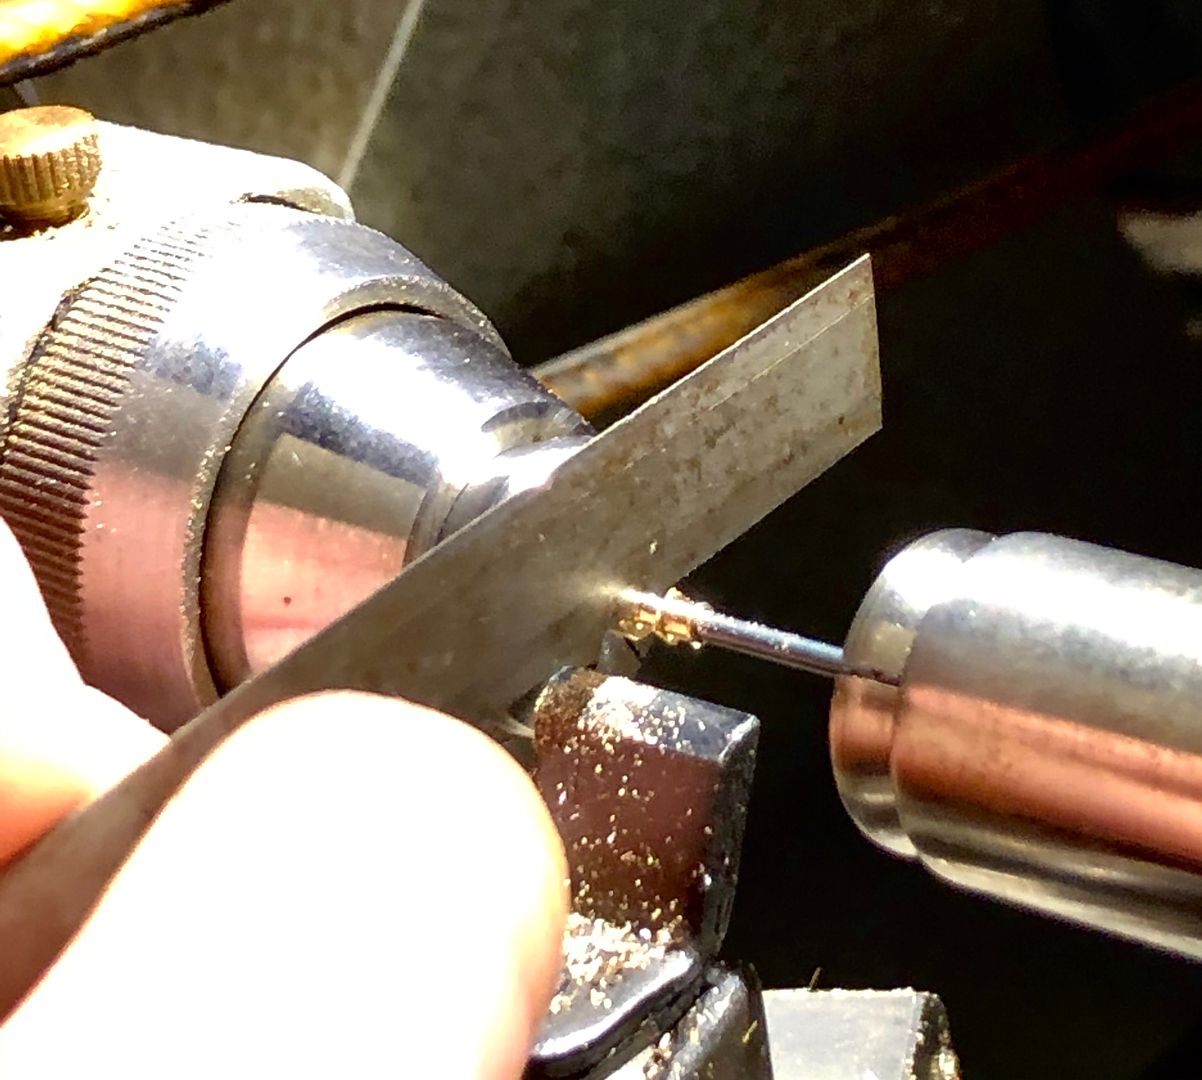
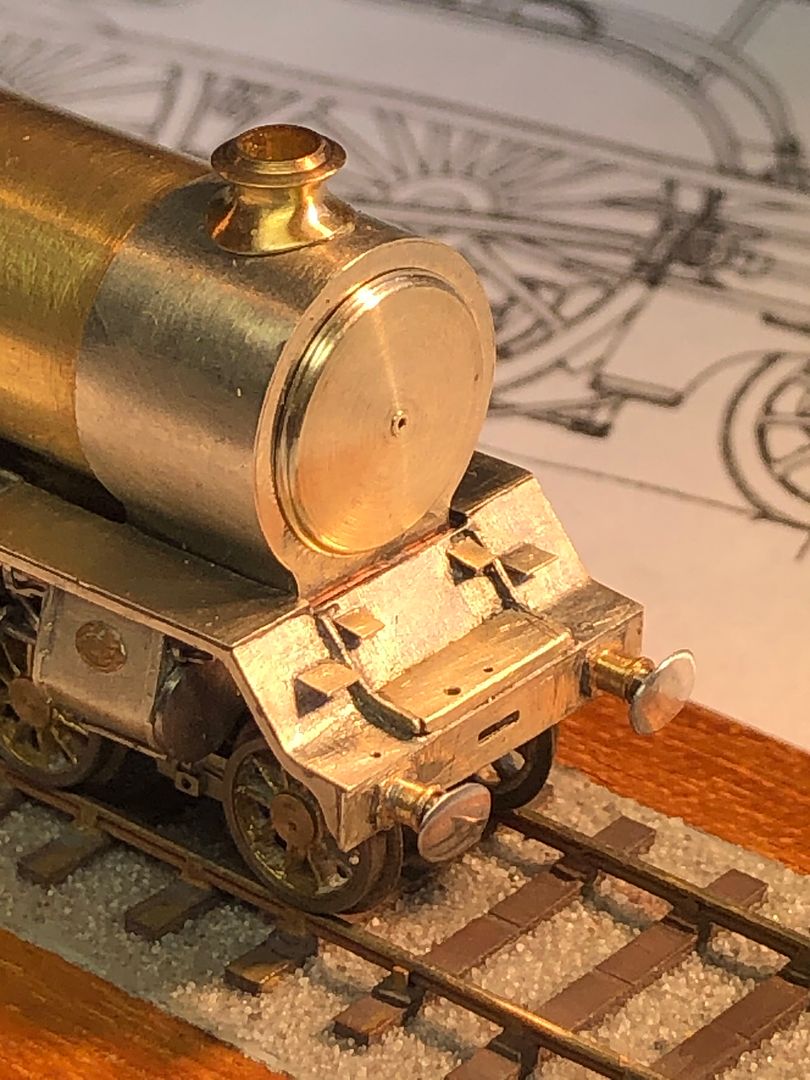
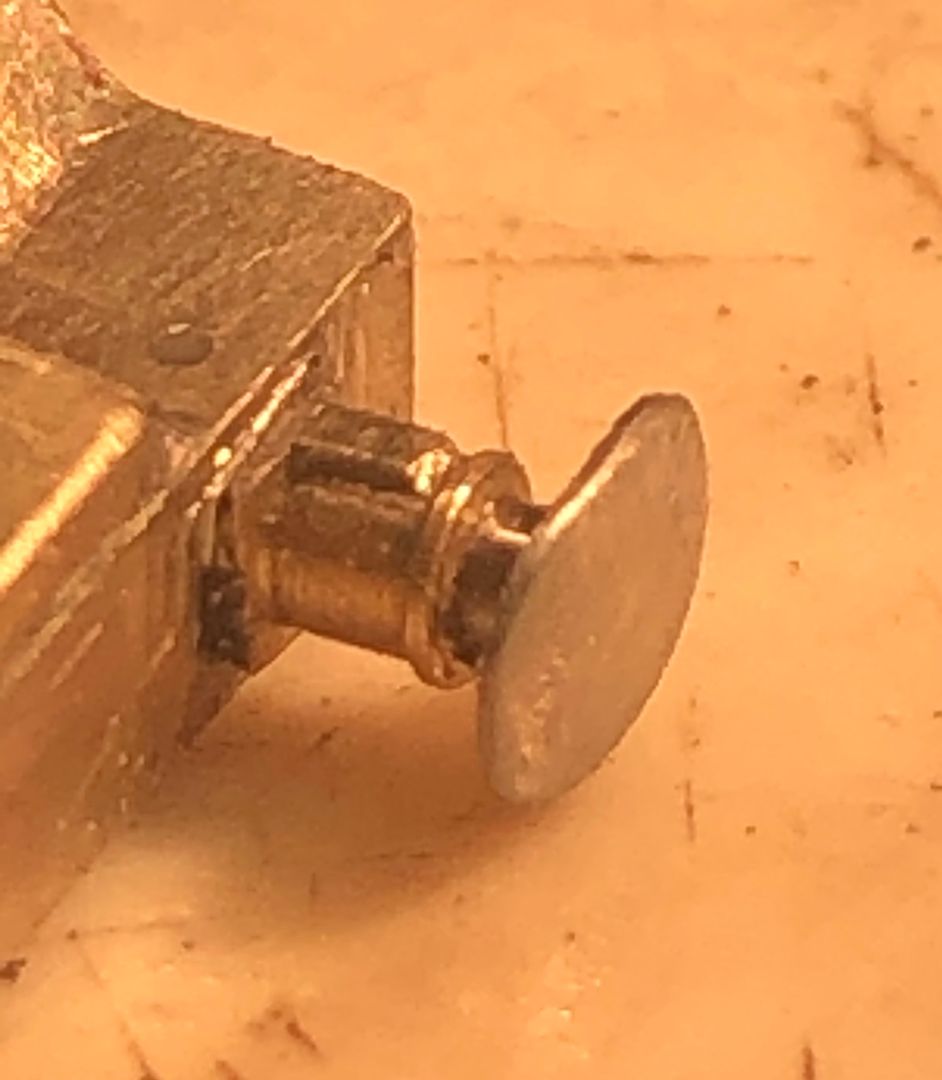
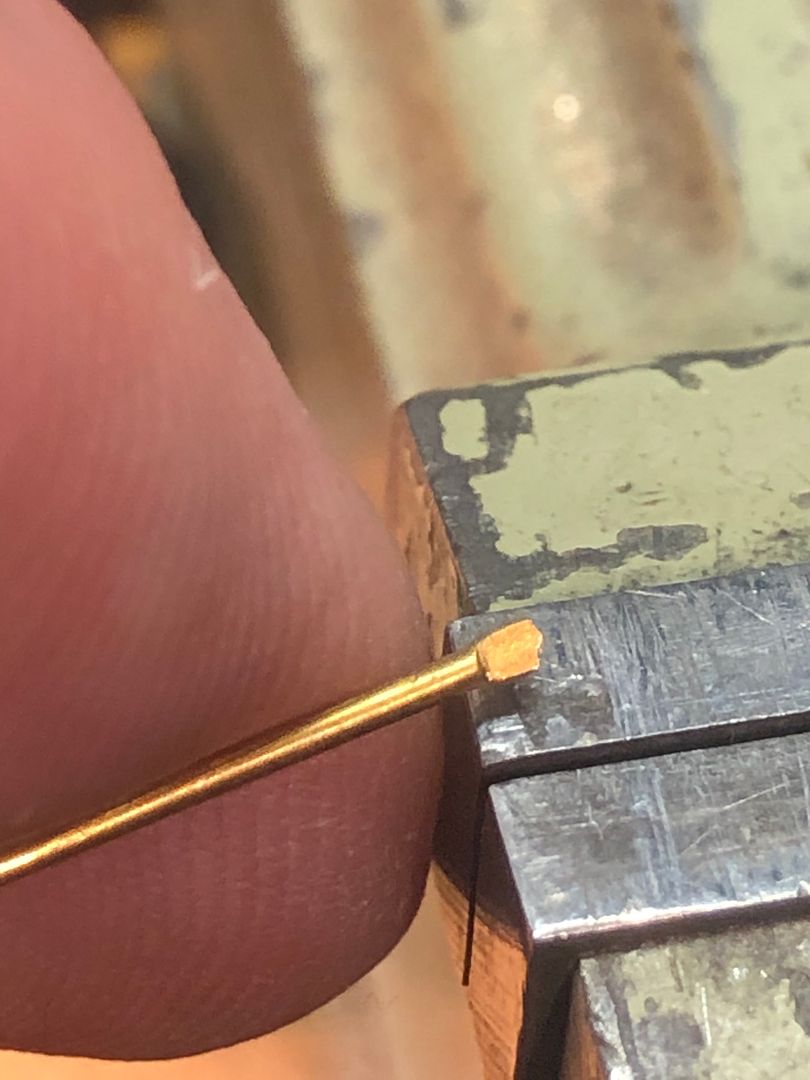
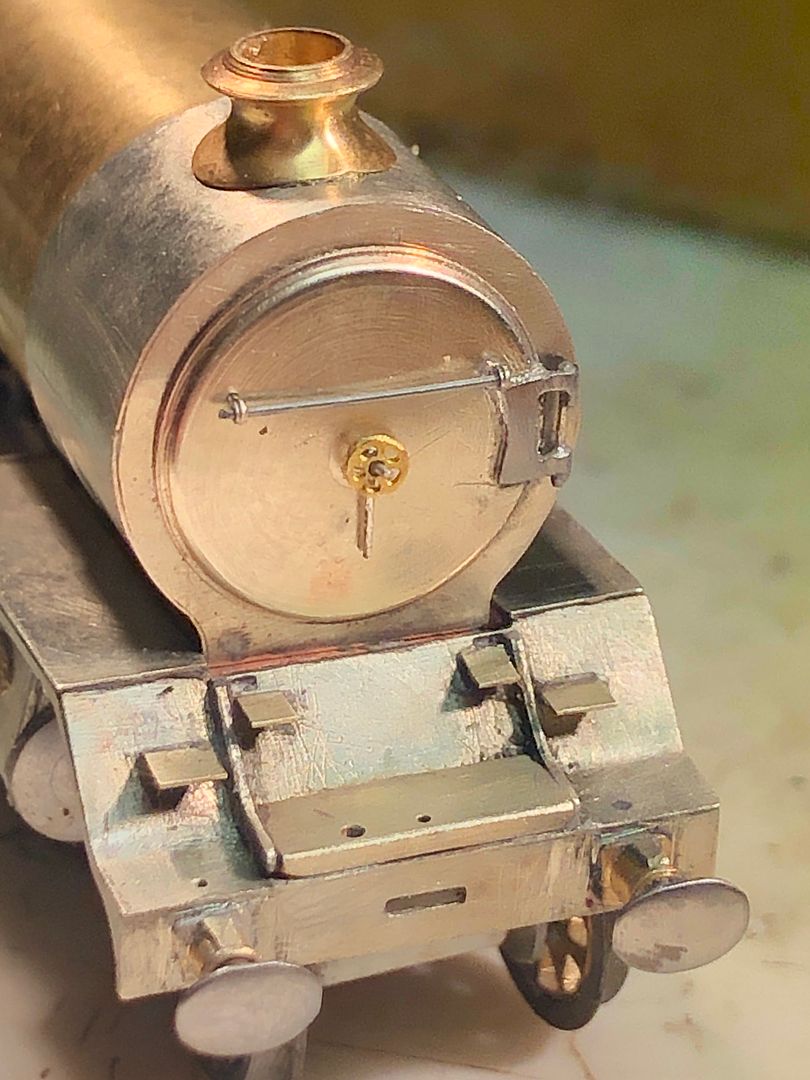
The front buffers were turned from some 15A plug brass (off an old Hornby Dublo controller that my son found). They were parted off with a slitting file and the drill shank reversed and ‘up the hole’. That way they do not fly off into outer space.


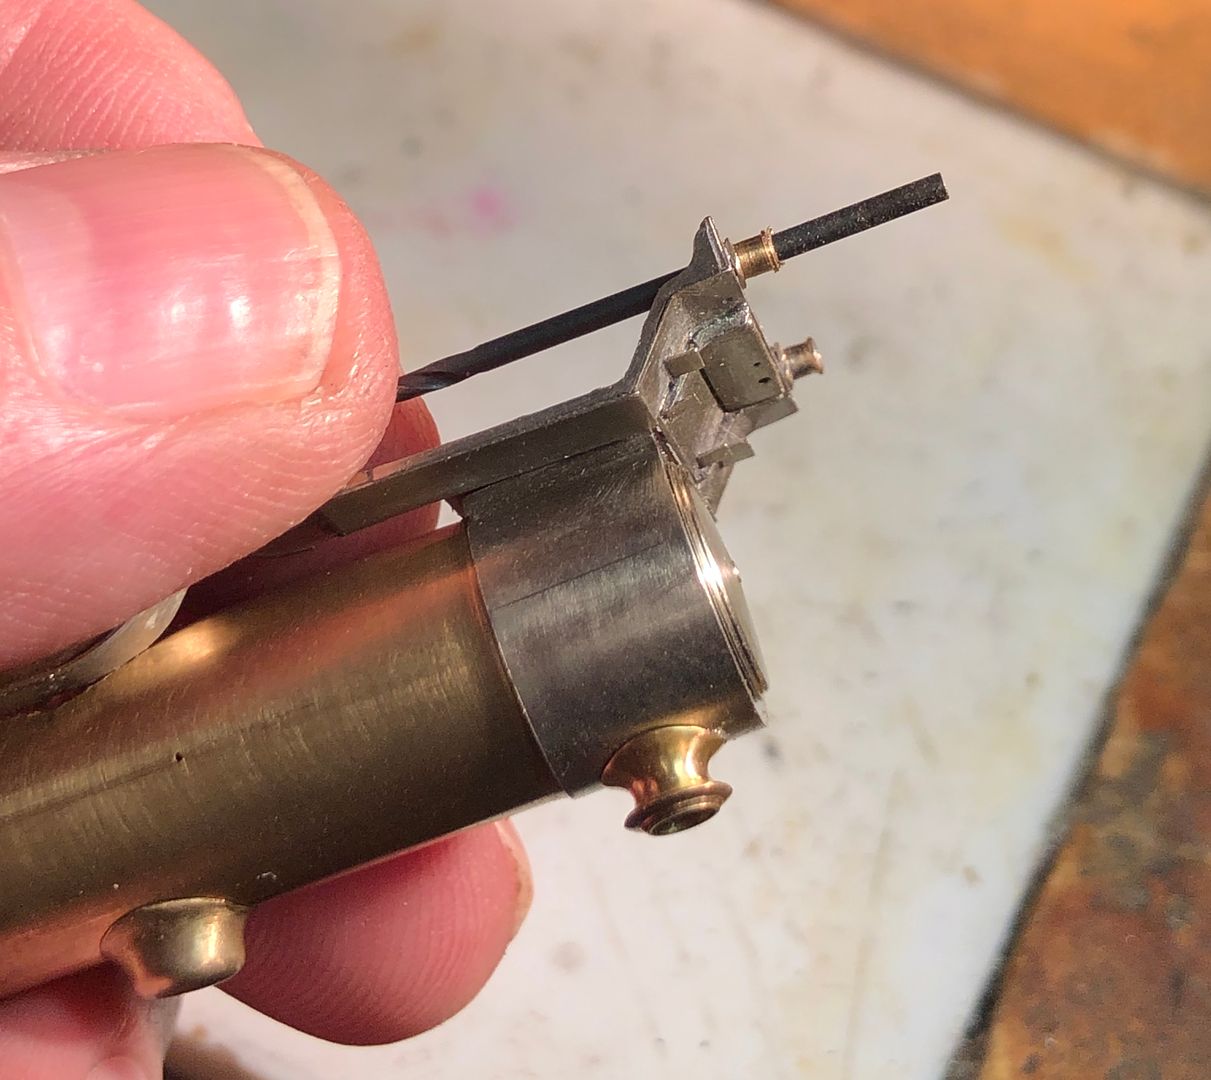
The same drill shank was used to help align the buffer stocks in the beam, whilst soldering into place. Drill shanks will not accept normal soft solder.


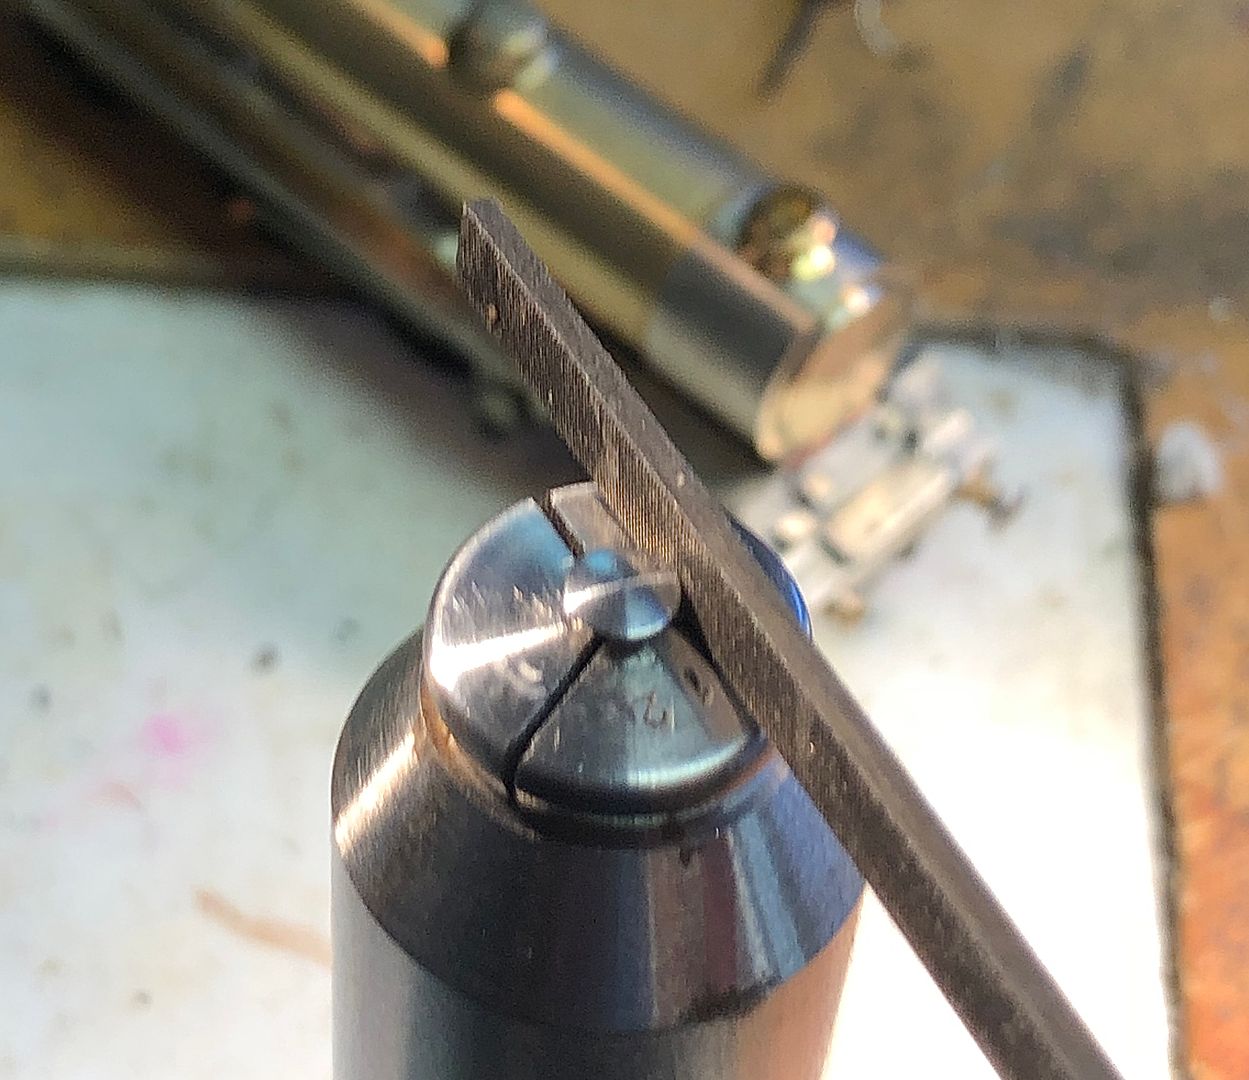
The buffers were turned, oversize, from steel and then filed top and bottom to make oval, using the slot in the collet as a guide (a pin chuck would also serve). Remember to use a safe edged file!


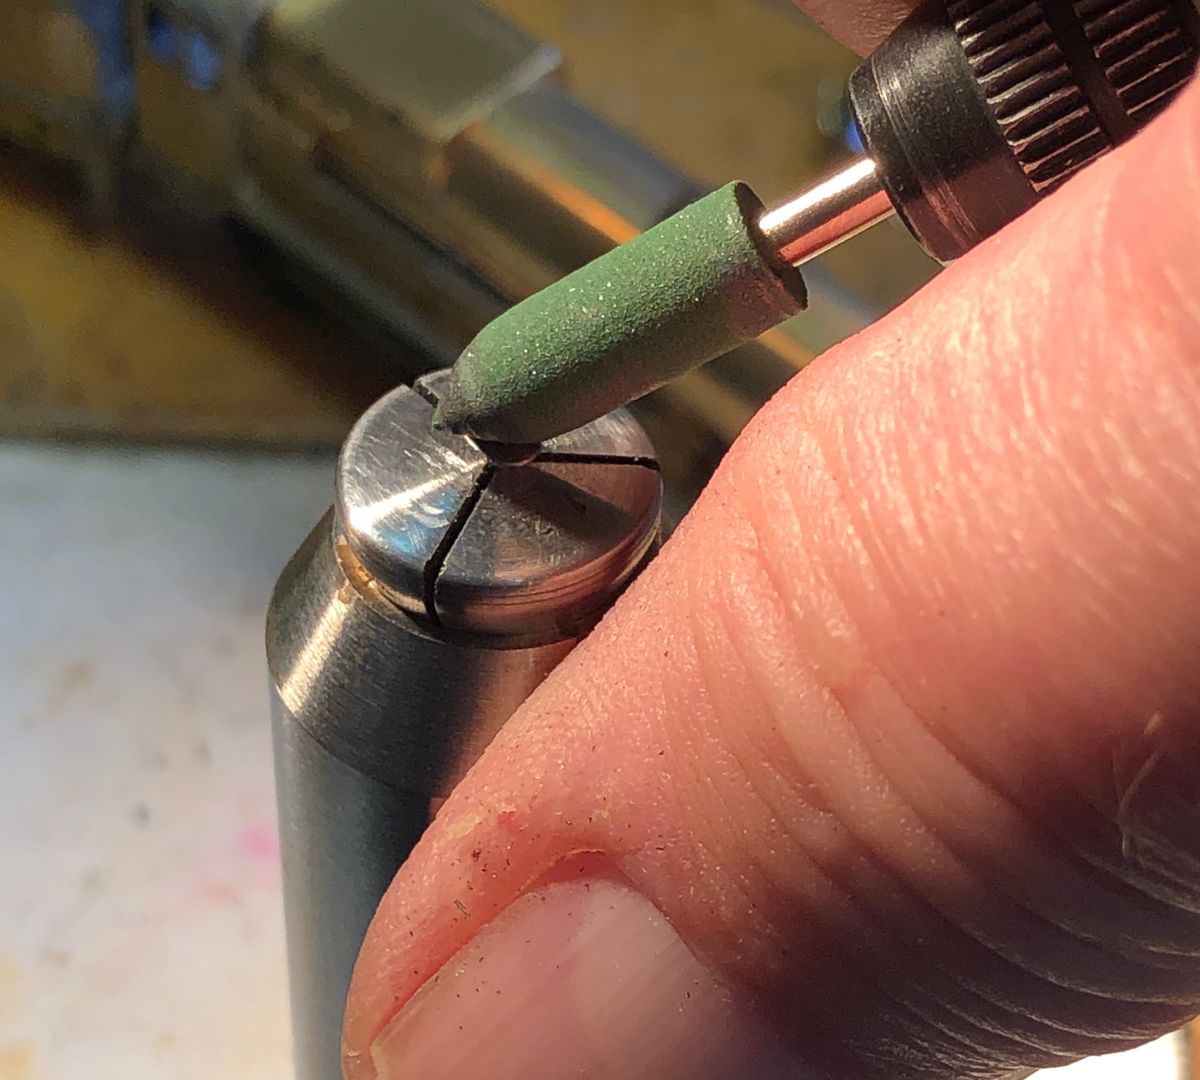
The over-thick top & bottom of the buffer heads were reduced by using abrasive points in the mini drill.


Finally finished off with some micro mesh polishing cloth.


Tim
 
Last edited:
P A D

Western Thunderer
Hi Tim,
Lovely buffers. Again, I'm trying to picture how small they must be in 2mm scale.

I'm not sure if you will want to add the footsteps on the top of the shanks, but on the front they are full length and at the rear they are about half the length of the stock. In this cropped image from the internet (I didn't take a decent one myself), you can see what I mean. If you look closely, you can make out the key and key way at the top to keep the oval heads horizontal.
20191110_123935.jpg

The footstep is quite narrow as can be seen in this view from the front.
20191102_103113.jpg

I think the ones at the rear may have been replaced as they look slightly wider and I believe they should be offset towards the front and should be touching the black beading. Logically, the rear ones would get more use than the front ones over the years, wear down and need replacing.
20191102_103816.jpg

Cheers,
Peter
 

Tim Watson

Western Thunderer
Thanks Peter. I was aware of the buffer stock step. I think I have a way of holding it in place whilst soldering it on. There certainly won’t be one at the back!

Tim
 

P A D

Western Thunderer
Hi Tim,
Have a look at my D11 thread. A chap called Tony West has posted some comments and drawings that you will find interesting. Ignore my comments re the footstep on the rear buffer stocks. They are correct according to the drawings.
Cheers,
Peter
 

Tim Watson

Western Thunderer
Thanks Peter. I have been using the drawings in the Johnson book. I think my tender as modelled is OK for Valour.

The mud hole doors have been made by chain drilling five oval holes with a 0.5mm diameter drill on the shoulders of the firebox.


The covers were made up from a squeezed bit of brass rod.


The cut off squeezed pieces were pushed into the holes and a small piece of multi core solder placed over the top of each.


The back of the firebox was slowly brought up to heat with a blow torch with a splash of acid flux to help the flow.


After knocking the corners off with a file and polishing, the mud hole doors finish off the firebox sides.


She’s looking awfully empty on top.

Tim
 

Tim Watson

Western Thunderer
It’s been a bit of a slow job over the last couple of days making the hinge for the smokebox door. This was filed up from 10 thou steel sheet. It took three goes to get the shape right and the hinge pin correct.

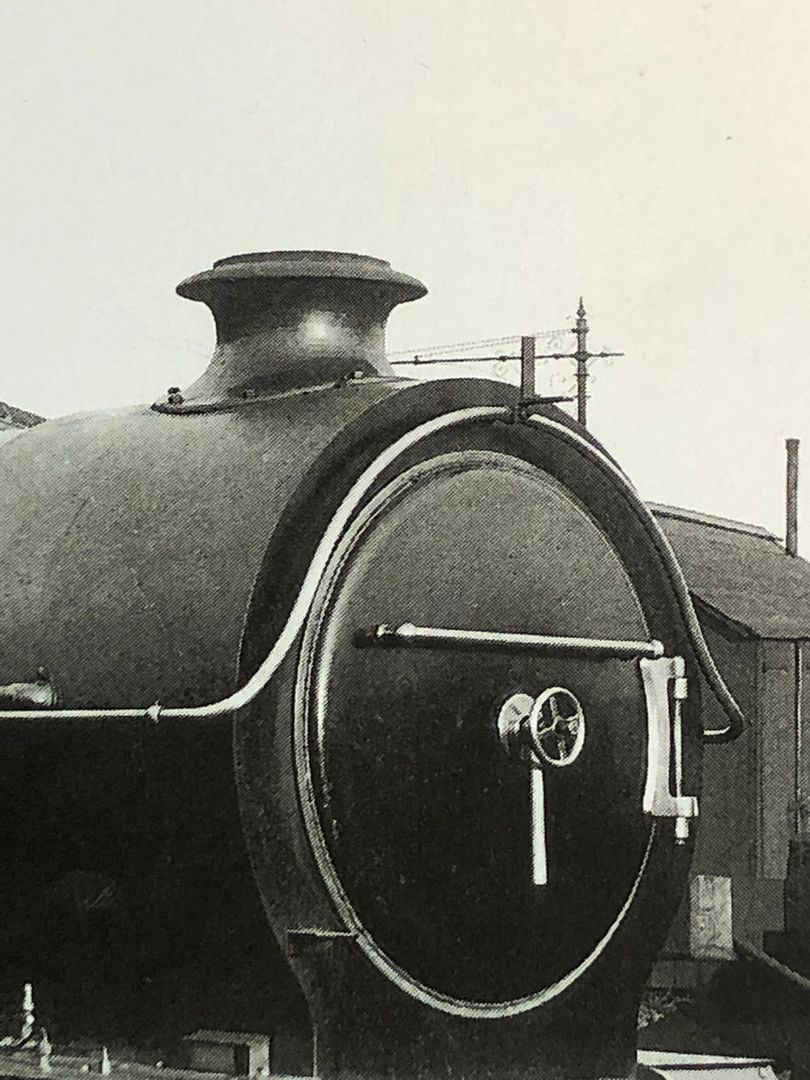
I have also roughed out the smokebox dart and wheel. This has a temporary LNWR five spoke wheel - it should be four spoke - from an etched brass Jumbo kit: it is clearly the wrong colour. Incidentally, anyone interested in the loco & tender kit, let me know as it is not an engine I will be making. A friend has kindly offered me a nickel silver wheel which should look better. However, I might have a go at making my own four spoke wheel in steel.

Tim
 

Tim Watson

Western Thunderer
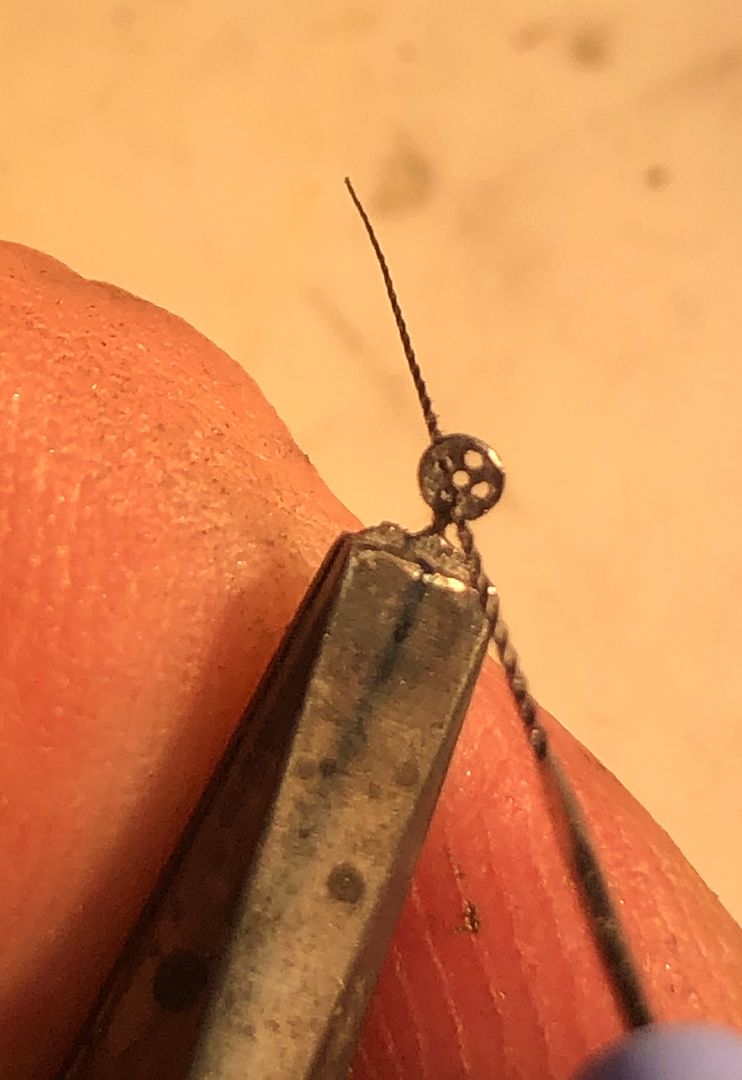
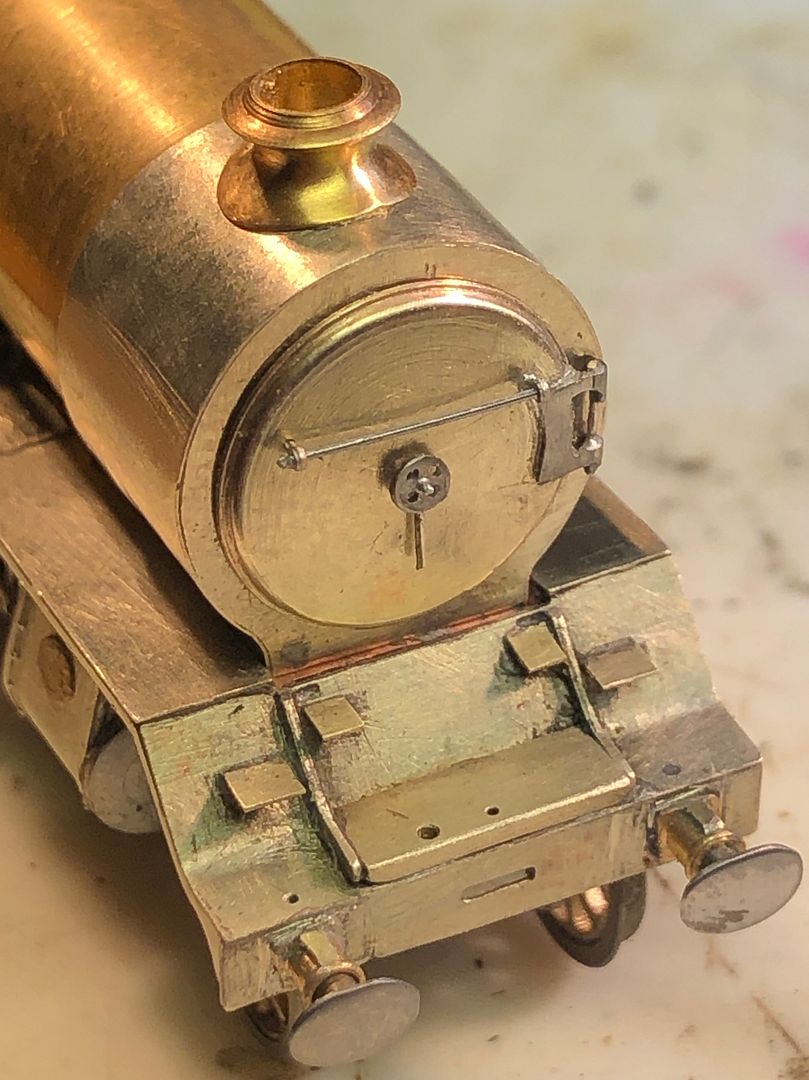
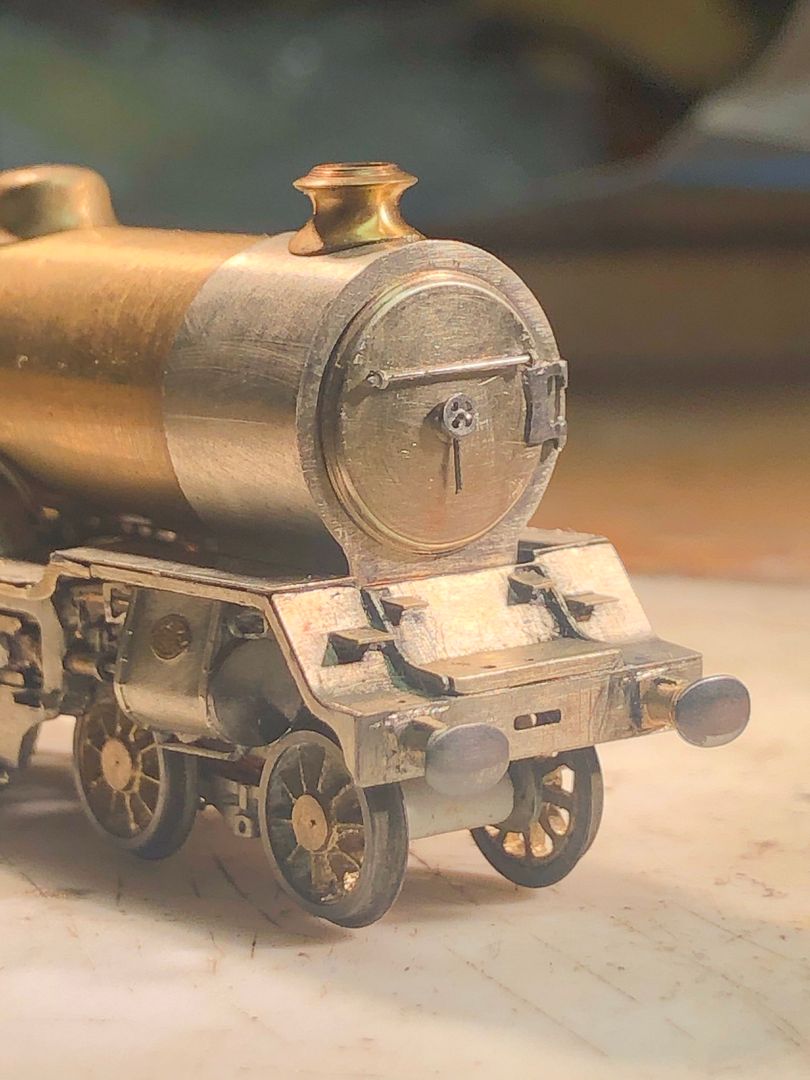
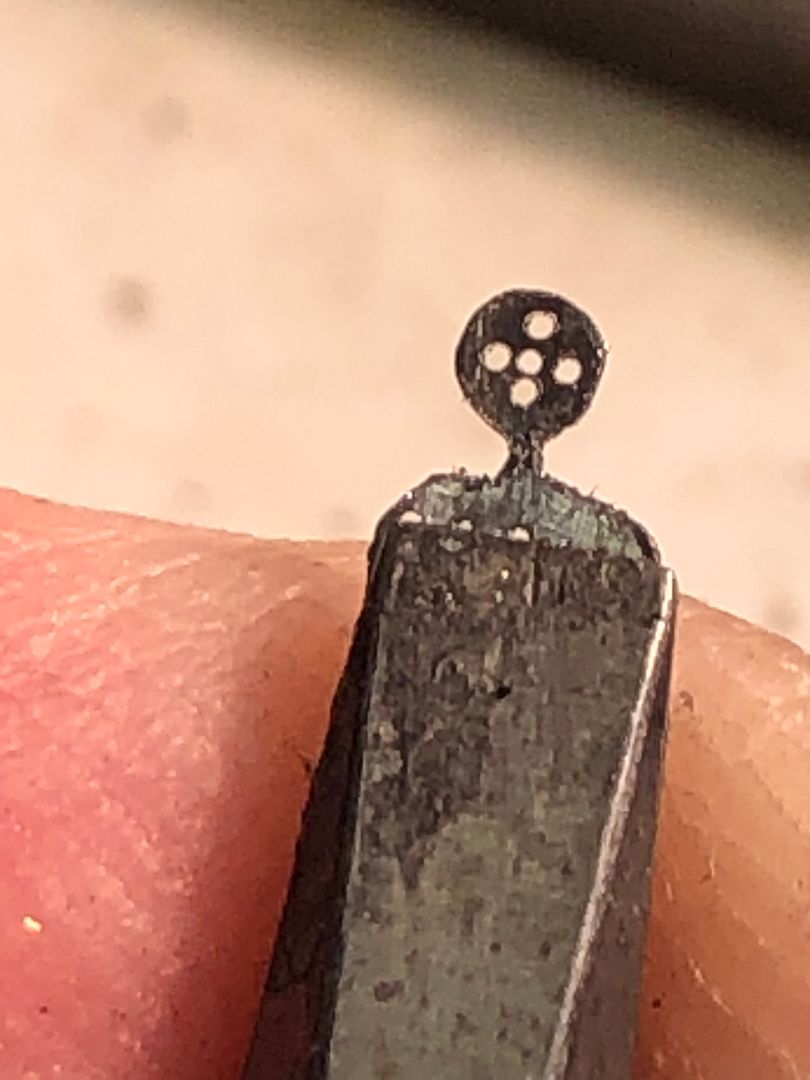
The smokebox hand wheel was made by drilling five 0.3mm diameter holes within a 1.5mm diameter circle in 0.26mm thick steel.

The circumference of the wheel was then filed into the steel.

An 08 NiTi K flex endodontic file was used to improve the shape of the holes.

The wheel was then soldered onto the dart in front of an etched 2mm handrail knob, acting as the other hand (a jolly clever idea from Nick Mitchell)


I think the end result looks more restrained than the five spoke wheel. The handrails will finish off the smokebox, but I think my eyes need a rest, even though I was wearing 3.8x loupes for this job.


Tim
 
Last edited:
Tim Watson

Western Thunderer
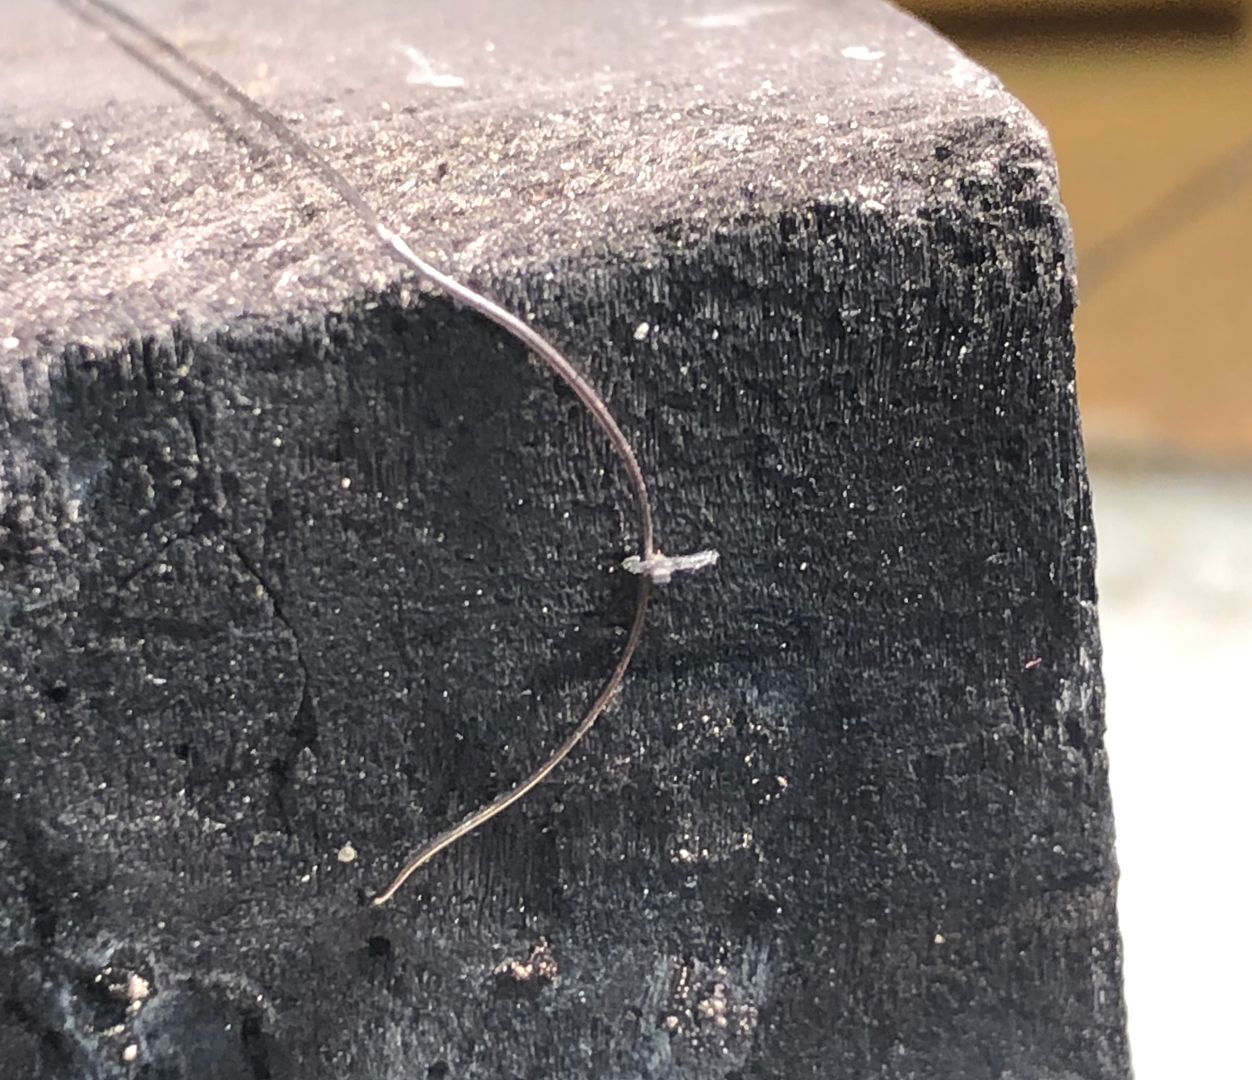
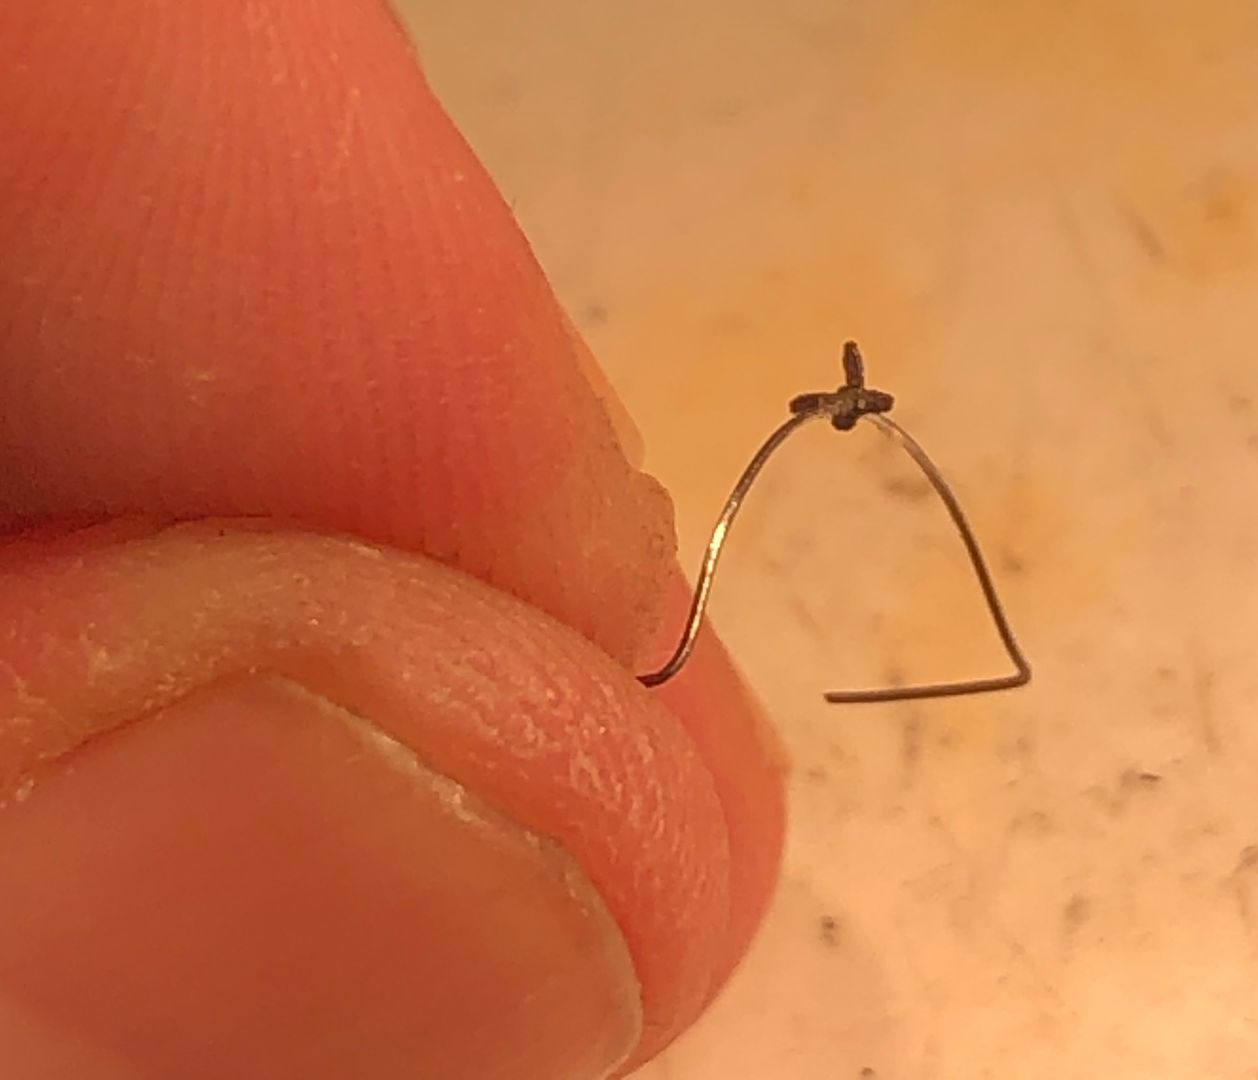
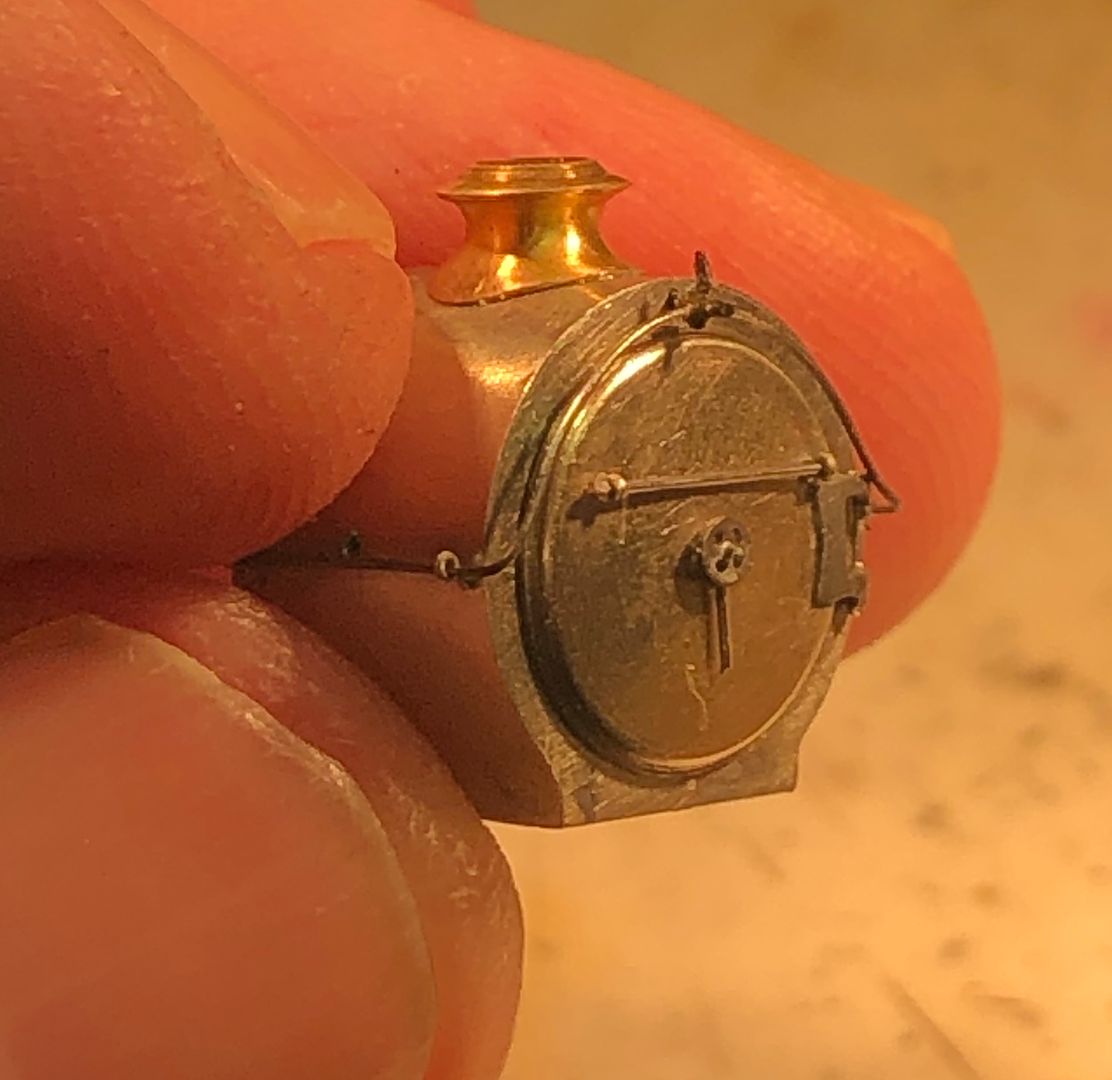
After a little break from modelling for a variety of reasons, I have at last finished the handrail on the front of Valour. This is a bit tricky because there is an integral stanchion & lamp bracket at the top.


This was filed up from 10 thou thick steel around a 0.3 mm diameter hole.


The handrail was bent up from spring steel wire and then silver soldered in place, using a charcoal block to steady both components whilst soldering.


The fire stain will be kept, so that the bracket does not need painting.


It took three stanchions and three handrails to get it right. I now know why I was not an orthodontist - I dislike wire bending.


Tim
 

Tim Watson

Western Thunderer
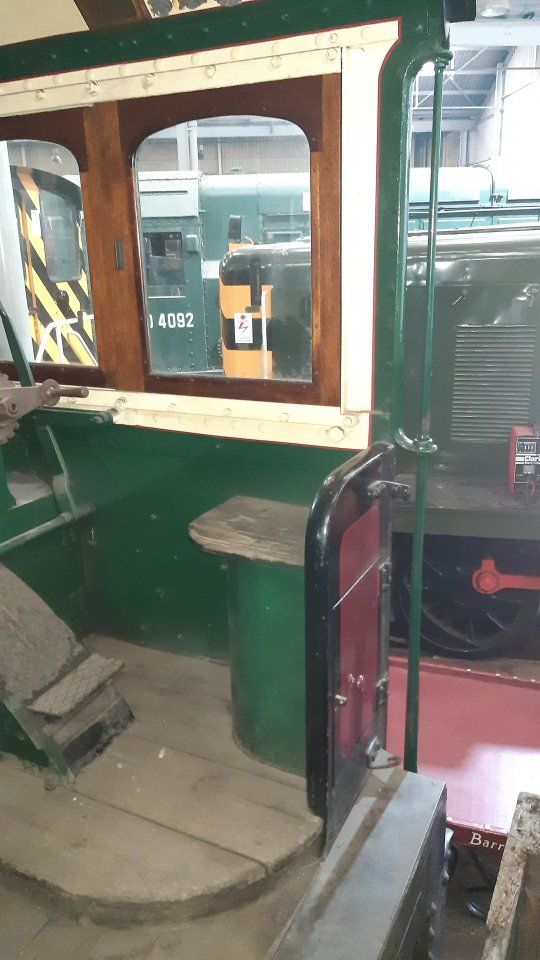
The rear handrails on GC side-windowed cabs were supported by a slender bracket above waist height.

(photo courtesy Peter - PAD)

The bracket was made from a strip of 5 thou N/S with a snake’s tongue filed into one end, rather than a hole. The other end of the handrail would be supported near the roof.
CE143935-00BC-438F-9E3A-D6E929E8D1AC.jpeg.10c30d949f0273ea362fc99dd07e47b7.jpeg


This was soldered on, using a Macor ceramic block to support it, as the iron was brought to bear on the well fluxed & tinned components.
A block of wood could probably have served as well.
86B7C073-E88C-4D14-981F-58CFE1685B5C.jpeg.f05bbd2bcfdd8e13fc1fe4c1c71d2b92.jpeg


CC8FC80E-38C8-4929-AD53-DB0D11BA3CB2.jpeg.004c53be87b5e8c6305c710fae1599b5.jpeg


The handrail was made from the usual pivot steel, again well tinned, with the solder being used to make the central handrail knob.
E3AD3E01-22E8-4453-AE51-0EA9D0BD692D.jpeg.e25c324a35c11f3e8a2505a8189a262a.jpeg


Tim
 

Tim Watson

Western Thunderer
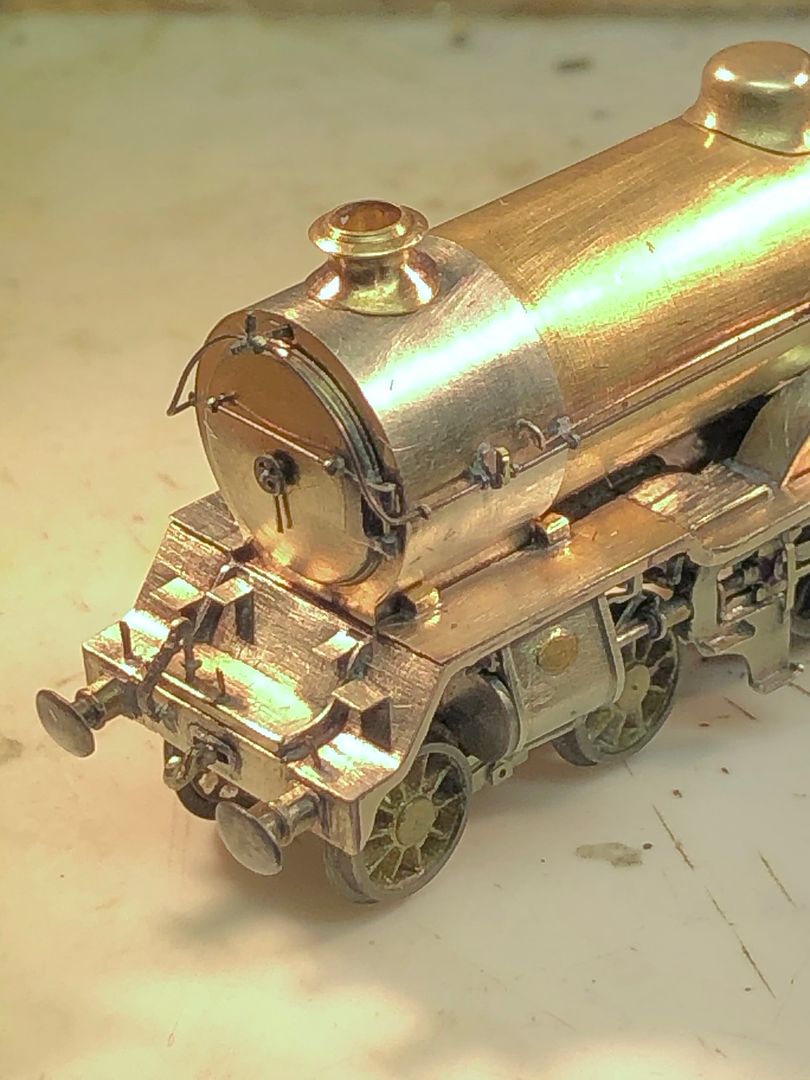
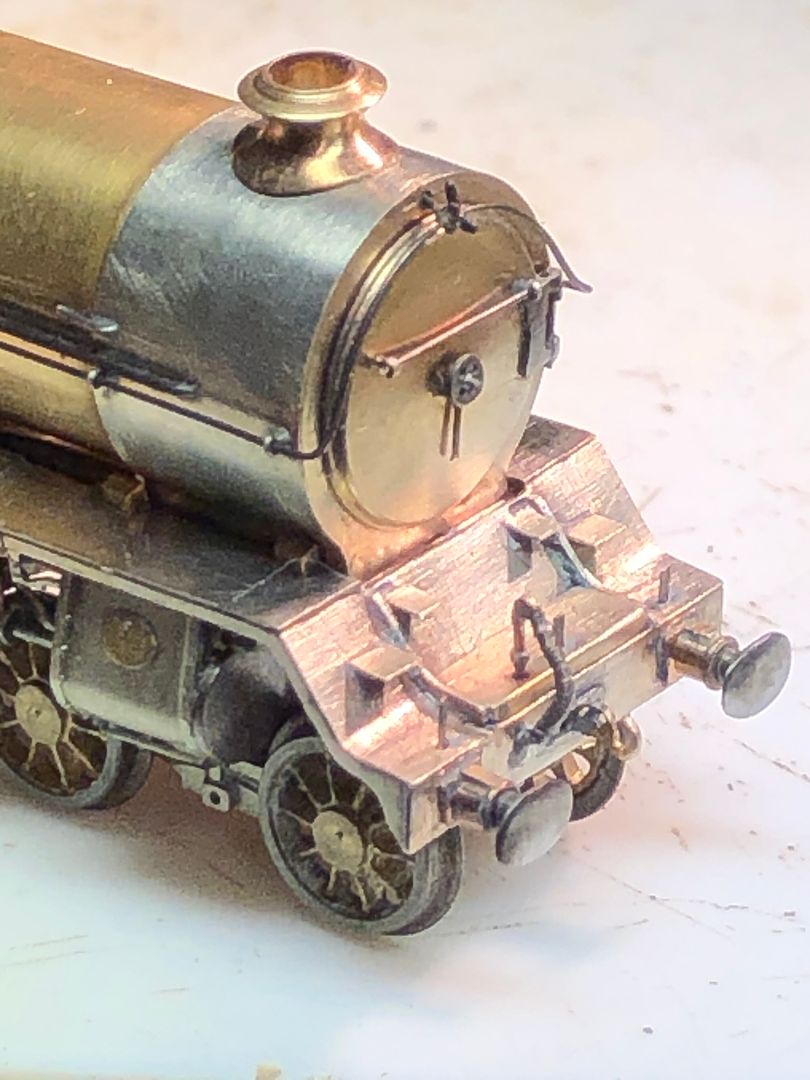
Today’s efforts have concentrated on the front end again. The two ‘brass’ oilers tucked in next to the smokebox will never tarnish...


Other fittings such as the brake pipe were bent up from 0.4mm diameter brass wire, wrapped with fine wire to represent the flexible hose and the pipe fittings. Lamp irons were flattened 33 SWG phosphor bronze wire.

GC engines have an interesting horizontal swinging arrangement for the front coupling hook. The only outstanding fittings to be made at the front are now the guard irons and frames above the front bogie wheel. These may be made of black styrene, for expediency.

Tim
 
Last edited:
Top