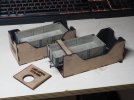
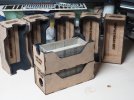
A little bit of a potpourri of an update for this week.
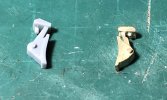
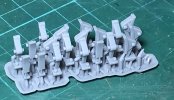
The 3D printing has been a little hit and miss development - getting clearances and geometry sorted but I think it's there now. Brakes are in place but just need to finish off the linkages and rodding. If I ever build a cameo scene I've got plenty of scrap brake blocks for a breakers yard!
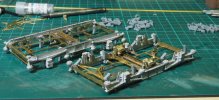
Desperately trying to get it finished this week so that I can take advantage of the warmer weather and waft a coat of primer over everything.
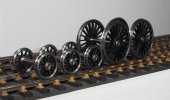
Whilst redrafting and waiting for the 3D printer to spit out the next iteration of brake blocks - attention turned to the new projects. Yes I will admit to being slightly subversive with the reprofiled wheels - well I couldn't make it too easy for everyone. So yes these are all the right notes and in the right order.
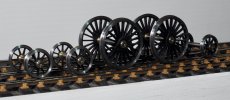
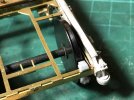
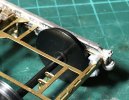
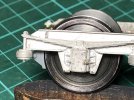
With the reprofiling the boss is skimmed down, to allow the securing screw to sit correctly I did try on one wheel to increase the counter bore on the wheel boss but it wasn't that sucessful, it seemed to put too much heat in and the brass boss started moving in the plastic so I scrapped that straight away. As seen on the above photo the screw stand far too proud on the hub.
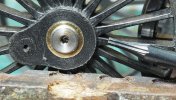
Looking at the screws I wasn't sure if they were a little too large on the diameter to fit in the countersink, there was plenty of metal on the screw so my solution has been to skim a little off the diameter and a little off the face of the screw. A before and after shot.
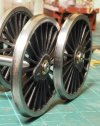
I was much happier with the fit now.
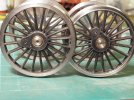
Whilst carefully inspecting the screws, I noticed that the socket on the screws seemed to be more "torq" screw than Allen key shaped. It seems the hole has been drilled then lobes cut in hence the curled up metal at the bottom of the hole.
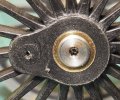
Looking at the way the socket is formed it definitely has a lobed form and having a mobile phone repair kit one of the little torq drivers fits a lot better than any allen key.
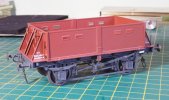
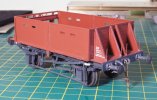
I mentioned in the previous post a couple of scratch build projects. This is a taster for the second, again rather unique, so I will probably start a separate thread for this one as well. So for an introduction a couple of strips of nickel-silver cut to shape.
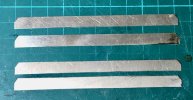
This needed a length of riveted angle along the top edge, the only problem being that by embossing rivets it stretches the metal and you end up with something not quite straight.
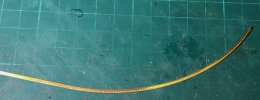
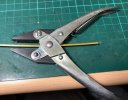
Fortunately this is a job where the parallel jaw pliers are very useful as they don't have a central pivot so I can feed the angle through whilst straightening it.
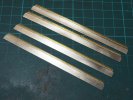
Straightened and soldered to the strips.
That's all for this week - I'll leave this last project as a Christmas conundrum.


