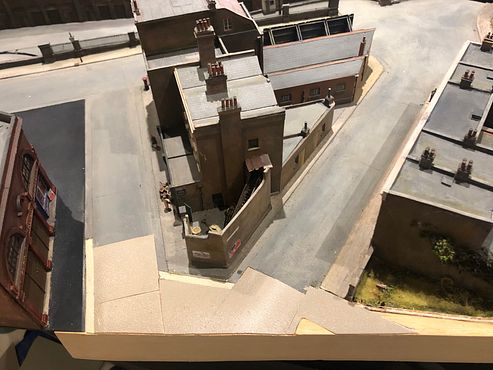
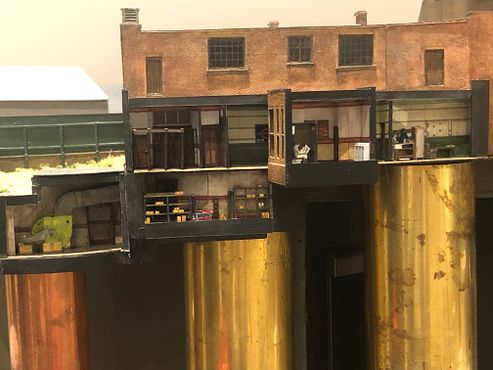
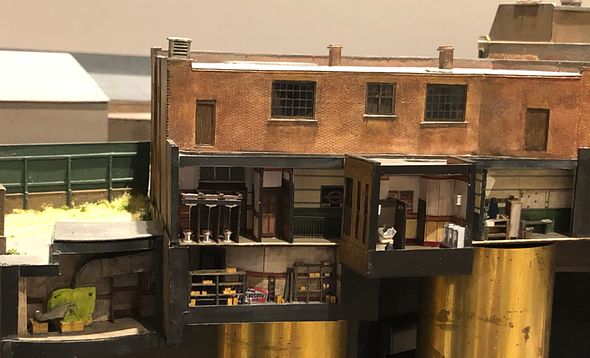
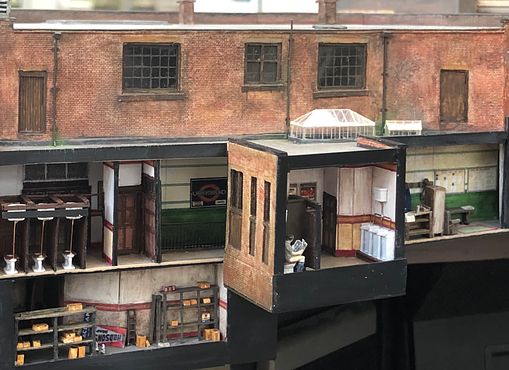
The details on the YR ground floor roof have been added over the last few days. I tend to understate down pipes, using pre-coloured florists wire and painting in the pipe supports. It is so easy to end up over-scale with 2mm details. Having said that, I am very pleased with the toothed brick courses on the corner of the building.
The ground floor flat roof had a couple of lantern roofs. These were made by scoring clear plastic with the back of a #15 scalpel blade with the dimensions dictated by the plan underneath.
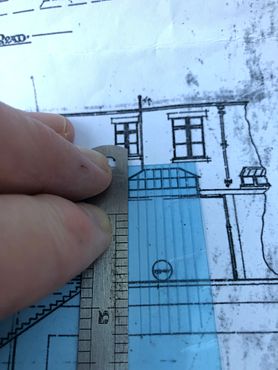
The lower halves were assembled, keeping the protective film in place to avoid glue marks (frankly, you have to be incredibly parsimonious with the Evostick contact adhesive anyway). The clean notch-shaped grooves made by the scalpel can be seen - they could be filled with paint, but I suspect these might have been a galvanised metal construction, so the natural colour is satisfactory.
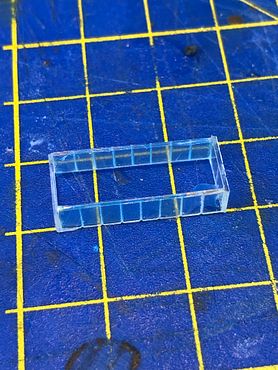
The vertical parts of the lantern had flashing strips of black styrene added; black so as not to show up white through the glazing. These were then glued into place and the top roof also glued into place. The final act was to flood the base area with thick matt varnish to seal the flashing to the roof and avoid unsightly gaps. The roof was painted with dried puddles and a significant amount of green weathering.
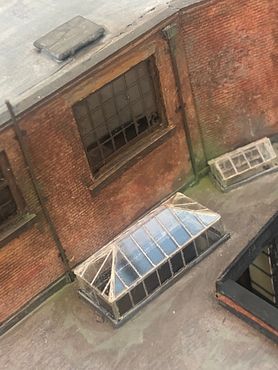
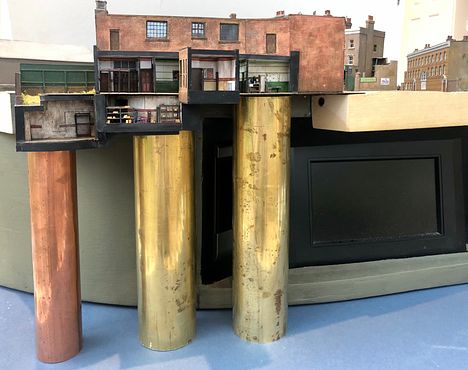
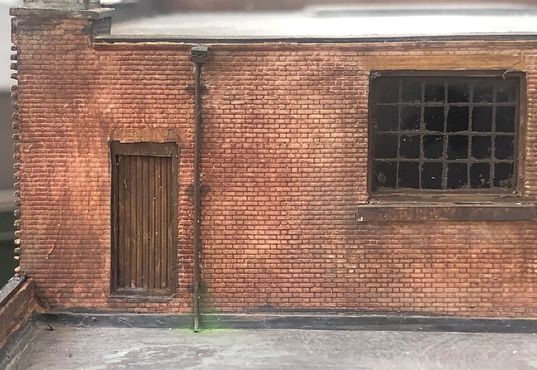
One thing that was evident and increasingly annoying was a dodgy brick joint in the first floor rear wall. Initially, the down pipe was placed prototypically, but then expedience took over and it was shifted to cover the joint.
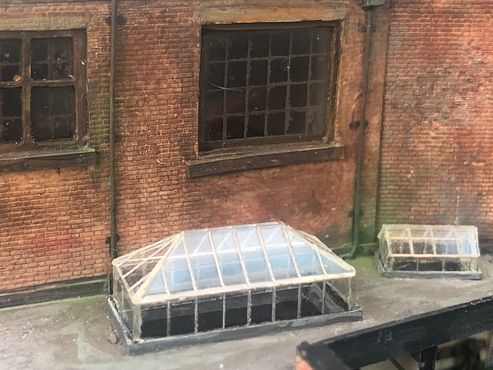
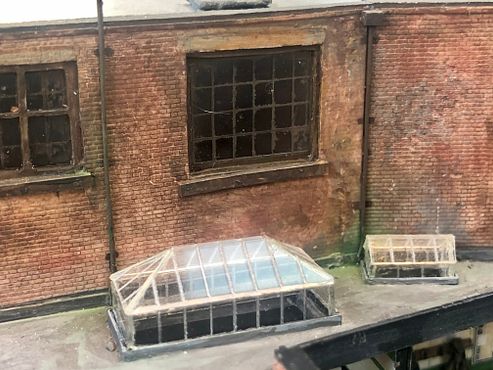
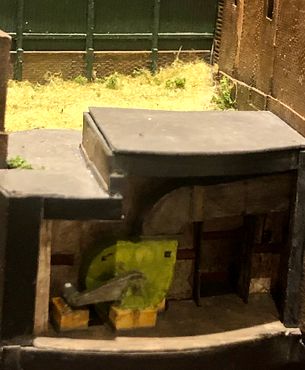
The rear view is now nearly complete. There should be a safety handrail at the right hand end, but that can wait until the building is being handled rather less, as it would be quite vulnerable. The protective clear polycarbonate sheet for the sectioned rooms will soon be made and fixed, probably with blackened 12BA countersunk screws.
Tim
